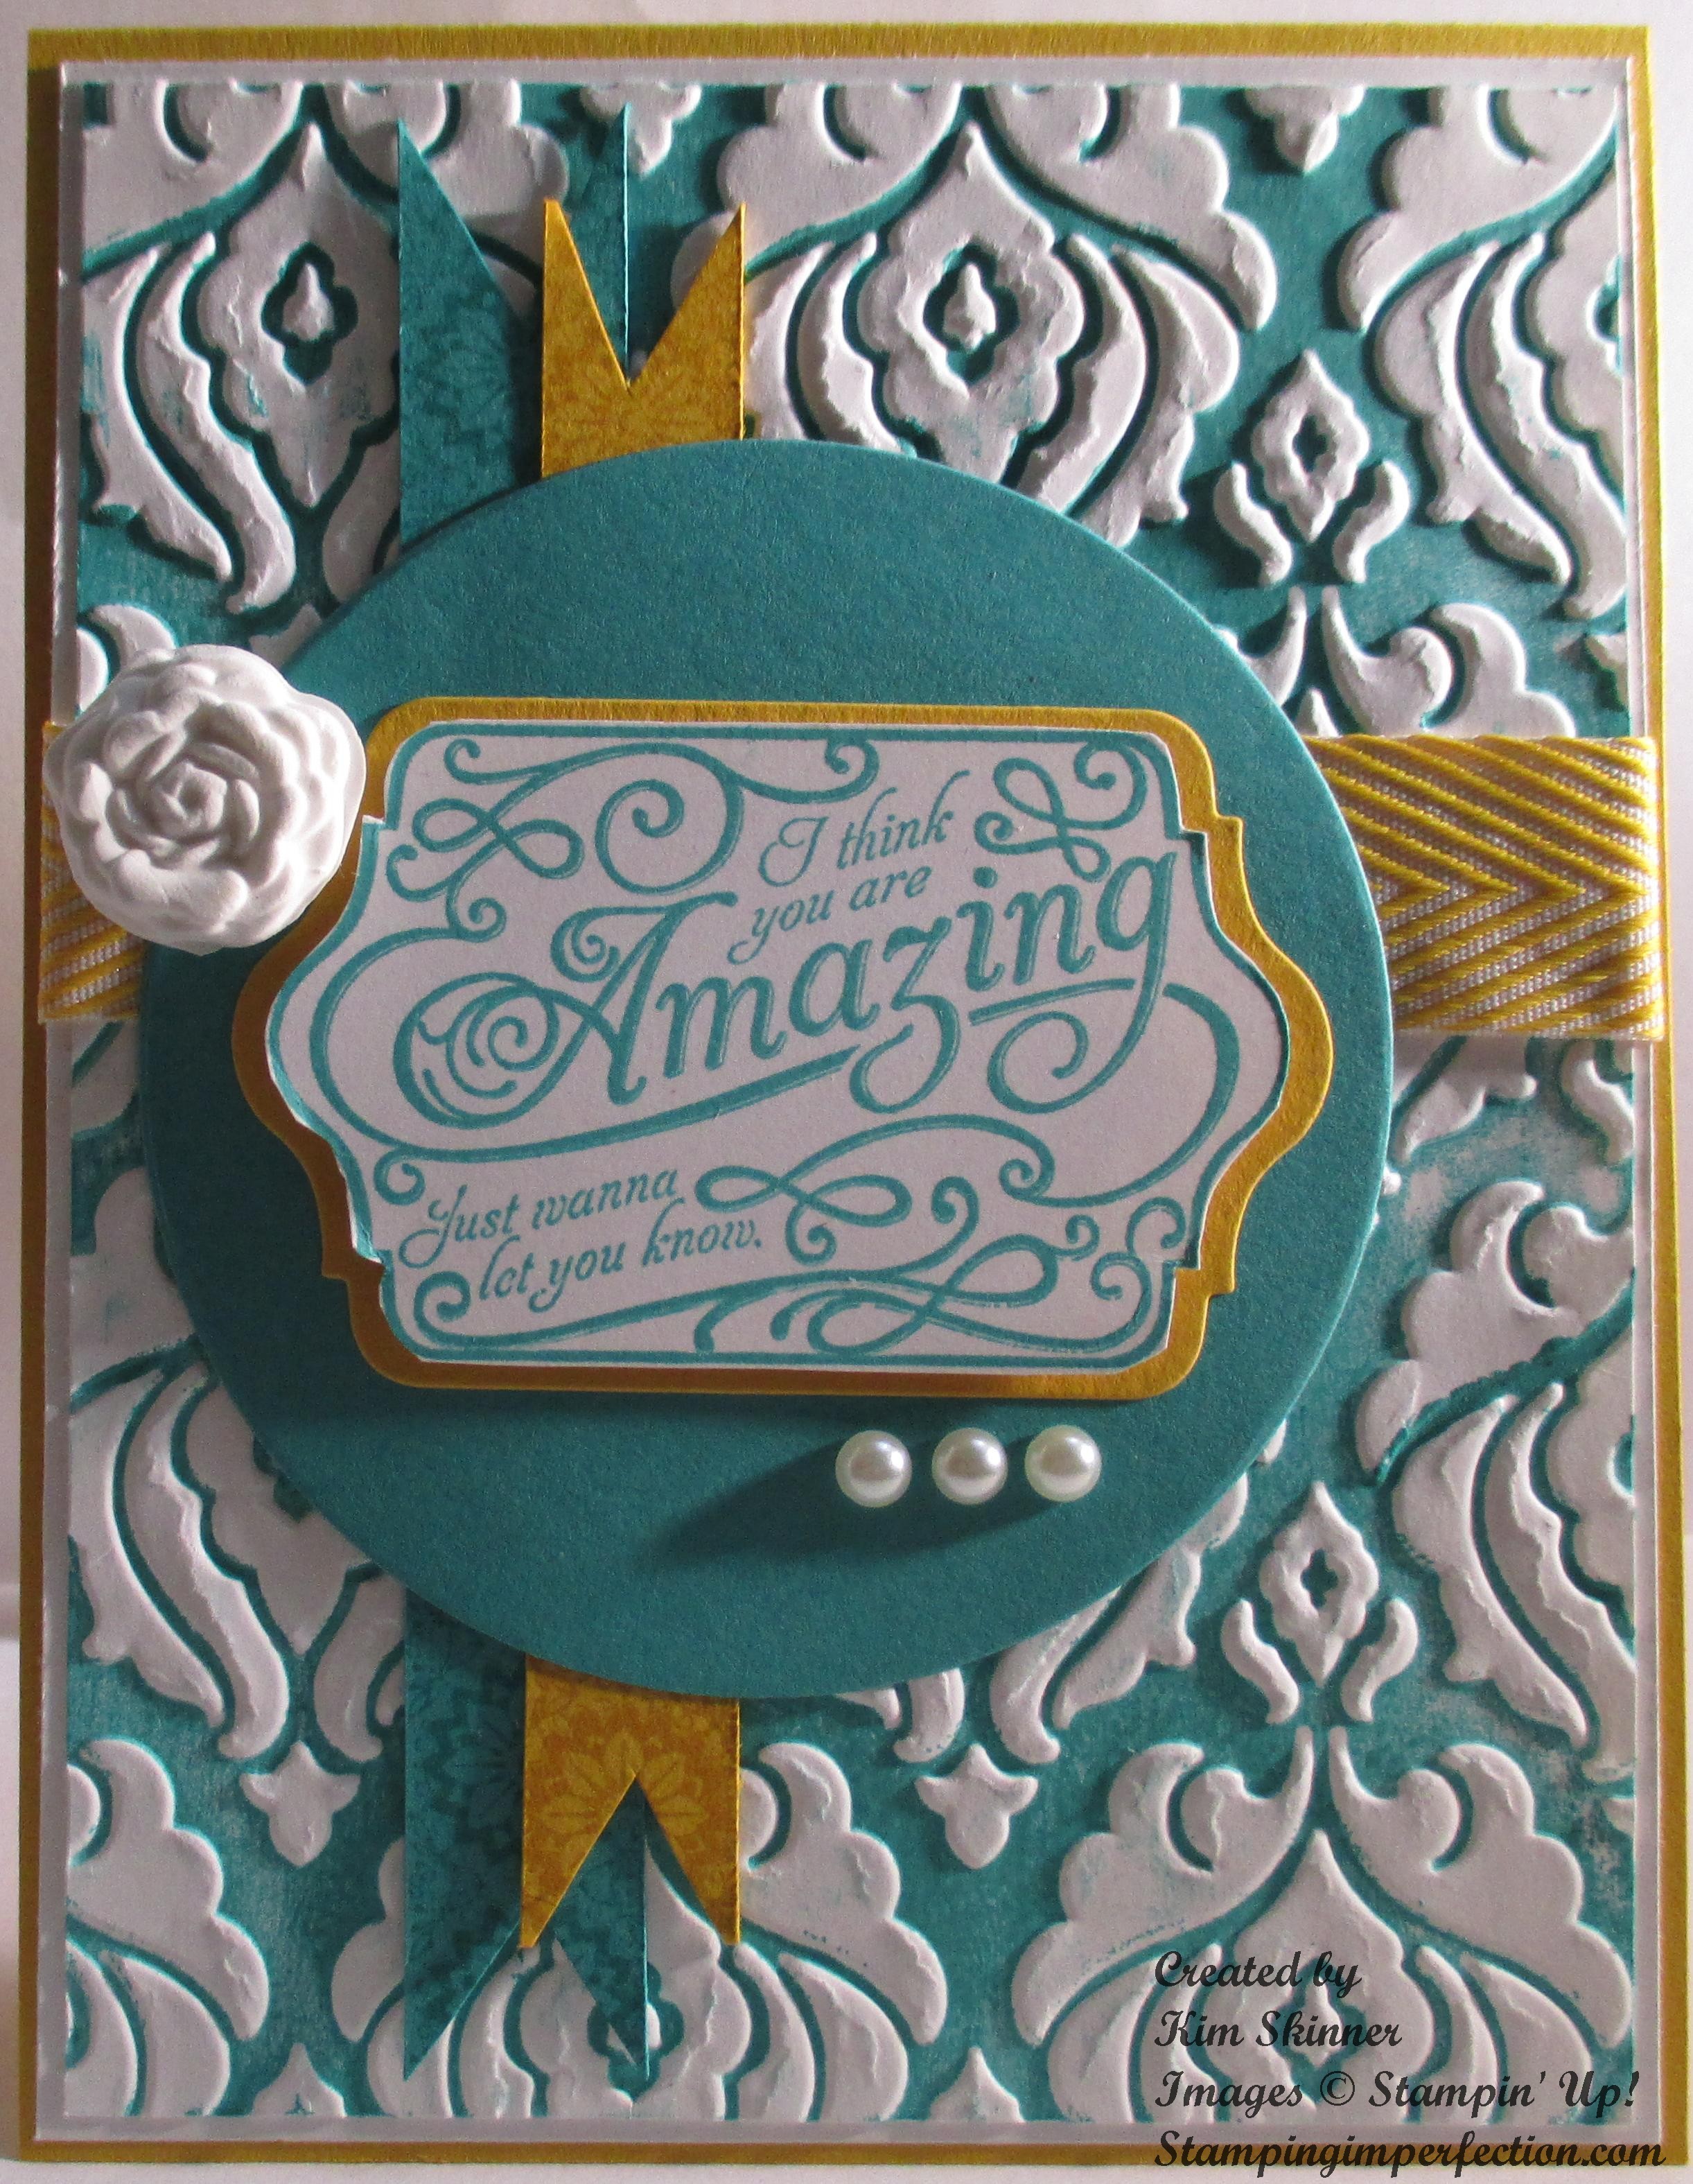
Stampin’ Up!s Lovely Romance stamp set went on my wish list as soon as I saw it in the new catalog!! In the catalog, they actually show it decorating a candy jar! I used this week’s Paper Craft Crew Sketch Challenge to inspire my card today. I used a technique that I haven’t done in a while as well! This stamp set coordinates with so many of Stampin’ Up!s papers, framelits and embossing folders that you’ll just have to put it on your wish list too!
Card Details:
Papers and Inks: Bermuda Bay, Crushed Curry and Whisper White.
Stamp Set: Lovely Romance (#130267)
Accessories: Big Shot, Beautifully Baroque Embossing Folder, Chalk Talk and Circle Framelits, Pearls, Crushed Curry Chevron Ribbon, Clay and Flower Mold
Tips and Techniques:
- Crushed Curry card base cut at 4-1/4 x 11″, score and fold at 5-1/2″.
- Whisper White cut at 4-1/8 x 5-3/8″, also 4 x 5-1/4″.
- Ink up the inside front of your Beautifully Baroque Embossing folder by running the Bermuda Bay ink pad over the smooth, flat side. Place the paper inside and run it through the big shot twice with one tab.
- Attach the inked and embossed mat to the larger white mat.
- Stamp a 1/2 x 5″ piece of Bermuda Bay in Bermuda Bay with the 3 flower image, several times. Stamp a 1/2 x 4″ piece of Crushed Curry in Crushed Curry. Notch the ends of both and attach them to the mats.
- Attach a 5″ piece of the Crushed Curry Chevron Ribbon using glue dots and wrapping the ends around the mats.
- Cut a 3-1/2″ circle from Bermuda Bay with the circle framelits. Attach this to the card front.
- Cut a Crushed Curry mat using the Chalk Talk Framelit.
- Stamp the image for the sentiment with Bermuda Bay on Whisper White and cut it out with paper snips. Attach to the Curry Framelit. Attach these to the front of the card.
- Add 3 pearls below the sentiment.
- Create a medium flower out of the clay, let it dry and add it to the card front.
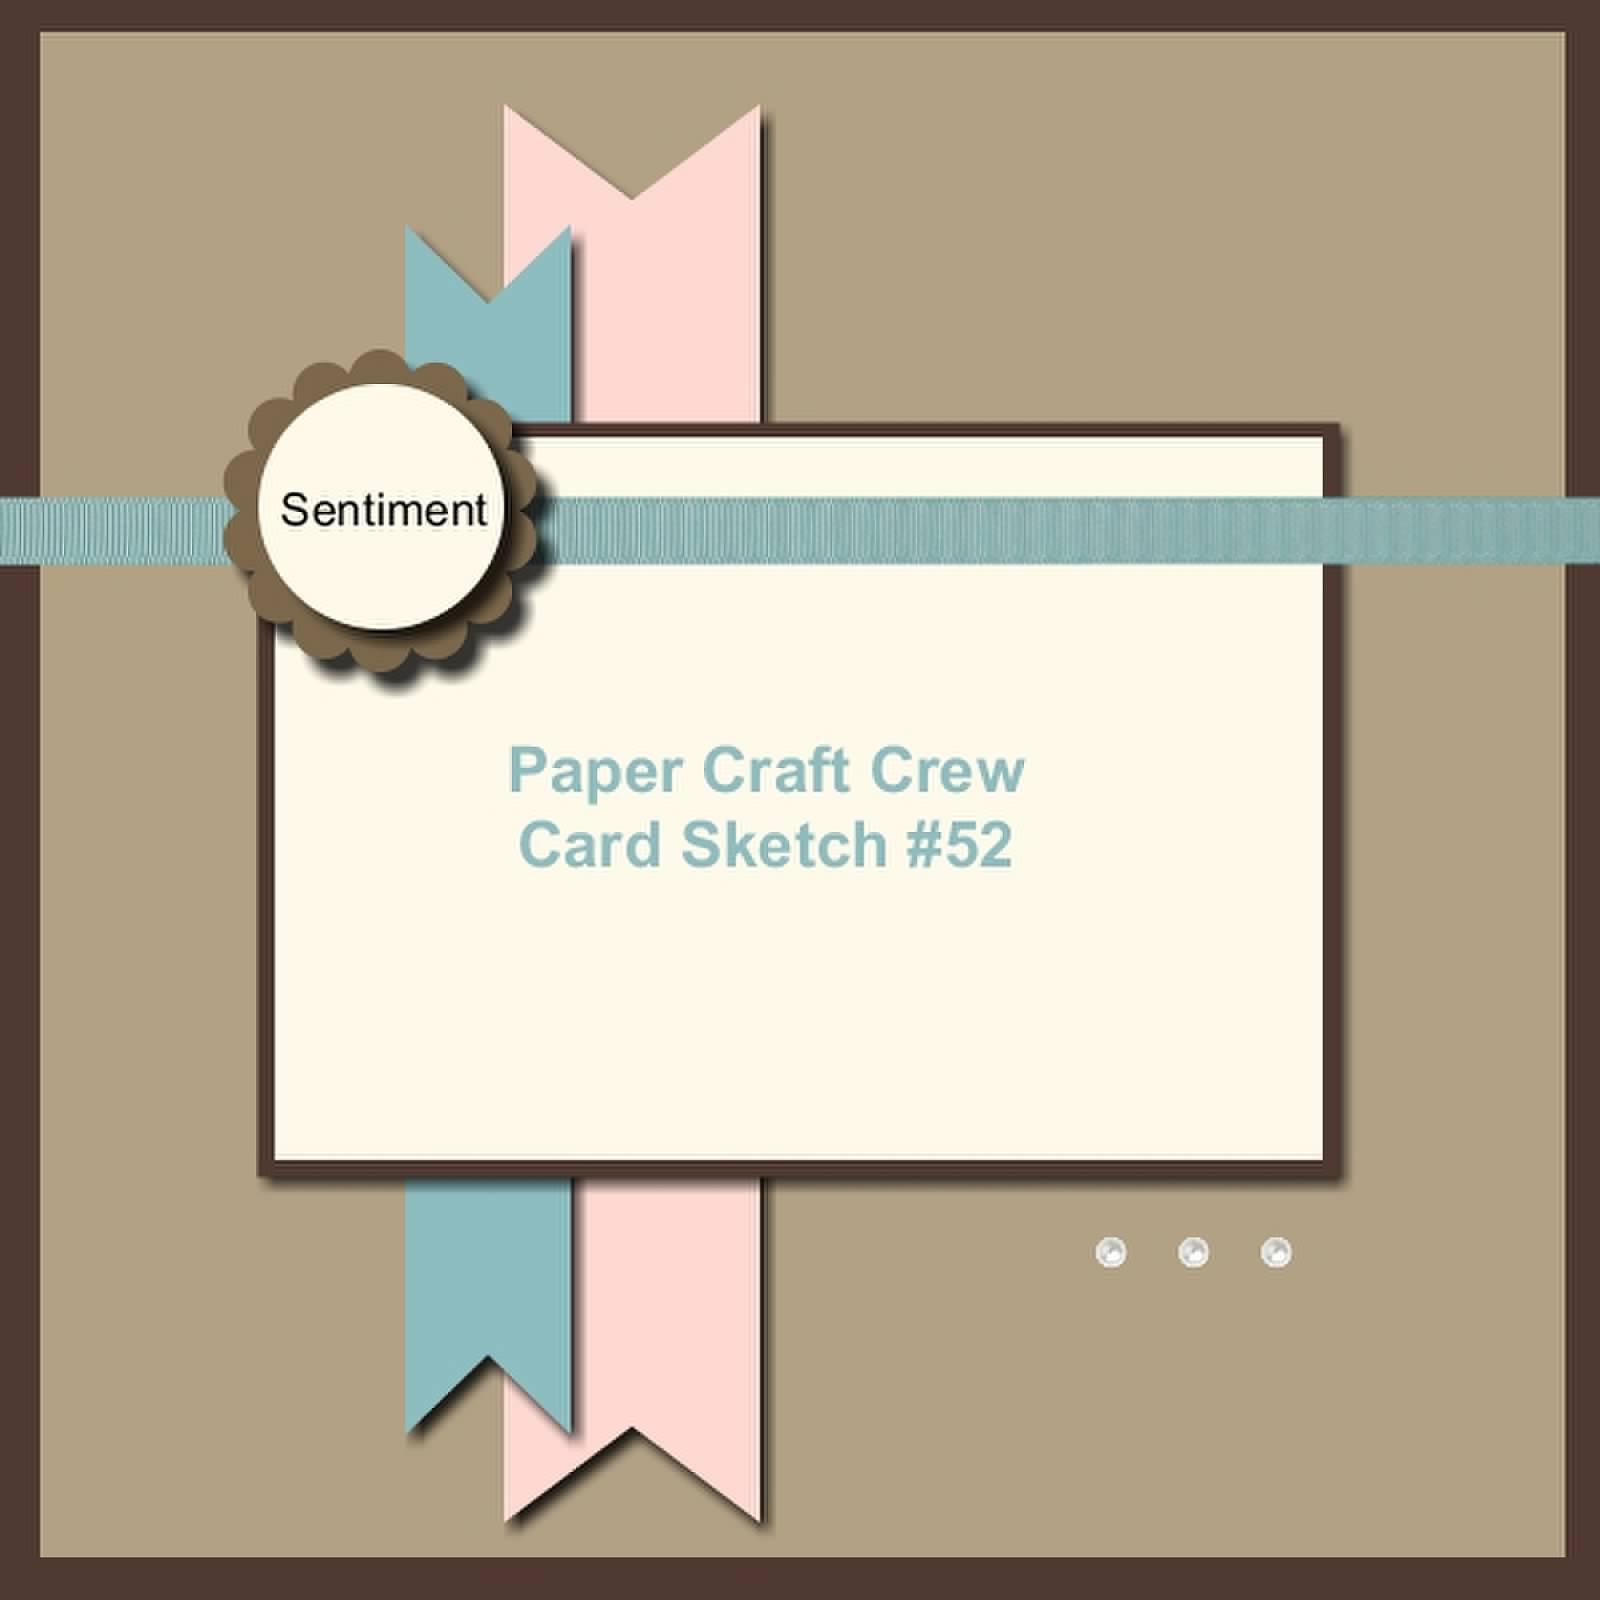
Here is the sketch that I started with! You can see that I followed the sketch fairly closely. I changed the shape of the center image from a rectangle to a circle and added my sentiment to the center of it.
Last Day For Designer Series Paper Sale!
This is your last chance to take advantage of the Buy 3 get 1 Free Sale!!
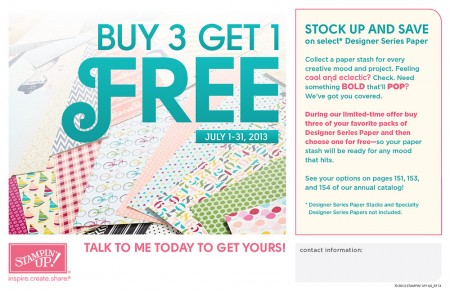
This sale applies to all Designer Series Papers and it has no limit! If you buy 6, you get 2 free! The sale is over at midnight on July 31, 2013! (It does not apply to Designer Specialty papers or paper stacks!)
Take advantage of this sale at mystampingstore.com!!!
Thank you for stopping by today!!
Be creative!