How often do you use your dark colors of cardstock for something other than a script die cut, a background mat or a card base?
We don’t use our dark colors of cardstock for a lot of techniques because it is often hard to add color to it.
Enter Nuvo Embellishment Mousse!
Embellishment Mousse comes in 24 colors and always gives your project a metallic shine no matter what color you are using. It is really pretty on a project.
Embellishment Mousse Technique 1:
Add embellishment mouse to any card with a stencil and a palette knife for a lot of texture, shine and dimension!
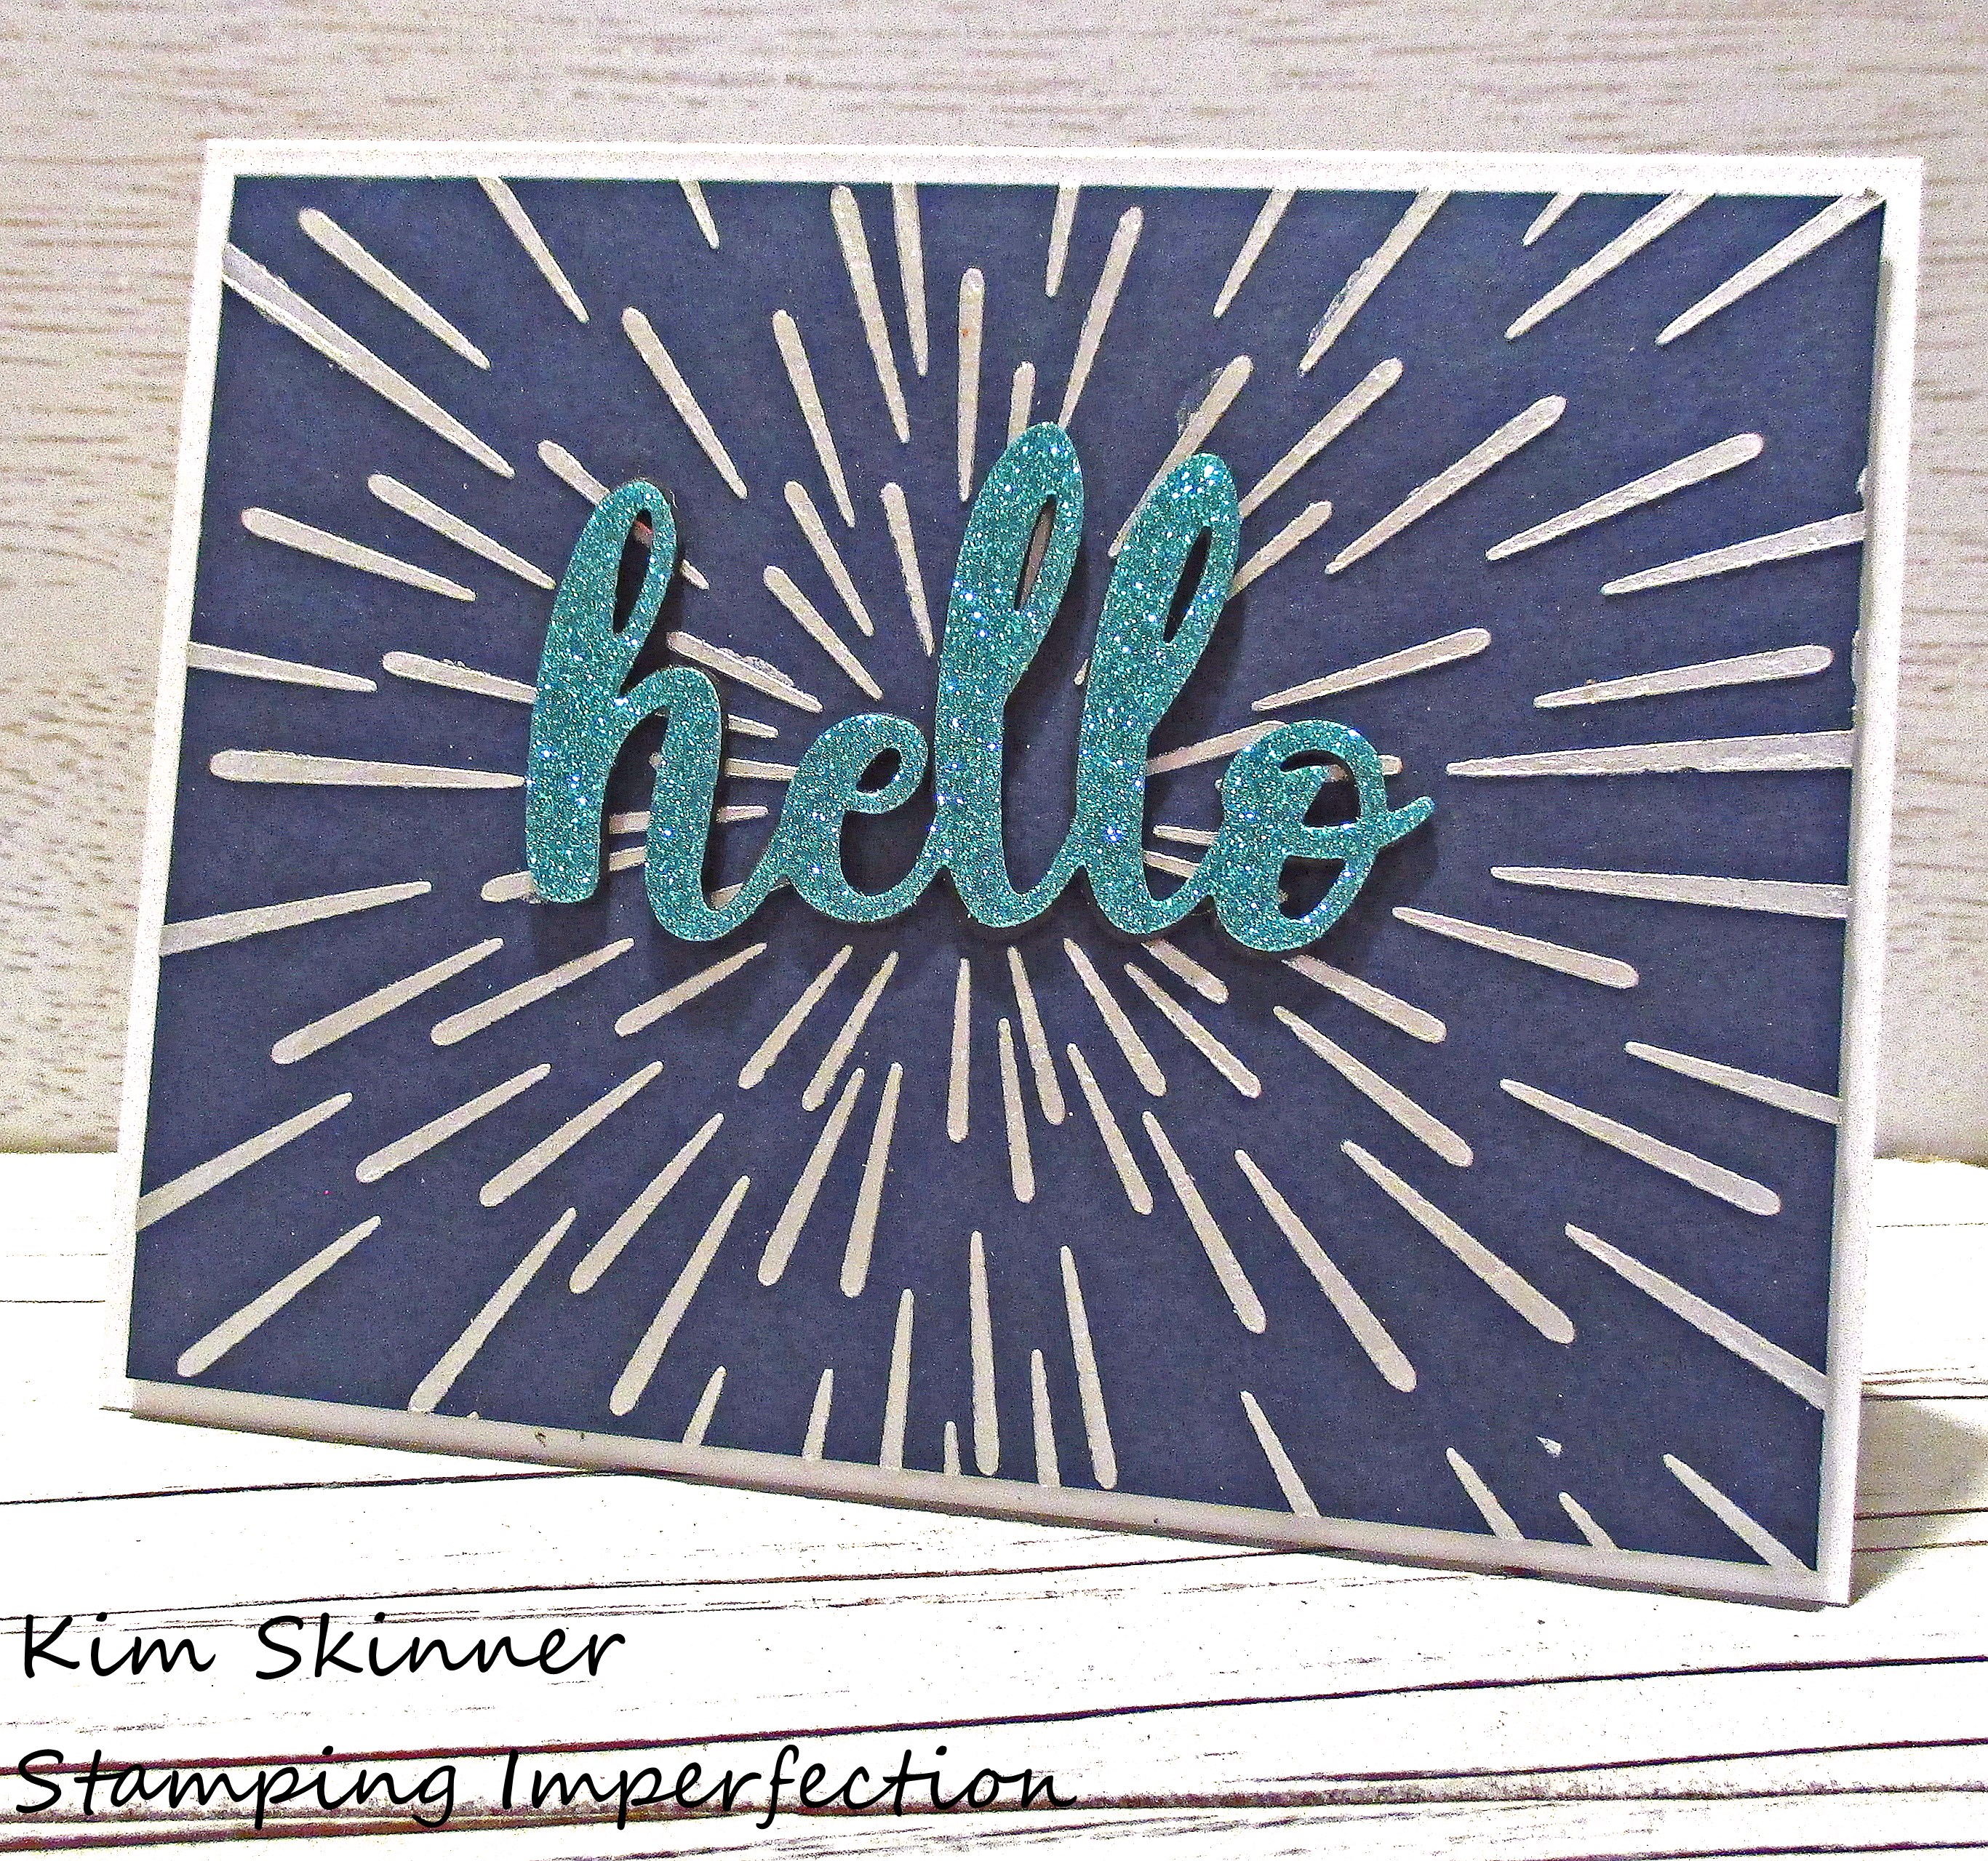
I kept this card simple. I used a stencil and a palette knife to add the Pure Platinum embellishment paste just like I would any texture or embossing paste. You add it like you are frosting a cake.
This photo does not do the shine on the mousse justice! It is so hard to capture in a photo.
I’ve used the Warp Speed Stencil from Altenew and the Hello scrip die from Altenew. I used some blue glimmer paper with double sided adhesive backing added and popped it on to black craft foam with the adhesive sheet added as well, for lots of dimension on this card.
Embellishment Mousse Technique 2 and 3: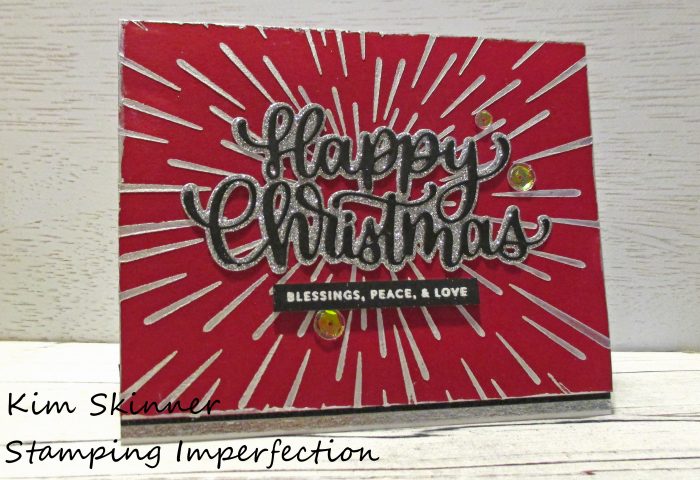
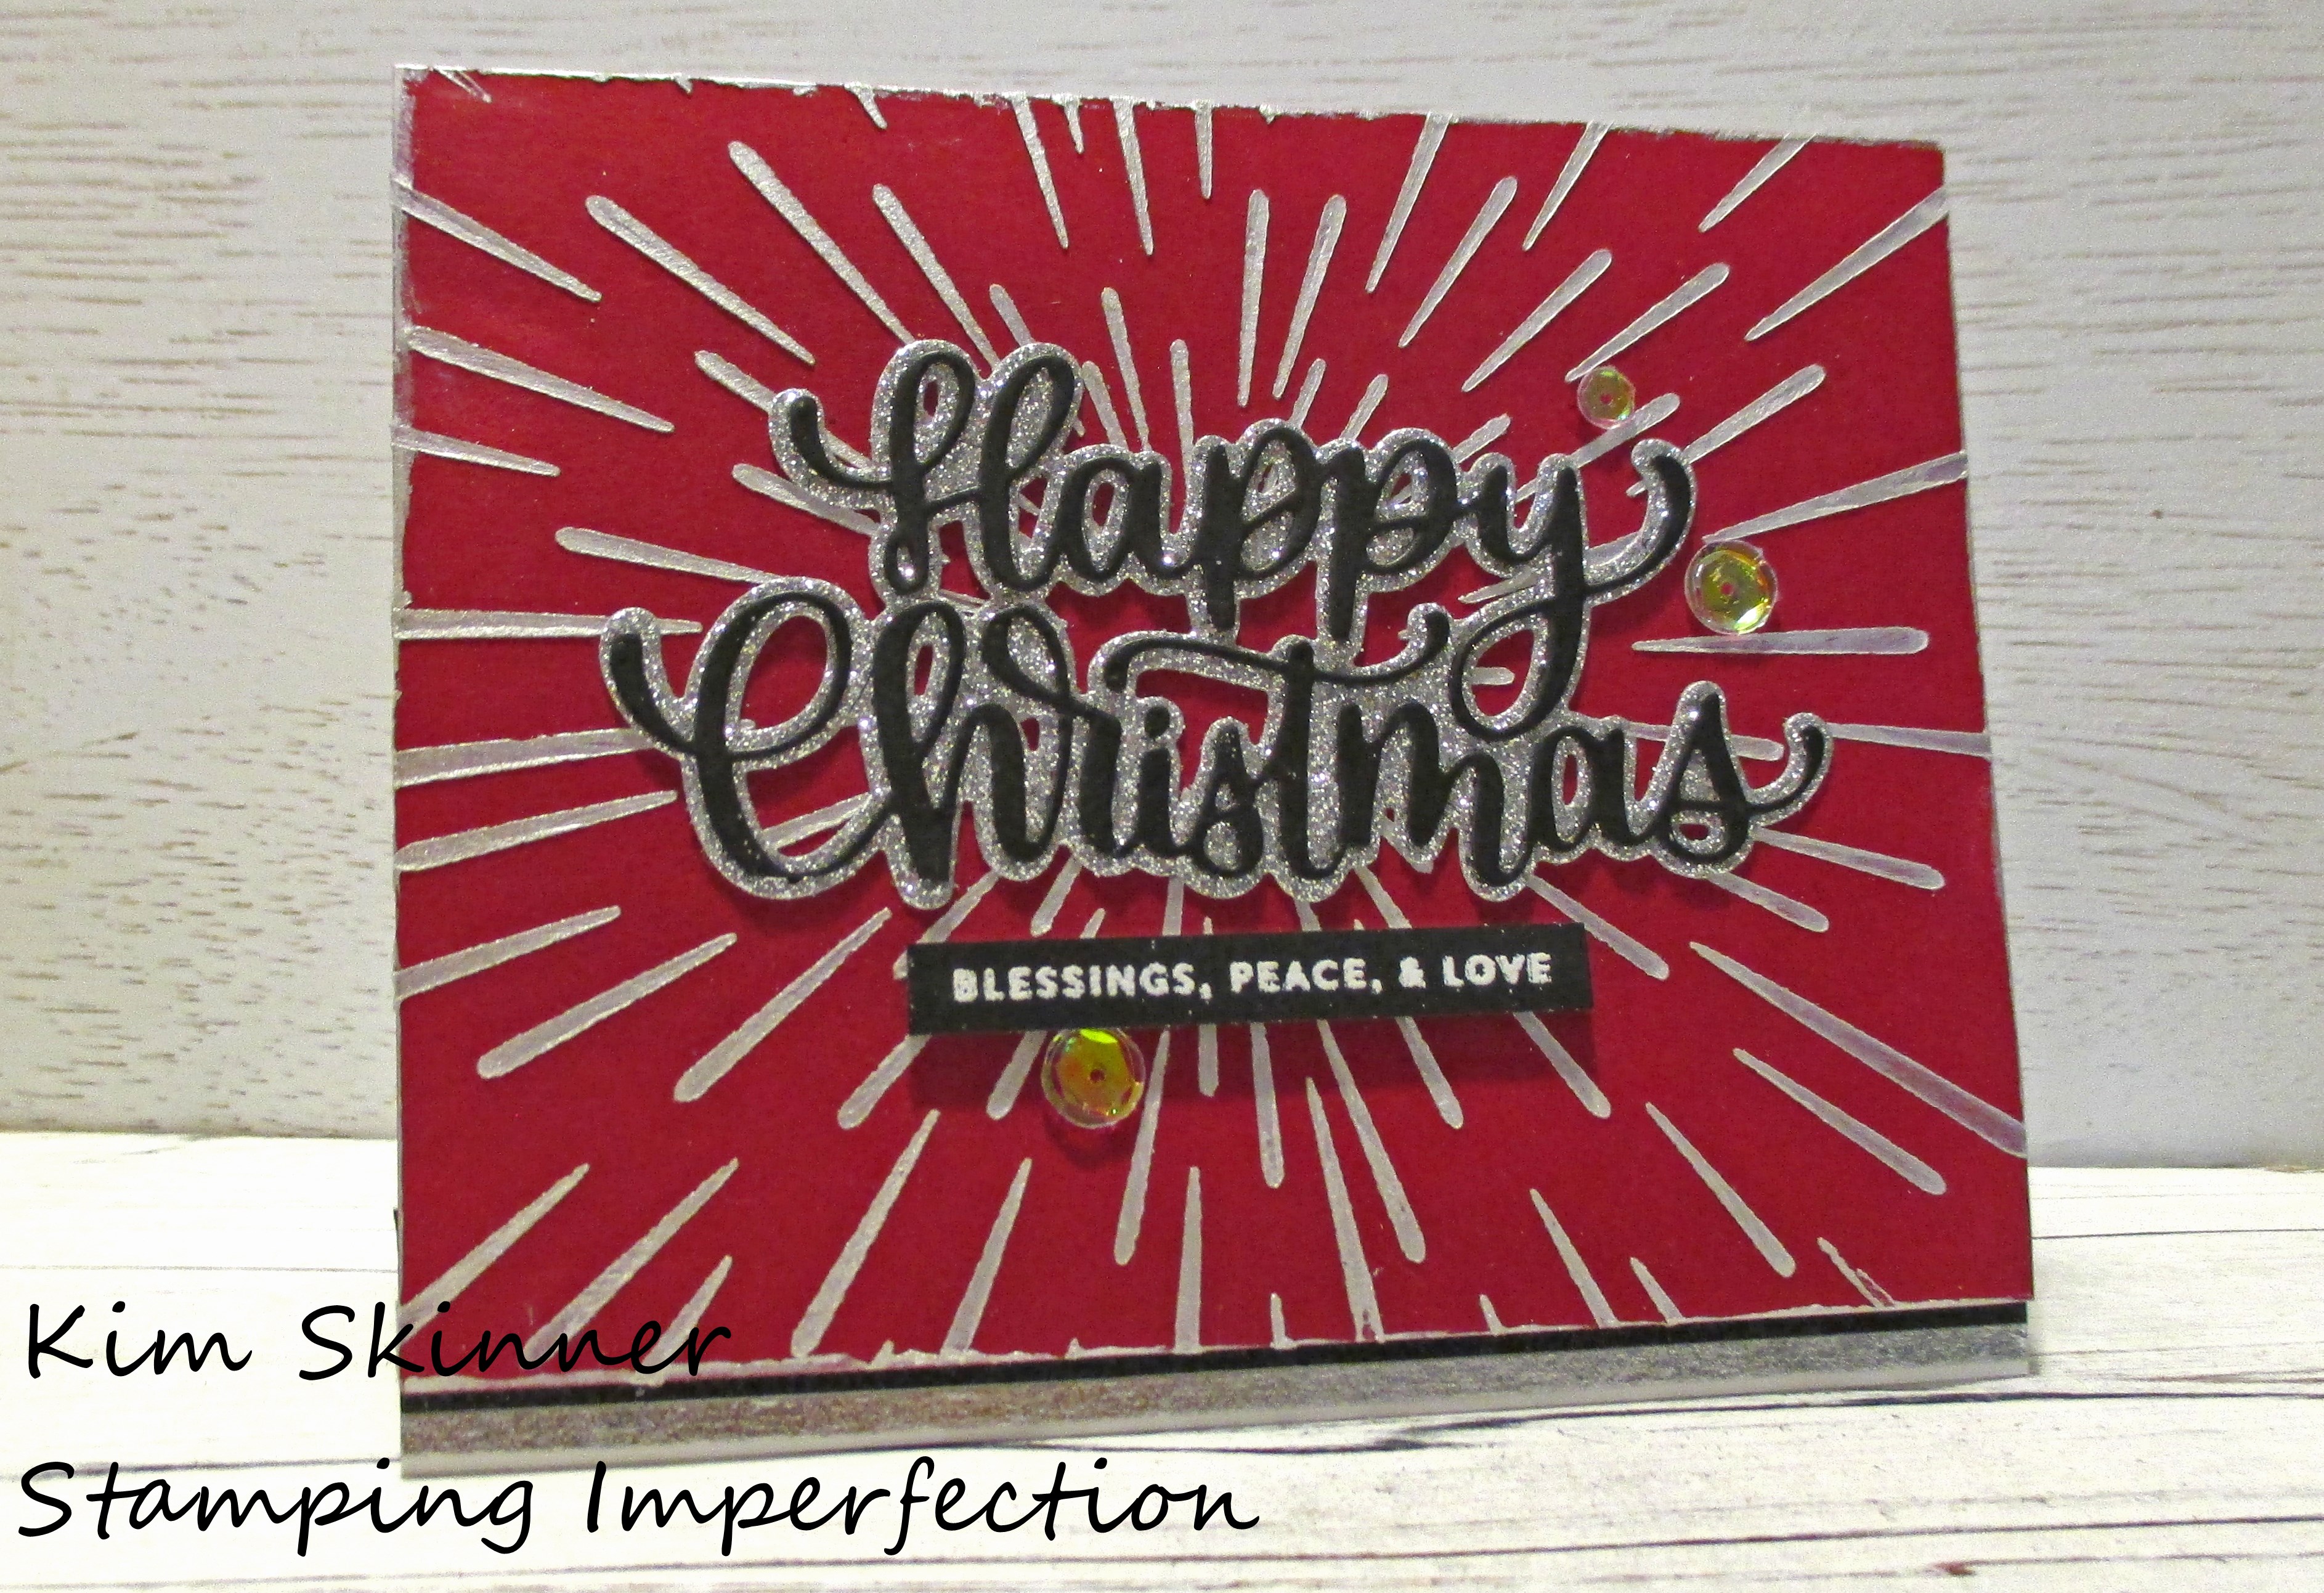
Instead of using the palette knife on this stencil technique, I used a jumbo sponge dauber. The Ranger Blending foam tool or a stencil brush would have worked just as well. This technique gives you less dimension to the mousse, but adds great color to a dark cardstock.
The other technique used here is to add the embossing mousse to the card edge with my finger to add a framed effect. This would work well on a card you wanted to add a distressed look to as well.
I’ve used Altenew’s Warp Speed Stencil, Simon Says Happy Christmas die and the Tiny Words Christmas stamp set. The sequins are from Neat & Tangles and this is the Like Magic Mix. I’ve also added a small strip of black glitter washi tape and silver washi tape below the red panel just for a nice border along the bottom of the card.
The drying time on the mousse was surprisingly quick for these stencil techniques. By the time I cleaned up my craft mat and stencil, they were dry enough to complete the cards.
Here is a video of these techniques:
Supply List:
Are you interested in the products I used? To make them easier for you to find, I have linked them below. (Affiliate disclosure ) Your purchases help keep my blog running at no additional cost to you and I thank you for the support!
Thank you so much for joining me today! I will see you tomorrow with another video in this Nuvo Embellishment Mousse Techniques series!


