Create a very quick feather embellishment for you papercrafting projects using Washi Tape!

Shelli Gardner, the Co-Founder of Stampin’ Up!, showed us how to use Washi Tape to make these quick feather embellishments for our projects. I really love this idea! It’s so simple. It uses Washi Tape and thick baker’s twine.
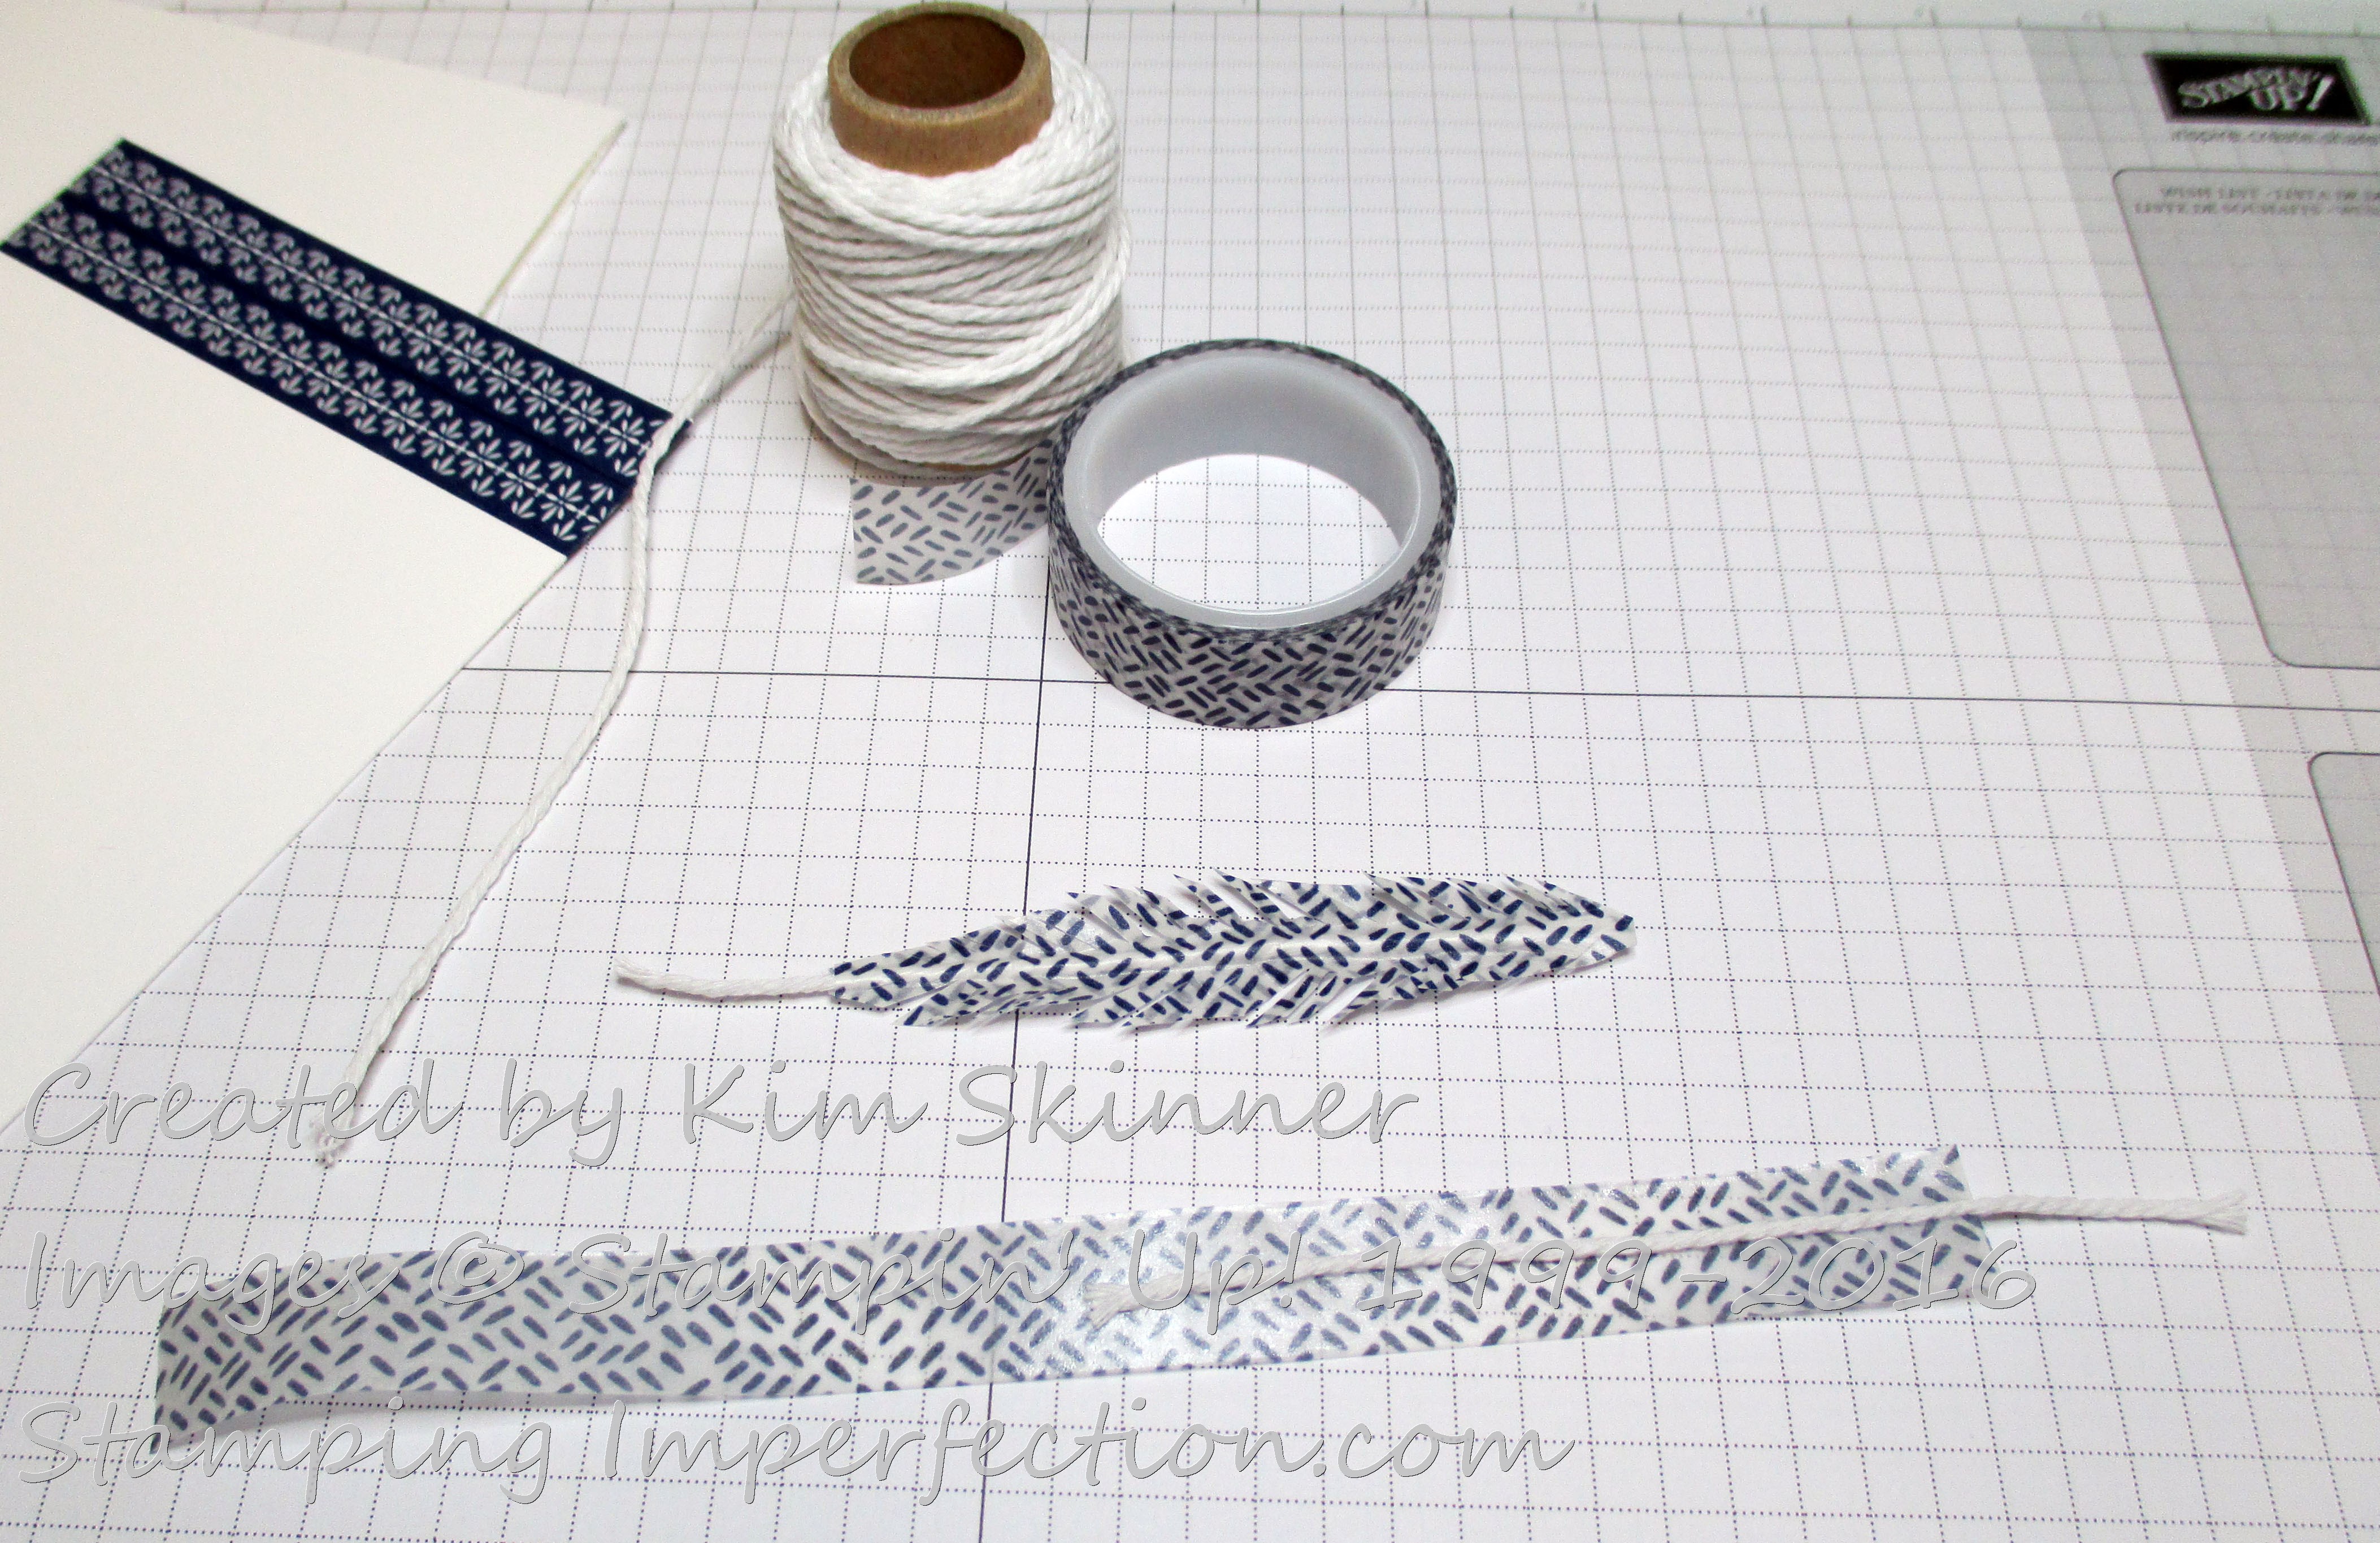
I started with a 7″ strip of Washi tape with the sticky side up. I cut a 4-1/2″ piece of thick white baker’s twine and placed it 3-1/2″ onto the tape, leaving a 1″ tail.

I folded the tape in half, sticking the sticky sides together. Then I cut a curved shape keeping both ends narrow and the center wide, like a feather (or a double convex lens). Then I just snipped each side from the edge of the Washi tape to the twine at an angle. I ran my fingers along each side to separate the pieces, creating a feather look.
This is the Floral Boutique Washi Tape. It’s from the Floral Boutique Product Suite. It’s a beautiful set of products in Night of Navy and white. Truly stunning.
The sentiment is from the Flourishing Phrases stamp set and I’ve used the decorative label punch to make it pop. I’ve added a couple of the Night of Navy enamel dots from the regals collection and the new 5/8″ burlap ribbon.
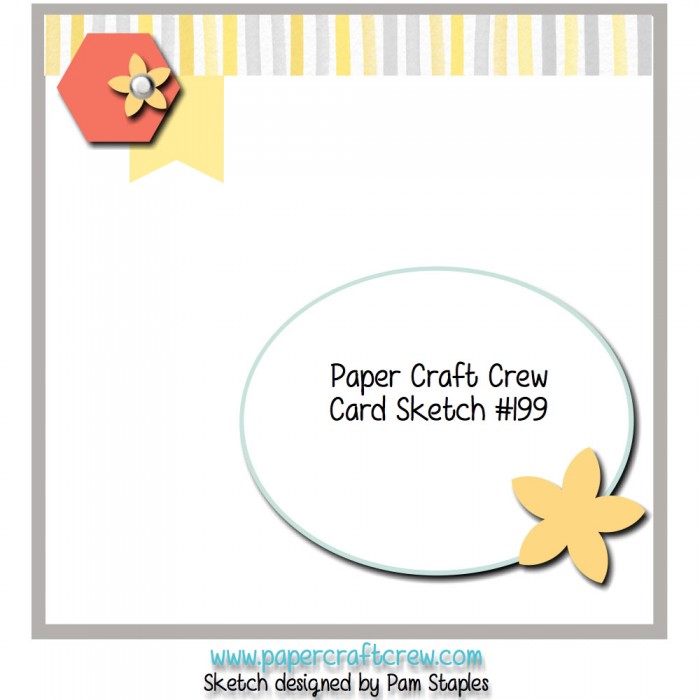
The card layout that I’ve used is from the new Paper Craft Crew sketch challenge for the week.
Shop online at mystampingstore.com!
Thank you for stopping by today!


