Happy Birthday, Mom! (I know that I’m a day early!)

Isn’t this a pretty card?
I know that looks like watercoloring, but it isn’t. This is an ink blending technique called Faux Watercoloring.
I really like this technique because it is quick,easy, and makes great card backgrounds.
The stamp and die set are from Altenew and they are called Wild About You. The sentiment is from Altenew’s Build a Birthday set.
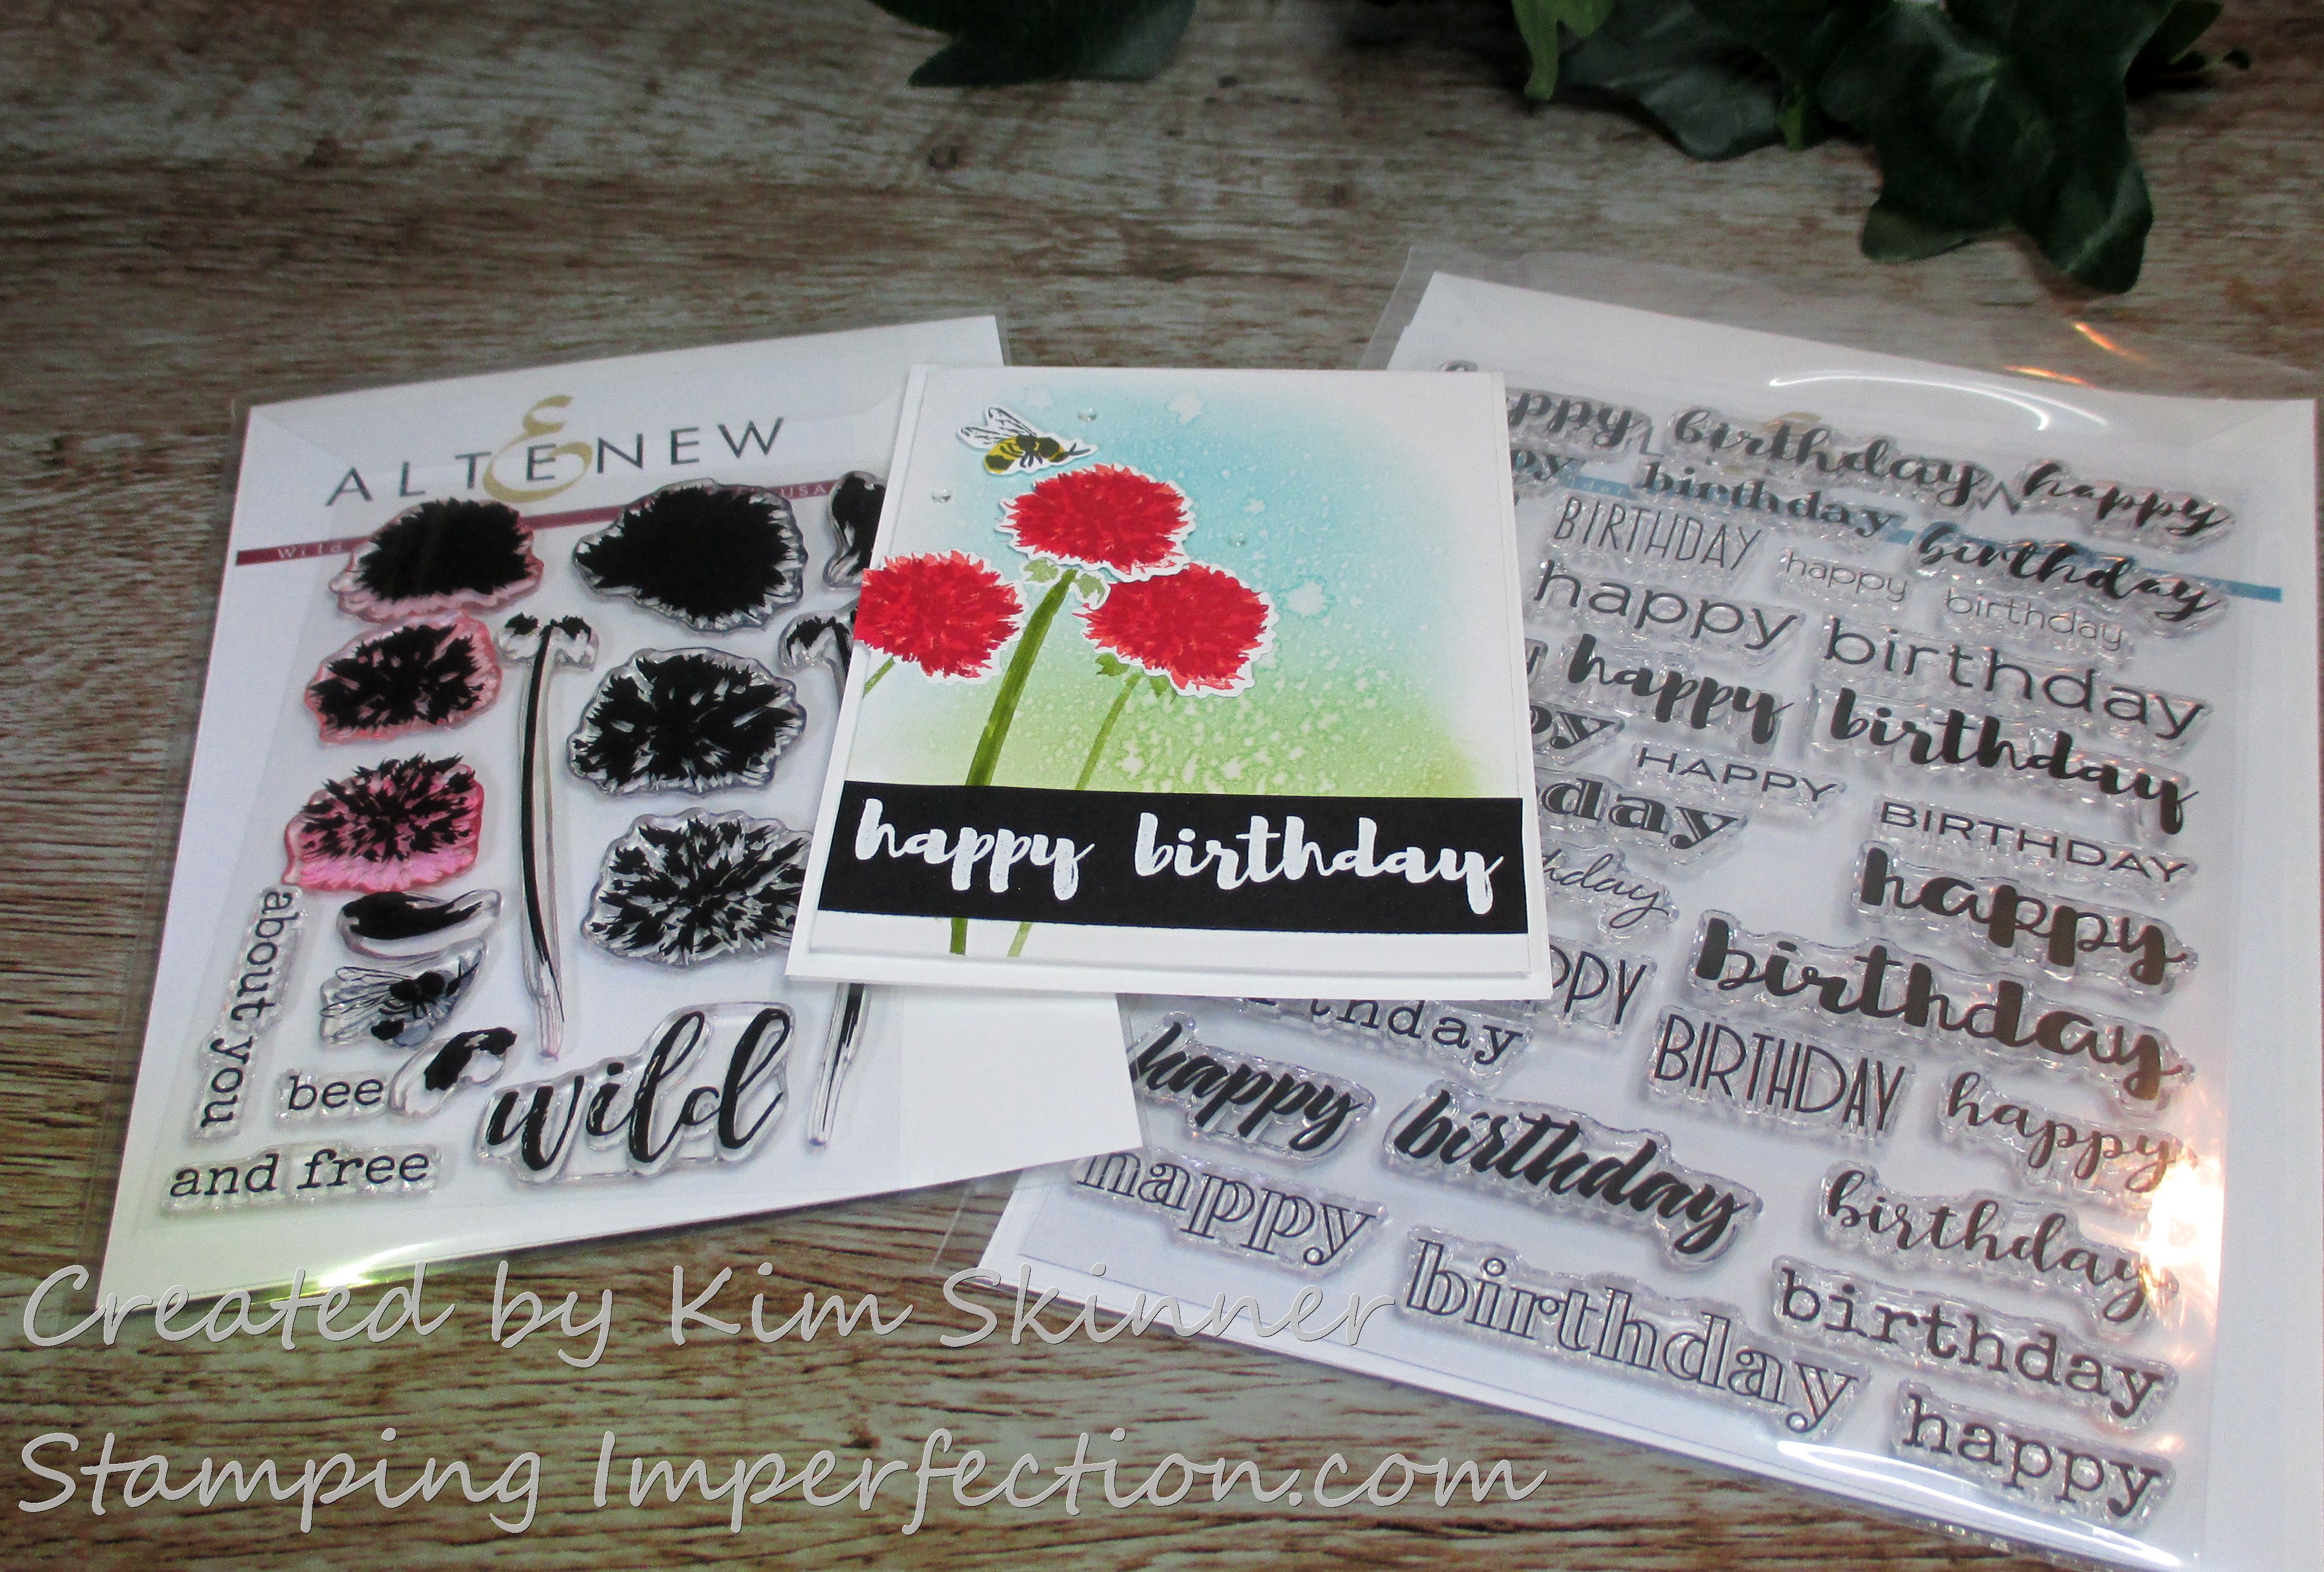
Could I resist buying that birthday set? NO! Look at all the stamps and all those fonts. I love this type of set. I will use it forever because there is such a variety of ways I can combine these together. I love this one!
The florals are 3 steps stamp and I still find Altenew’s stamps quite a challenge to layer well. I do a great job of layering them and not quite getting them lined up. I’ve decided to keep practicing and I will share all the bloopers with you as I try new techniques and tools.
I am embracing the imperfections!
The background used tempting turquoise, soft sky and pear pizzazz inks. I used the Tim Holtz die blending tool and pads. I also experimented with a new paper: Canson Bristol Smooth Paper. I also used Tim Holtz’s Distress Sprayer.
I love that sprayer. It can be controlled to give a fine mist or really sprayed to give big drops of water.
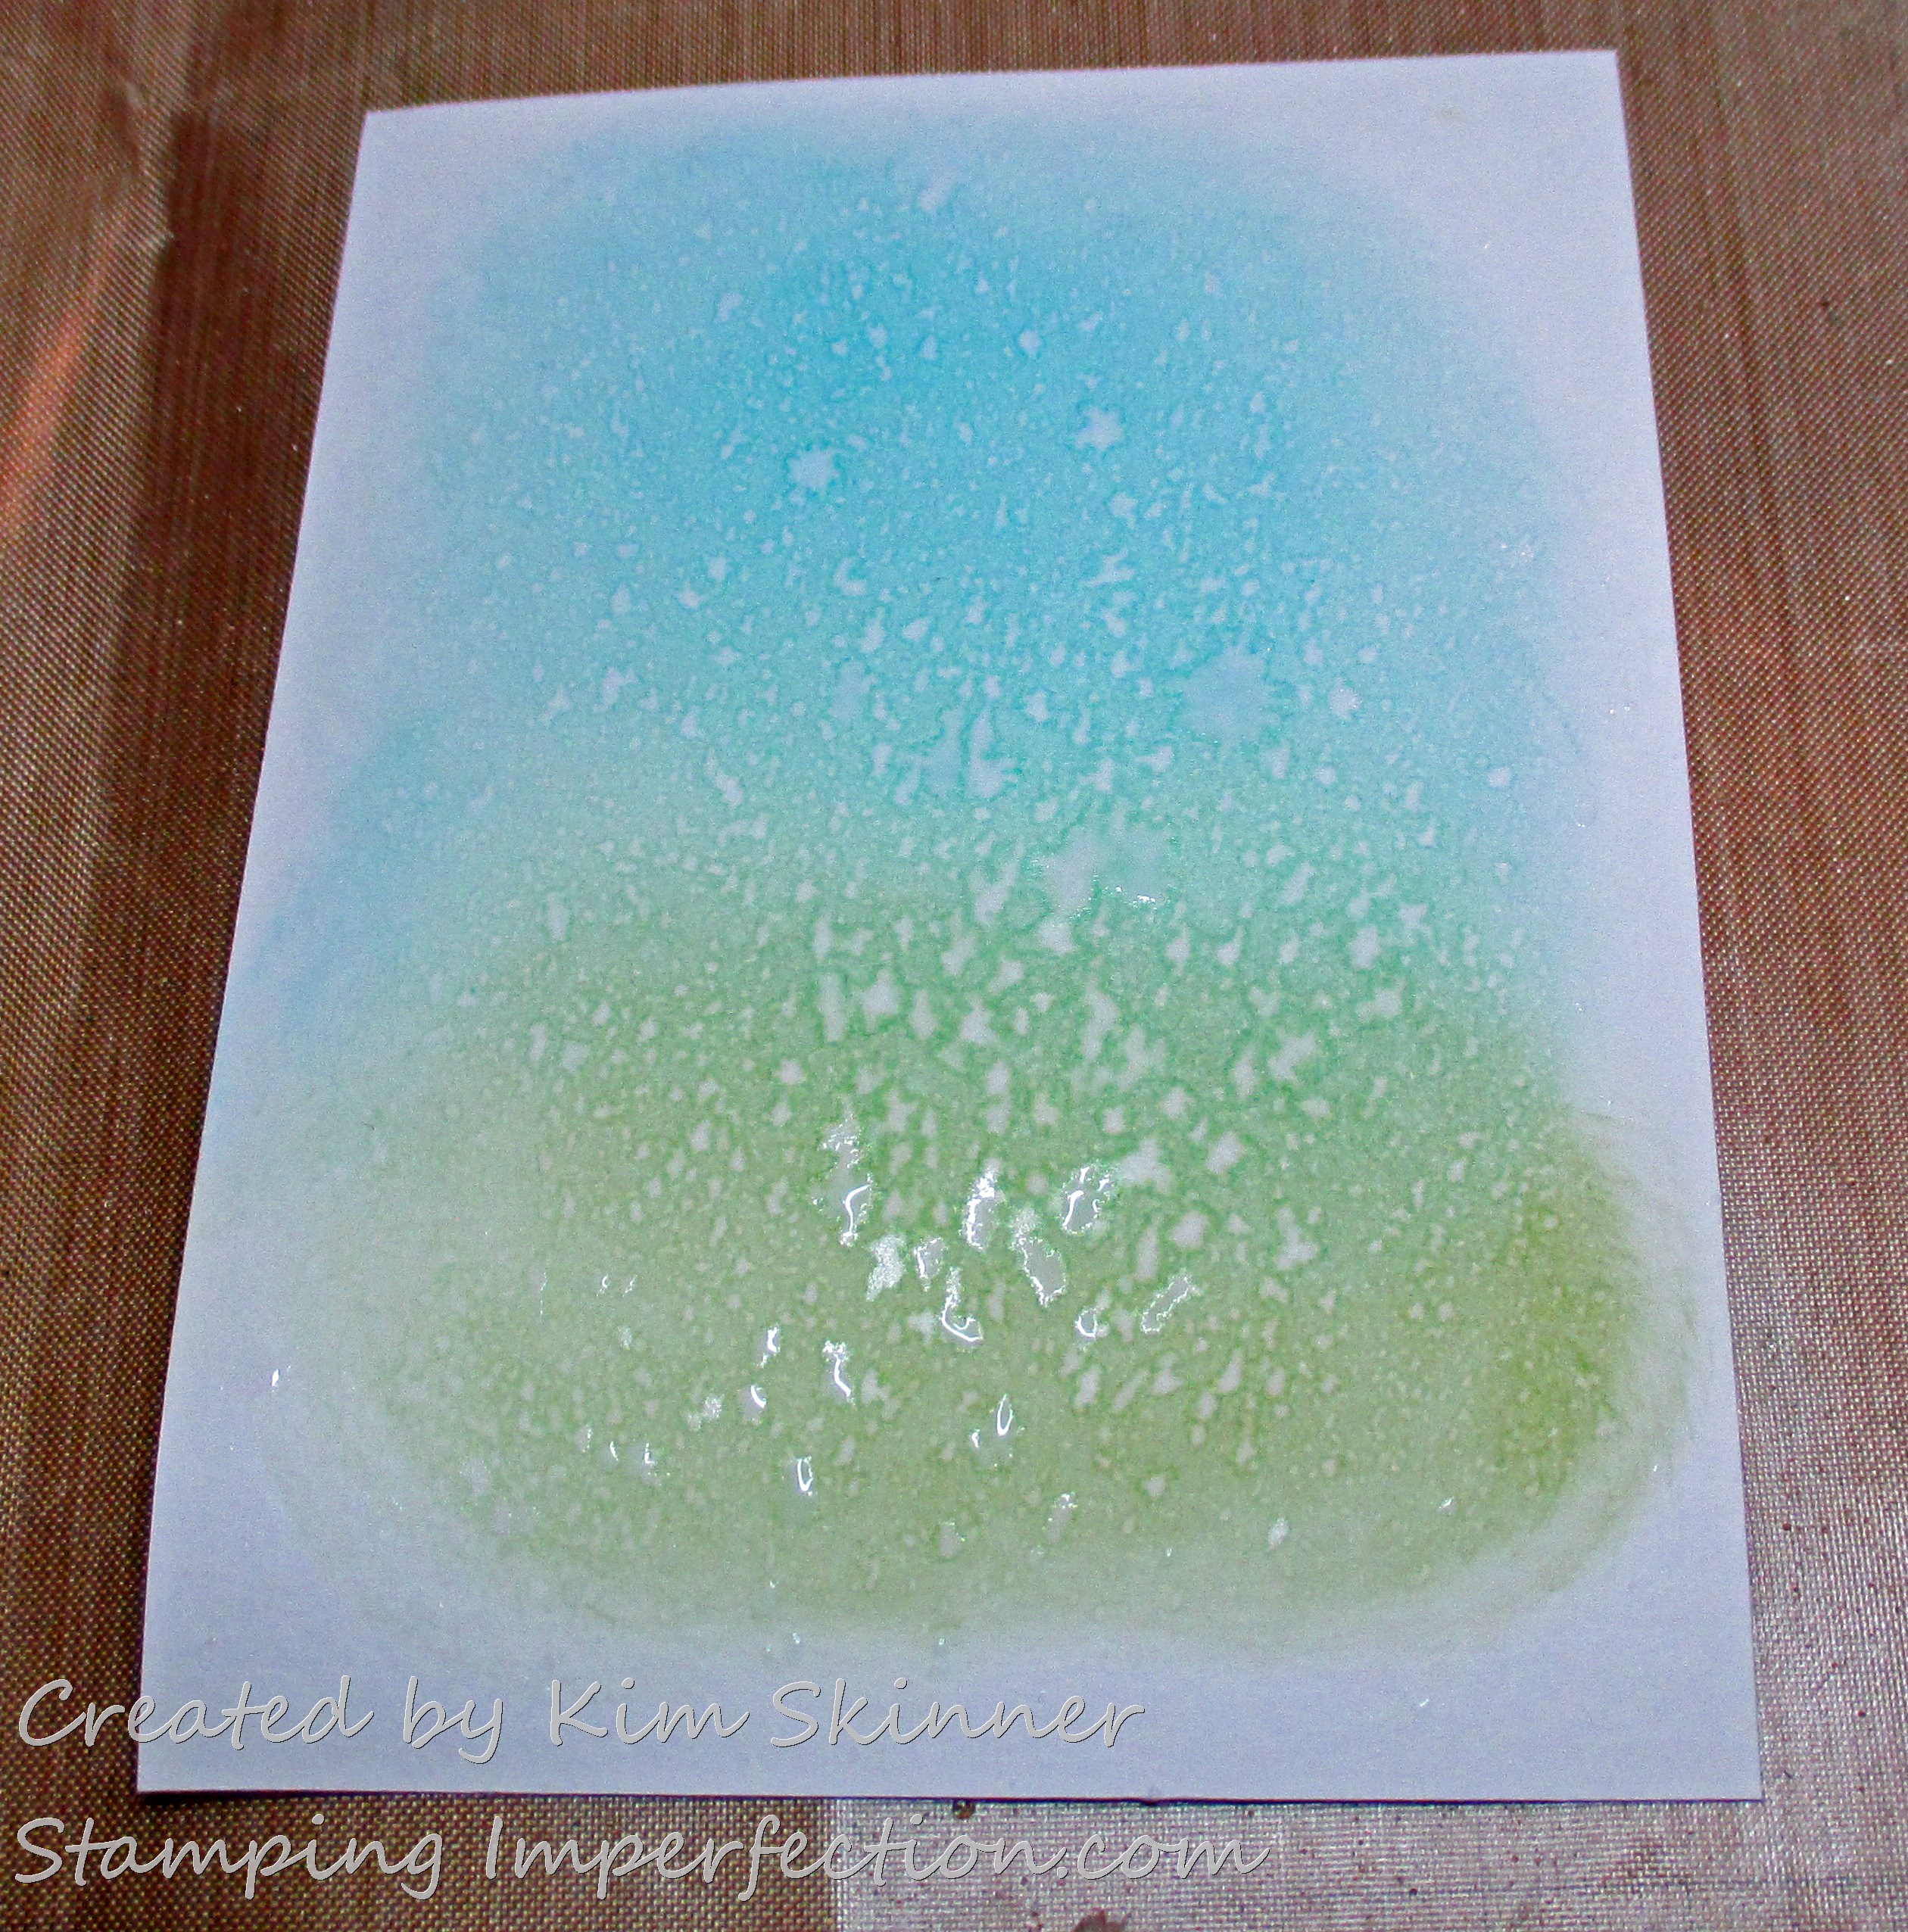
You can see that I chose the big blobs of water.
This is really nice paper for blending. I don’t know that I’ve seen a big difference between blending on that and blending on Stampin’ Up!’s paper. I haven’t compared the prices to know which is more cost effective yet. I’ve tried this technique on both papers and I have been happy with how it turned out each time.
I’m using these supplies because I’ve been taking an ink blending class. I’ve shared all of the projects with you over the last few weeks. I’ve had a lot of fun doing the ink blending.
I do love those blending tools. It’s much easier on the hands than the sponges. I just have to figure out my organizing method for labeling and storing the little pads for each color. The instructor used washi tape and taped hers to the bottom of the ink pads, but my ink pad storage system does not leave room for that and it is messy.
QUICK TIP:
I did learn a quick tip that I wanted to share with you today. One of my instructors said that she always heat sets her embossing from below the paper. She said that you get less of the embossing powder blowing off and landing as a stray spot on your paper and it sets in a more uniform and less splotchy manner.
She was right. I think it comes out smoother and shinier when I heat set under the paper rather than on top. Try it! I was actually surprised that it worked!
Thank you for stopping by! I hope you find time to craft today! Remember to embrace the imperfections!
Shop online at mystampingstore.com!


