Creating great backgrounds is one of the most fun parts of papercrafting. Whether you are creating cards or scrapbook layouts, you can use all kinds of mixed media materials to create a fabulous background!
Creating the background on this card was as easy as using those 2 tiny stamps in the Birthday Faeries stamp set from 7 Kids Craft Store, heat embossing them in white, and then ink blending on some fabulous ink!
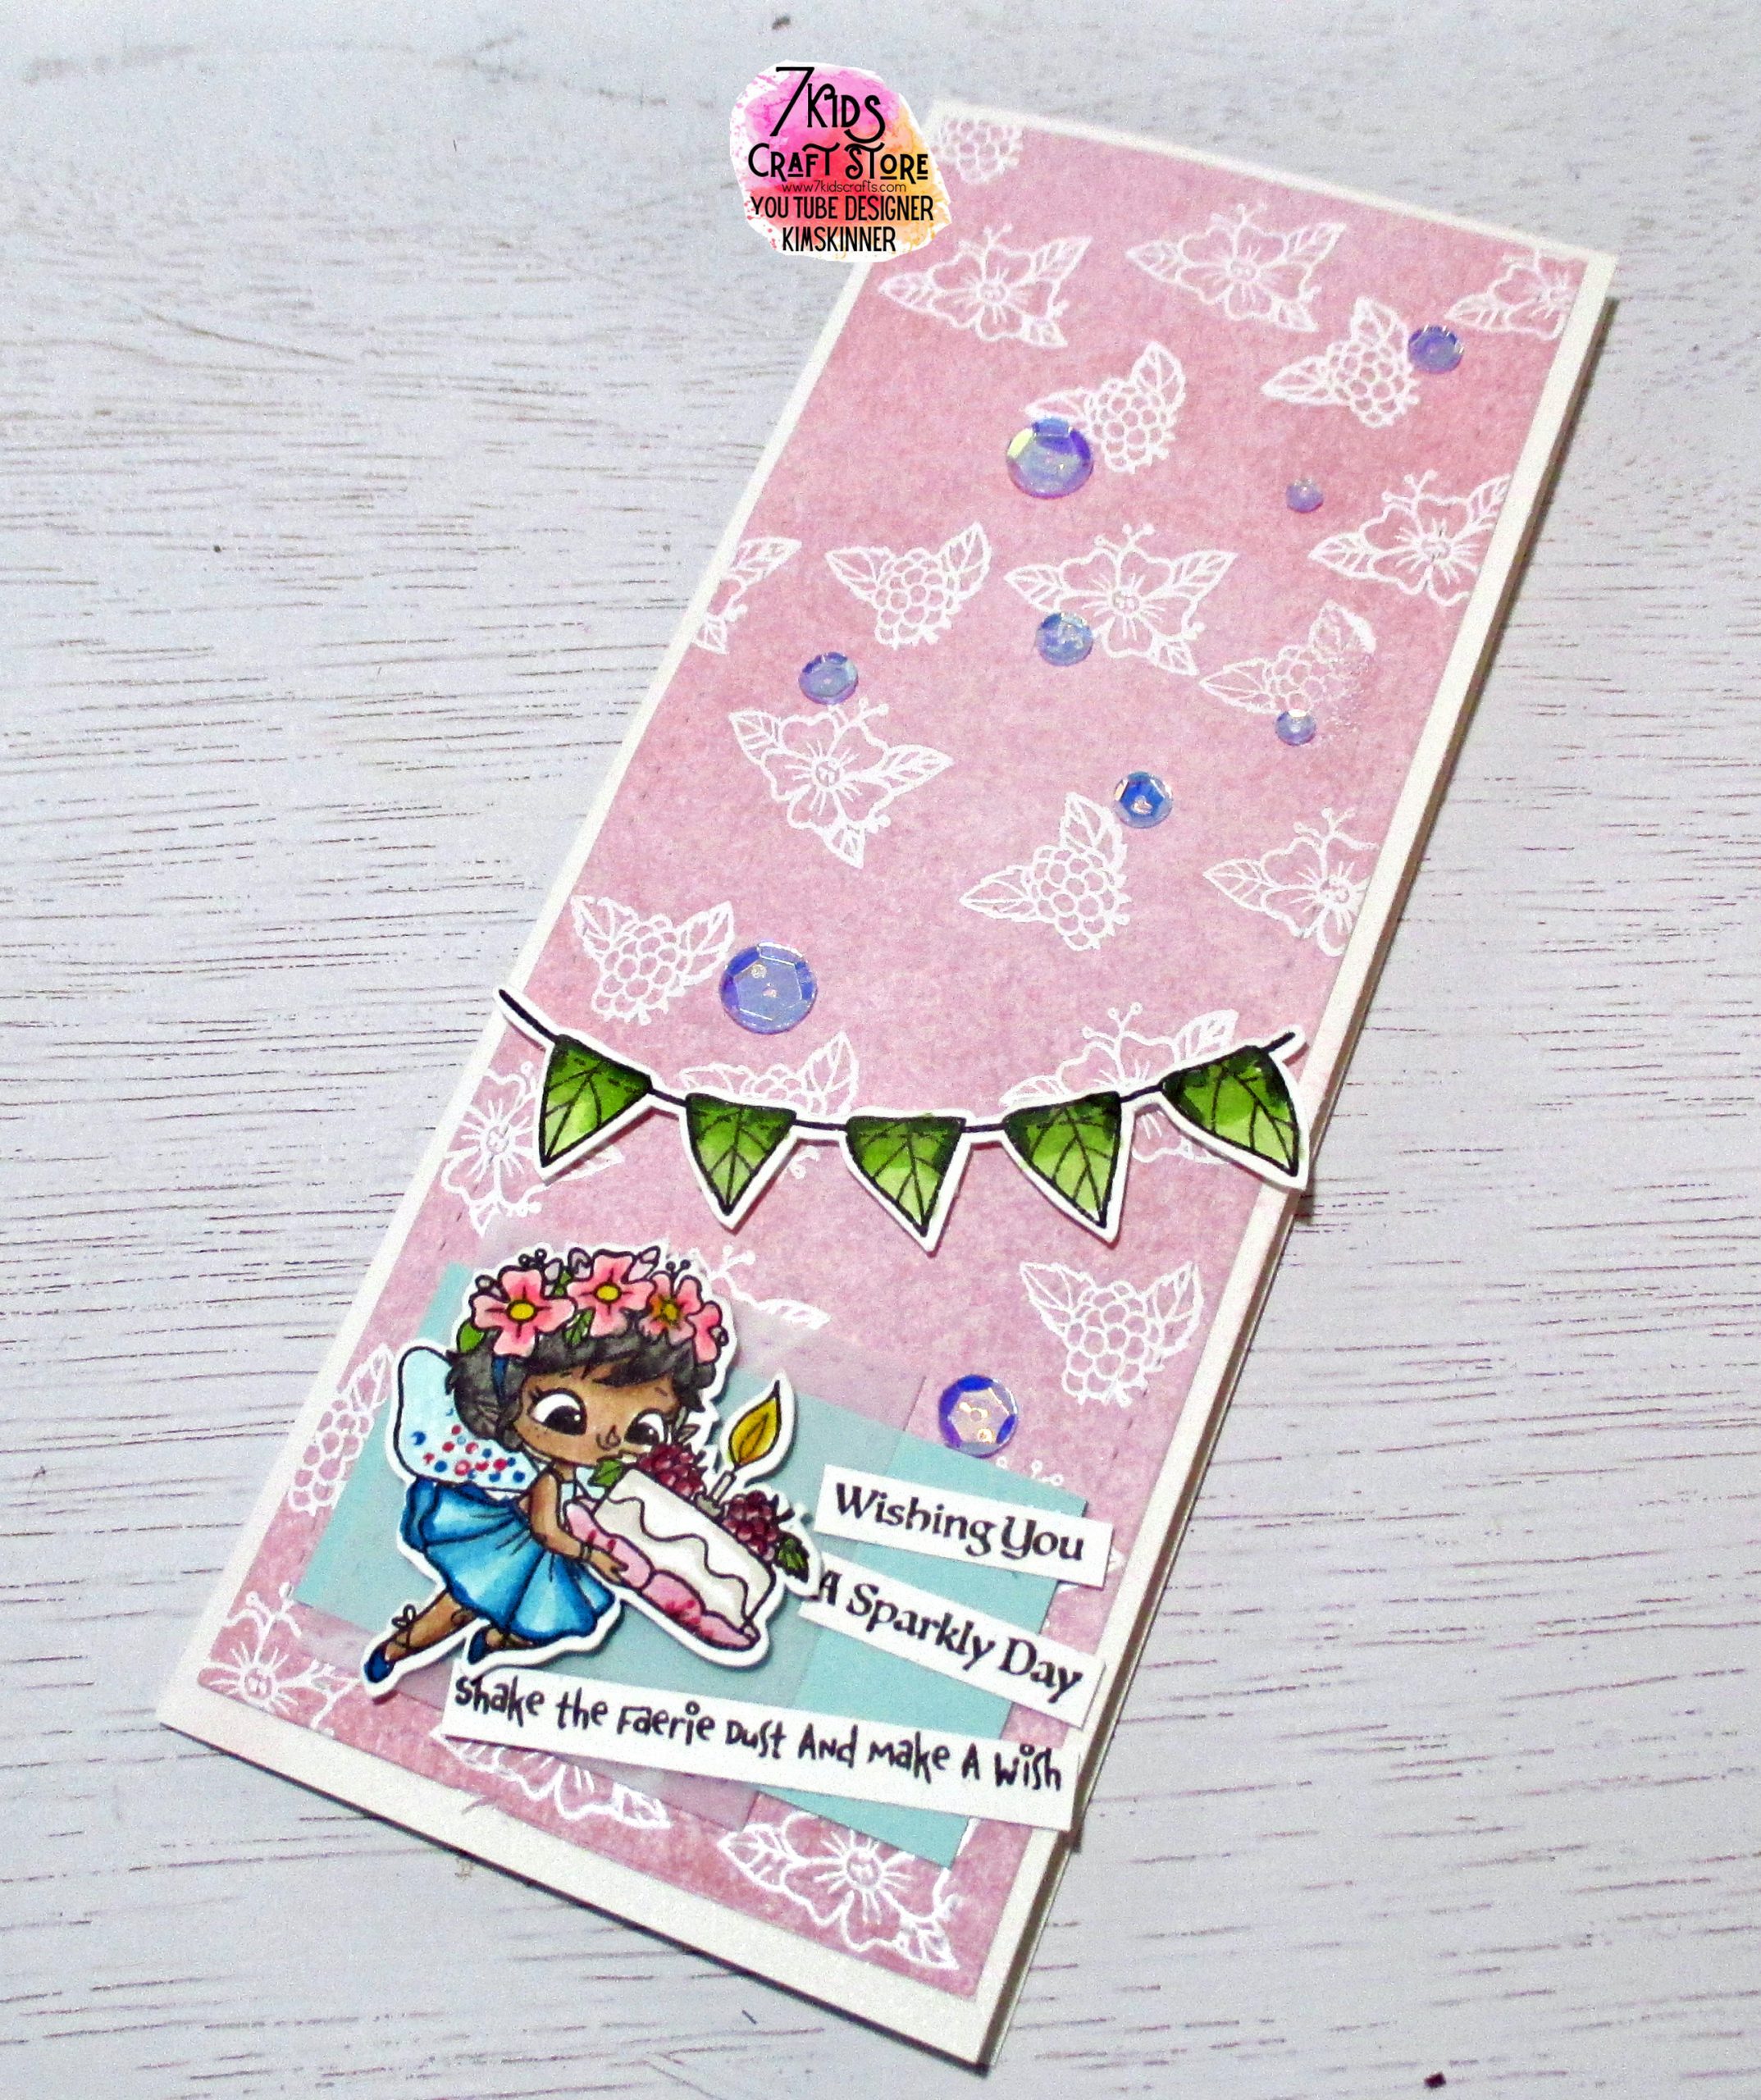
This little faery is so adorable!! I love the garland of leaves above her head! Can you see the two small stamps that I used on the background? They coordinate perfectly with the flowers in her hair and the grapes on the cake.
It’s such a quick and easy way to create a card background that nobody else has!
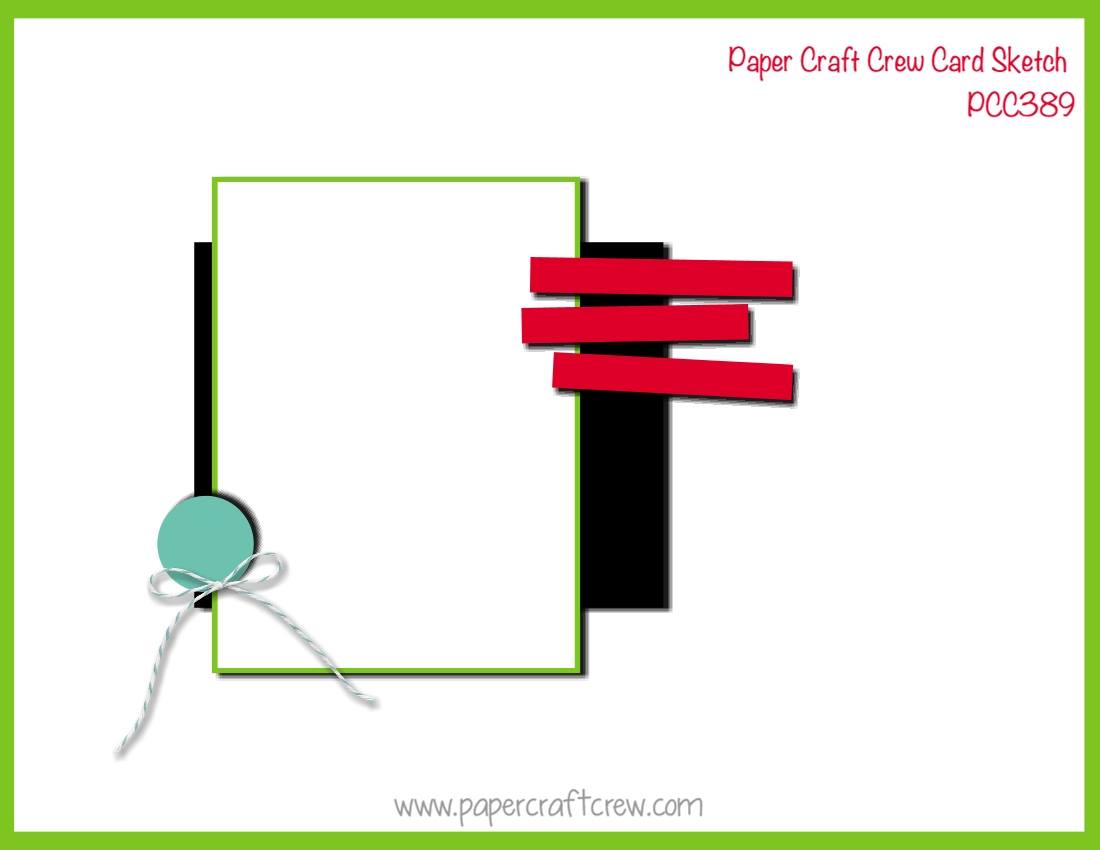
I’m using this week’s Paper Craft Crew Sketch Challenge to create the layout. I decided to turn it into a slimline card and do a background technique.
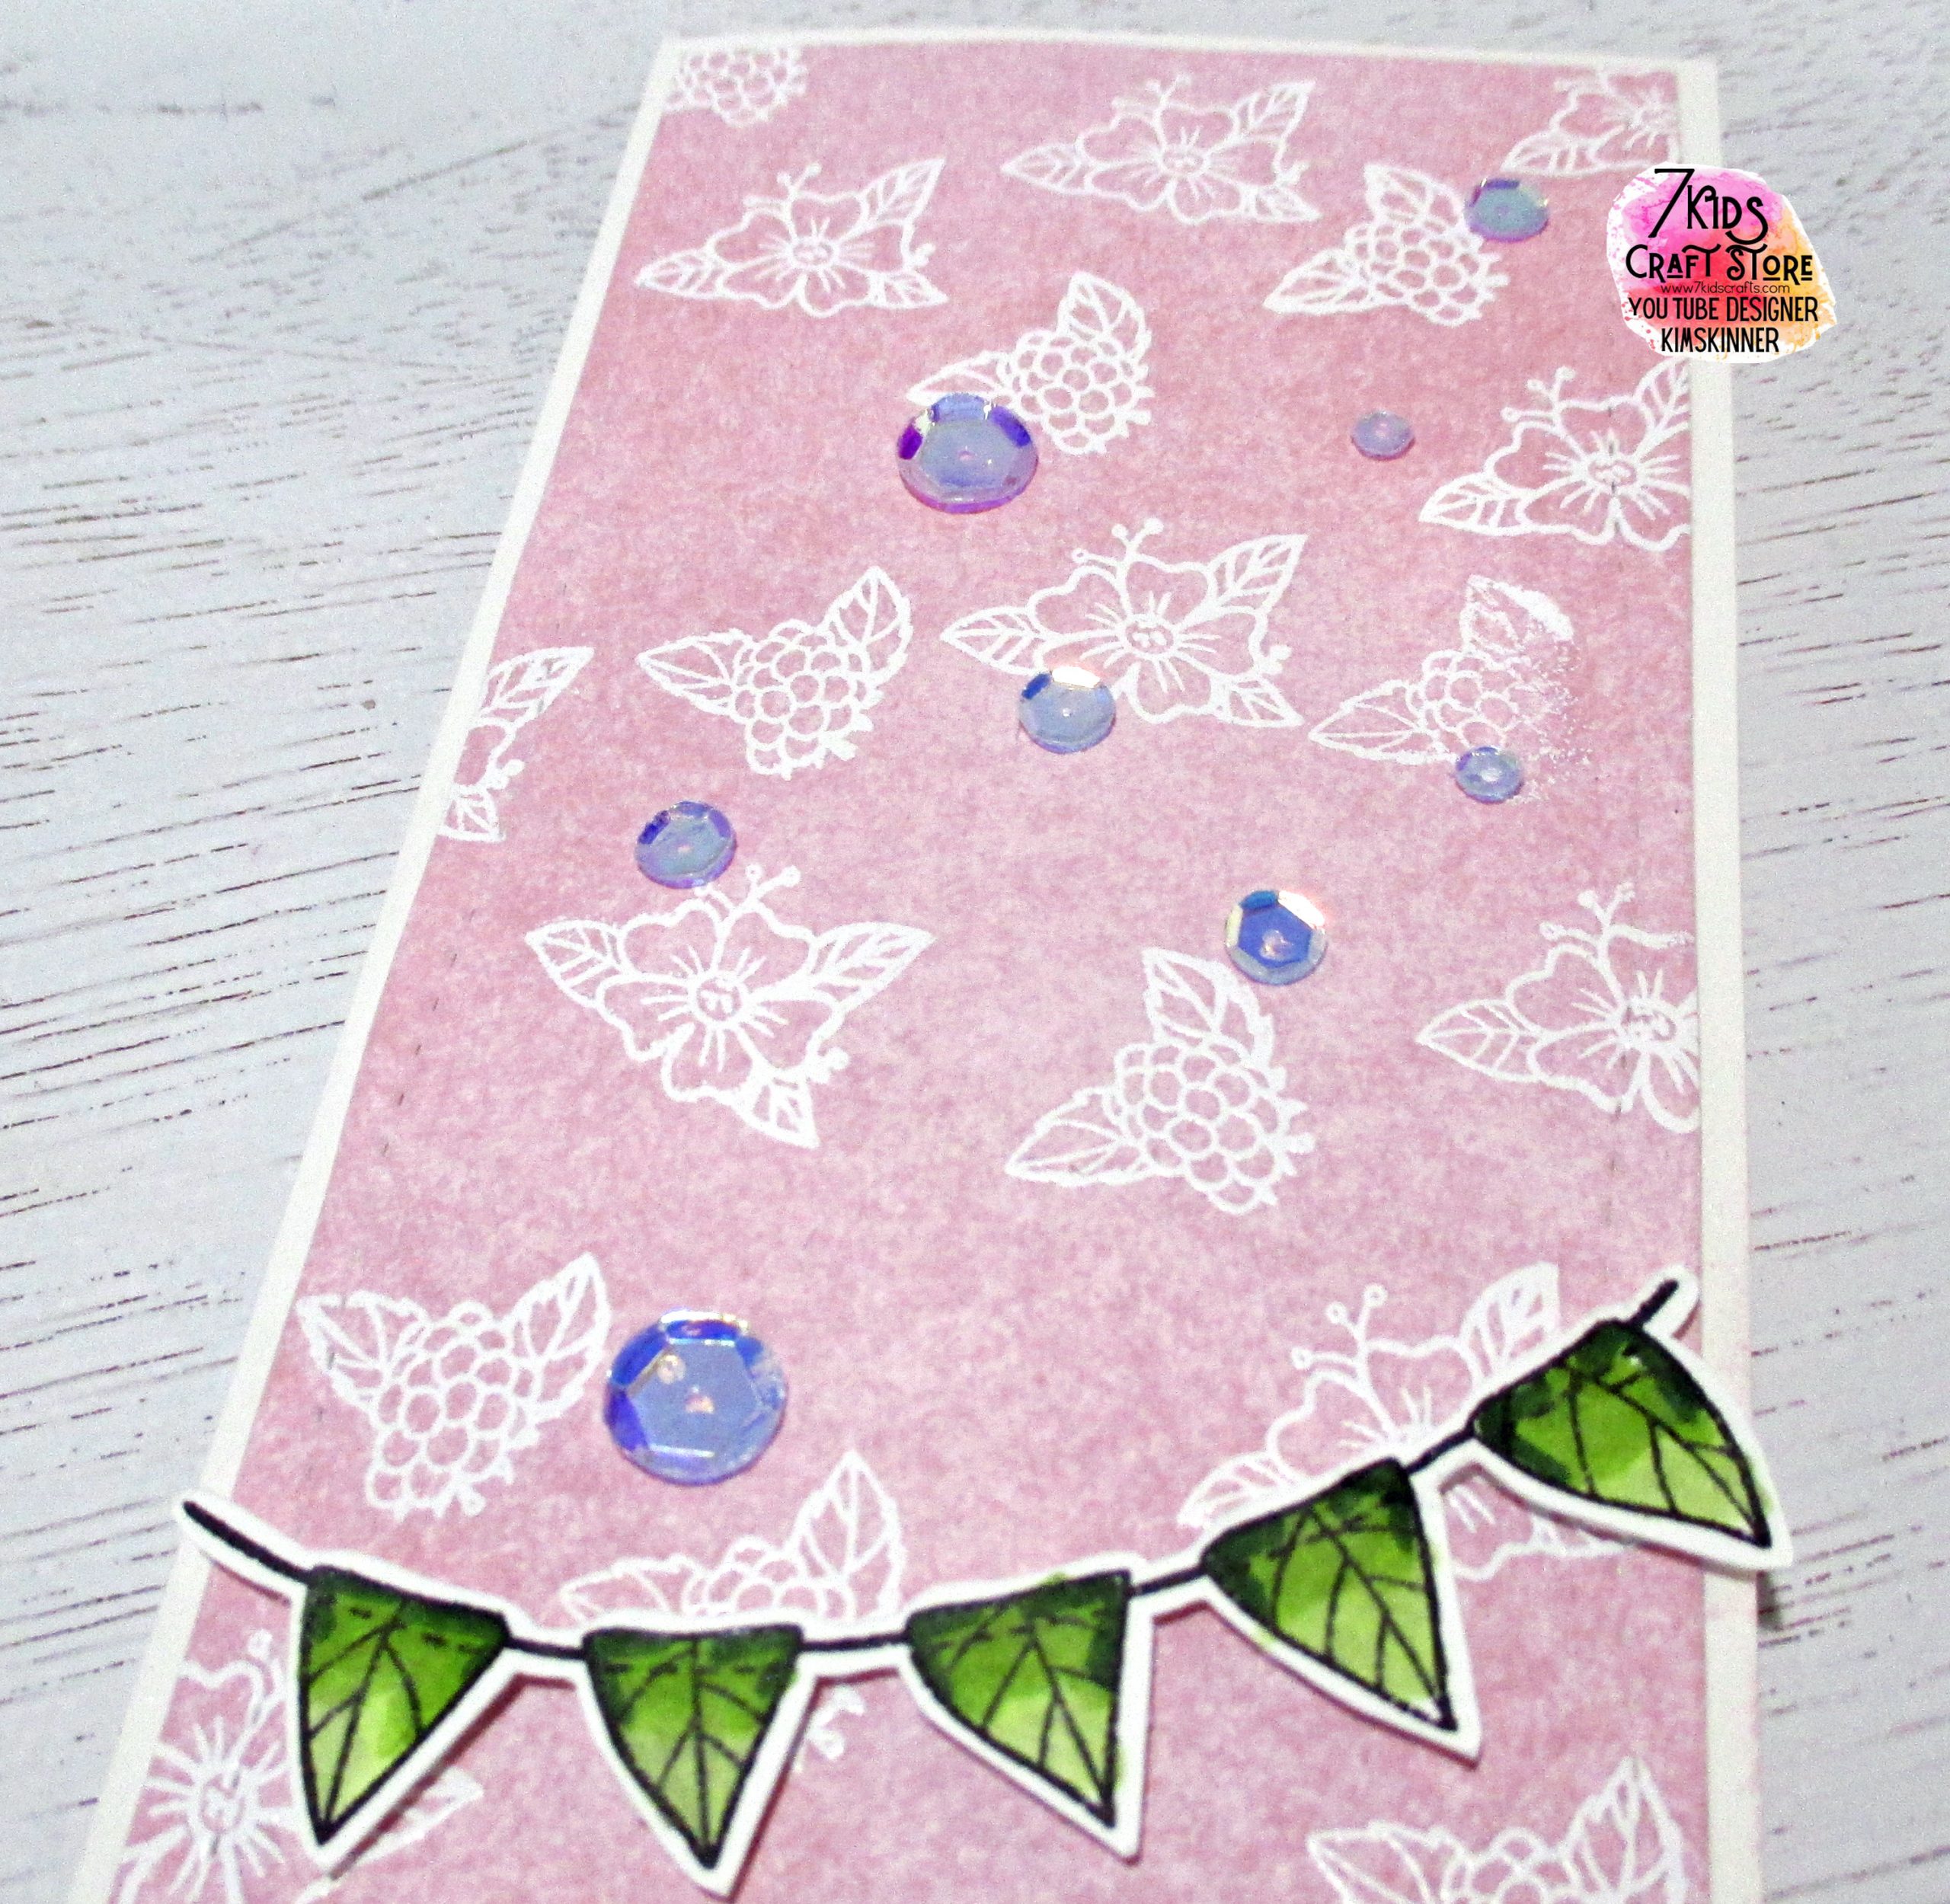
I don’t worry to much about perfectly spacing my background flowers. I try to turn my acrylic block in different directions as I stamp and I try to stamp a few off the side of the paper because I like those details. I just try to randomly stamp the flowers and fill in as much of the space as evenly as I can. It’s not always perfect, but nobody really notices those details.
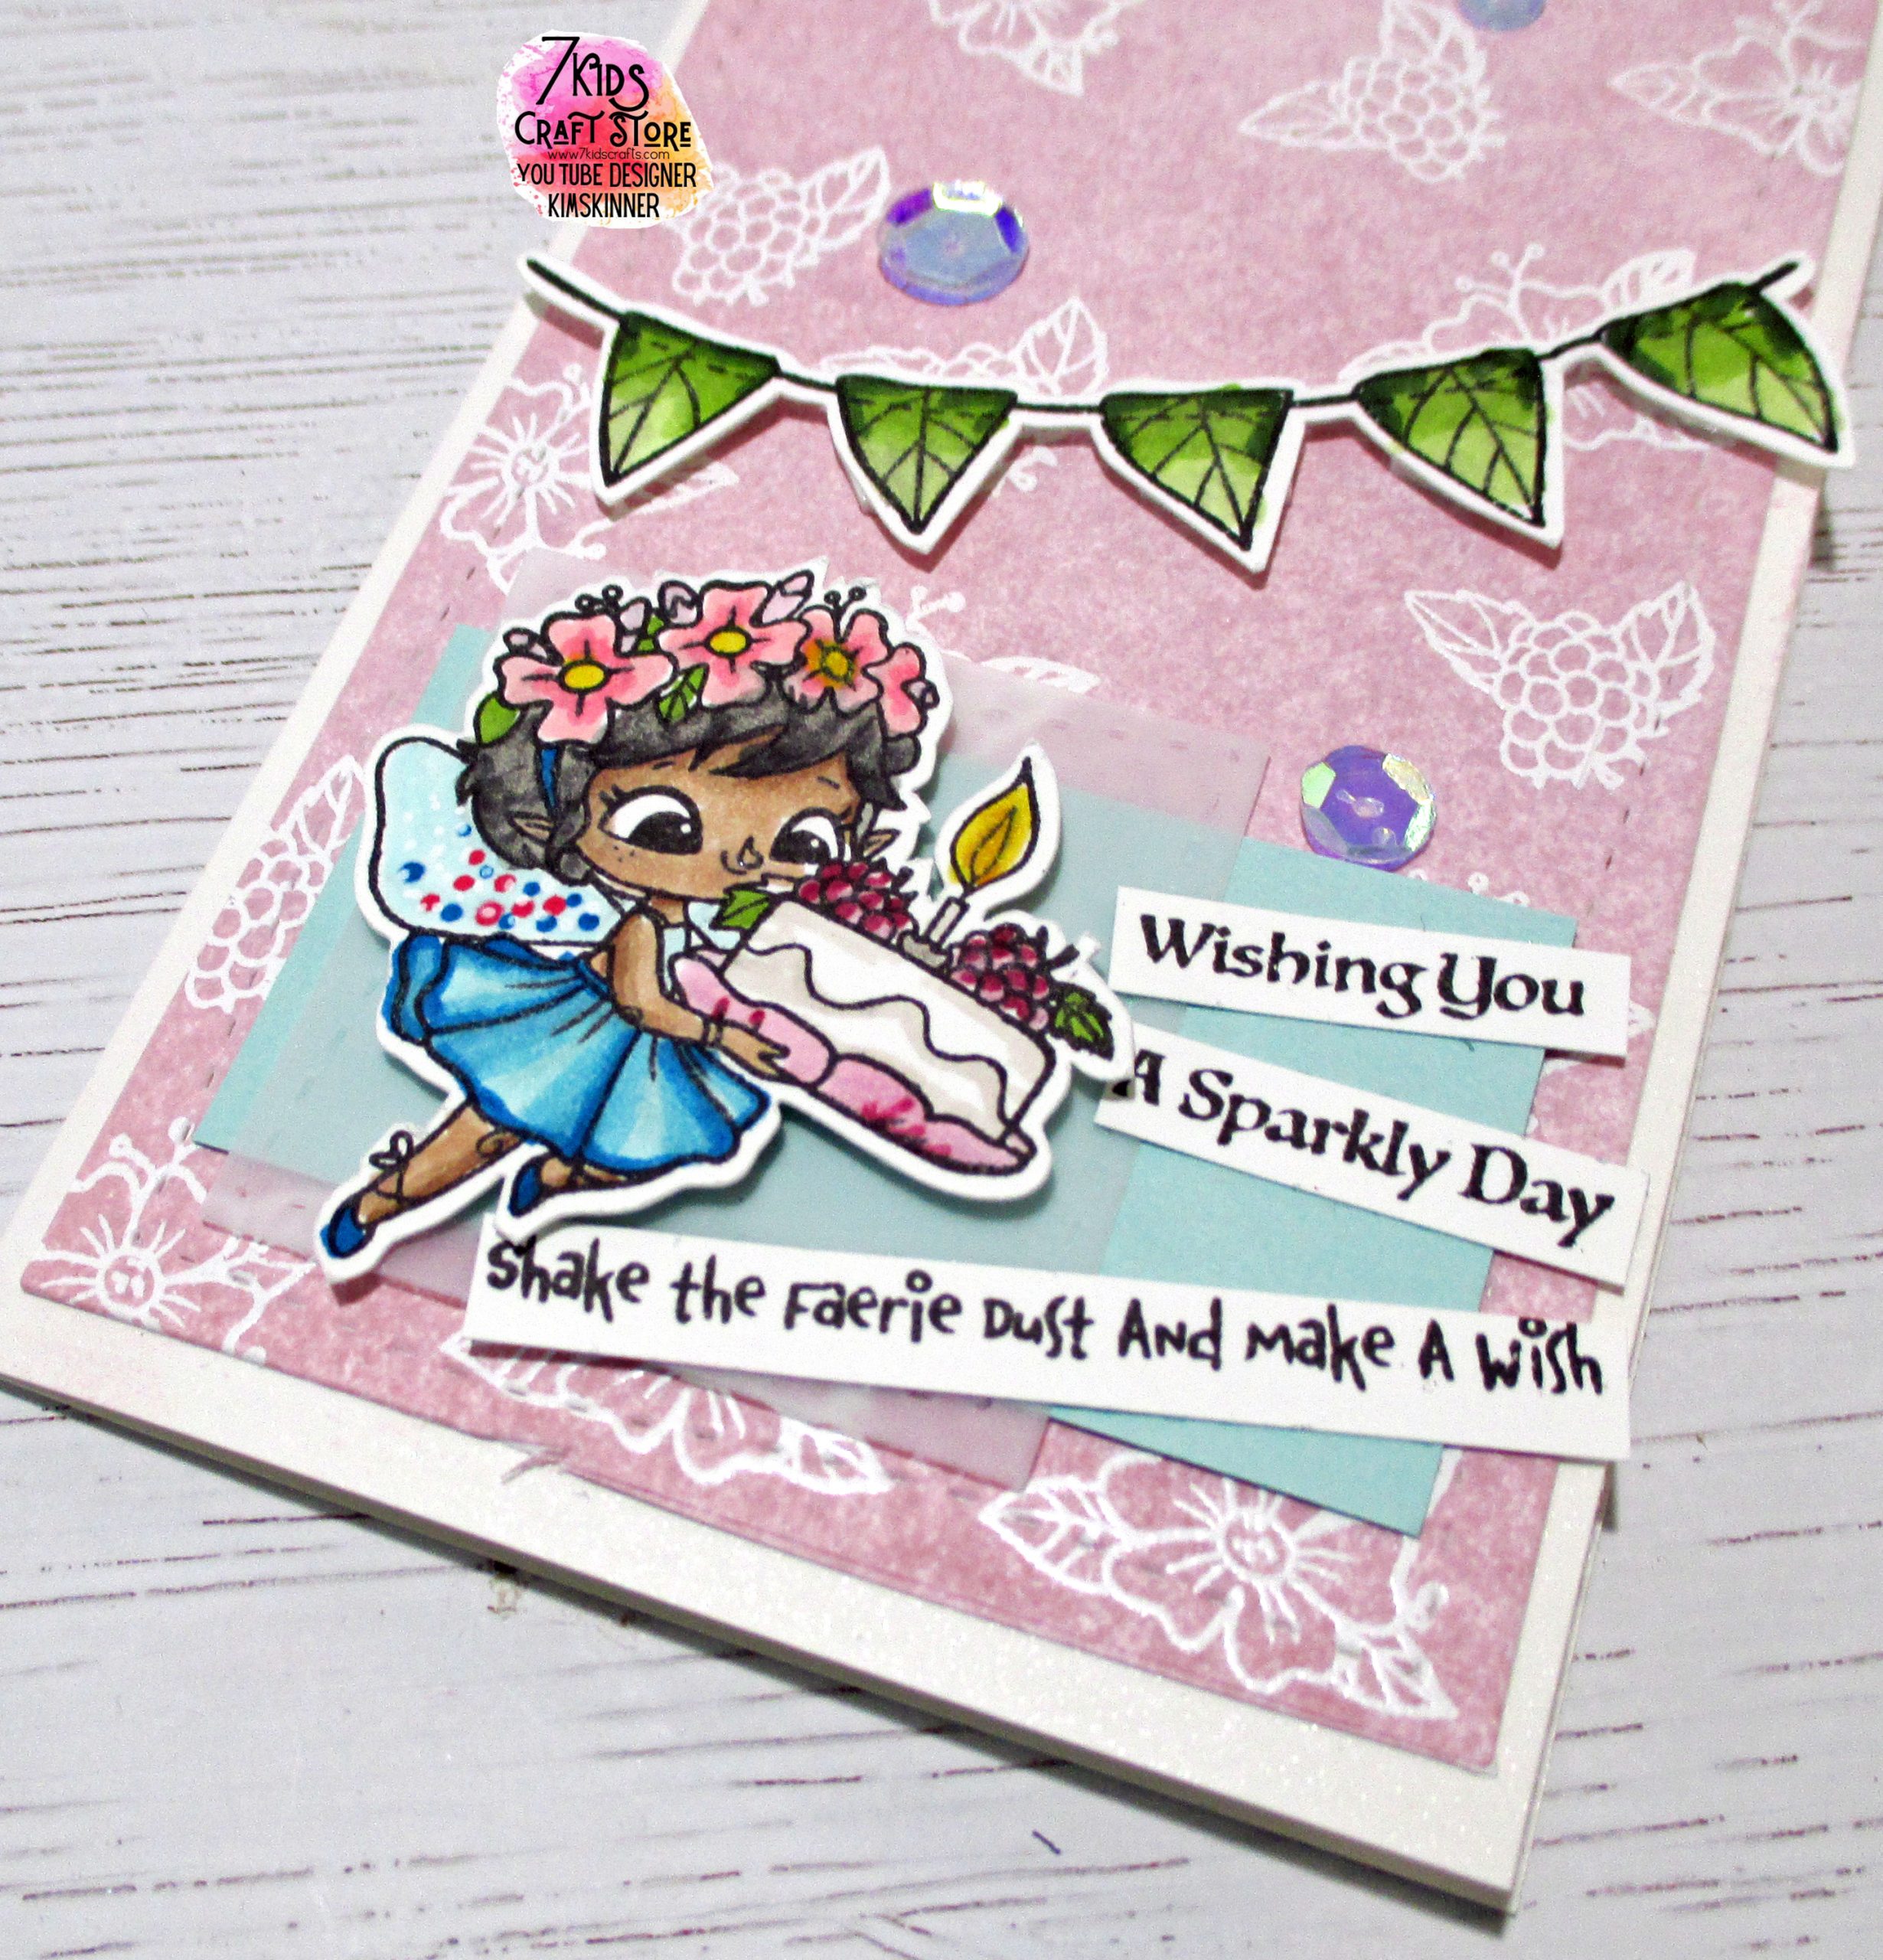
The bottom of the card is where I followed the card sketch. I enjoy using alcohol markers to color in my images. I have to say that I feel like the Altenew alcohol markers are such a good value and I love that they come in sets of 12 that are designed to layer and blend together. There are only 60 markers in all and they are refillable. I think the price point is great if you want to try out a nice quality alcohol marker without breaking the bank.
Do wait for a sale. Altenew has sales regularly and they often have free shipping on qualifying orders. Plus, every now and then they give out a freebie stamp set with orders and you can get a discount, a freebie, and free shipping!!
Here is the Paper Craft Crew card sketch that I worked with this week:
I used quite a few stamp sets from this stamp set on just this one card. There are 2 more faeries and a cute mouse to use on a future project!
I’ve had a lot of fun creating cards from the August stamp release from 7 Kids Craft Store. I’ve actually made 4 videos, so make sure you check the other ones out if you haven’t done so already!
Here is the video to show you how I created the background:
Card Recipe:
Card Base: Neenah White Card Stock cut at 7 x 8-1/2″, score and fold at 3-1/2″, Card front is cut at 3-1/2 x 8-1/2″, scrap of light blue cardstock cut at 1-1/2 x 2-3/4″, velum cut out with the square die, white scrap for stamping the images and sentiments
Dies: Whimsy Stamp Slimline Card Builder set
Inks: Altenew Artist Markers, Altenew Pink Diamond ink pad and Obsidian Pigment ink, Versa Mark Ink
Embellishments: Studio Katia Crystal Fusion sequin mix
Tools: Paper trimmer, Misti Mini, Brother Scan-n-Cut, Gemini Jr. die cutting machine, Picket Fence blender brushes, Tombow Glue, foam dots, Altenew tape runner, We R Memory Keeper Quick Stick, Embossing Buddy, Wagner Heat Tool, White Embossing Powder
Stamp Set: 7 Kids Craft Store Birthday Faeries stamp set
Supply List:
Are you interested in the products I used? To make them easier for you to find, I have linked them below. (Affiliate disclosure ) Your purchases help keep my blog running at no additional cost to you and I thank you for the support!
The Birthday Faeries stamp set was supplied by the 7 Kids Craft Store, all other products were personally purchased.
7 Kids Customers Create! Facebook Group
Birthday Faeries: https://www.7kidscrafts.com/7-kids-exclusive-clear-stamps-birthday-faeries/
Well my friend, thank you so much for stopping by today! I had a lot of fun creating this little card and I hope you enjoyed seeing it.
Have a wonderful day!


I’m more and more entranced by these slimline cards and your cutie is no exception! It would be a treat for anyone to open up an envelope and find this pretty little fairy. I’m so glad you played along with the challenge this week.