I have absolutely fallen in love with Concord & 9th’s Turnabout stamps.
Yesterday, I shared a watercolor lifting technique and used a turnabout stamp to make the card. Today I wanted to show you how to use a turnabout stamp (see my video below) and how versatile these stamps sets are. You could create 20 cards from one turnabout stamp and no two would be alike! These stamps give you a big bang for your buck. I love getting a lot of value for my crafting dollars.
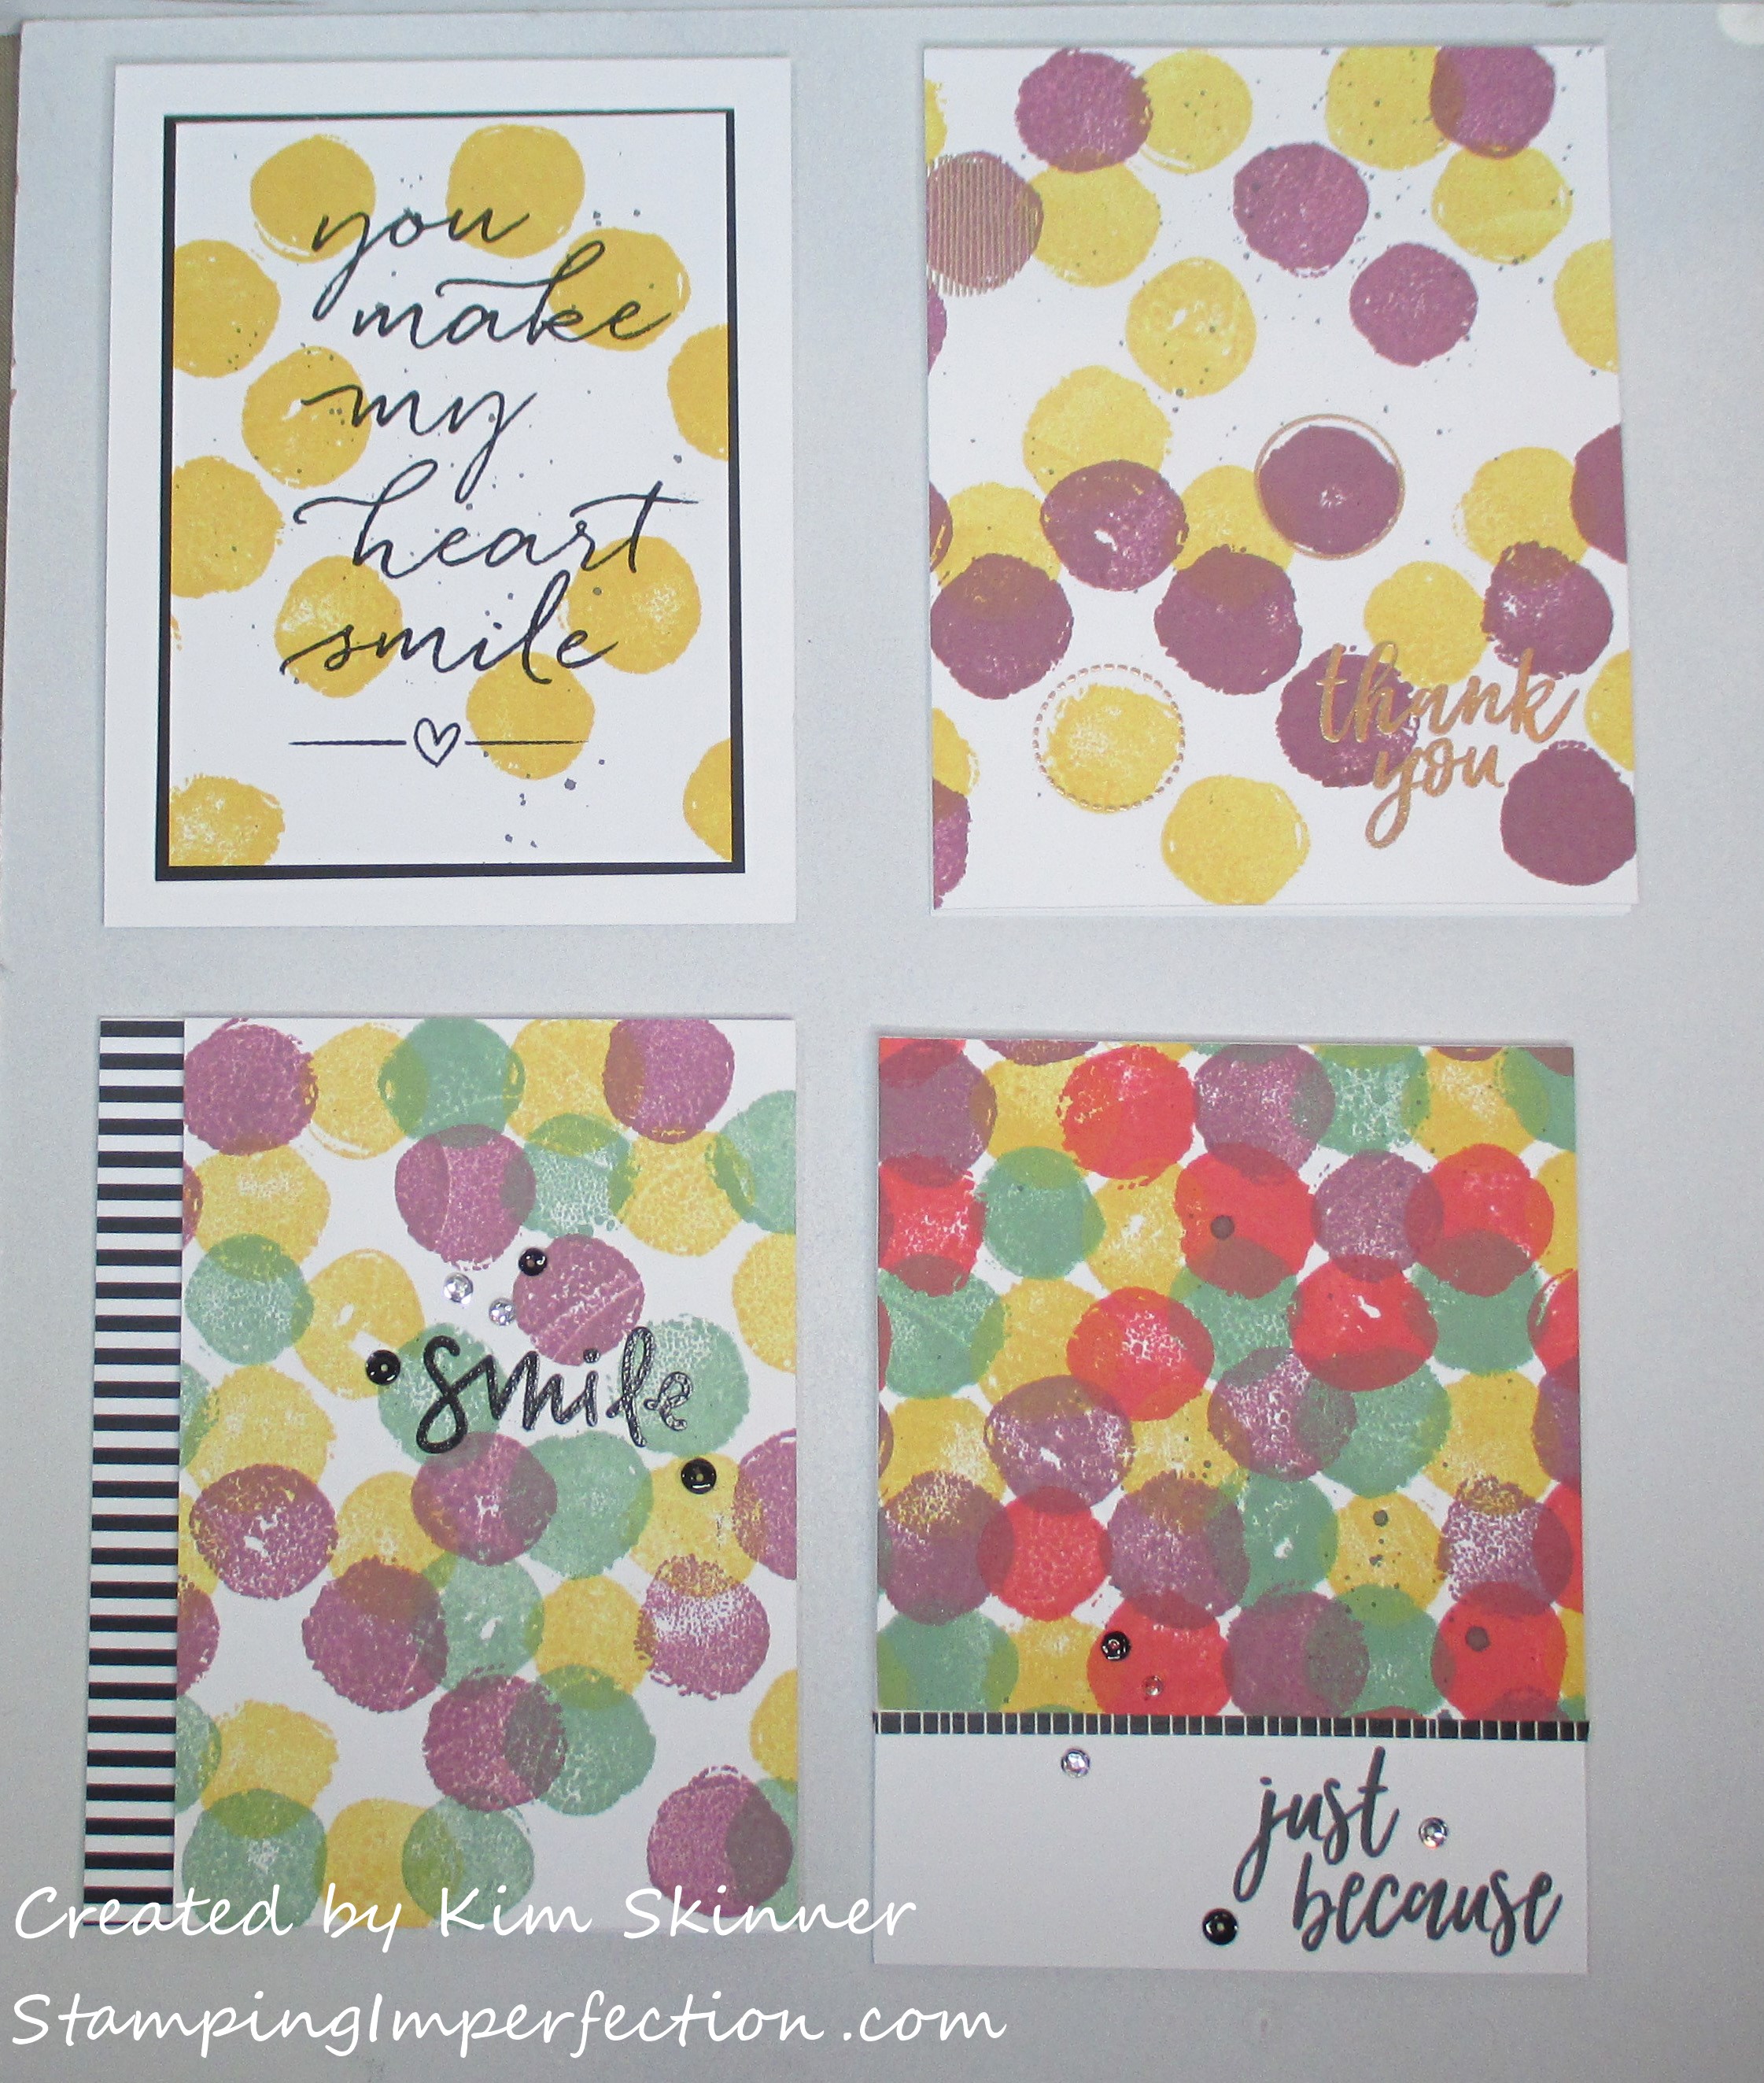
I created 6 cards to share with you today, 4 from one single turnabout stamp and then 2 from other turnabouts.
Turnabout stamps can be inked up, stamped, then rotated 90 degrees or 1/4 turn, then inked up and re-stamped. You can turn them 3 times for 4 inkings and each time more of the card is filled with the image. I used different colors for each of the inkings so you could see what I mean. You could do different shades, second generation stamping, add an embossed layer…the list goes on. See the possibilities?!
Here are the 4 cards that I made from the Dotty Turnabout stamp:
Stamping Imperfection Turnabout Stamps C9
That’s right! Only one stamp was used to create the background on these cards. I added some other items from my stash along with some sentiments from Concord & 9th stamp sets and got 4 very different cards!
Card 1:
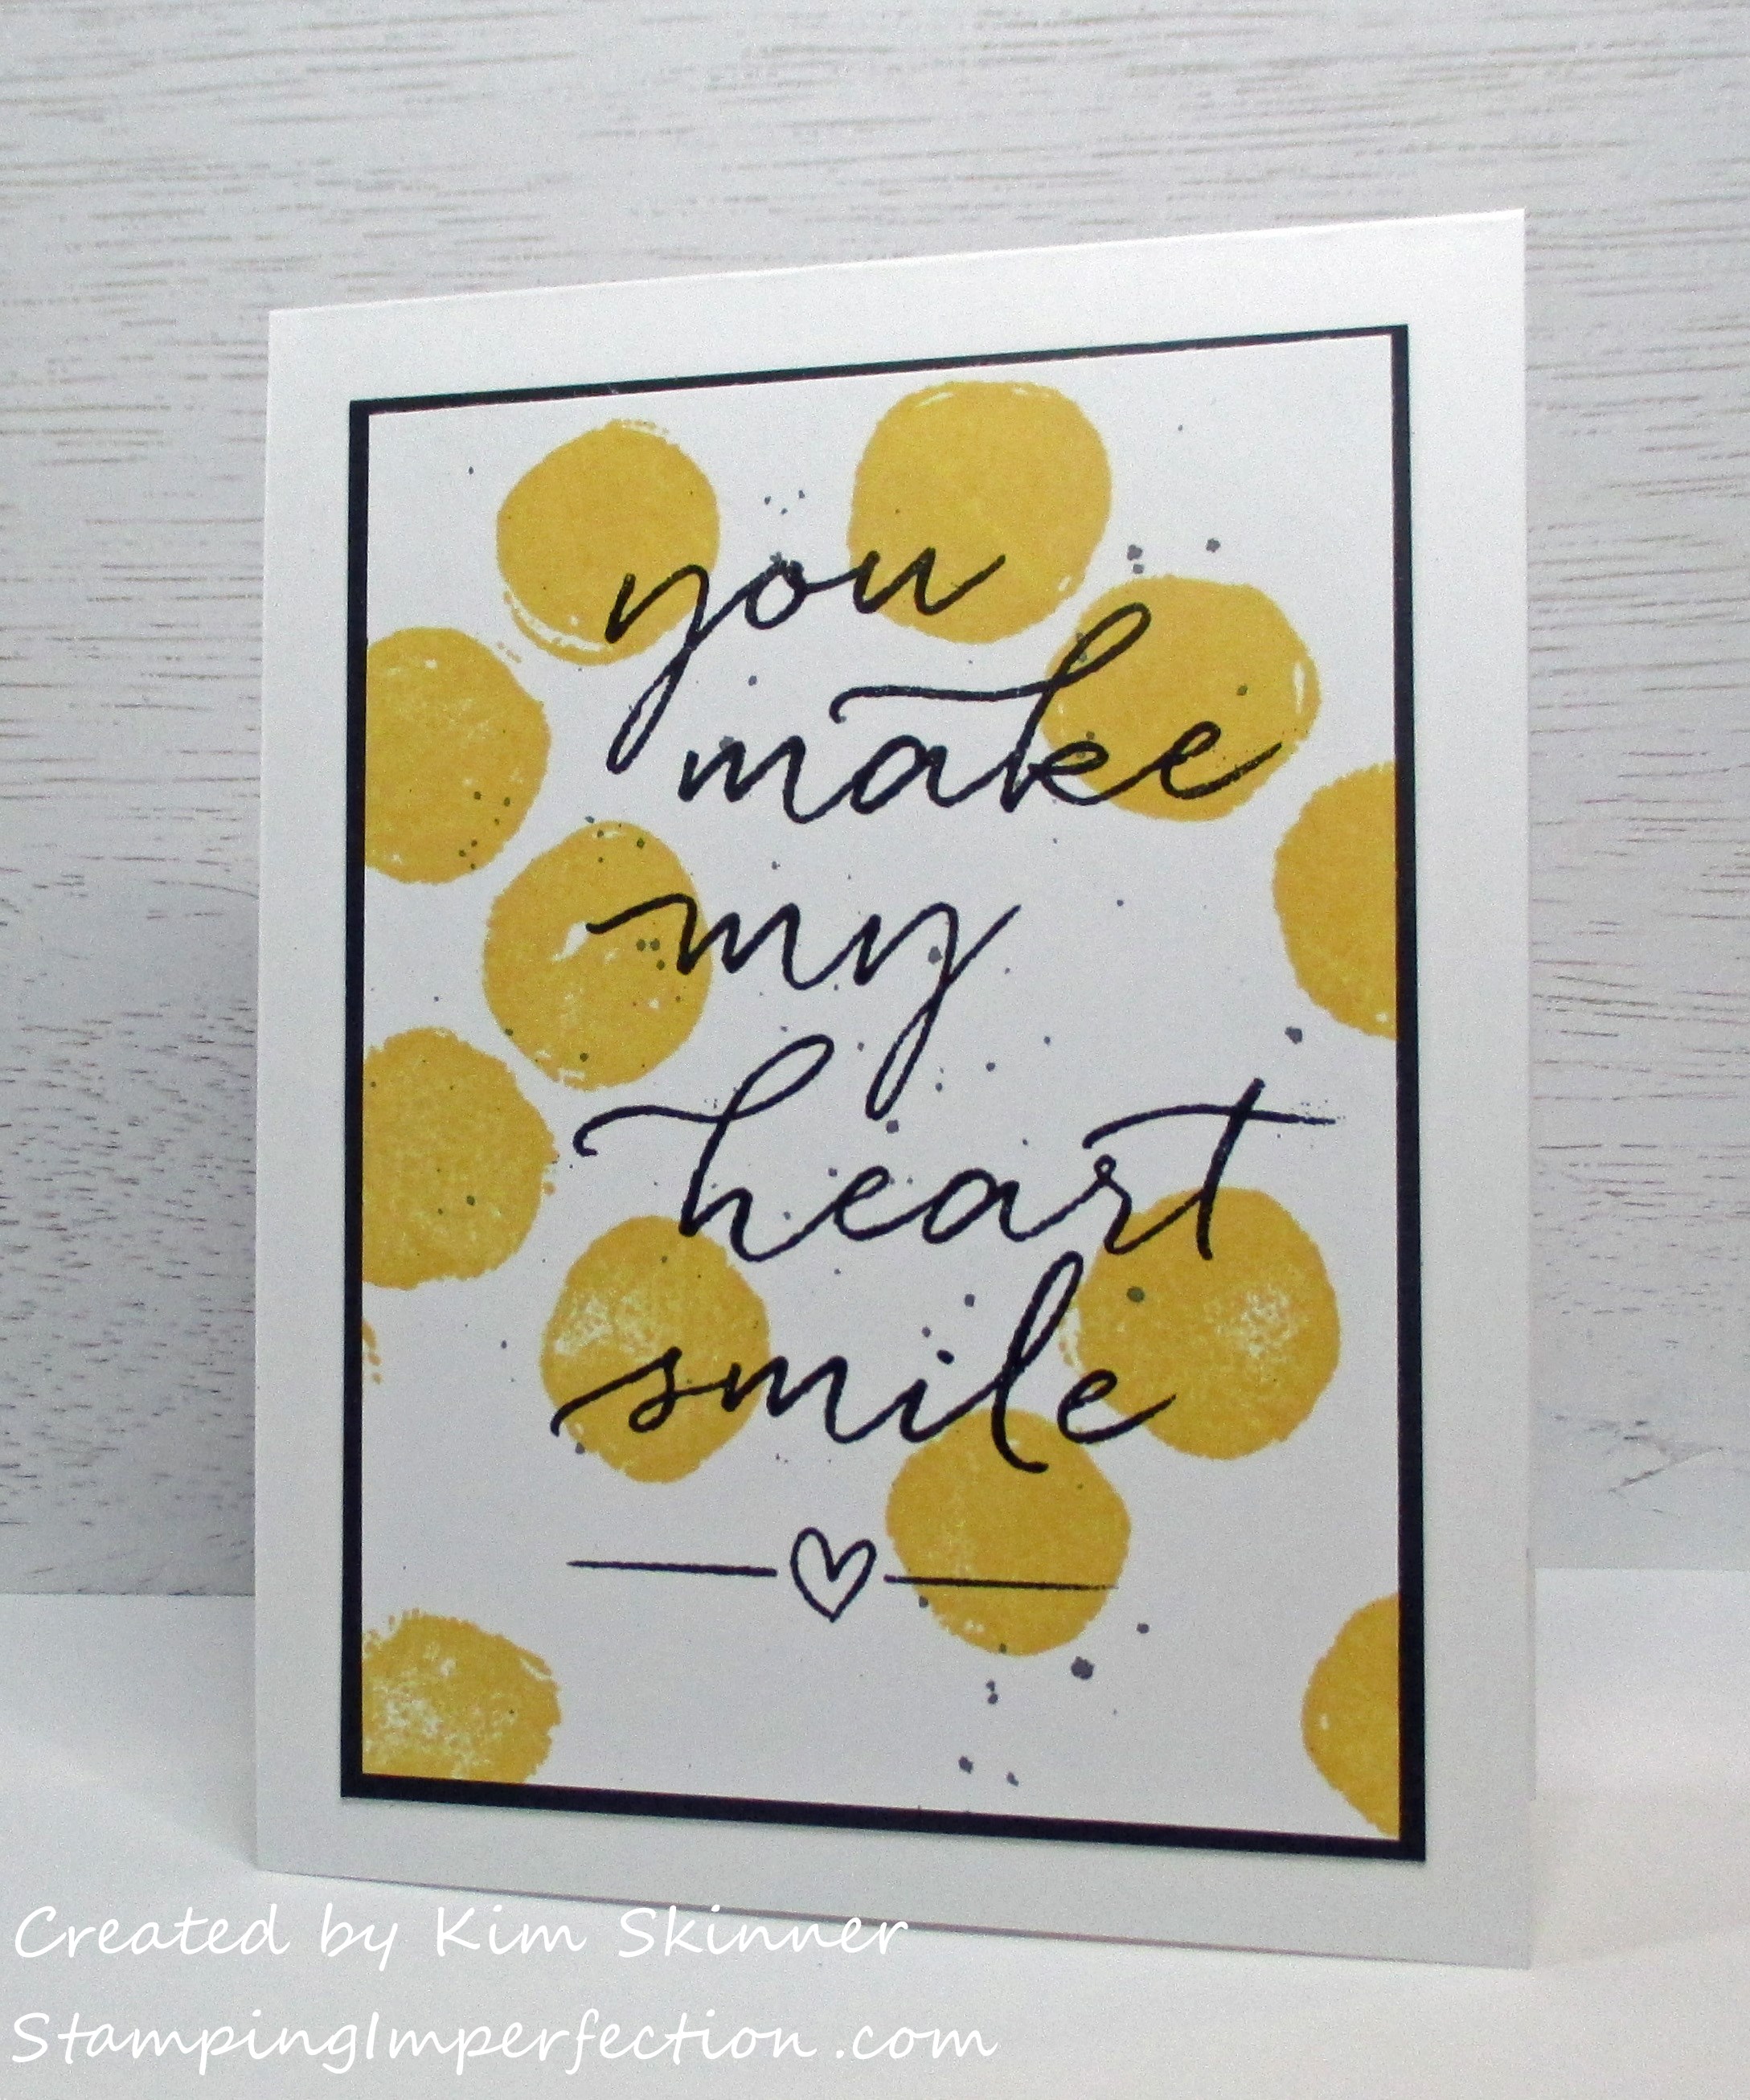
This may be my favorite card of the 4 because it is so simple. This uses just one stamping and no turning.
I used Catherine Pooler inks. This is the Shea Butter color. I cut the piece down to 3-1/2 x 4-3/4″. I added the sentiment from the Heartfelt Smile stamp set (which I got for free by placing a qualifying order), then I added some splashes of jet black ink from Altenew’s ink sprays. I attached it to a black mat cut at 3-5/8 x 4-7/8″ and attached it to a white card base. So simple.
Card 2: This used one rotation and two inks. Here I have added CP’s Sugared Lavender.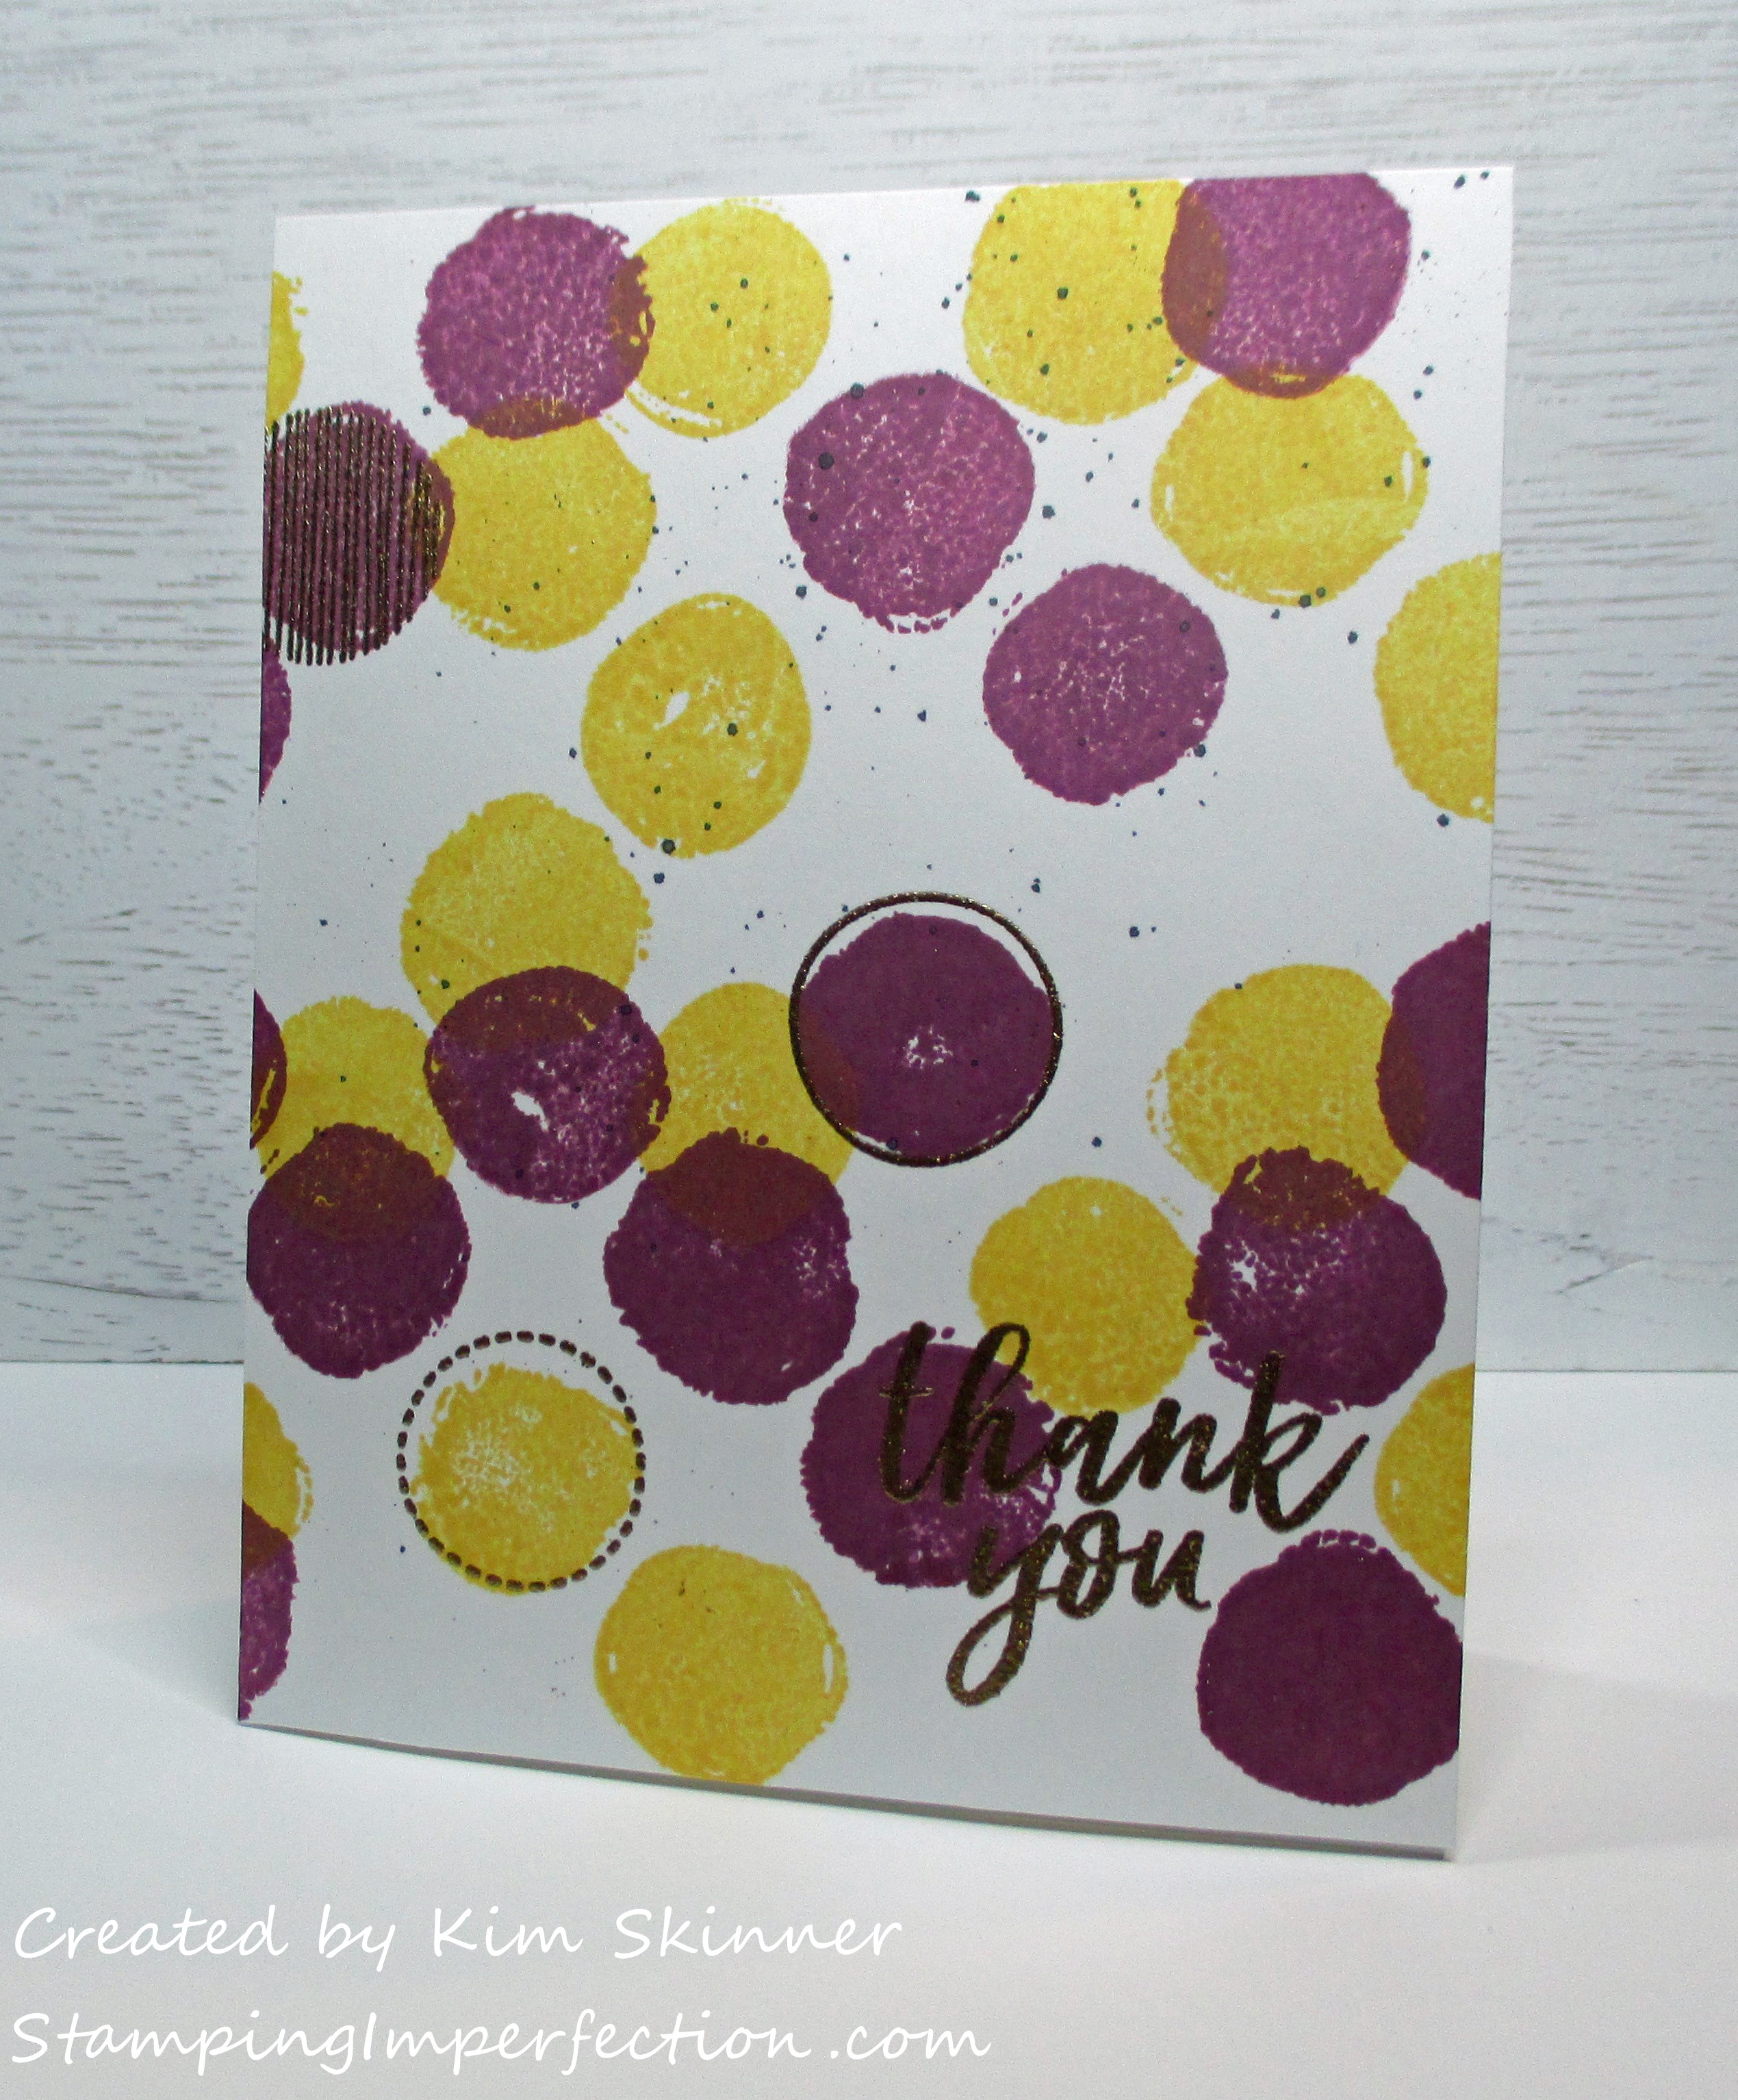
For this card, I also added some Jet Black ink spray. I then used a couple of the extra stamps on the Dotty Turnabout set to add some layers to a couple of the dots using Altenew’s Rose Gold embossing powder. Again this is a simple addition, but it adds a fun twist.
Card 3: Next I rotated it one more time and then stamped it in Seafoam from CP inks.
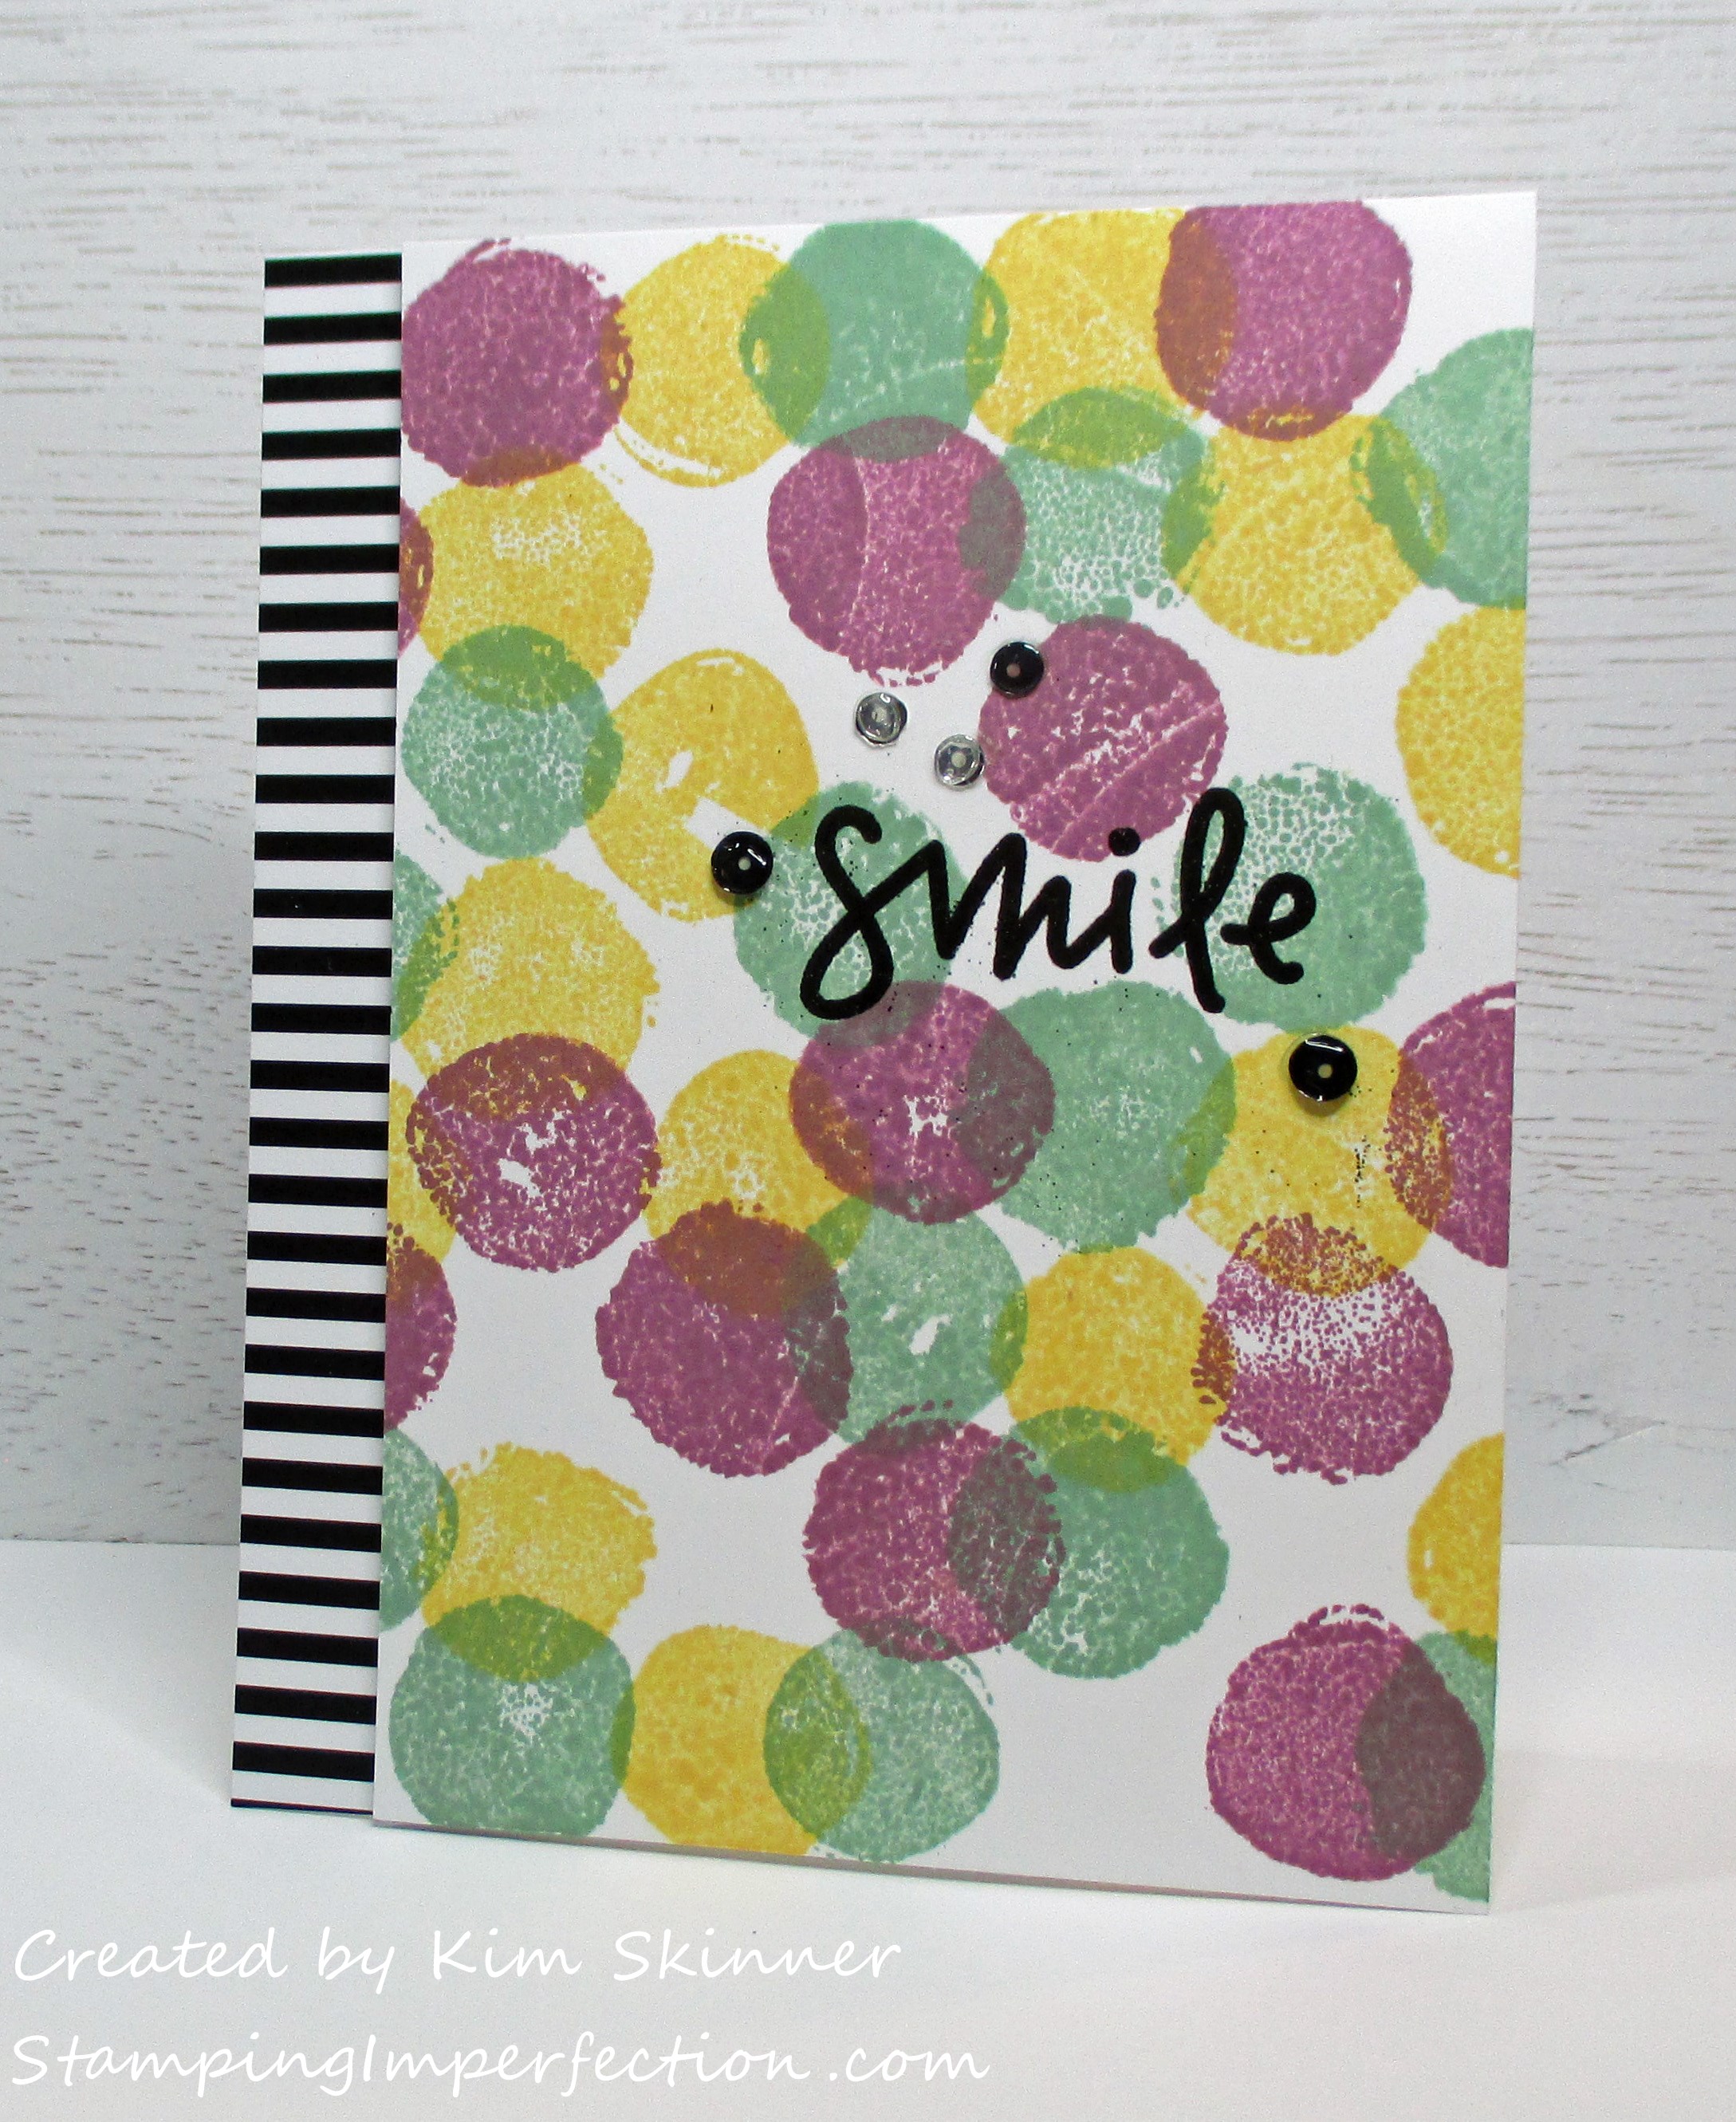
How pretty is this color combination? I added the sentiment from the Dahlia turnabout in black embossing powder, added some sequins and some CP black and white striped paper from one of her patterned paper sets. Still a simple card to make.
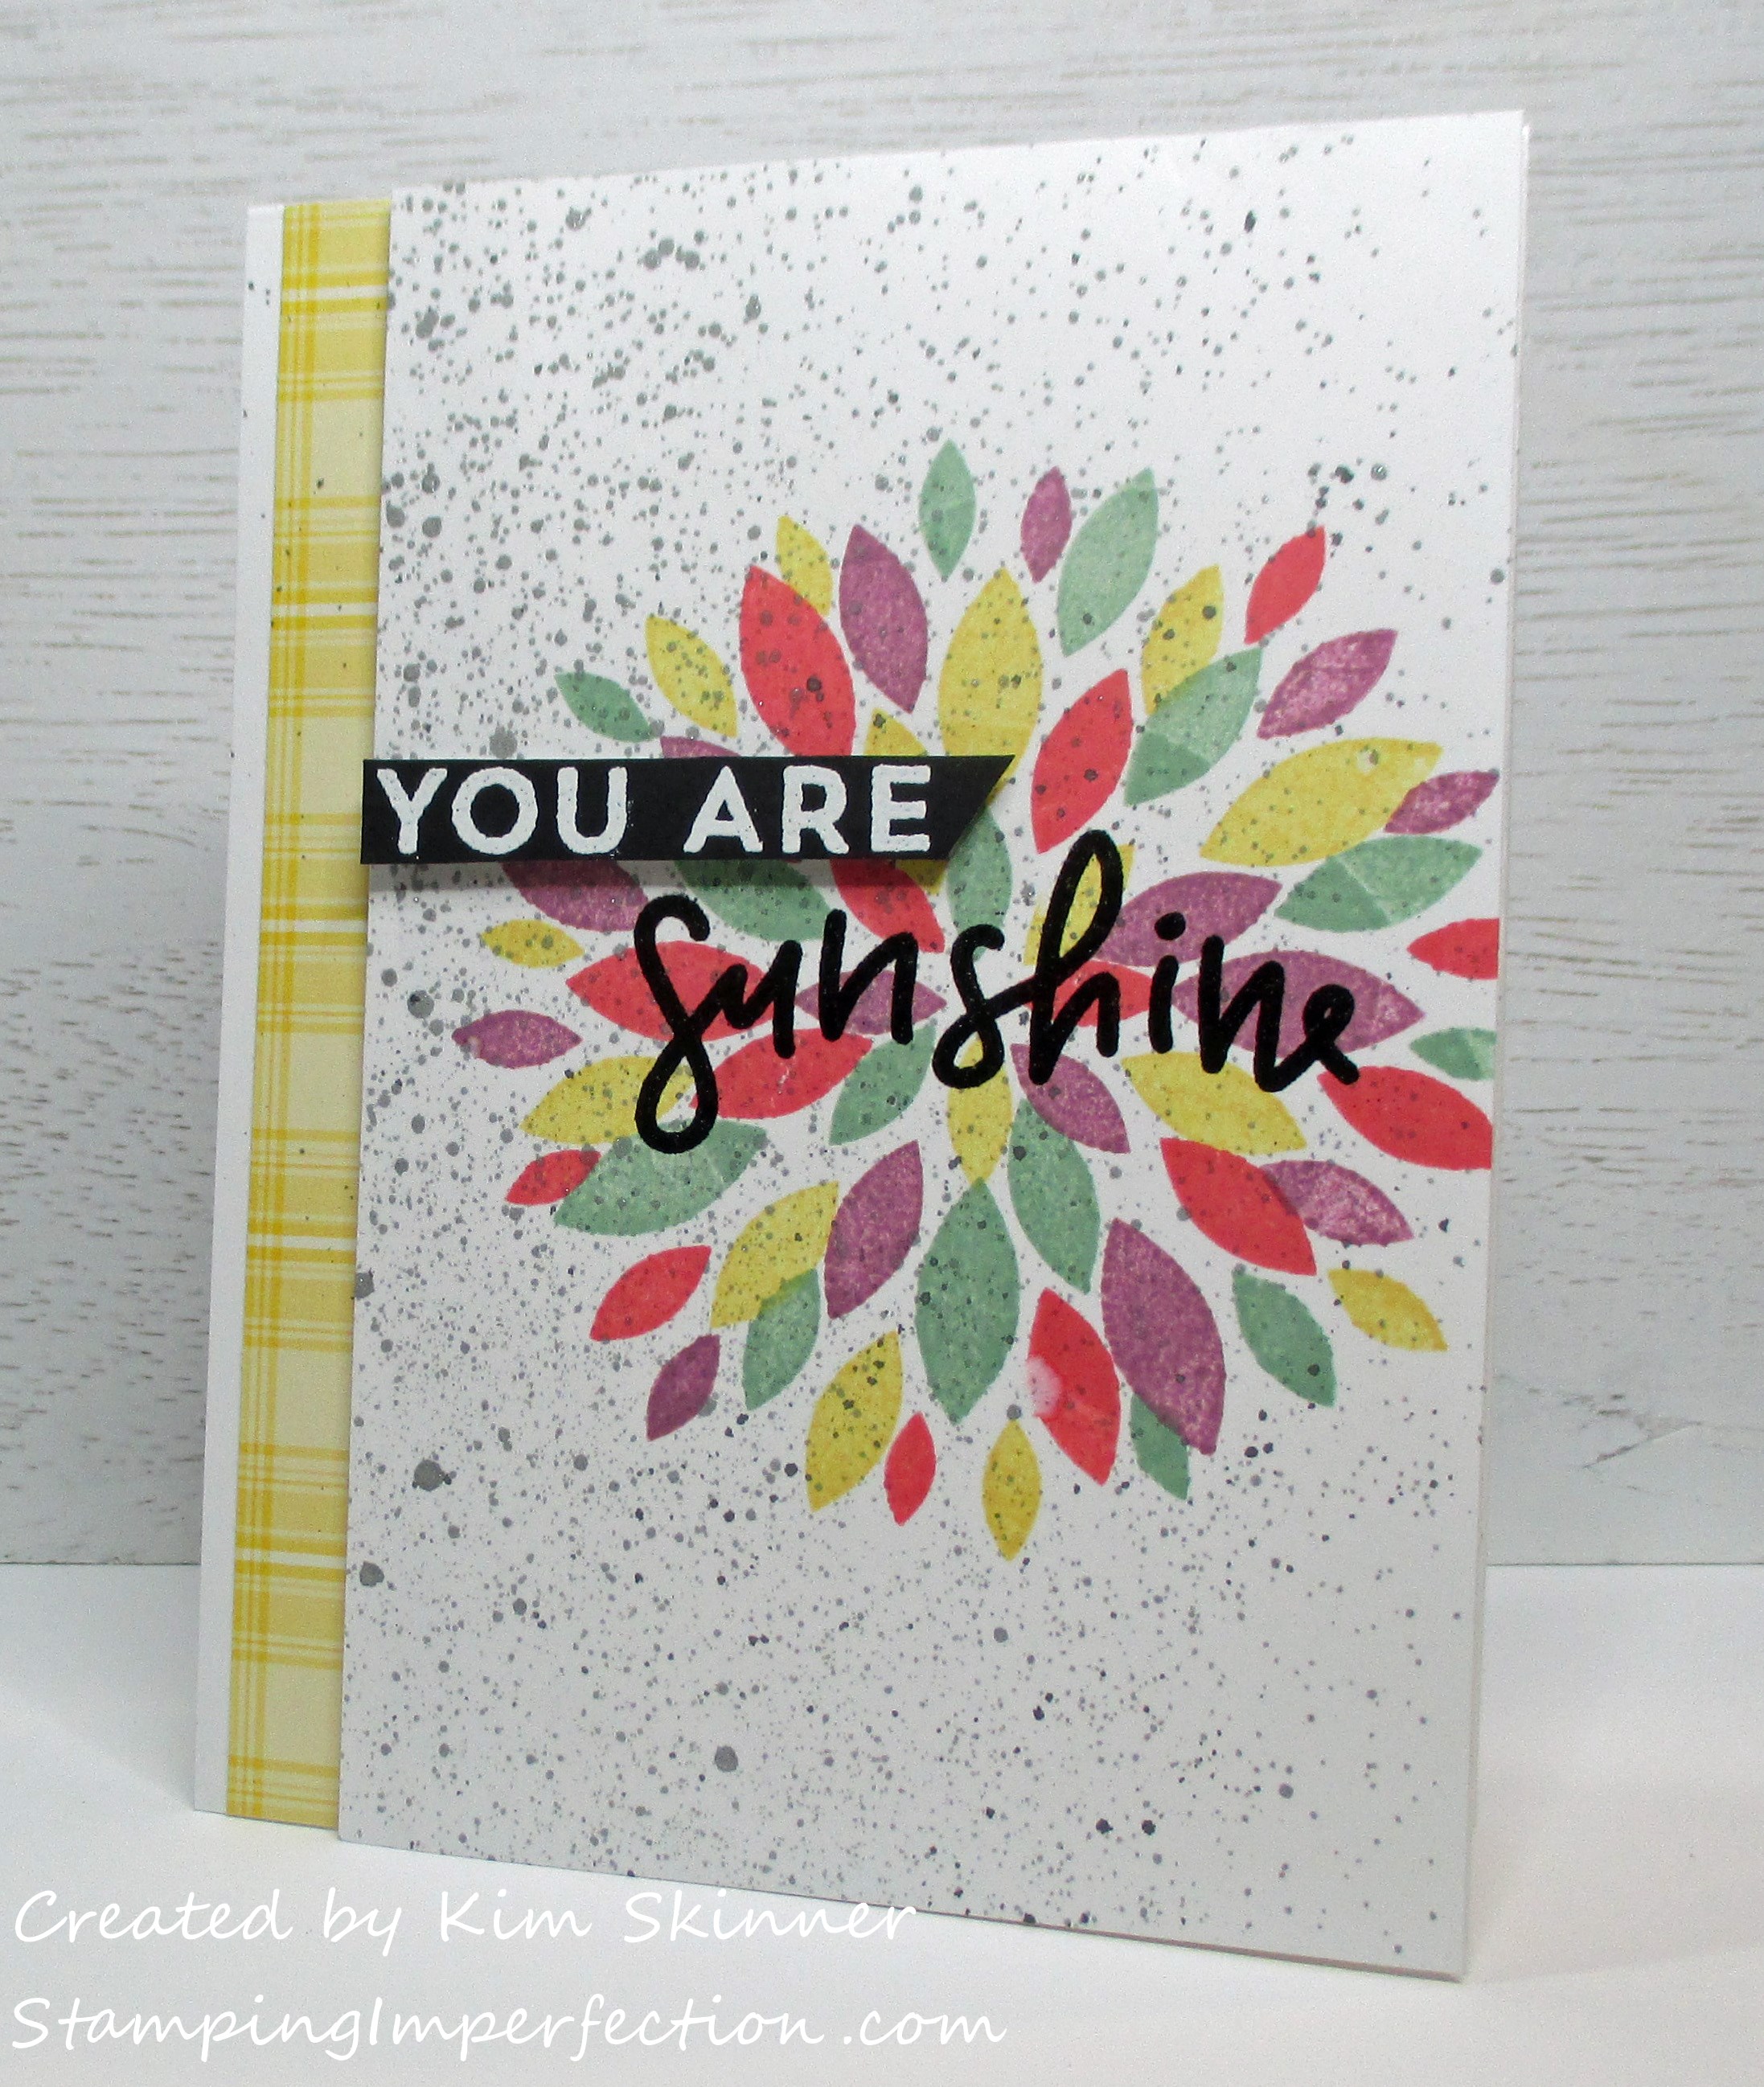
Card 4: I turned this stamp a final time and stamped it in CP’s Polished ink.

This time I trimmed it to shorten the panel and I stamped the sentiment from Concord & 9th’s Brushed Blossom Stamp set in black ink. I’ve added some metallic sequins and a tiny strip of washi tape along with some black ink spray to finish it off. Still simple and easy.
4 completely different card backgrounds from on stamp!
I decided to play with a couple of the other turnabouts since I had all my stuff out and ready to go.
Card 5: This one uses the semicircle turnabout and this is a WOW card for me. I used the same 4 colors as before, the sentiment is from the Dahlia turnabout set heat embossed in black and I added a strip of patterned paper that might be from Lawn Fawn. Still a simple card. It just doesn’t look simple!
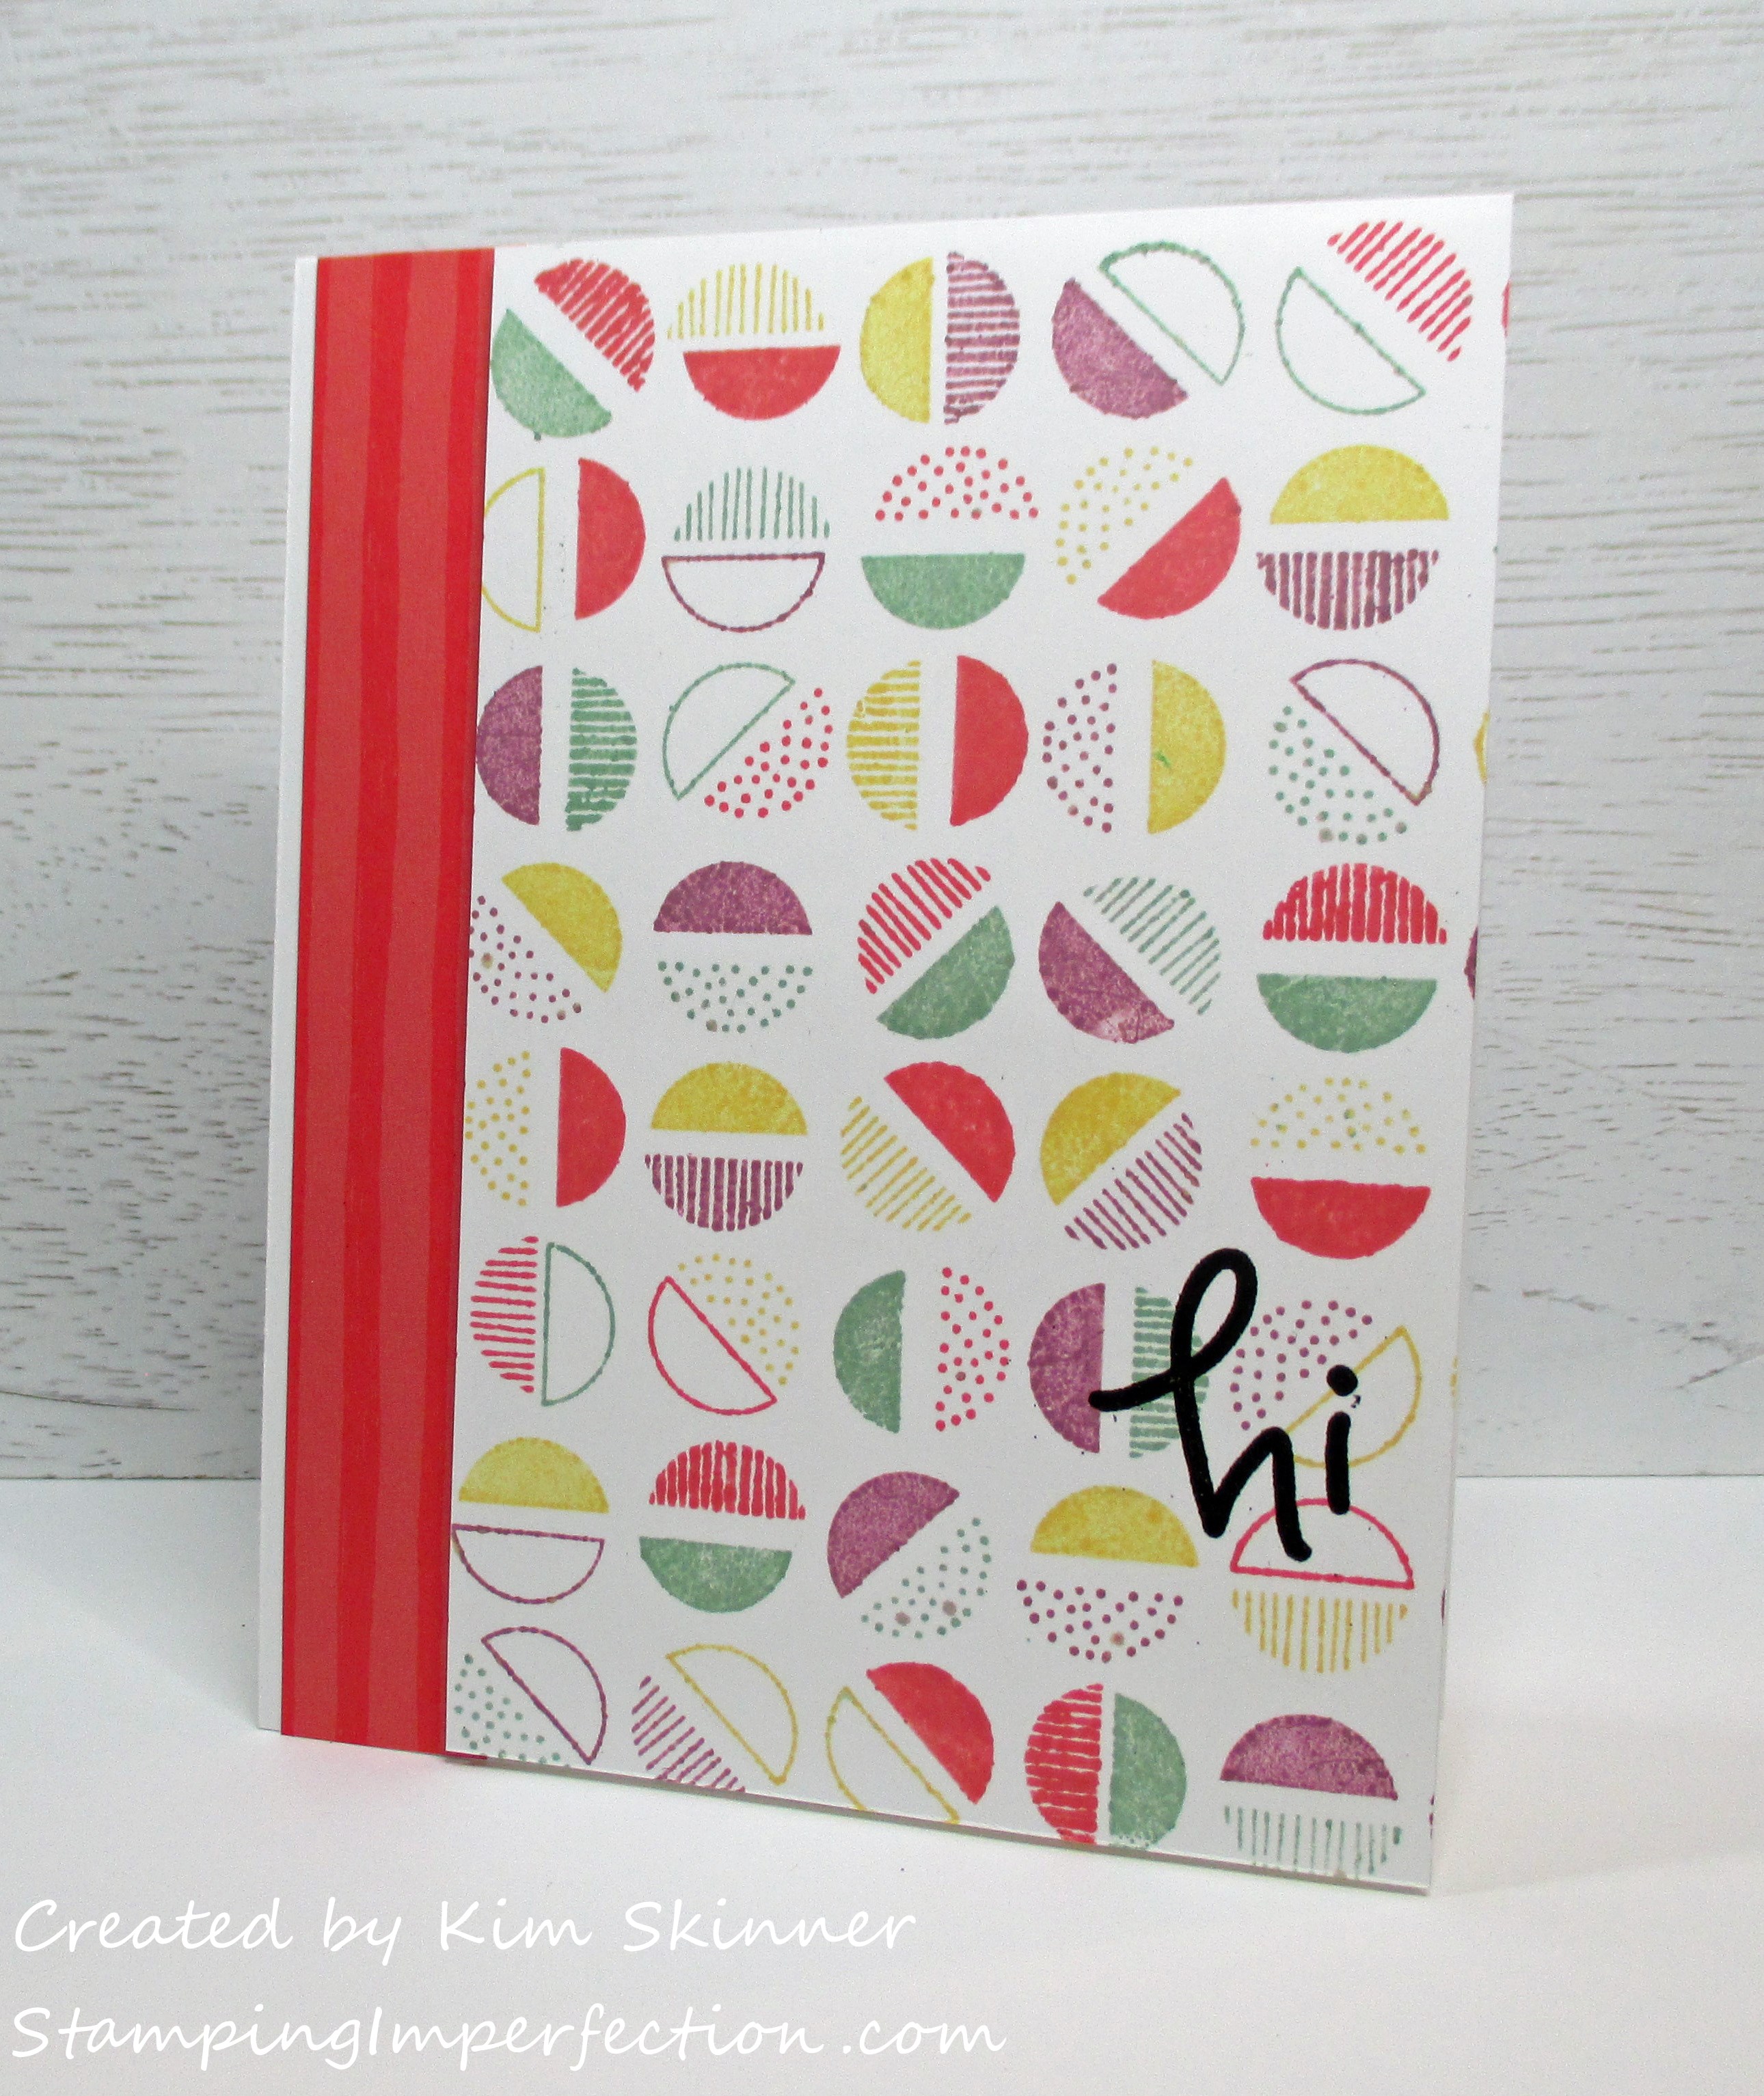
I love that card!!!
Card 6: I couldn’t resist playing with the Dahlia turnabout. Unfortunately, I decided to spritz it with my Altenew Antique Silver metallic spray and one spritz really was too much!
I again added a strip of Lawn Fawn patterned paper in a coordinating color. Here I have added the main sentiment by heat embossing in black. The smaller sentiment is heat embossed in white on black card stock and popped up on foam tape for a bit of dimension. If only I had spritzed that ink onto my craft mat, added some water and then tapped it on with a paintbrush for a little bit of splash. **Sigh**. It was really pretty before the spritzing debacle!
All in all…it was a fun day of crafting and playing with the turnabouts. I just got the one from their latest release, so you can expect to see that show up on my blog soon as well!
Here is the video of how to use the turnabout to create the backgrounds:
Thank you so much for stopping by. I hope you enjoyed the video and the cards that I created and I hope you feel inspired to get creative today! Happy crafting.


