Are you looking to take your card making and scrapbooking to the next level? One great way to do that is with die cutting. Inlaid die cutting is one of my particular favorite techniques that really gives your cards a WOW factor.
Welcome to Technique-a-Week Beyond the Basics Video 2!
I have several different inlaid tips and techniques to share with you today, along with a nice embossing tip for your alphabet or word dies. If you are like me, you have a bunch of both of those kinds of dies.
Inlaid Die Cutting Technique 1: A two-for the effort of one!
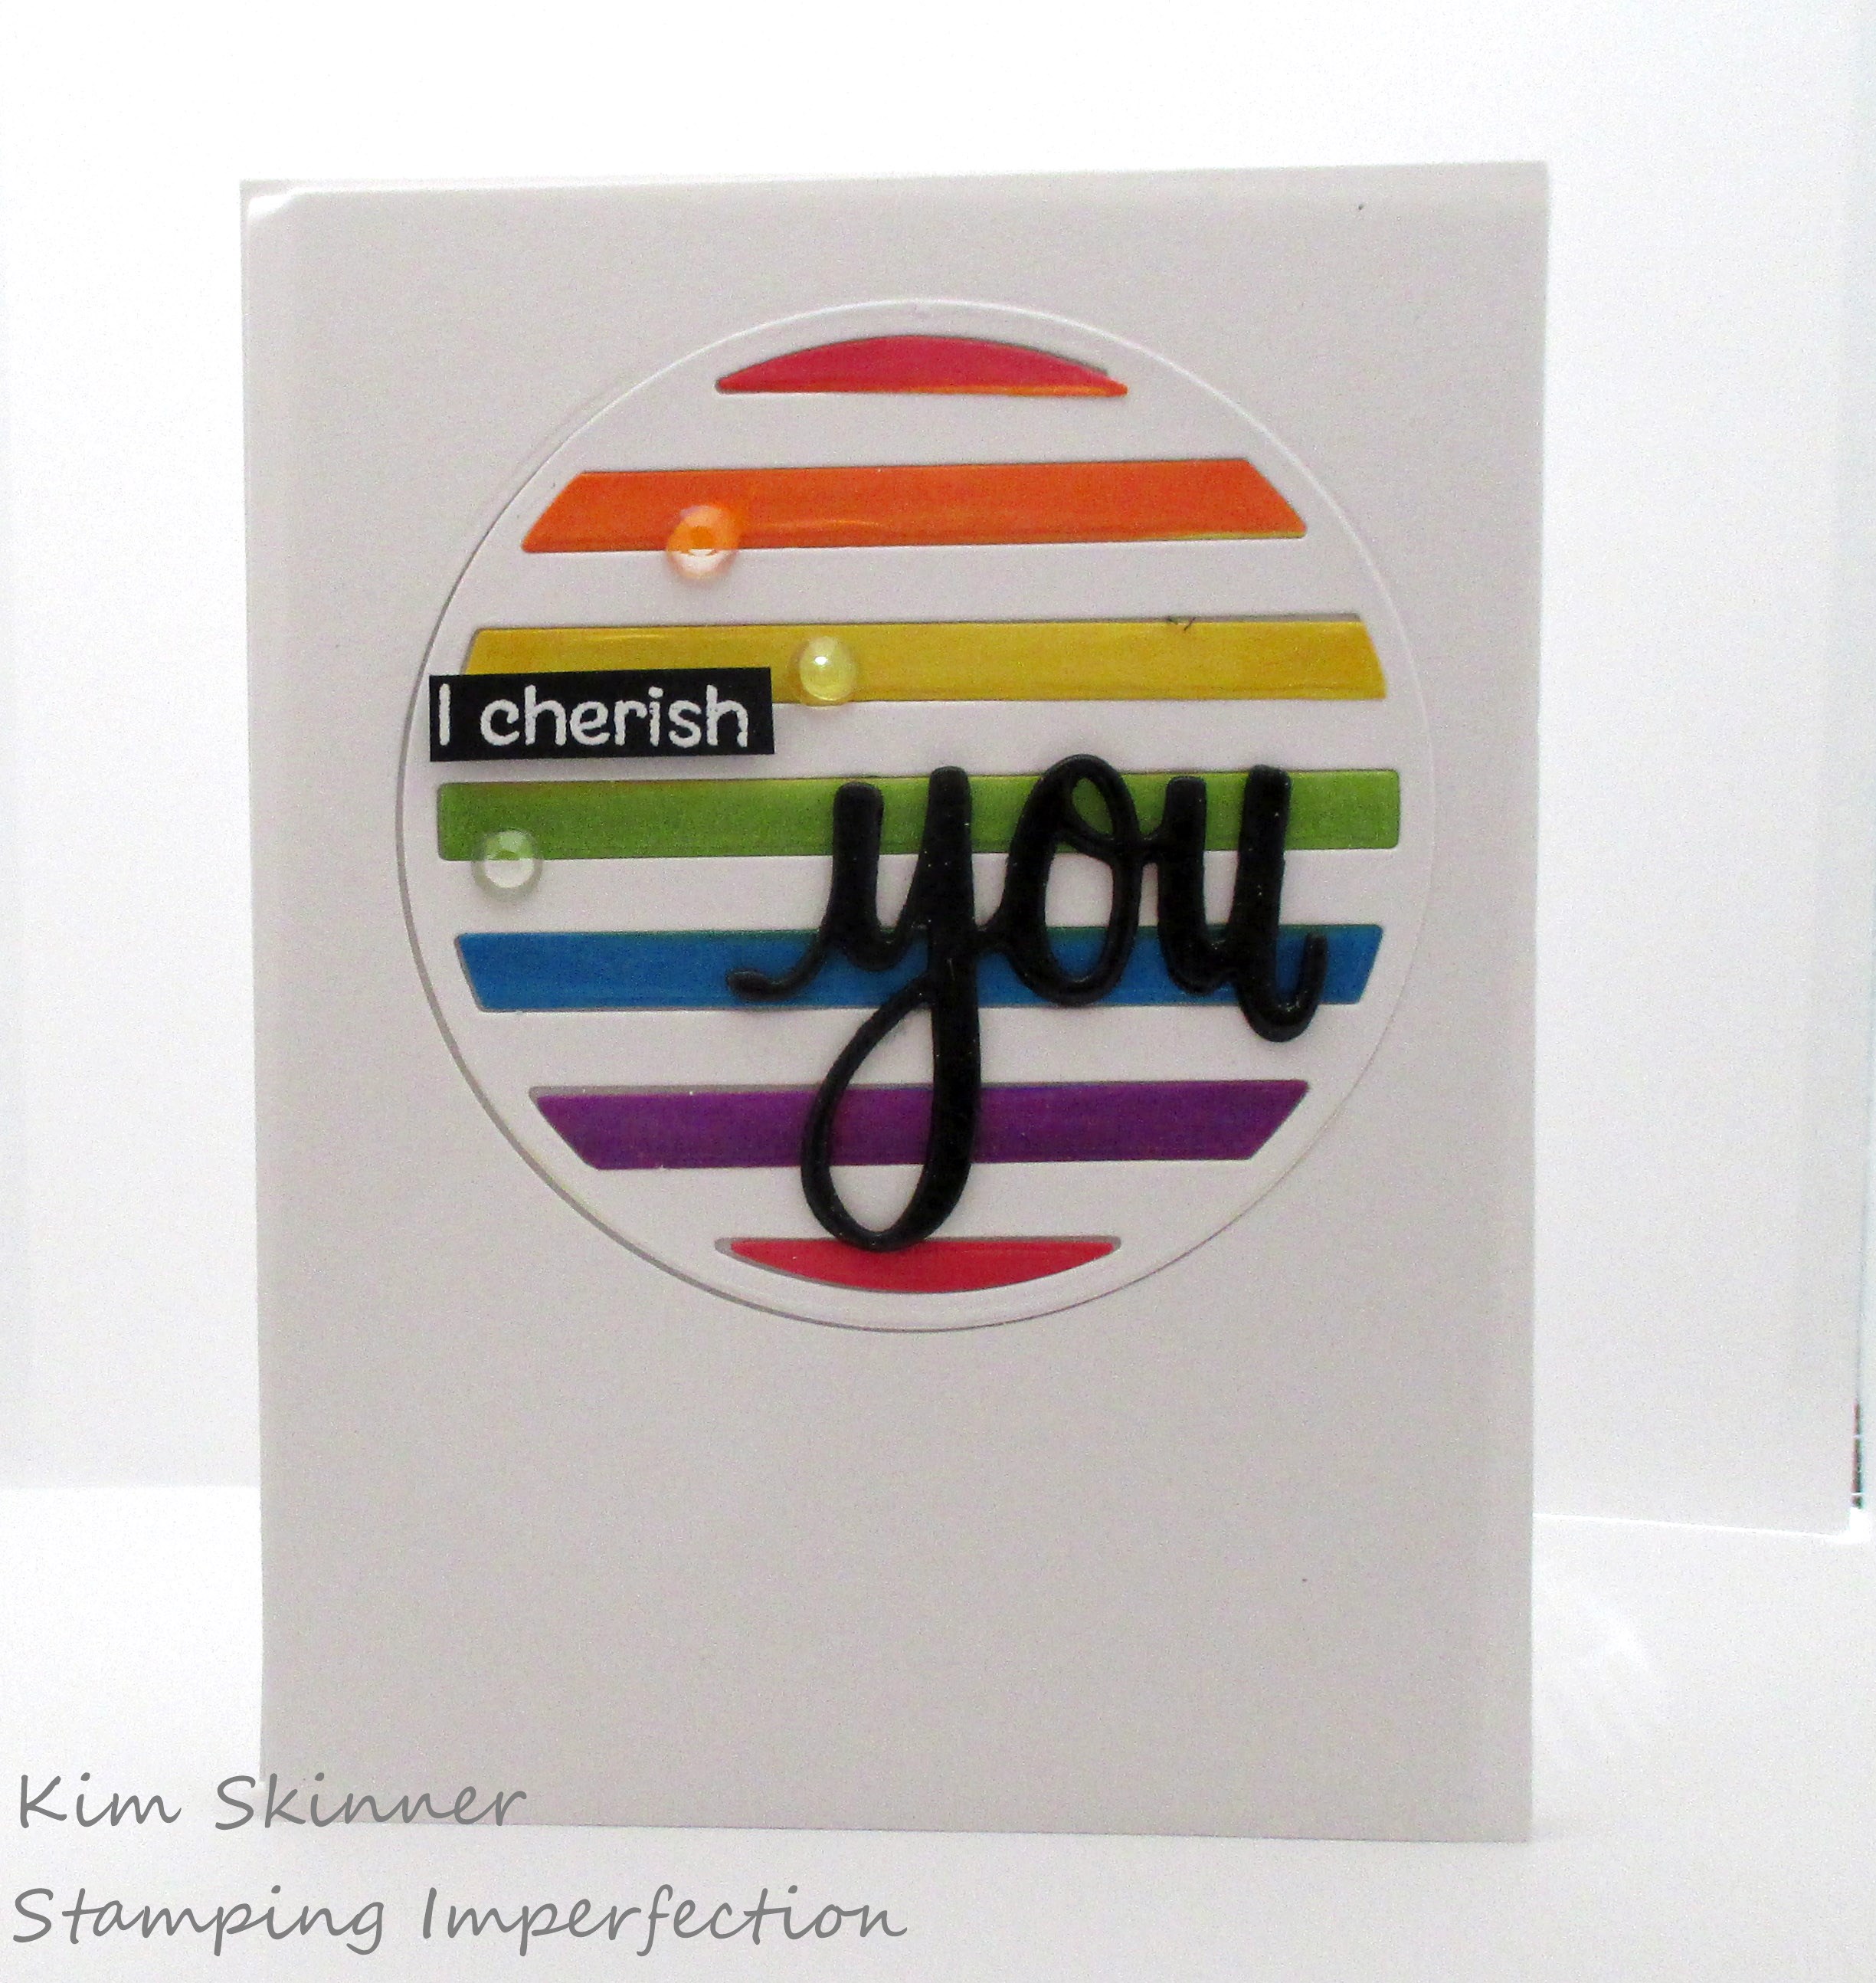
This uses the Catherine Pooler Circle Striped die. I die cut the circle in white out of two pieced of white card stock cut at 4-1/4 x 5-1/2″ and then cut it out of a piece that I had created the stripes on with my Altenew markers. Then you place the outer circle piece back in the hole of the card piece and add the colored stripes from the other die cut into the spaces. You can then do the same with the leftover pieces to get the positive/negative for this.
I love the technique that I used on the script word die. I layered 4 pieces of black card stock that I had die cut with the word and then heat embossed clear embossing powder twice over the top. It looks like an enamel piece up close. It’s thick and sturdy. I sent one of these to my sister and she asked me where I bought the enamel script word!!! I’m pretty sure she was impressed when I told her how I made it!
Technique 2: Inlaid die cutting with patterned paper
We all have lots of patterned paper and why not use it for some fabulous techniques? Especially those pieces that you don’t love!

I love this one. This uses a die cut from Catherine Pooler’s Club Sursee that is a monthly subscription club. I decided to try out the delux subscription for a couple of months for my birthday and I’m completely hooked!
This uses the rose outline dies to die cut patterned paper. I die cut the card base and then the patterned paper and placed the patterned paper outline back in the space on the card piece. Then I placed each white piece back into place so the entire think is inlaid into the card stock.
The sentiment is 4 pieces of black card stock and then the same patterned paper cut out with Catherine Pooler’s Hello die. I offset the patterned piece just enough to get a black drop shadow below the patterned piece. This little trick makes that sentiment really pop and it has a ton of dimension.
I did the same thing with the Catherine Pooler Lava Lamp Cover Die using a piece of very busy black and white paper with crazy words in all kinds of fonts on it. I didn’t love the paper, but take a look at this:
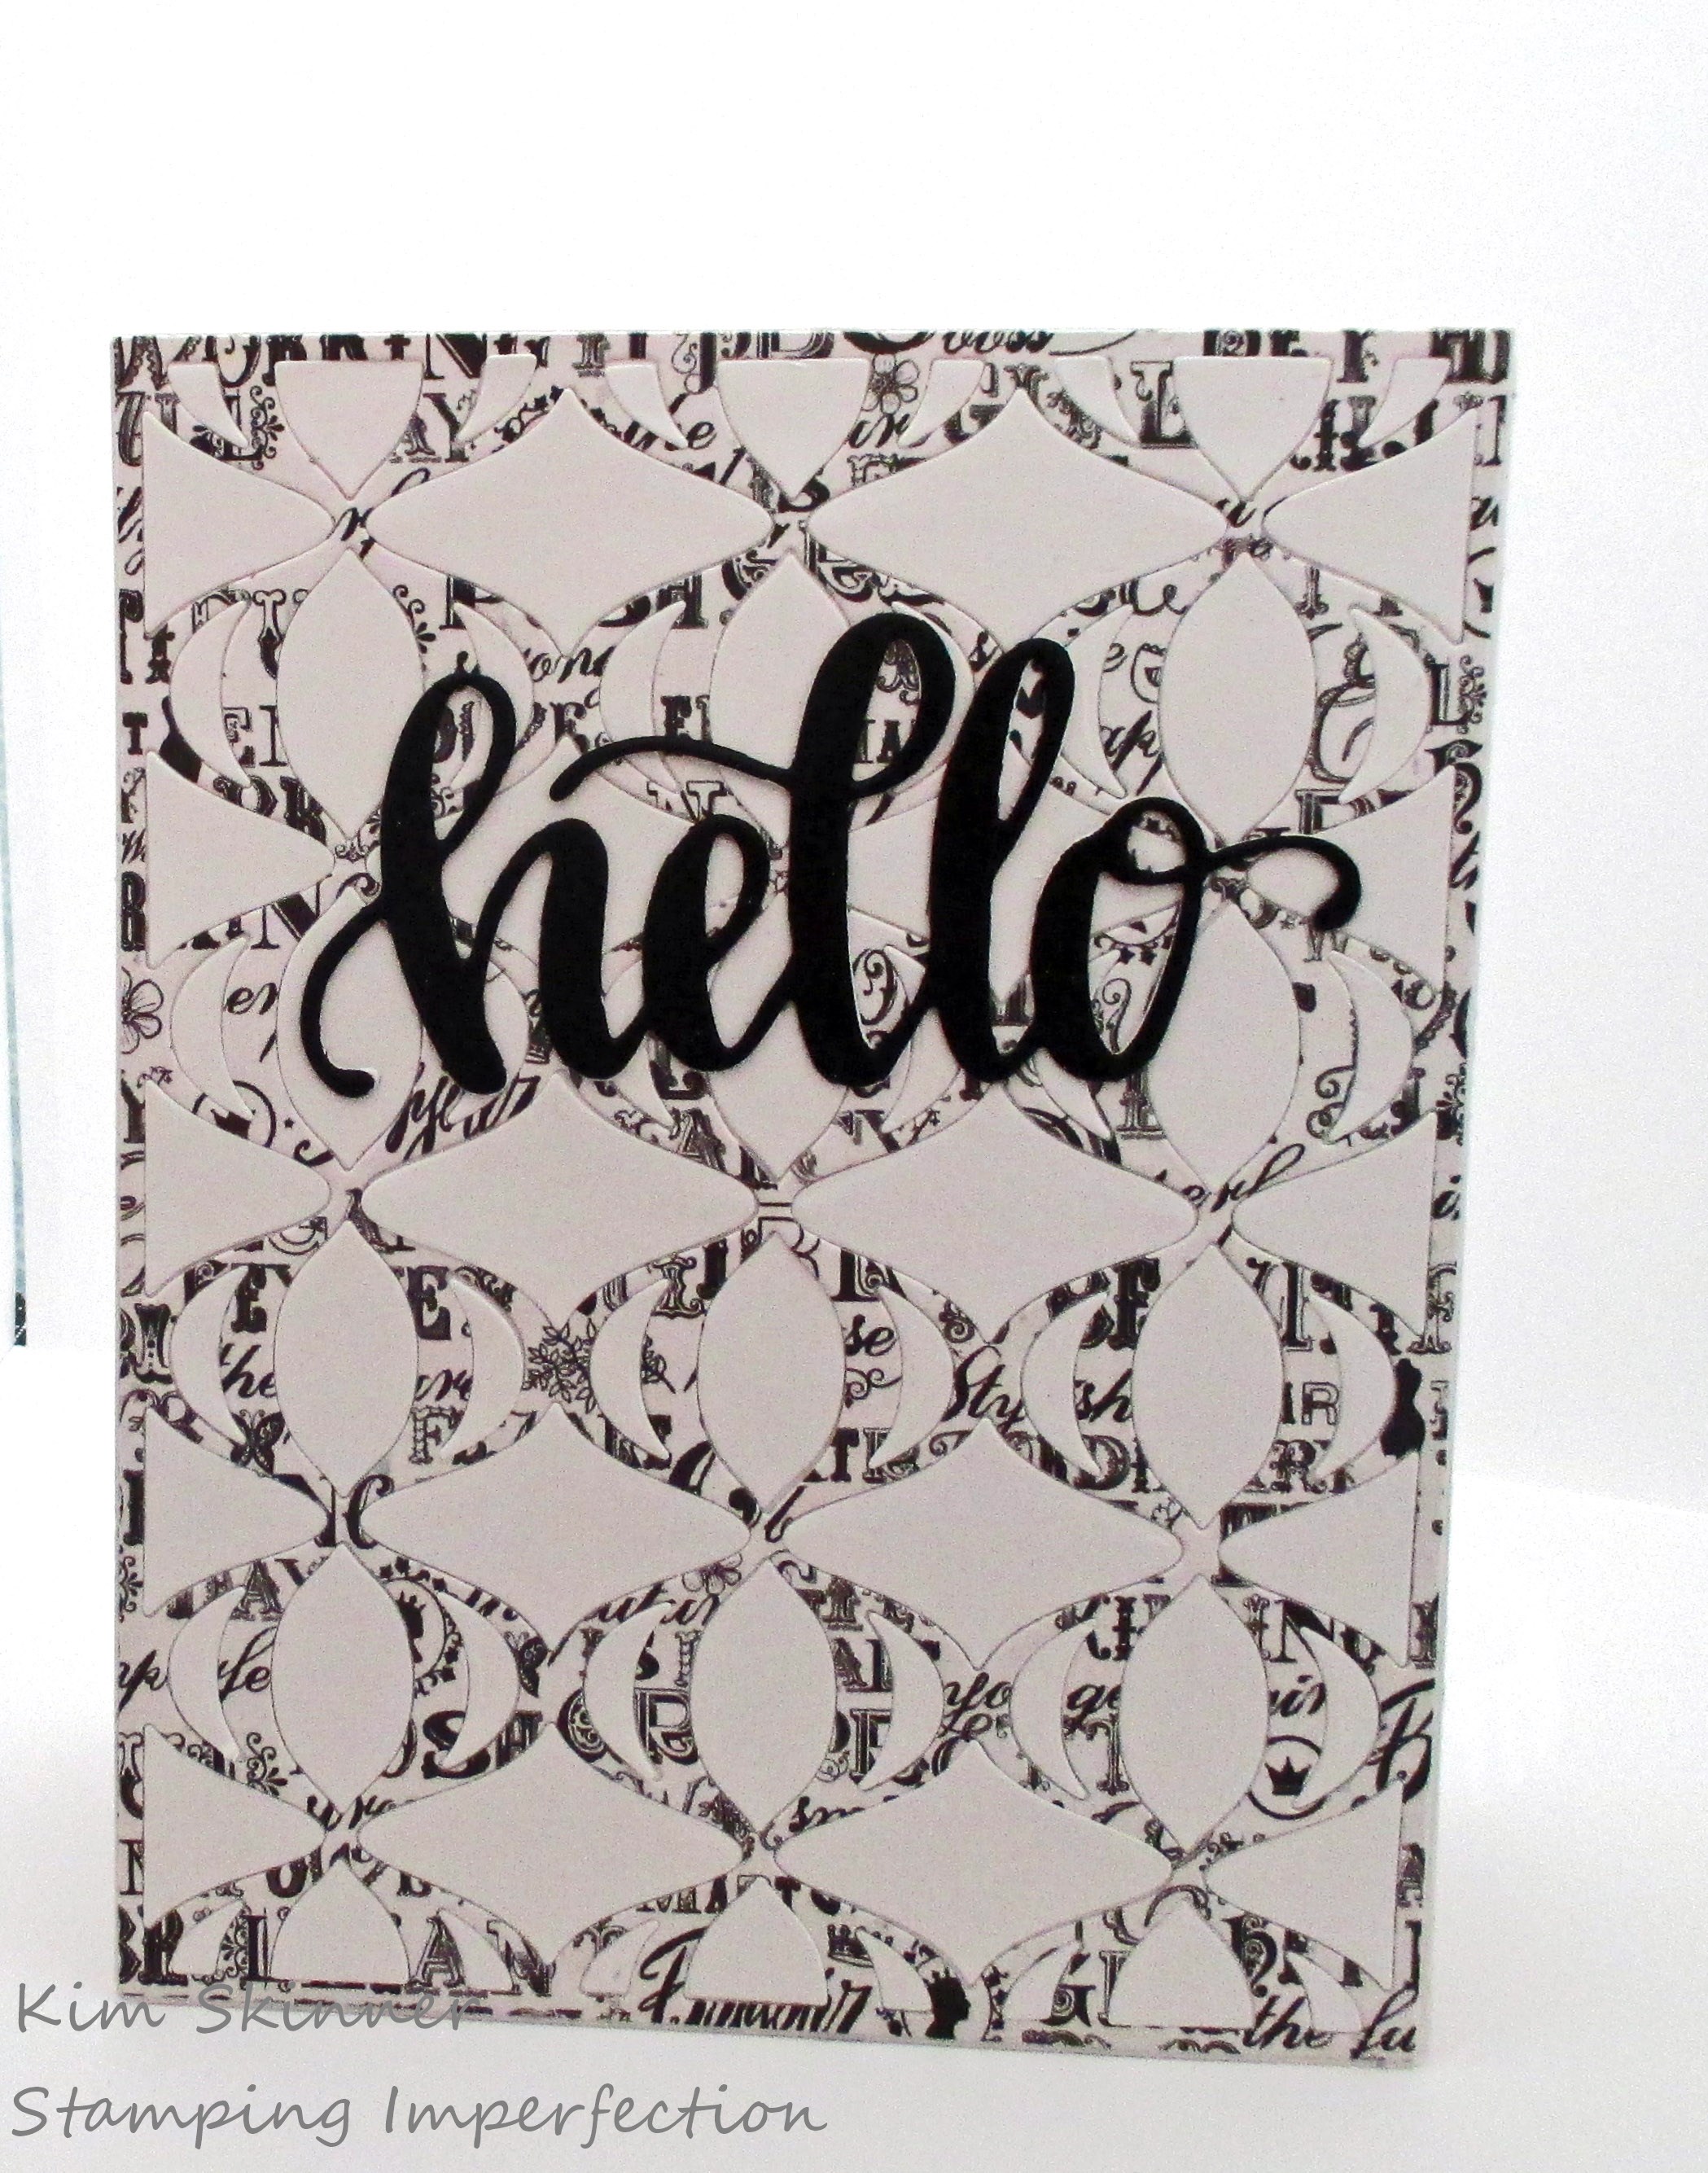
I was probably never going to use that piece of paper, but I absolutely love how it looks here!
Technique 3: Using inlaid die cutting with alphabet dies and word dies
 I love this technique. It is a WOW technique.
You stamp your card and then die cut out the word. You pop that word up on several layers of card stock cut with the same die and put it back into the space you cut it from. Then I pop in the pieces of the h, the e, the l’s and the o without giving them dimension. I added a little red around the edges of the word with my alcohol marker just to made it stand out more. That’s a little tip to make it pop. This elevated what was a very uninteresting card to the next level and I really like it!
I made 3 cards with the same materials without using inlaid die cutting so you can see how I might normally used these same dies.
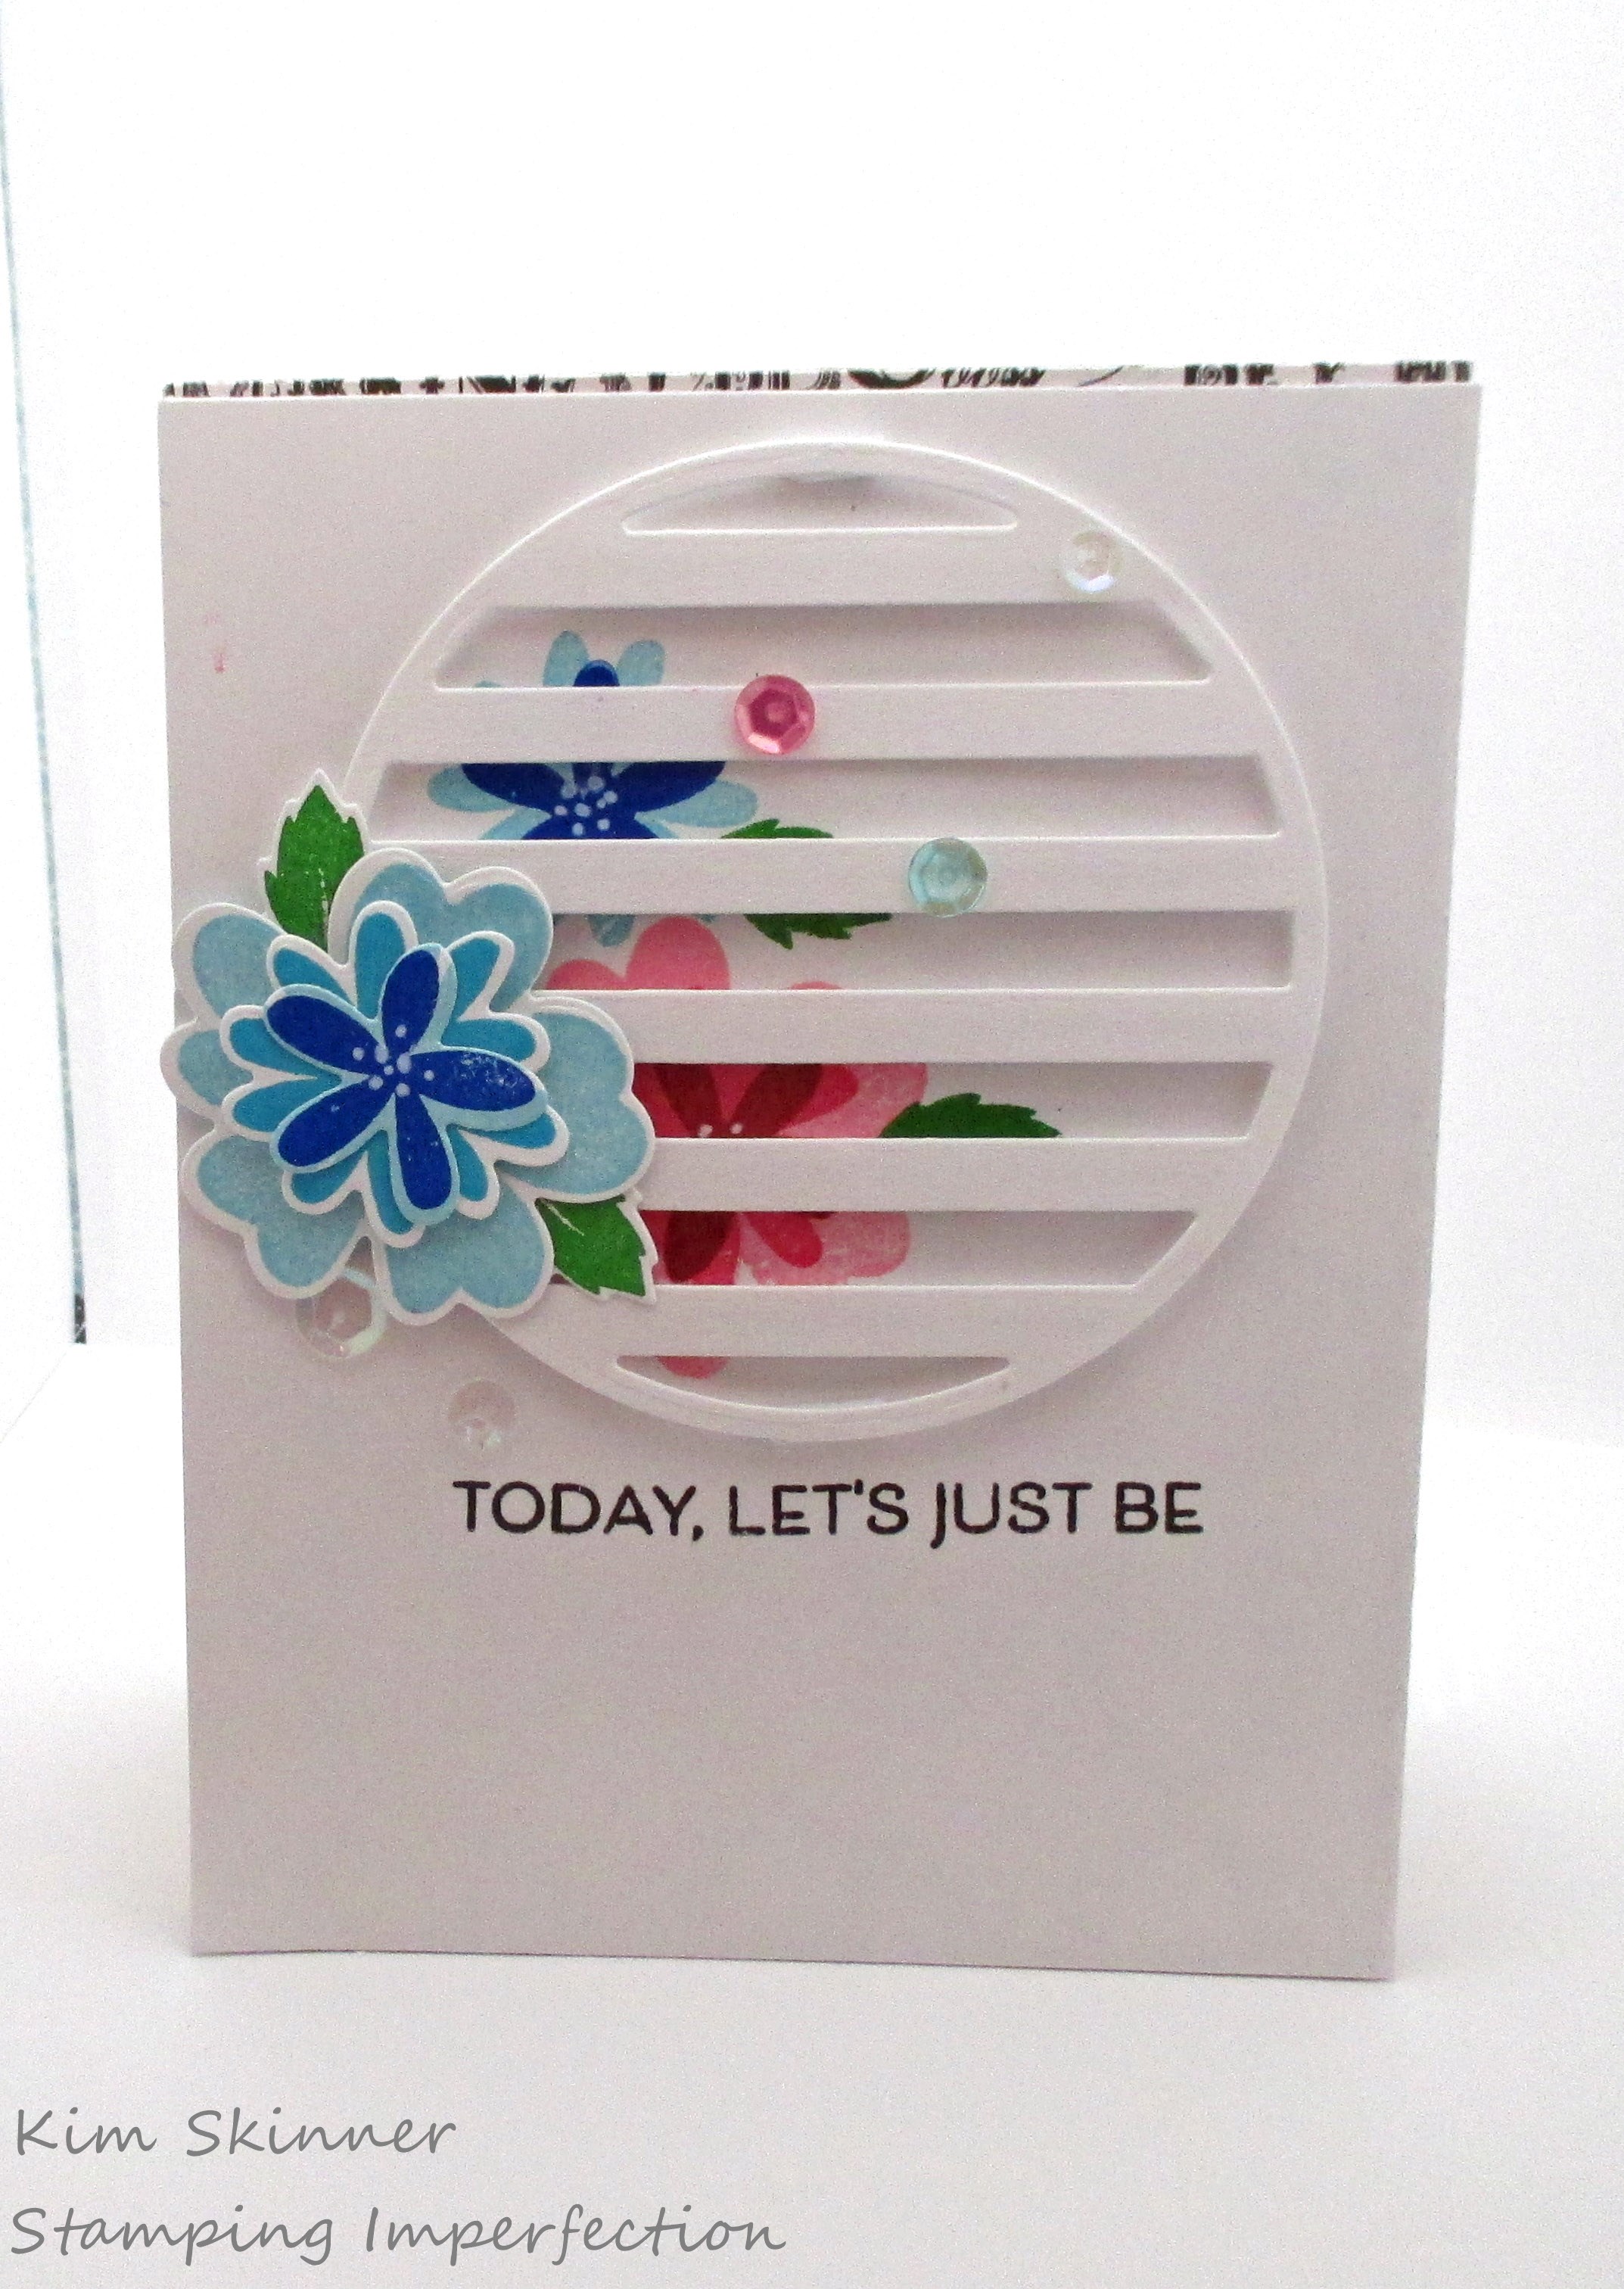
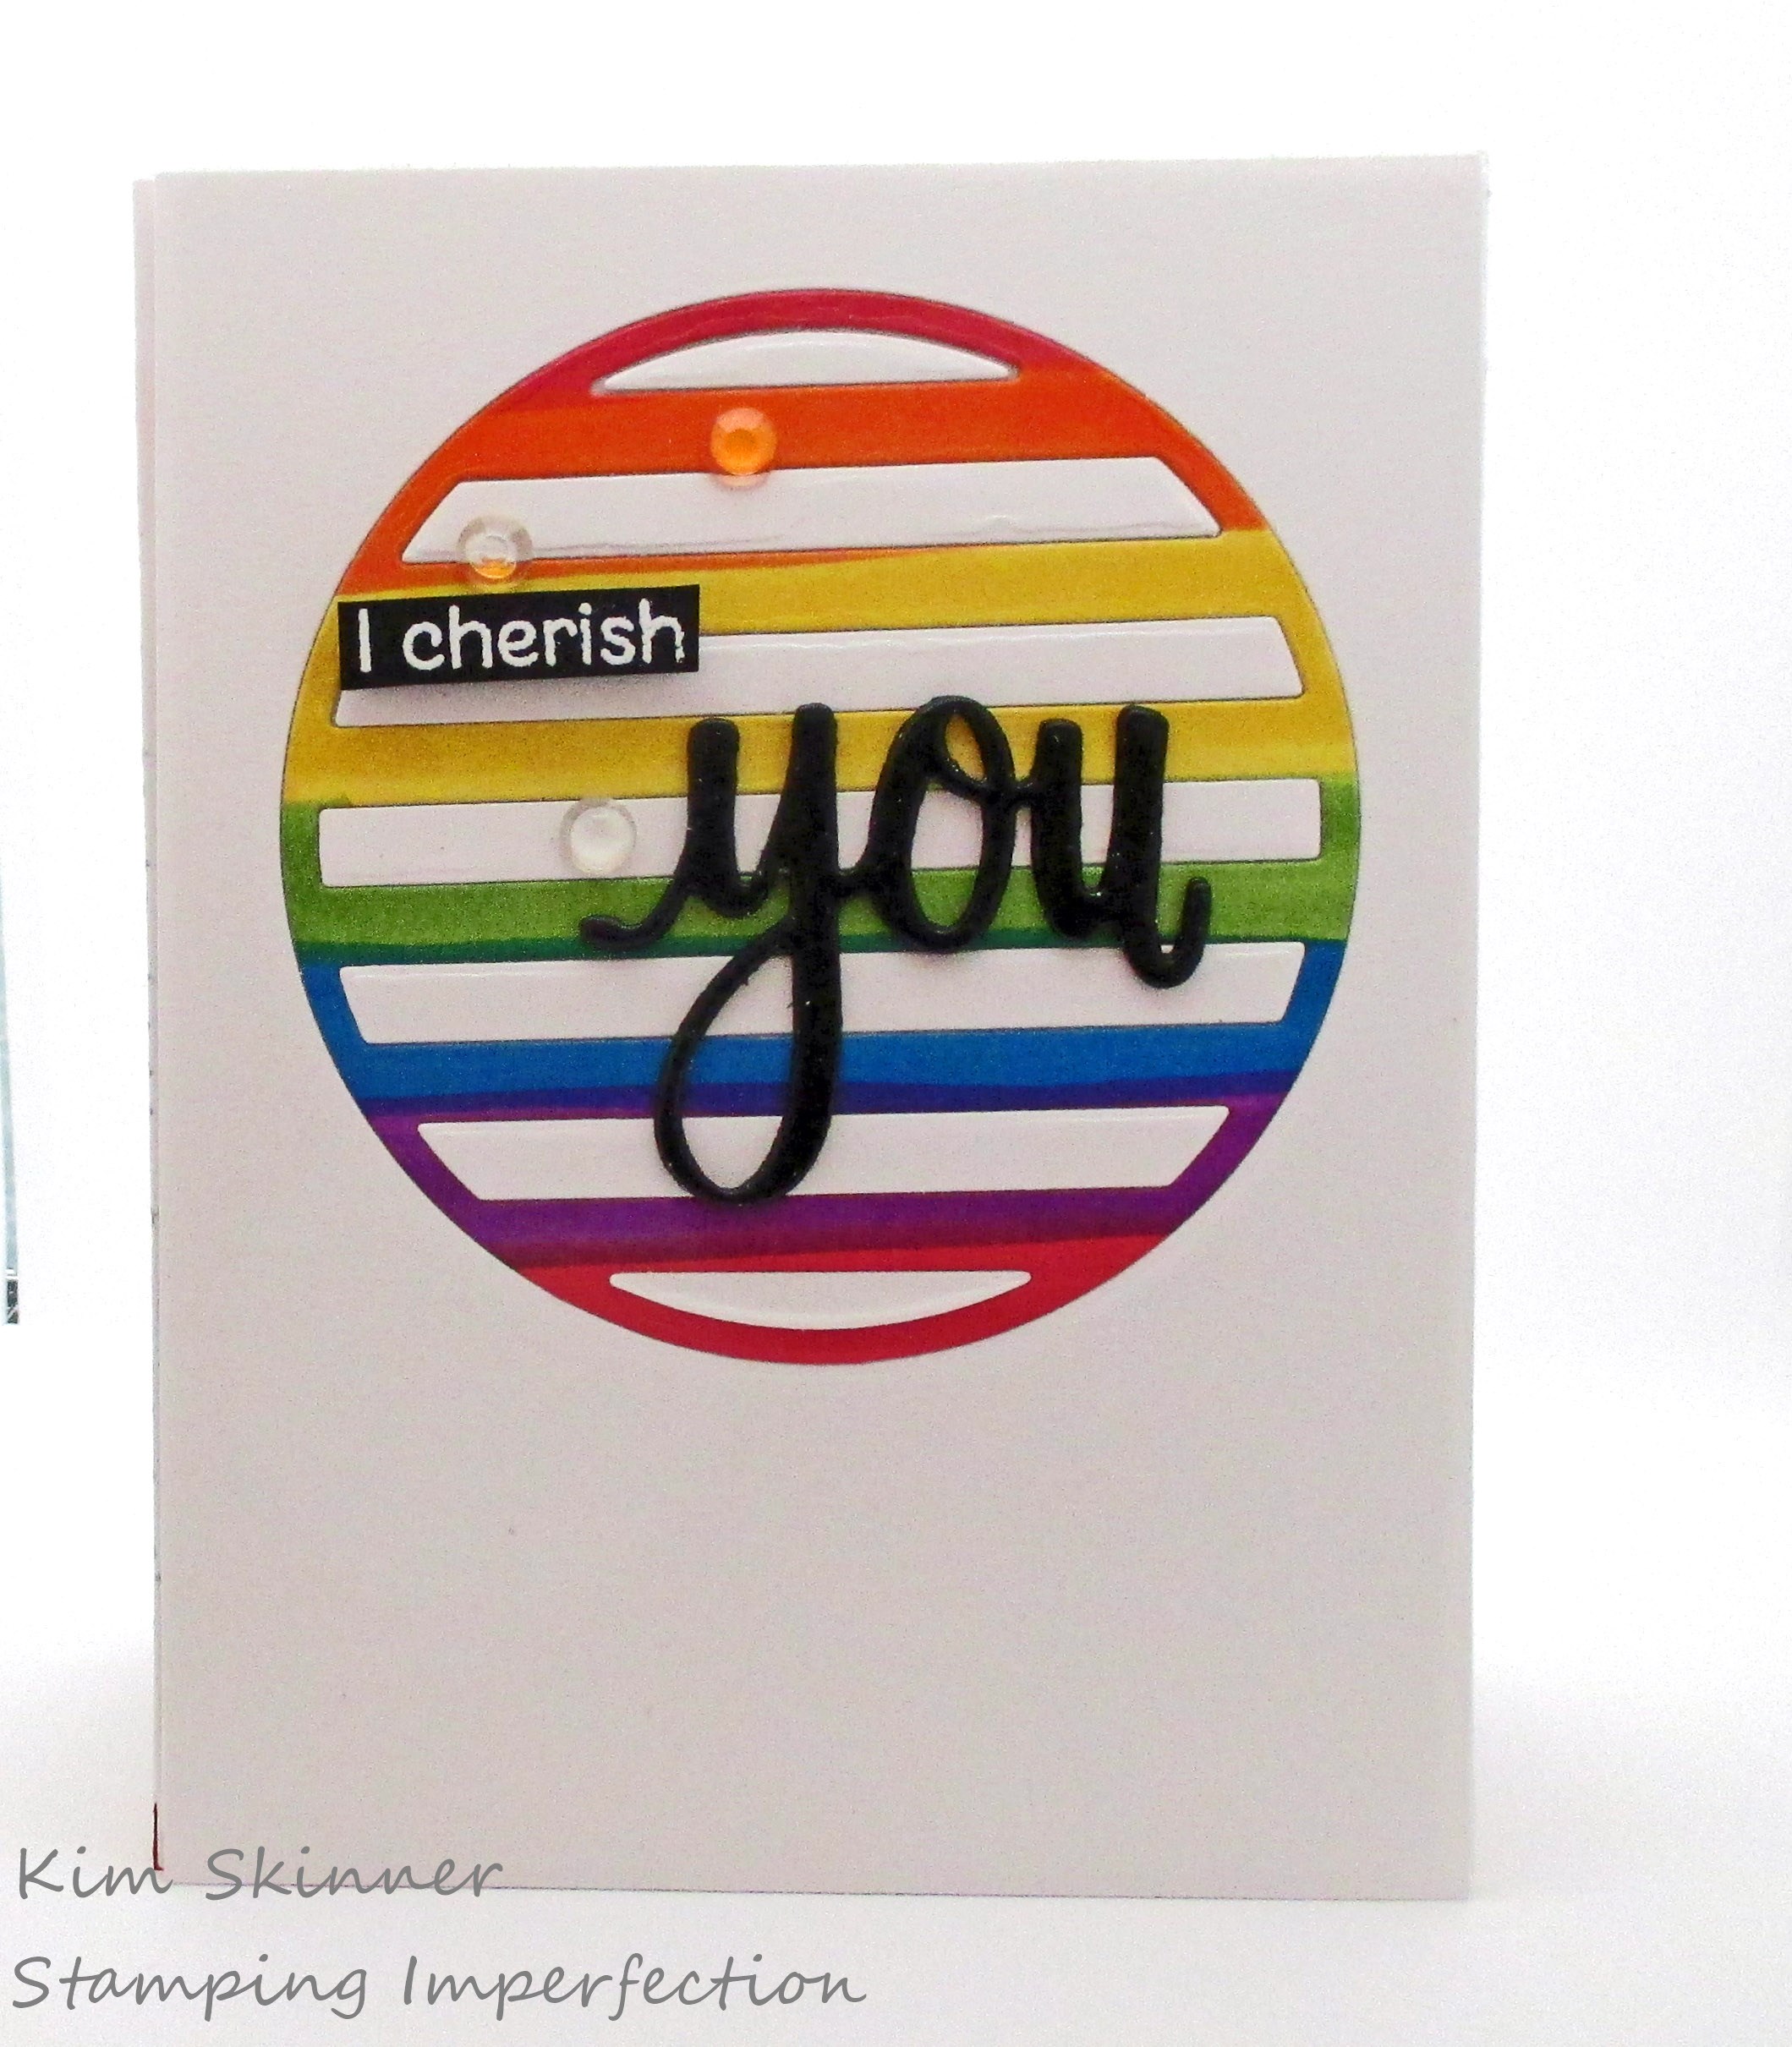
This is the circle striped die popped up on some foam tape. I stamped below it on the card front and then added a die cut floral piece on top. It’s a pretty card and I love it. The inlaid technique gives me another way to use this die. I think this would make fantastic shaker cards as well.
Dies have gotten so expensive. They used to cost half the price of the stamp set and it was a nice treat to add one on to a set so you wouldn’t have to fussy cut. Now the dies are much more than the stamp sets the coordinate with. A stamp and die bundle can cost $30-50 in some cases! That’s crazy!!
I want to have a lot of ways I’m going to be able to use my dies if it’s going to be that expensive!
You will notice that all of these cards used dies that do not coordinate with any stamp set. They are stand alone dies. These are the ones I usually splurge on because I have so many techniques that I can do with them.
BONUS TIP: You can die cut it and then use the die cut piece as a stencil! Suddenly you are adding mixed media in to ways you can use these dies!
 Here is an example of the Lava Lamp Cover Die used as a plain old cover die. I created a quick striped background. This looks pretty with ink blending or alcohol ink backgrounds beneath it. You can also use a fabulous patterned paper for the back drop or even a fun stamped image.
The script die is again offset from a layer of white cut in the same die to give it a white drop shadow. I love that effect. It just adds an extra little touch.
Finally! I created a tone-on-tone effect with the rose dies and the hello script die.

This is what these dies look like just glued to the card front. Still pretty and always elegant in all white, but not the WOW you get when you inlay the pieces and give some dimension to the sentiment die.
Here is a video I created to show you these card techniques:
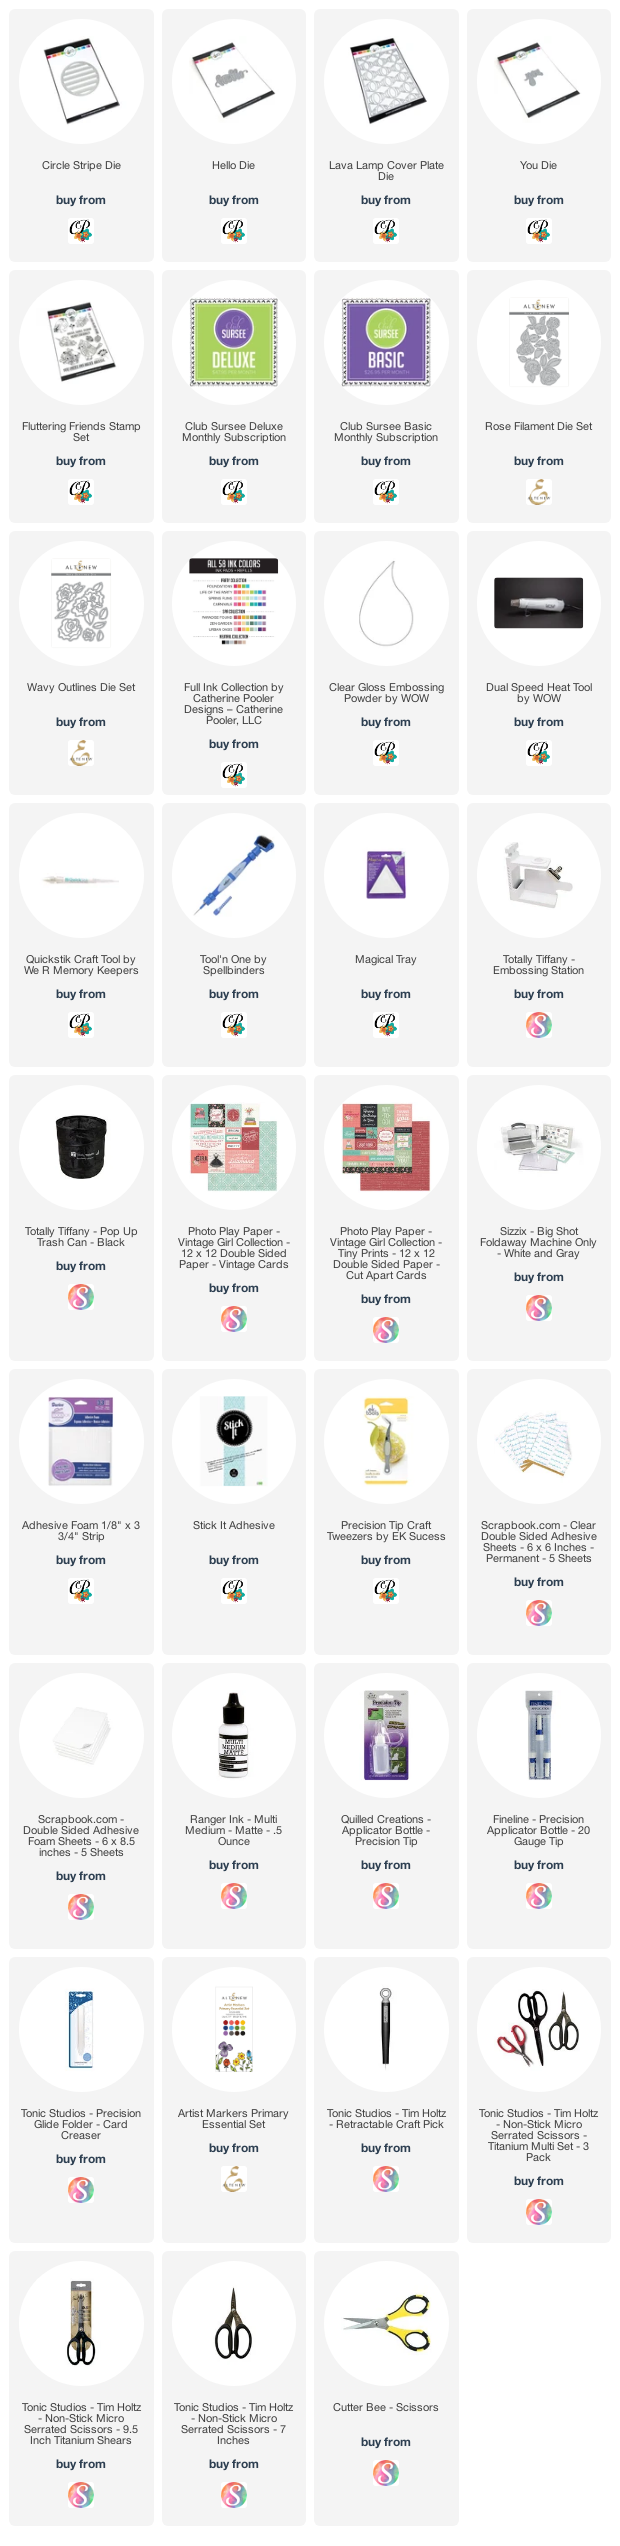
Supply List:
Are you interested in the products I used? To make them easier for you to find, I have linked them below. (Affiliate disclosure ) Your purchases help keep my blog running at no additional cost to you and I thank you for the support!
The printable instructions and supply list will be available tomorrow!
Thank you for stopping by! I hope you are enjoying this series and that it inspires you to try some of these techniques. They can be used in your scrapbooks and art journals as well.
Happy creating!


