
I had a lot of fun with my upline, Shelly today. She sent out a team email challenging us to create a SIP card and upload it to our team Facebook page. Then she called me and we chatted for awhile. While chatting, I could hear her diligently stamping away. She’s an excellent multitasker that Shelly!
I asked her what exactly a SIP card was. It turns out that a SIP card is a beginner card. When you first start out stamping, you have very limited supplies. So the challenge was to make a card involving only stamps, inks and papers. So of course I asked, “Can I use Washi Tape?”. Shellly was not happy. “NO! Only stamps, inks and papers!!!!” She was very stern. No embellishments of any kind, and before I even asked…no punches either! (I did say she was quite stern about it, right?!)
So while we continued to chat, I stamped away and created two cards that you could make with very limited supplies!
Card 1:
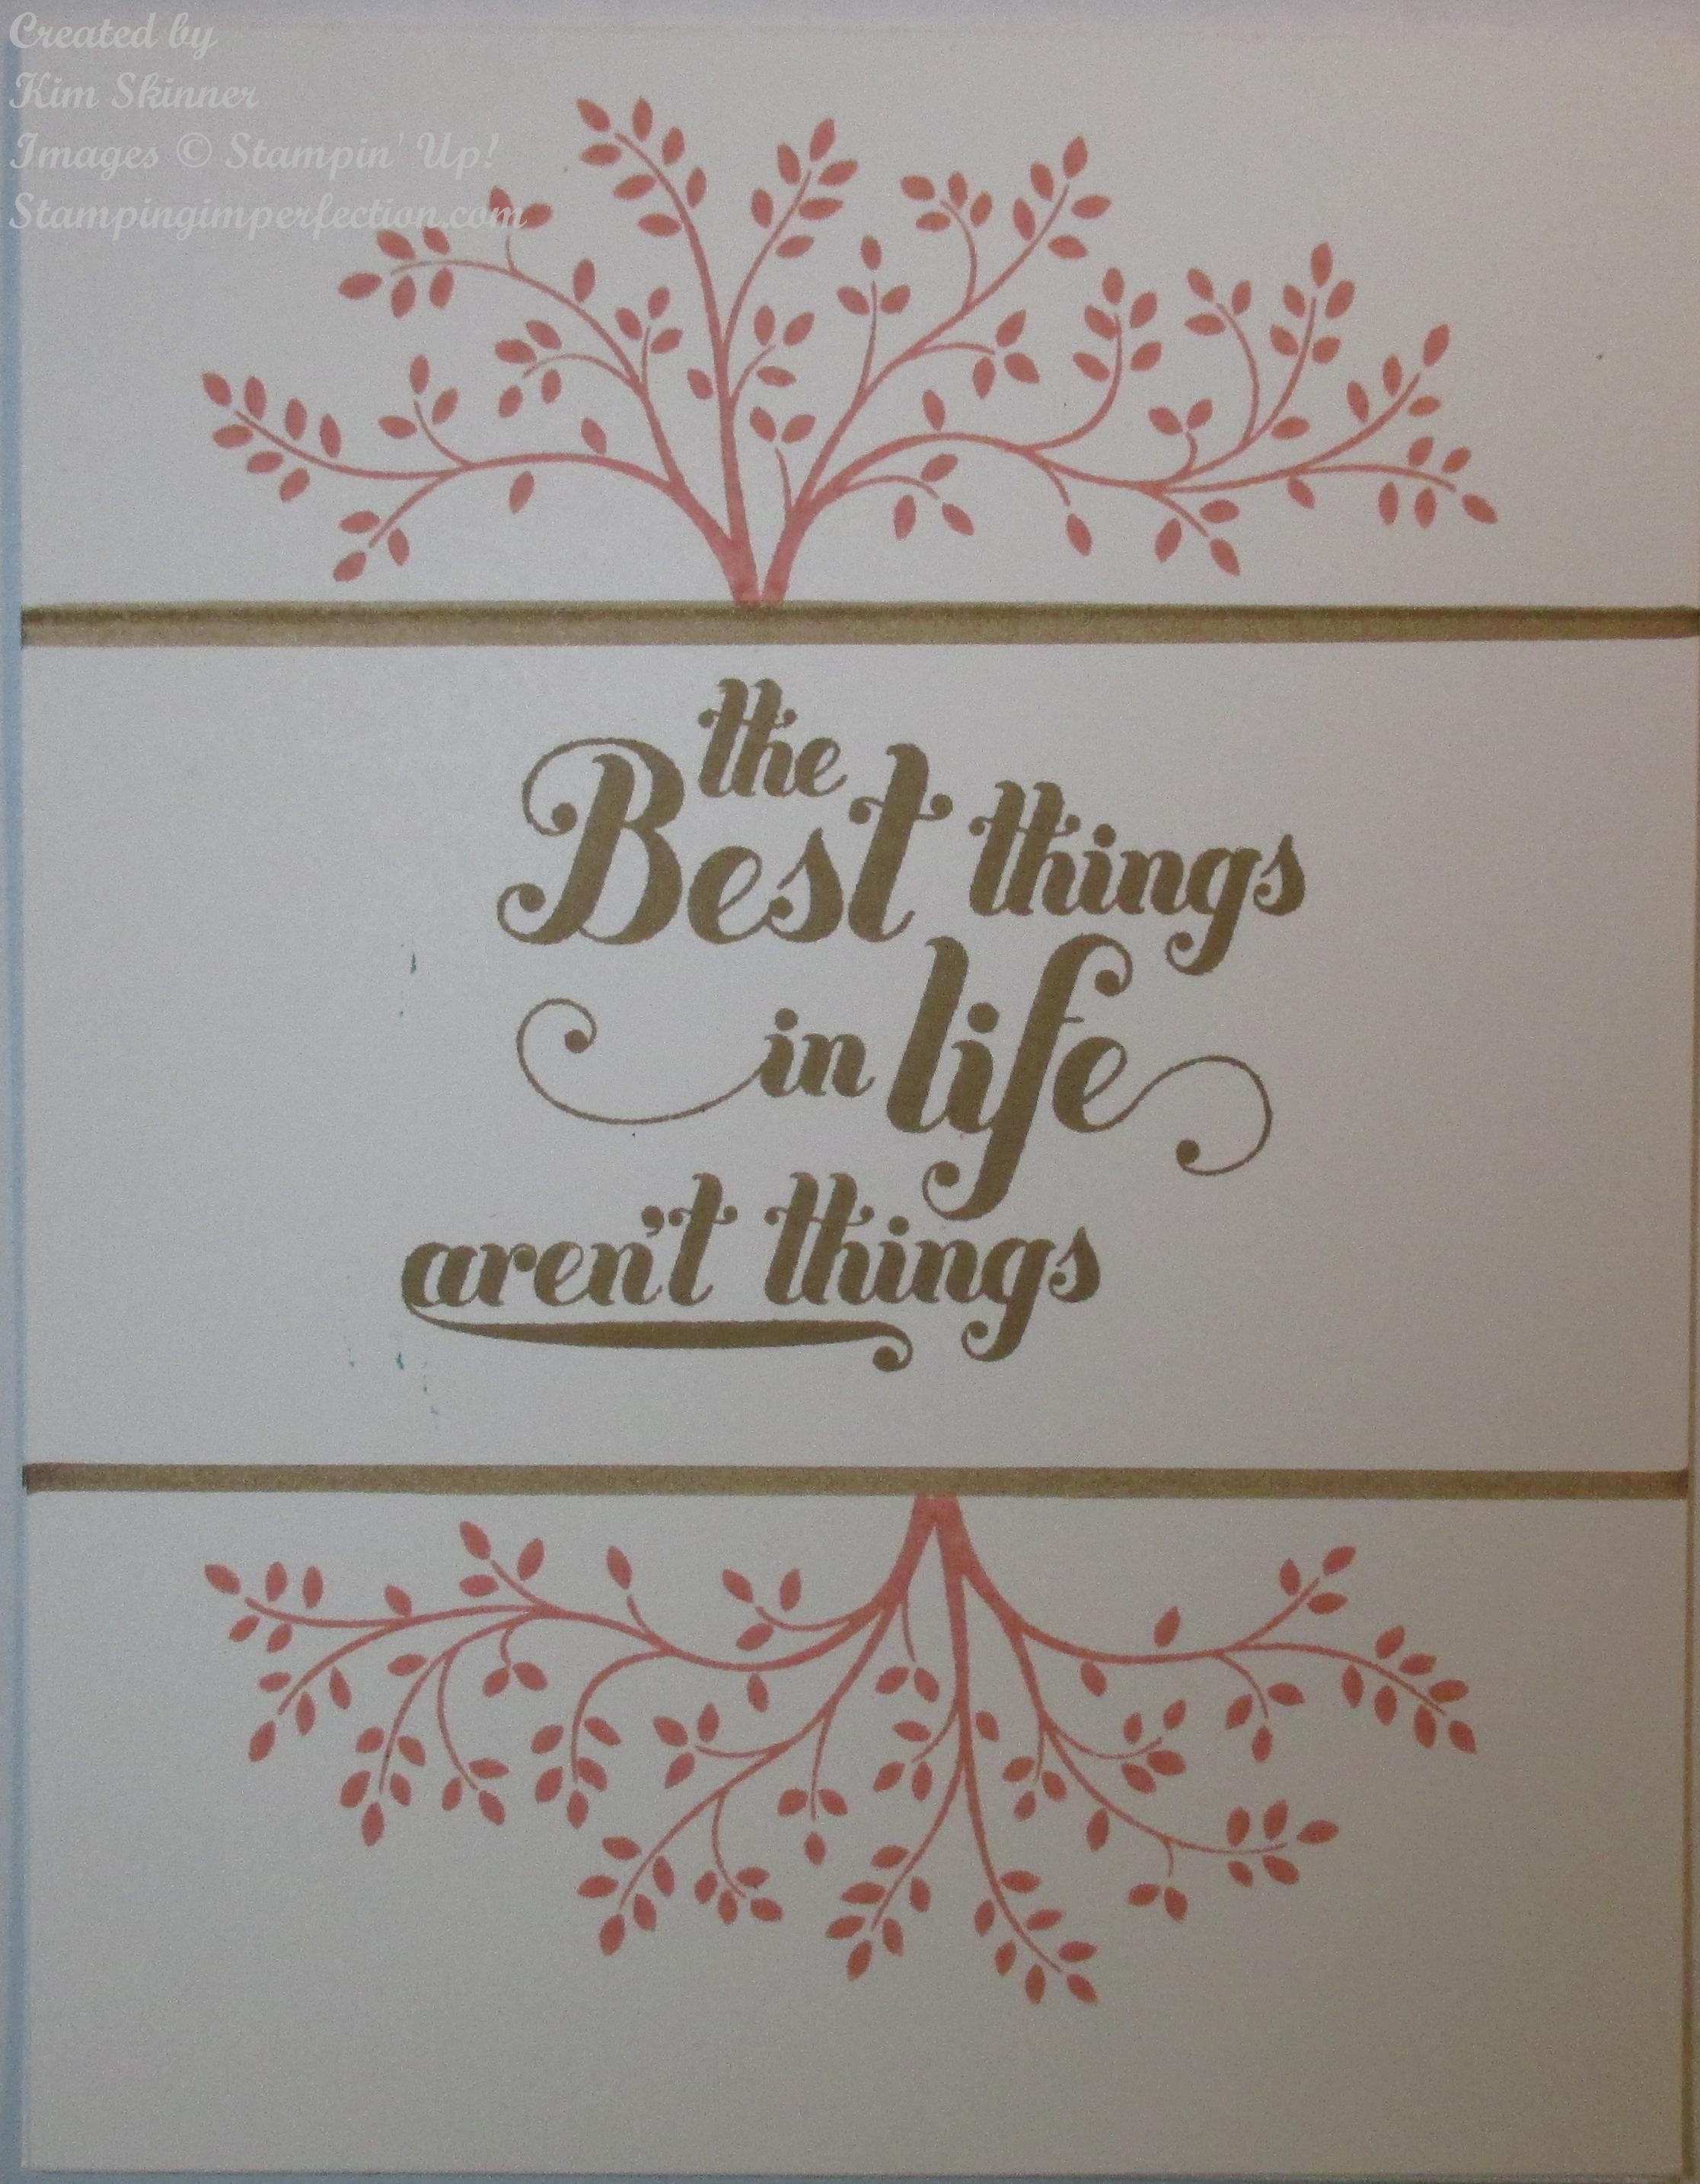 You’ve seen me use this technique before. It’s called the In Between technique. I used a Baked Brown Sugar Stampin’ Write Marker and a Crisp Cantaloupe ink pad. There are two stamp sets used here as well: Feels Good and Thoughts and Prayers.
Basically, I stamped my sentiment in the middle of my card front which is one half of a piece of Whisper White card stock, cut at 4-1/4 x 11 and scored and folded at 5-1/2″. Then I placed my size H clear block over the top of the sentiment and drew a line with my marker along the top and the bottom of the block. I placed a giant post it note along one line to mask or cover the image and stamped the tree image from the Thoughts and Prayers set in Crisp Cantaloupe. I flipped the post it over to the other line and stamped the tree image again in the opposite direction. Done!!!
Card 2:
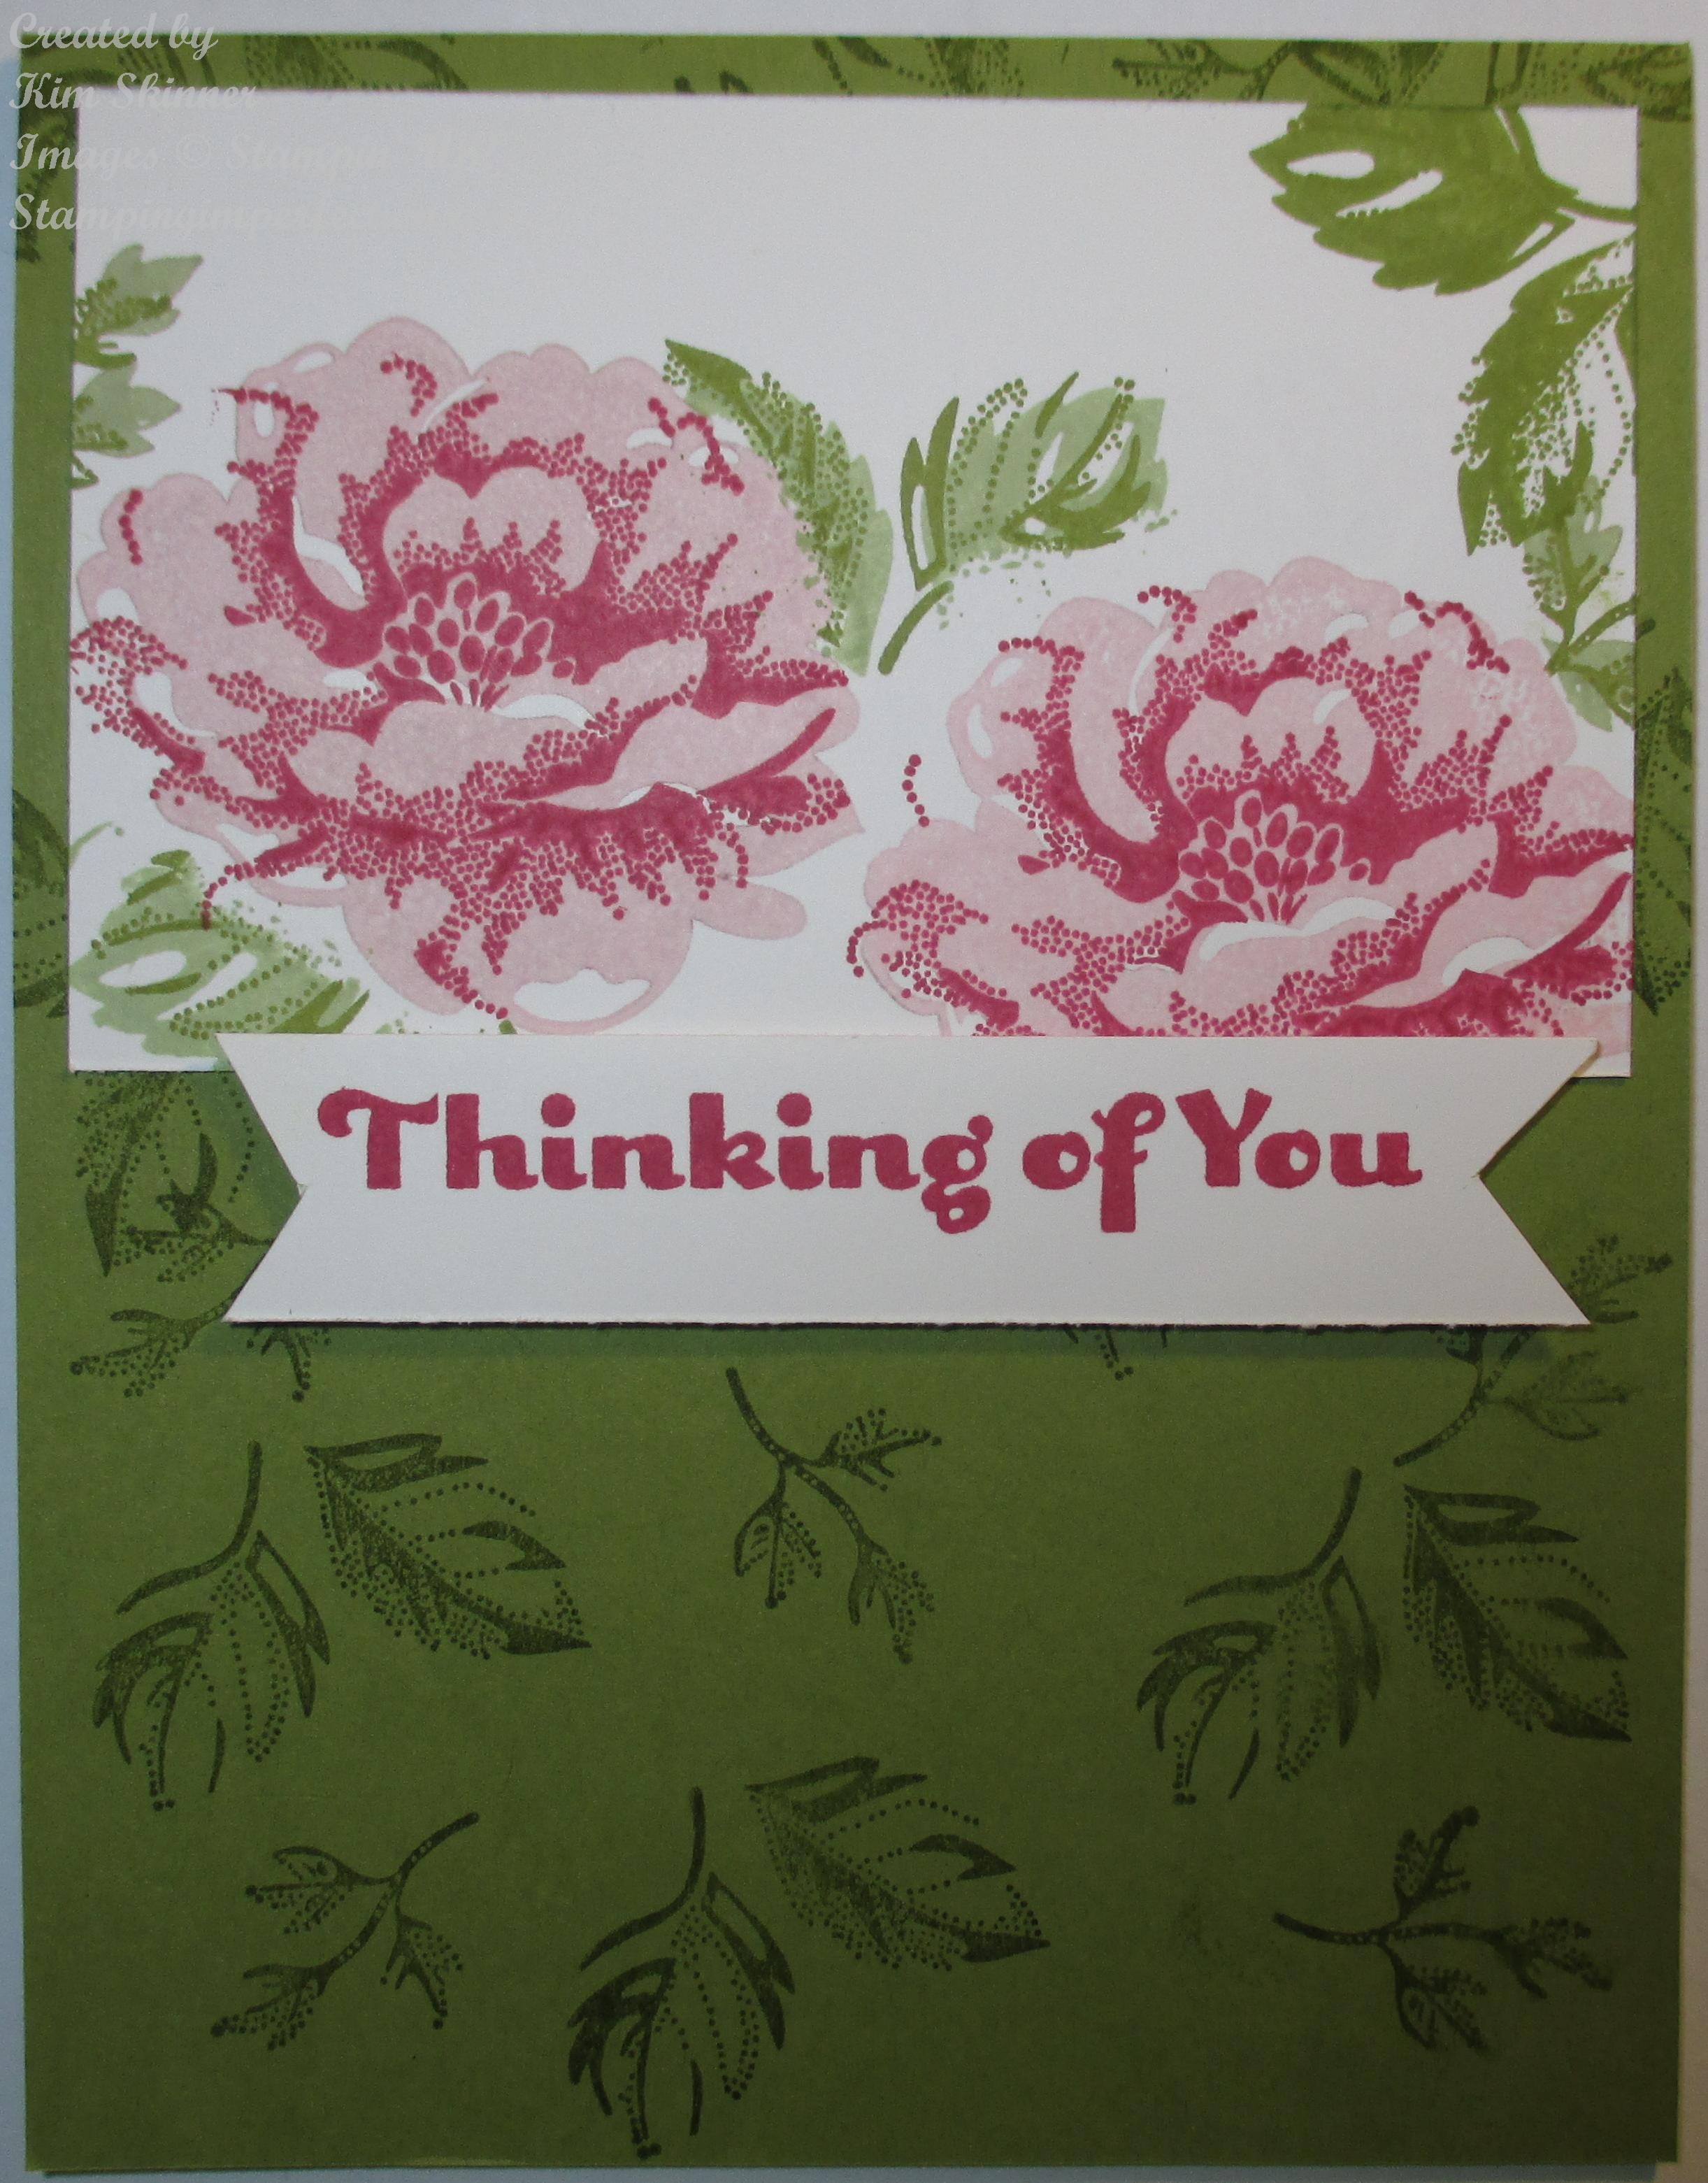
This card uses one half of a piece of Old Olive cut at 4-1/4 x 11″ that is scored and folded at 5-1/2″. I stamped the smaller leaf outline images from the Stippled Blossoms set in Old Olive ink all over the card front. There is a piece of Whisper White card stock cut at 2-1/2 x 4″. This is a two step stamp, which means there are two stamps for each image. One is a solid stamp that is the base of the image. Stamp this in a light color, like Blushing Bride. Then the outline image goes on top and is stamped in a darker color like Rose Red. I never try to line that top image up perfectly with the bottom. It’s not supposed to line up perfectly! (Let go of the perfectionism and just have fun stamping. It doesn’t have to be perfect. I know that every perfectionist noticed that the top line on the first card isn’t a uniform thickness. It doesn’t matter. It’s a pretty card even if it is not perfect!)
I created a mask for each flower by stamping the solid image on a post it note twice and cutting out each image. I used these to cover the flower images so I could stamp leaves over it without them overlapping the images. This is called masking! I then stamped the bottom of the leaves in Pear Pizzazz and the top in Old Olive. I attached this piece to the top of the card with snail.
The last part of this is the sentiment. I stamped a sentiment from Four You in Rose Red on a piece of scrap Whisper White. I trimmed it, cut the banner ends and attached it to the card with stampin’ dimensionals. (Shelly said that layers were okay in a SIP card, so I didn’t violate her rules.) Again…done!
You don’t need a ton of supplies to create pretty cards. Even beginners can use new techniques with just a few supplies to create cards that they are proud of. In all honestly, I’m not a beginner and I’m proud of these cards. (Smudges, warts and all!)
Keep in mind that I was talking on the phone at the time I was creating the cards. But let’s face it, I’m just not a perfectionist! Even under the best of circumstances!
Shop for your Stampin’ Up! supplies at mystampingstore.com!
If you don’t have a catalog, you can view it online: 2013catalog
If you would like a catalog, please fill out the form below. I would be happy to send you one!!!
Thank you for stopping by!

Shop for all of your Stampin’ Up! supplies online at mystampingstore.com!!!


