Have you ever participated in a color challenge?
I’ve been interested in doing the 30 day coloring challenge, but I never seem to have a 30 day period where I know I can actually commit to coloring every single day. This 14 day challenge seemed like a good starting point.
It’s been very different than I expected. This was a challenge that I paid to participate in so I was expecting a video every day with some tips and tricks because that was what was advertised. We get an email every night with a short video with a quick assignment to complete…a prompt essentially.
I wasn’t actually expecting a starting from the beginning skills with an assignment on flicking and blending. I’ve been working on those techniques for months now and I was hoping for some more medium skill level tips on shading. It never hurts to keep practicing the basics just to build muscle memory.
We post our projects in a Facebook group each day. I always love to see what other people are posting and leave comments of encouragement. It’s always fun to see how your skills aren’t that different from everyone else’s!
Here is what we’ve done so far:
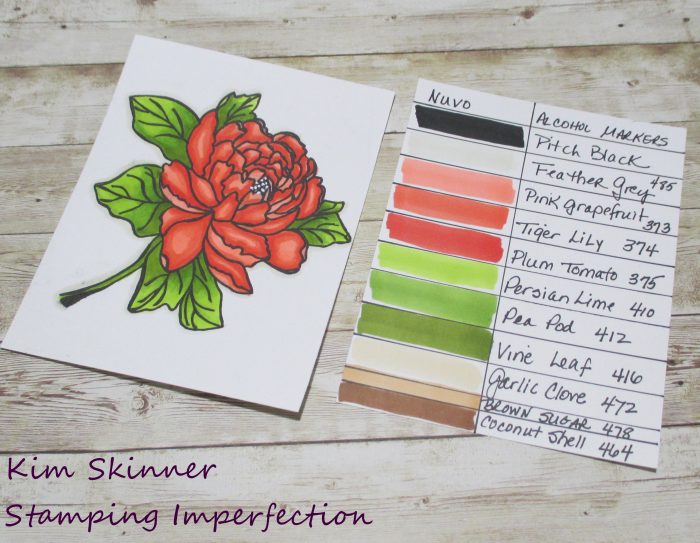
Day 1: Stamp an image and color it in to show your skills so far.
This is the before picture for the challenge.
We are using two stamp sets and two sets of 3 Nuvo Alcohol Markers for this challenge. I created my color swatch card of the Nuvo markers the first day for reference. (This is something I’ve learned from all the coloring and watercoloring classes that I’ve taken to date, so now I just do it automatically when I get a new medium.)
I used my favorite Altenew Permanent black ink for this. I LOVE this ink because it just works for me for everything. It’s my go to black ink.
I’m not in love with the Nuvo alcohol markers. They have no brush tip, just a bullet and chisel tip. This is new for me to get used to and I definitely prefer my Altenew Artist Markers or my Copics. The Nuvo are not refillable and that gray one feels pretty dry right out of the package. The same thing happened with the Nuvo Embossing Ink Pad that I got in one of the card kits as well. I find that I am reluctant to spend my money on Nuvo ink products as a result. I’m always happy to get them in kits to try them out, but I’m sticking to my Altenew and Copic alcohol markers and my Versa Mark embossing ink! I have loved some of the other Nuvo products that I’ve tried. Those Mousse pastes and the jewel drops are fantastic. Some of the tools are also fantastic.
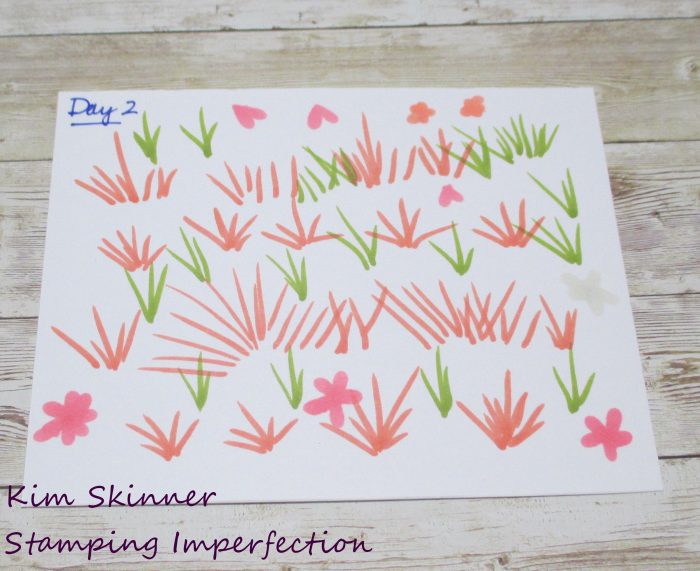
Day 2: Practice flicking and create some stems, hearts and flowers.
I used the bullet tip for this. The point is to flick lightly and not have a big blob at the base of your flick. This is a cute and easy way to add some hand drawn touches to card backgrounds.
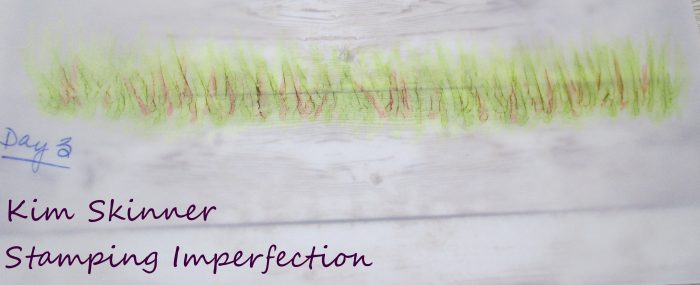
Day 3: Create a meadow with flicking.
This was to be done on vellum card stock. This was also part of the kit you could purchase to go along with the color challenge. I’m a regular kit subscriber, so I already had the kit in August and just paid for the October challenge portion.
Day 4: Practice flicking to the left and then to the right to blend the flicks together in the center.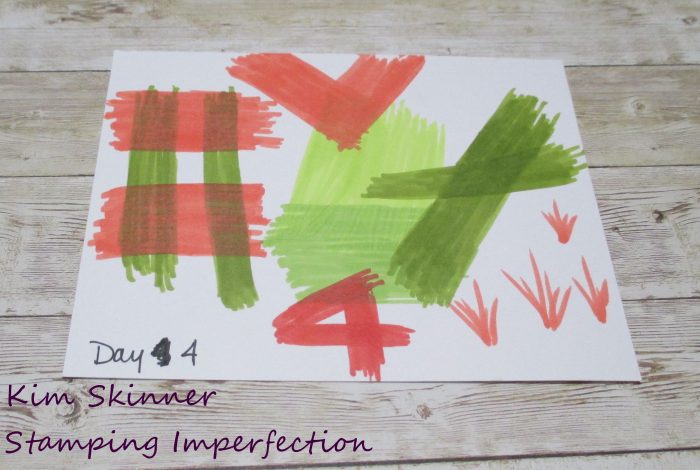
She said to be creative with it. I wasn’t quite sure what that meant, so this was how I interpreted creative. I’m also much better at flicking in both directions now! It turns out that I like to flick left to right so it was good to practice going in the other direction.
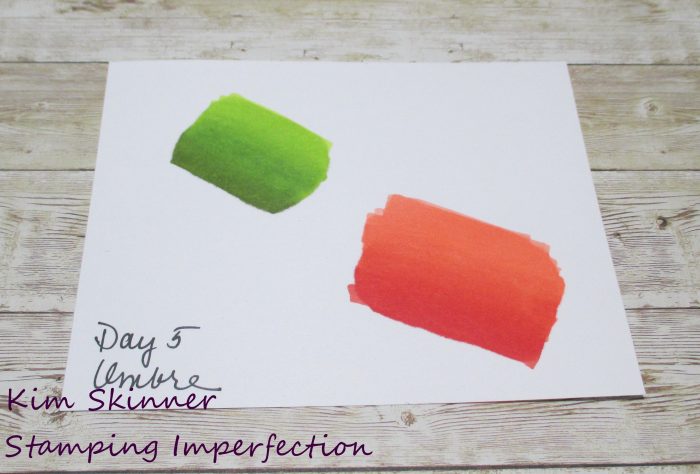
Day 5: Blend the 3 shades of each marker set together.
The point is to get an Ombre effect and not have a line delineating one color to the next.
Day 6: Stamp with the Gina K. Amalgam Mini Ink Pad to see how fabulous it is with the alcohol markers and then play around with the blender brush. (Also in the kit.)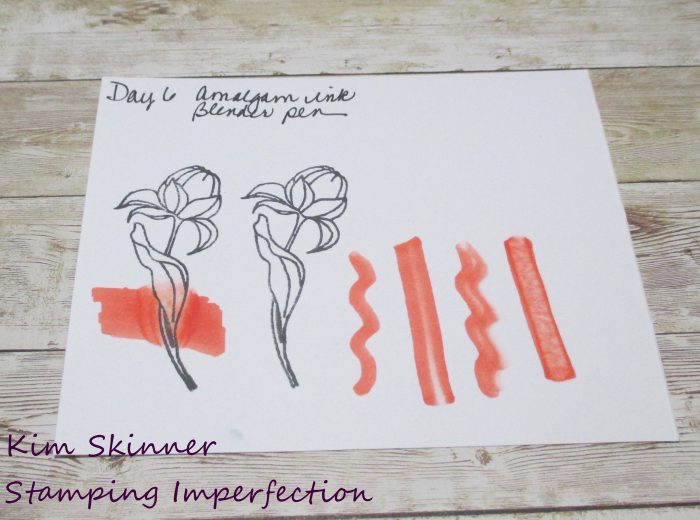
I’m also not as in love with this ink as most other people seem to be. I just really like that Altenew Permanent Black ink for alcohol marker coloring and regular stamping.
My take away here is that the amalgam ink must be heat set with your heat tool or it will run when you start adding your alcohol marker coloring. I also learned that you can create interesting stripes by swiping your blender pen on the actual marker tip to bleach out the color temporarily.
Day 7: Color some leaves on vellum.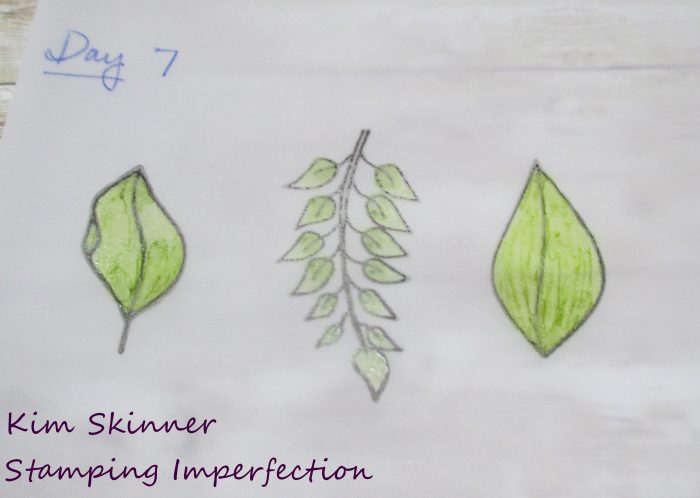
Coloring on vellum gives an interesting textured look, but I don’t find it easy to shade on vellum. It will be a perfect medium to use when I want lines to show and I want that textured and shiny look.
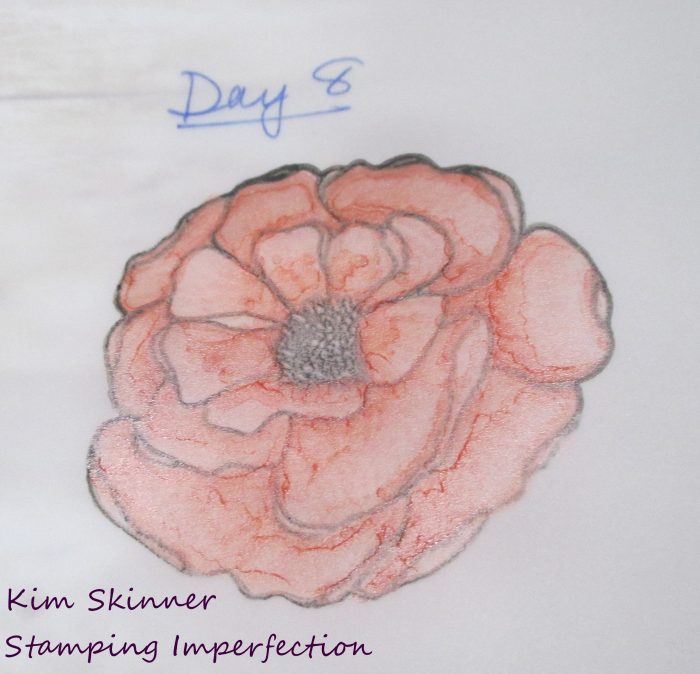
Day 8: Stamp and color one of the floral images.
Again, on vellum so you get a more textured look. It’s interesting, but the colors don’t really blend. I think this could make a pretty stained glass look for a fun technique on a card. This will be on my list of future things to try.
So that’s what we’ve done so far. Apparently there is supposed to be a couple more days of these little practice activities and then we do a final project for the last few days.
There is supposed to be a live Facebook event for this evening so we can ask questions, but no time was given and it is already 7:30 PM. I get up at 4:50 AM and leave my house by 5:30 AM. This is getting late for me and I am not sure if I will be sticking around for a live chat on Facebook if it doesn’t happen soon.
Alas…only 43 more work days and I will be blogging and papercrafting full time! I am never getting up in the dark again when I retire! That’s all I’m saying. I’m a night owl by nature and I can’t wait to sleep until the sun starts shining! I am truly looking forward to not have to drive in the dark to work ever again!!!
Well my crafty friends, I just wanted to share what I’ve done so far in the alcohol marker coloring challenge. I’m never sorry when I take a class or do a challenge like this. You always get a useful tip or two and it’s always fun to interact with other crafty peeps in the social media groups.
Thank you for stopping by! Happy crafting!

