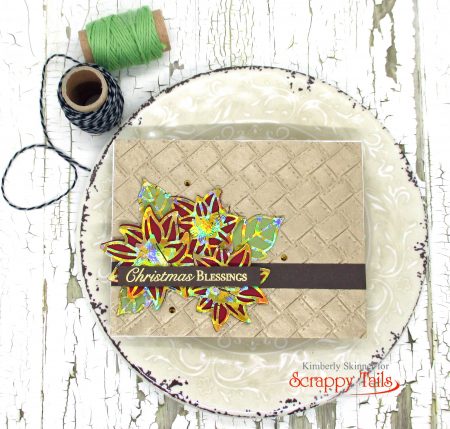
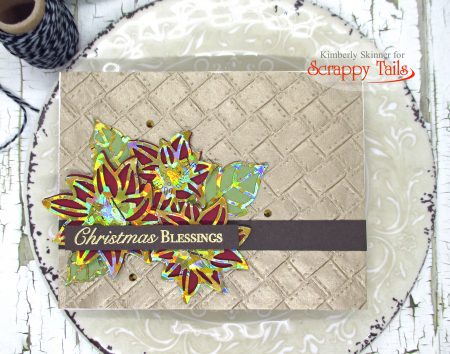
I’ve been looking for an excuse to use the Therm-o-Web Deco Foil toner sheets to do some foiling with my laminator. I decided to try them out today to create a Christmas card with my Poinsettia Dies from Scrappy Tails Crafts.
A couple of months ago I won a gift card to Therm-o-Web’s store. One of the items that I selected was the set of toner sheet papers. These are just paper covered in toner (like you would add to a laser printer) that is activated by heat like a laminator. The toner melts and sticks to the thermal foil when you run it through the laminator.
The toner sheets can be die cut with any die that you have and then you can send it through the laminator with your favorite heat activated foil. Gina K, Brutus Monroe, and Therm-0-Web all have heat activated foil (or thermal foil). This wouldn’t work with something like aluminum foil because that is not heat activated or thermal foil.
I die cut the intricate dies for the leaves and flowers out of the toner sheet and ran them through the laminator. When you do this, the black toner side of the die needs to be placed against the back of the foil as you run it through the machine. I always use a piece of copy paper folded in half as my carrier sheet. I place the foil inside shiny foil side down with the toner die cuts layered behind it with the black toner side against the back of the foil. Send this through the laminator folded edge first.
I also used a piece of Tonic Specialty paper that has a basket weave pattern as my card front. This was cut at 4-1/4 x 5-1/2″. I’ve had it in my stash for YEARS! I don’t think it’s available any longer, but I bet you have something like it in your stash…wood grain paper, wood veneer paper, an embossing folder that would work…you see where I’m going with this!
I added a 1/2″ strip of chocolate brown paper like a belly band along the bottom 1/3 of the card. This feel necessary to give your eyes a place to rest from all that basket weave.
I added the foiled intricate top dies to cherry red and eucalyptus green solid base die cut flowers and layered them on in the lower left corner of the card.
My sentiment is from the Scrappy Tails Crafts Cardinal Blessings stamp set. It is heat embossed in antique gold powder using the leftover strip of the chocolate brown piece. I added that above the flowers with some foam tape.
The card is finished off with 3 Solar Flare Crown Jewel Gems place in a triangular shape to draw your eye around the focal image of the card.
Process Video:
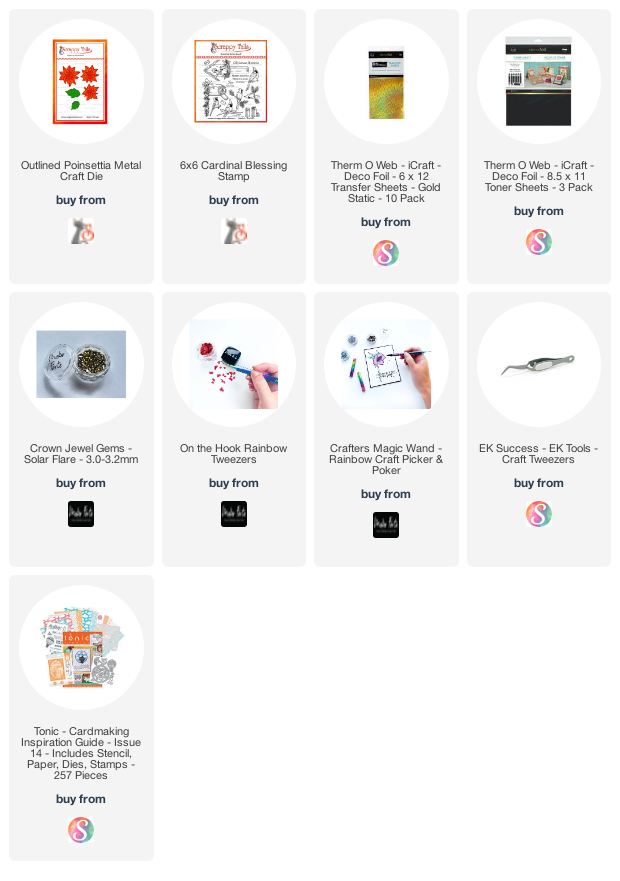
Supply List:
Are you interested in the products I used? To make them easier for you to find, I have linked them below. (Affiliate disclosure ) As an Amazon Associate I earn from qualifying purchases. Your purchases help keep my blog running at no additional cost to you and I thank you for the support! If you just click and browse the store, that really helps me out too. It lets shop owners know that you like the work I am doing for them! I thank you so much for clicking my links and supporting my blog and YouTube channel!!
Thank you for stopping by! I hope you have a browse in the Scrappy Tails Crafts shop. You will find some really unique and fun to create with stamps and dies!!

