
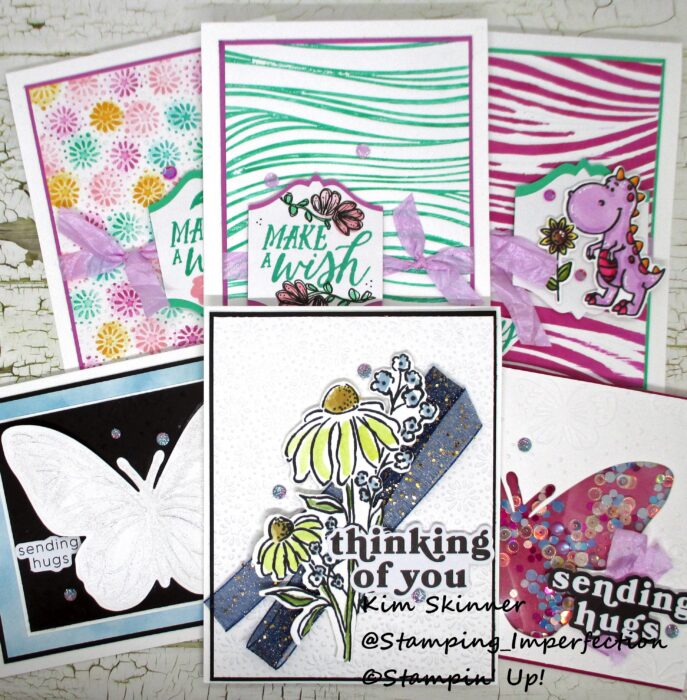
I love clean and simple cards. There are days however, that I love to do all the techniques. Today, I want to share 5 inking techniques that you can use to step up your embossing folders and I also cover the basics of using embossing folders.
Stampin’ Up! has 3 different kinds of embossing folders you can purchase.
- The Original Style
- 3 D Embossing Folders in 2 sizes
- Hybrid Embossing Folders
The Original Style simply embosses an A2 sized card front and gives you lots of fun texture and dimension in whatever pattern the folder has. You just stick you card stock inside the folder, put the folder in the appropriate sandwich that your die cut machine requires fold first, and run it through your machine. It’s all ready to be added to your card when it comes out the other side.
The 3D Embossing Folders give you tons of texture. They work the same way, except you need a different sandwich to get them to run through your machine. Usually, you use one less cutting plate, but you have to experiment with the machine you have. My old Sizzix Foldaway requires a shim to get it to work. I have a piece of tag board I labeled and use to run the 3D folders through. There are also 2 sizes of folders. One is a 6 x 6″ size, the other is a 6 x 8-1/2″ size. I have yet to take advantage of the larger size some of my folders have. I’m thinking I should be using those on my scrapbook layouts once in a while! TIP: If you find that your paper is cracking when you use the 3D folders, spritz the paper with water before you run it through the die cutting machine. This should help prevent the cracking!
The final folder is a Hybrid Embossing Folder. The hybrid folders come with a die set that has at least one die that will cut and emboss an image from the folder at the same time. I show how to use this in my video below!! They are gorgeous! You can also use the folders without the dies as well. Also, you can use the dies without the folder!
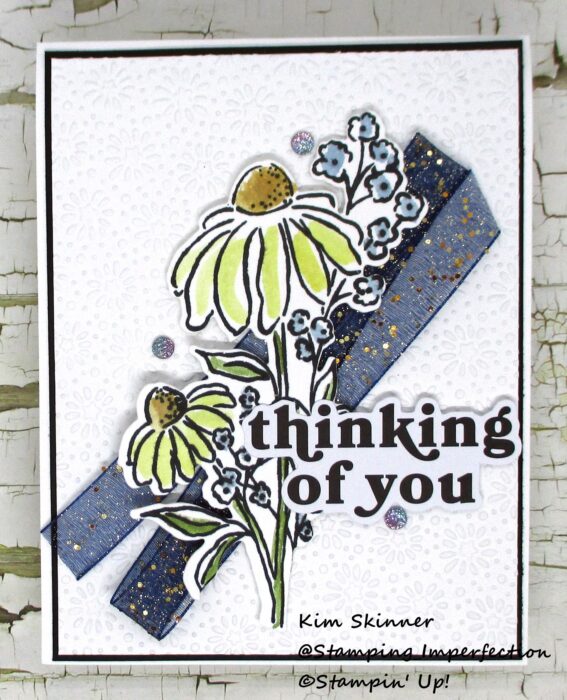
I love the elegance that a simple embossed background adds to a card. I always find it to be a lovely addition! I’ve used the Mixed Media Florals and some of the FREE SAB Night of Navy and Gold glitter ribbon. The gems are Two Tone Sparkle Gems. The sentiment is from the Mix and Match Greetings Ephemera set. This is the FREE SAB Starstruck embossing folder.
Technique 1: Sponge Daubers
Once you emboss your folder, you can easily add color by using sponge daubers and lightly adding ink to the embossed parts.
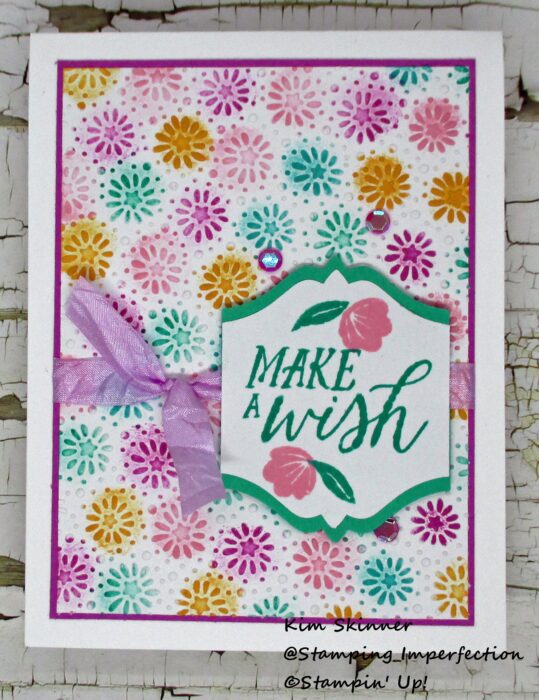
I used the 2024-2026 In Color set of inks to add all this fun color! This is an easy technique that allows you to add lots of color after you emboss the panel.
I’ve also use the Birthday Celebration stamp set and the To the Point Punch here. I used the FREE SAB Fresh Freesia Ribbon and the FREE SAB Purple Sequins as well.
Technique 2: Swipe Ink (Direct-to-Paper)
The second technique is also done on an embossed panel. Once you emboss the panel, you simply and very gently, pull the ink pad across the panel to add ink to the embossed parts. This takes a little practice to have a light hand while doing this. It also helps if you aren’t using a newly inked and juicy ink pad! This is the 3D Soft Waves folder. Look at all the color I got here!
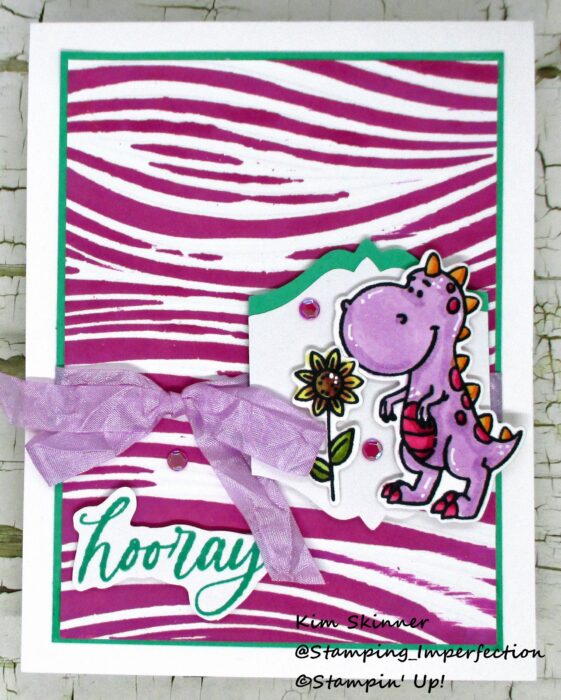
How cute is this? I used the Darling Dinos and the To the Point Punch to decorate this one. I really like this technique! It was quick and easy and not too messy!
Technique 3: Add ink to the inside of the front cover of the embossing folder!
The front cover is the one with the Stampin’ Up! logo. It also has a line that you can use to line your papers up straight when you place them inside!
Simply swipe your ink pad across the inside of the front cover, add your paper and run it through the machine. The color is instantly added to the debossed parts!
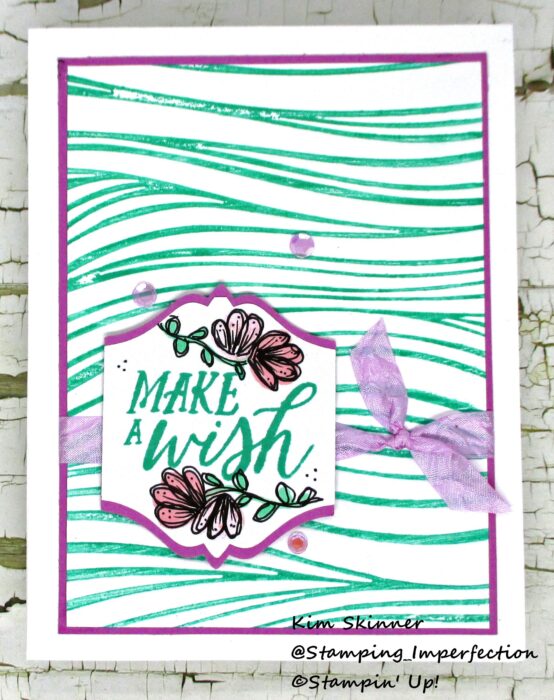
Once again I used the Soft Waves folder, Birthday Celebration, To the Point Punch, Fresh Freesia ribbon, Purple sequins, and the new In Color inks and papers. This is another easy technique. You simply clean up your embossing folder with water and a rag!
Technique 4: Swipe the inside of the back cover with your ink pad!
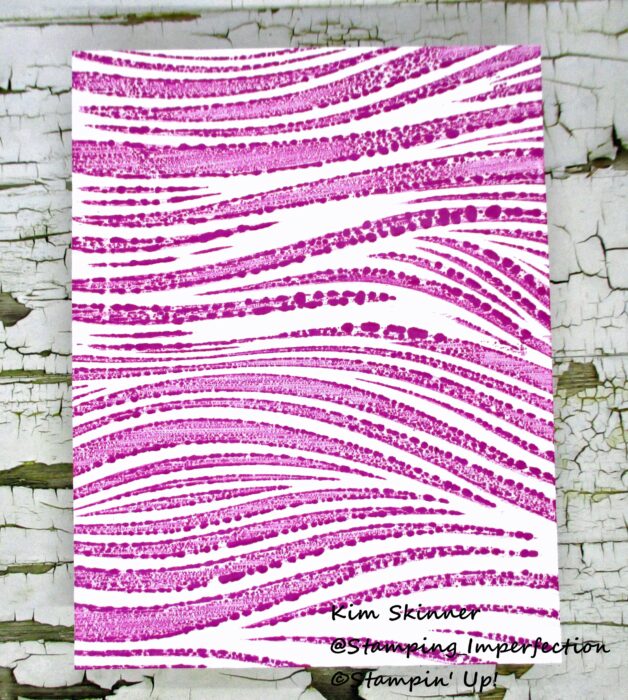
I didn’t make this into a card yet! You can see that since there are more debossed parts on the back, you get more color when you swipe the back. This is a great technique for 3D embossing folders. With regular embossing folders, you get fairly solid color with spots of white since much of the back is debossed.
TIP: Experiment with your embossing folders and figure out which way you like it better!
Technique 5: Swipe your ink pad on one of the inside covers, then spritz with water!
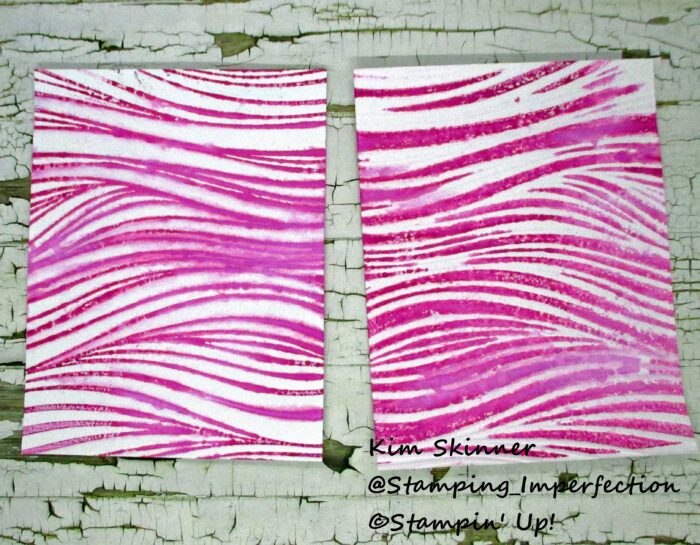
The panel on the left is the inking of the front and the one on the right is the back cover. I really like this. You get shades of that ink color and I think this will make for pretty backgrounds.
I have a nice stack of backgrounds all ready to go now that I spent an afternoon playing with my embossing folders.
Free Printable Tutorial:
Embossing Folder Techniques 35-38: Stamping Imperfection Embossing Techniques 35-38
Embossing Folder Techniques: 39-42: Stamping Imperfection Techniques 39-42
Check out all the details in my video:
You can also see the supplies I used:
Product List

")


")


 Glittered Ribbon")

")


 Designer Series Paper")

 Seam Binding Ribbon")

")
")
")

Thank you for stopping by! I hope you found this helpful!!
Have a great day!


