I’ve had a technique and a stamp set that I’ve been meaning to get to for a couple of weeks. I finally got to sit down and try it. I even made a video…which is my longest video ever.
I used a watercolor lifting technique with Concord & 9th’s Dotty Turnabout Stamp. Actually, I end up using several Concord & 9th stamps and dies to complete the cards. I LOVE their stamps and dies. The turnabout stamps are GENIUS!
The fun of watercolor lifting is that you create a watercolor background and let it dry completely. Then you stamp an embossed image in clear on top of the dry background and then add water and blot to remove some of the color from the background. This is an emboss resist technique and you can see that while the color of the background was removed, the color remained bright and dark behind the embossed images.
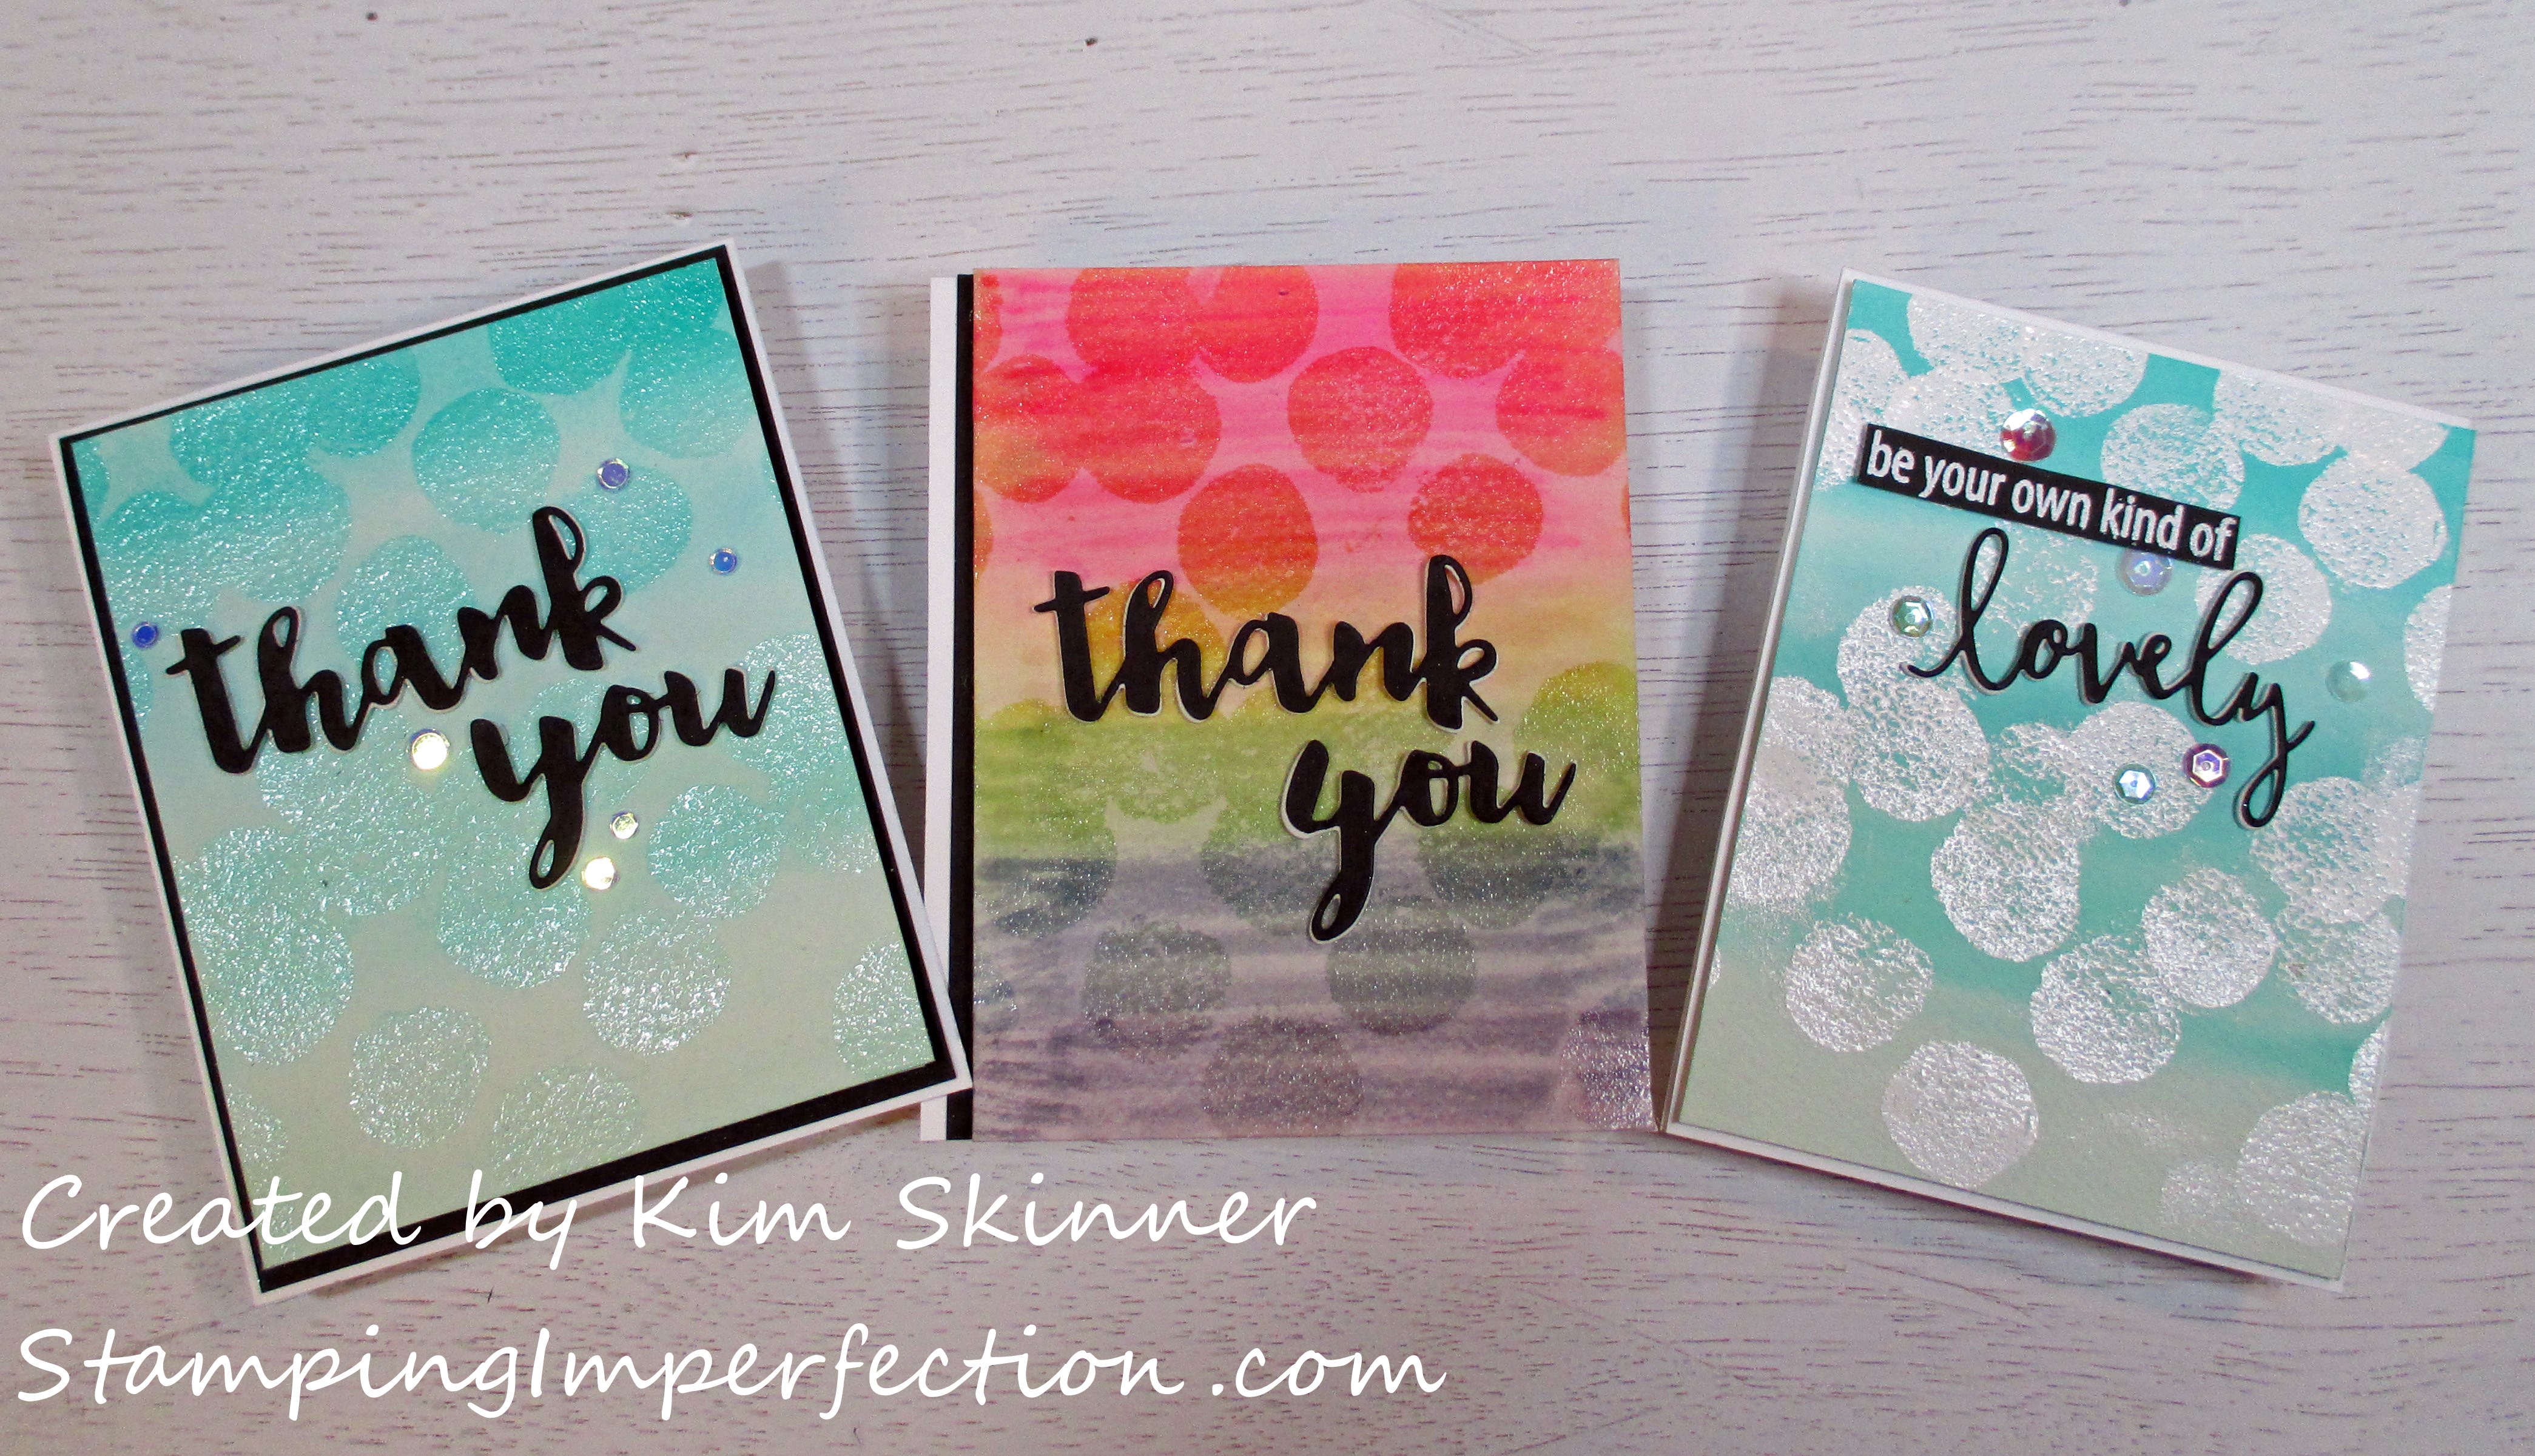
Here are the 3 cards that I created:
Stamping Imperfection Watercolor Lifting Technique of the Week
The first two cards use the watercolor lifting technique while the 3rd card uses a watercolor background without the lifting. All 3 cards use the Concord & 9th Dotty Turnabout Stamp. All of the stamps and dies used are from Concord & 9th. The inks are from Altenew and Ranger.
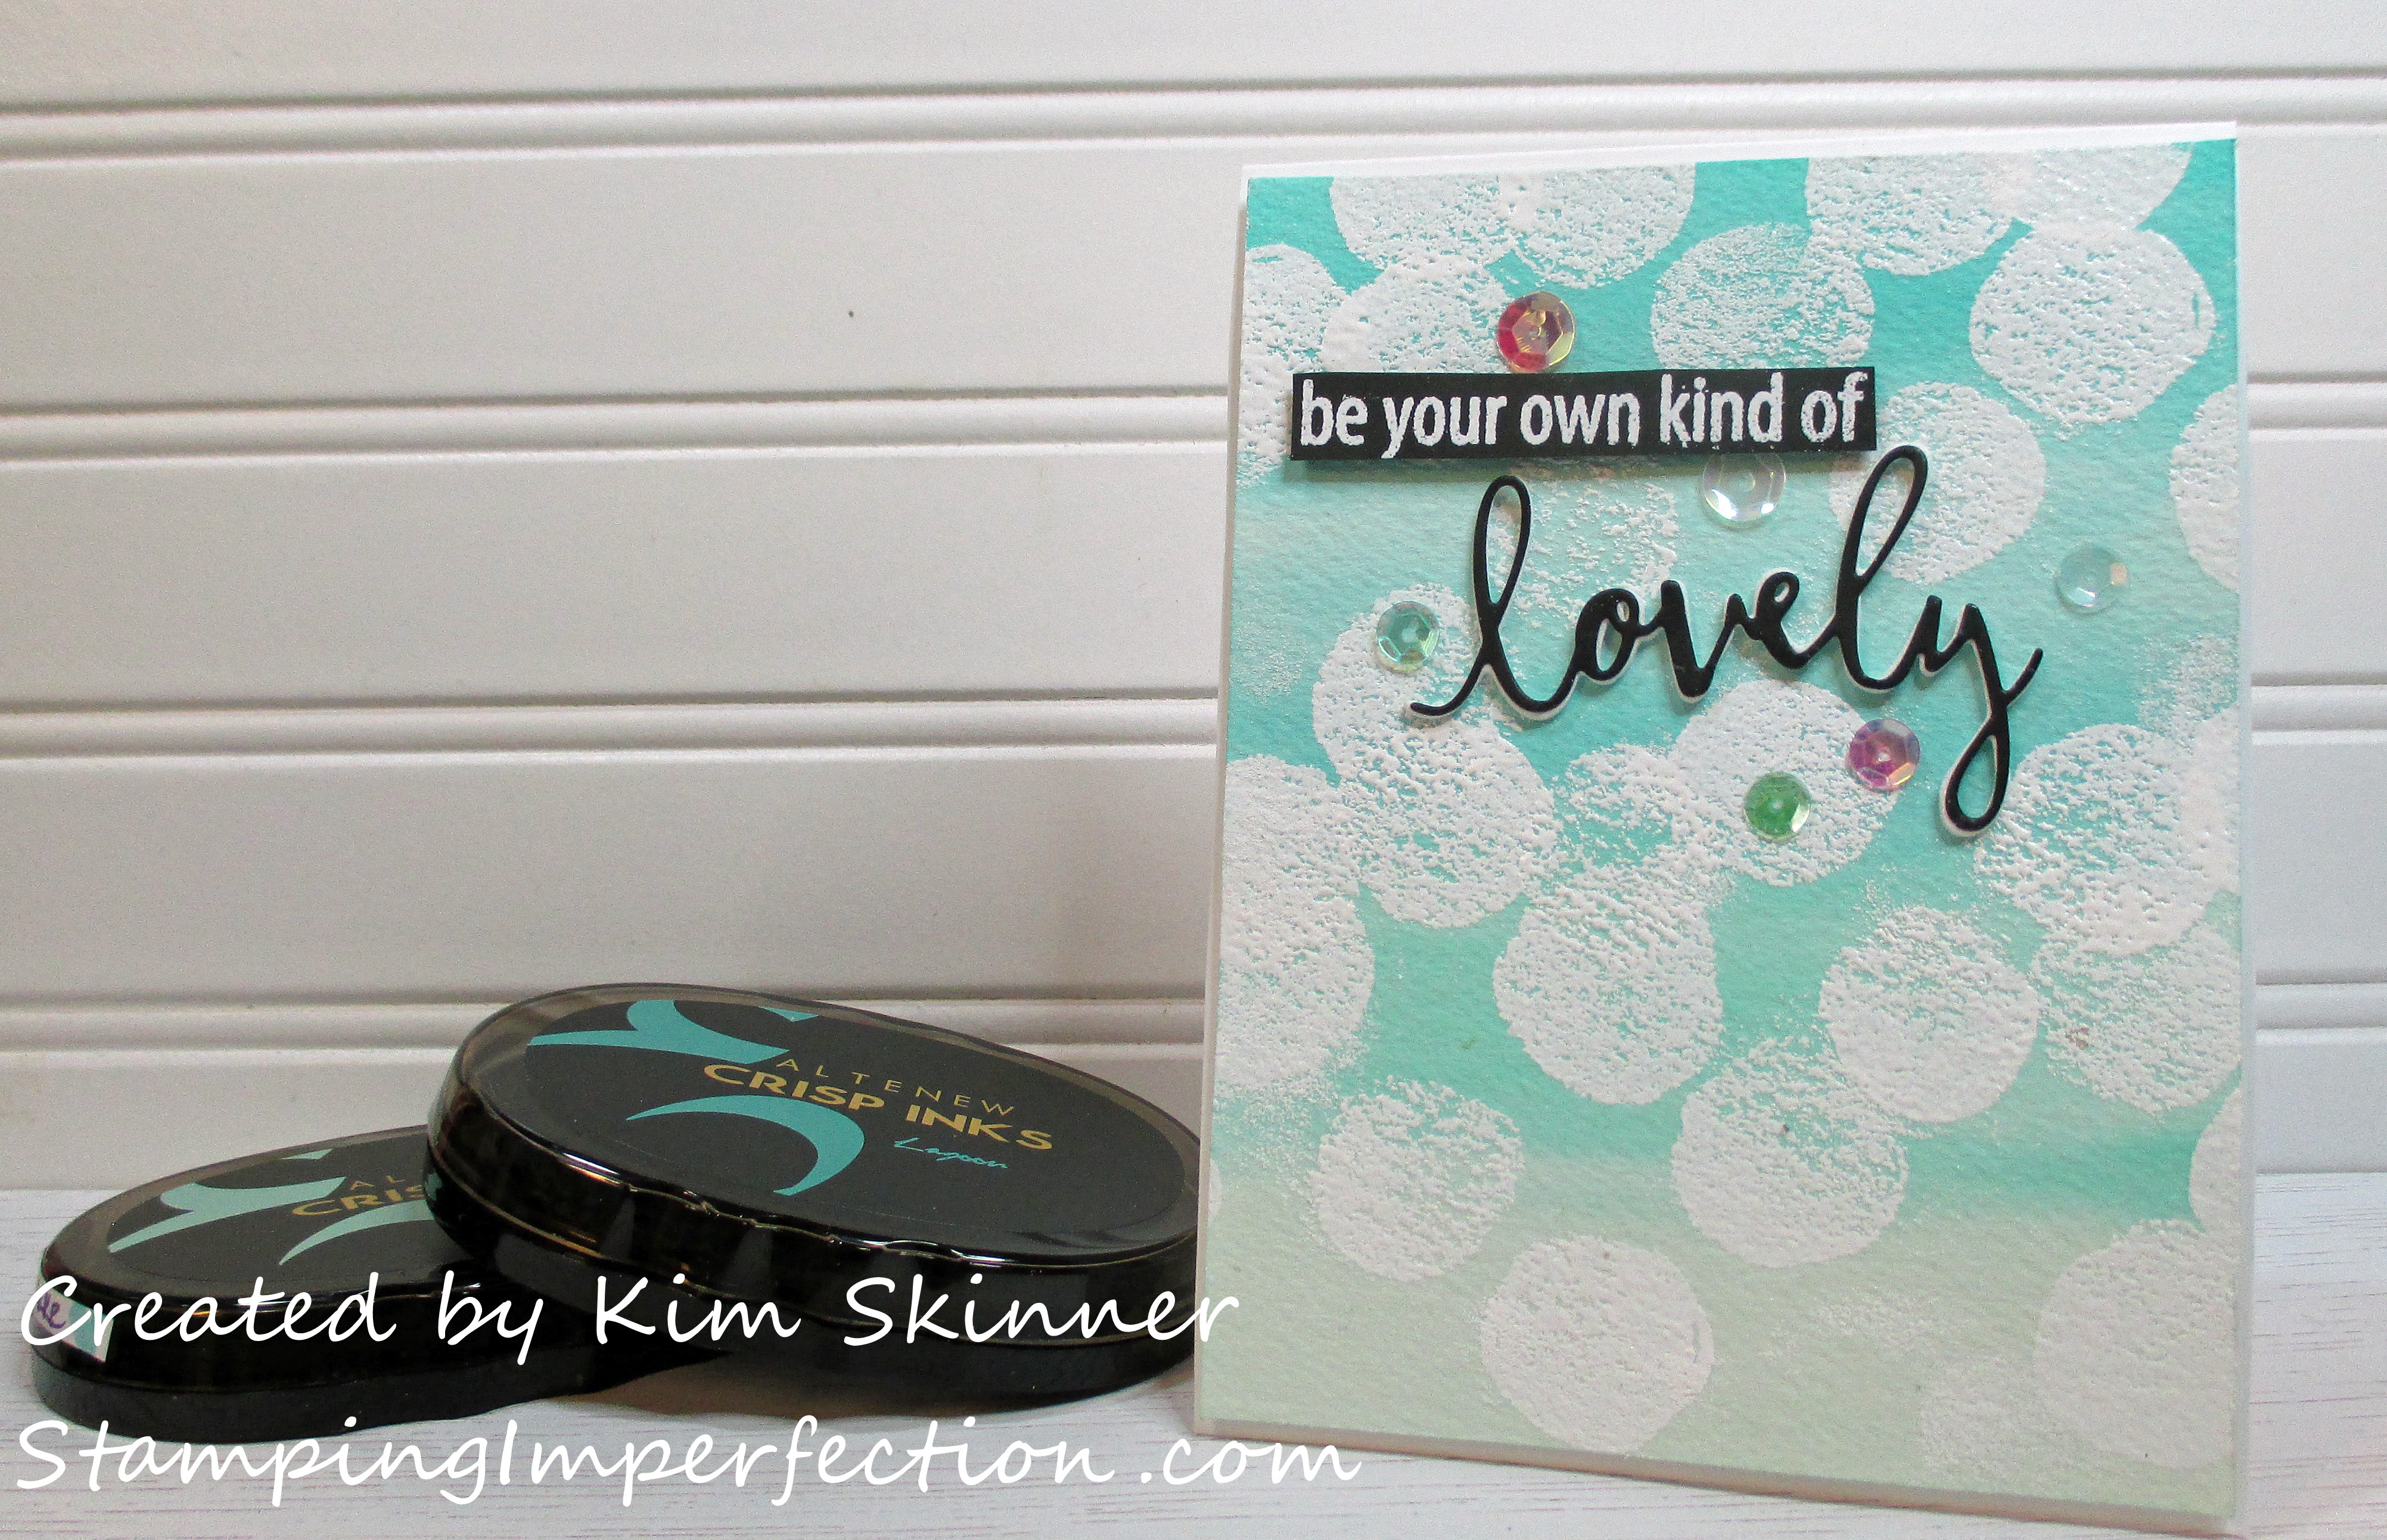
Card 1: Turnabout Stamp with a watercolor background
Card Recipe:
White card base cut 4-1/4 x 11″, scored at 5-1/2″
watercolor top cut at 4 x 5-1/4″
Lucy’s Cards Enchanting sequins mix
white embossing powder, Versa Mark ink, heat tool
Altenew Sea Shore ink pad set
3/4″ flat paint brush
Concord & 9th Dotty Turnabout stamp, lovely script die, Beautiful Words stamp set
Sizzix double sided sticky sheets, double sided tape
Stamping Imperfection Turnabout Stamps Technique of the Week
I love the beautiful script die cut and the sentiments that are included in the Beautiful Words stamp set are just wonderful. The selection of lovely sentiments in that set is going to keep me making happy cards for a long time.
Isn’t the watercolor wash background beautiful? This set of inks from Altenew is one of my favorites and I find myself reaching for that Volcano Lake ink pad more than I can tell you. Is it green or is it blue? It is beautiful.
The Dotty Turnabout was turned once for each of these cards. I’ve done 2 stampings on each card with the turnabout stamp.
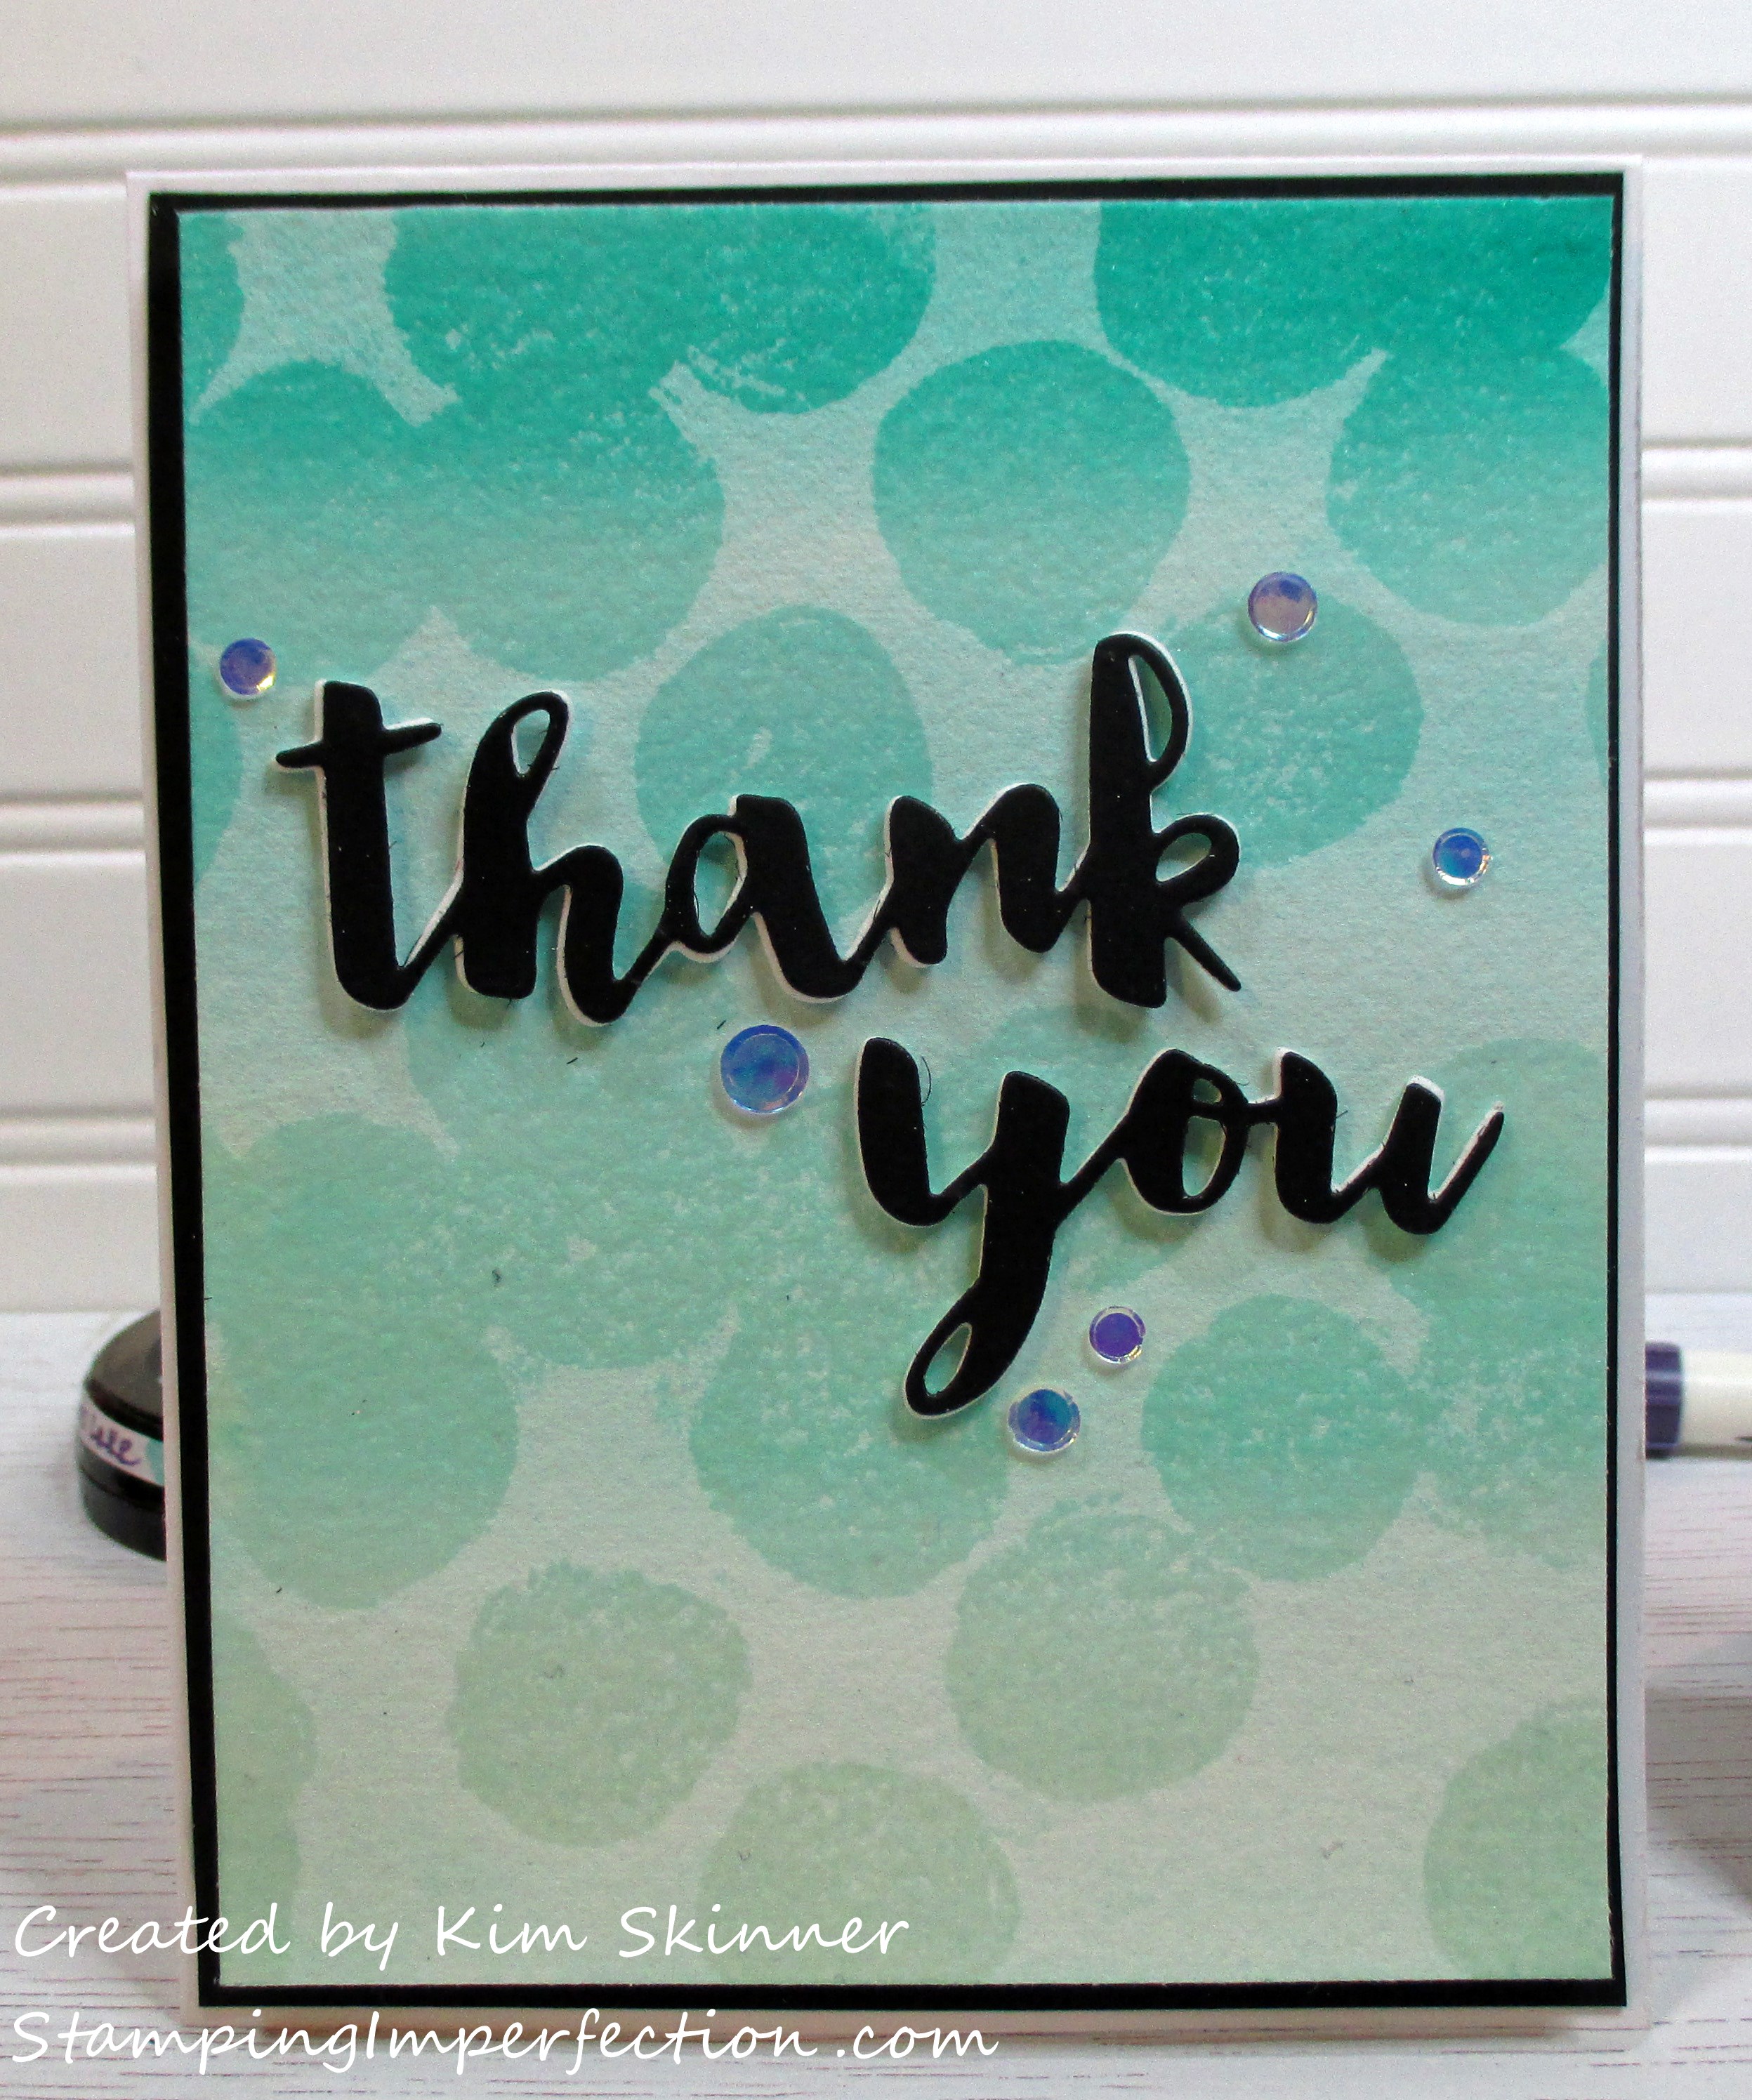
Card 2: Watercolor Lifting and Turnabout Stamping
Card Recipe:
White card base cut 4-1/4 x 11″, scored at 5-1/2″
watercolor top cut at 4 x 5-1/4″
Black mat cut at 4-1/8 x 5-3/8″
Studio Katia Crystal Clear Confetti mix
clear embossing powder, Versa Mark ink, heat tool
Altenew Sea Shore ink pad set
3/4″ flat paint brush
Concord & 9th Dotty Turnabout stamp, thank you script die
craft foam
Sizzix double sided sticky sheets, double sided tape
Stamping Imperfection Watercolor Lifting Technique of the Week
I was going for an Ombre effect here by using the 4 shades of blue/greens in the Altenew Sea Shore ink set with the lightest on the bottom and getting darker toward the top. I love this effect and I always think it makes a pretty background for a card.
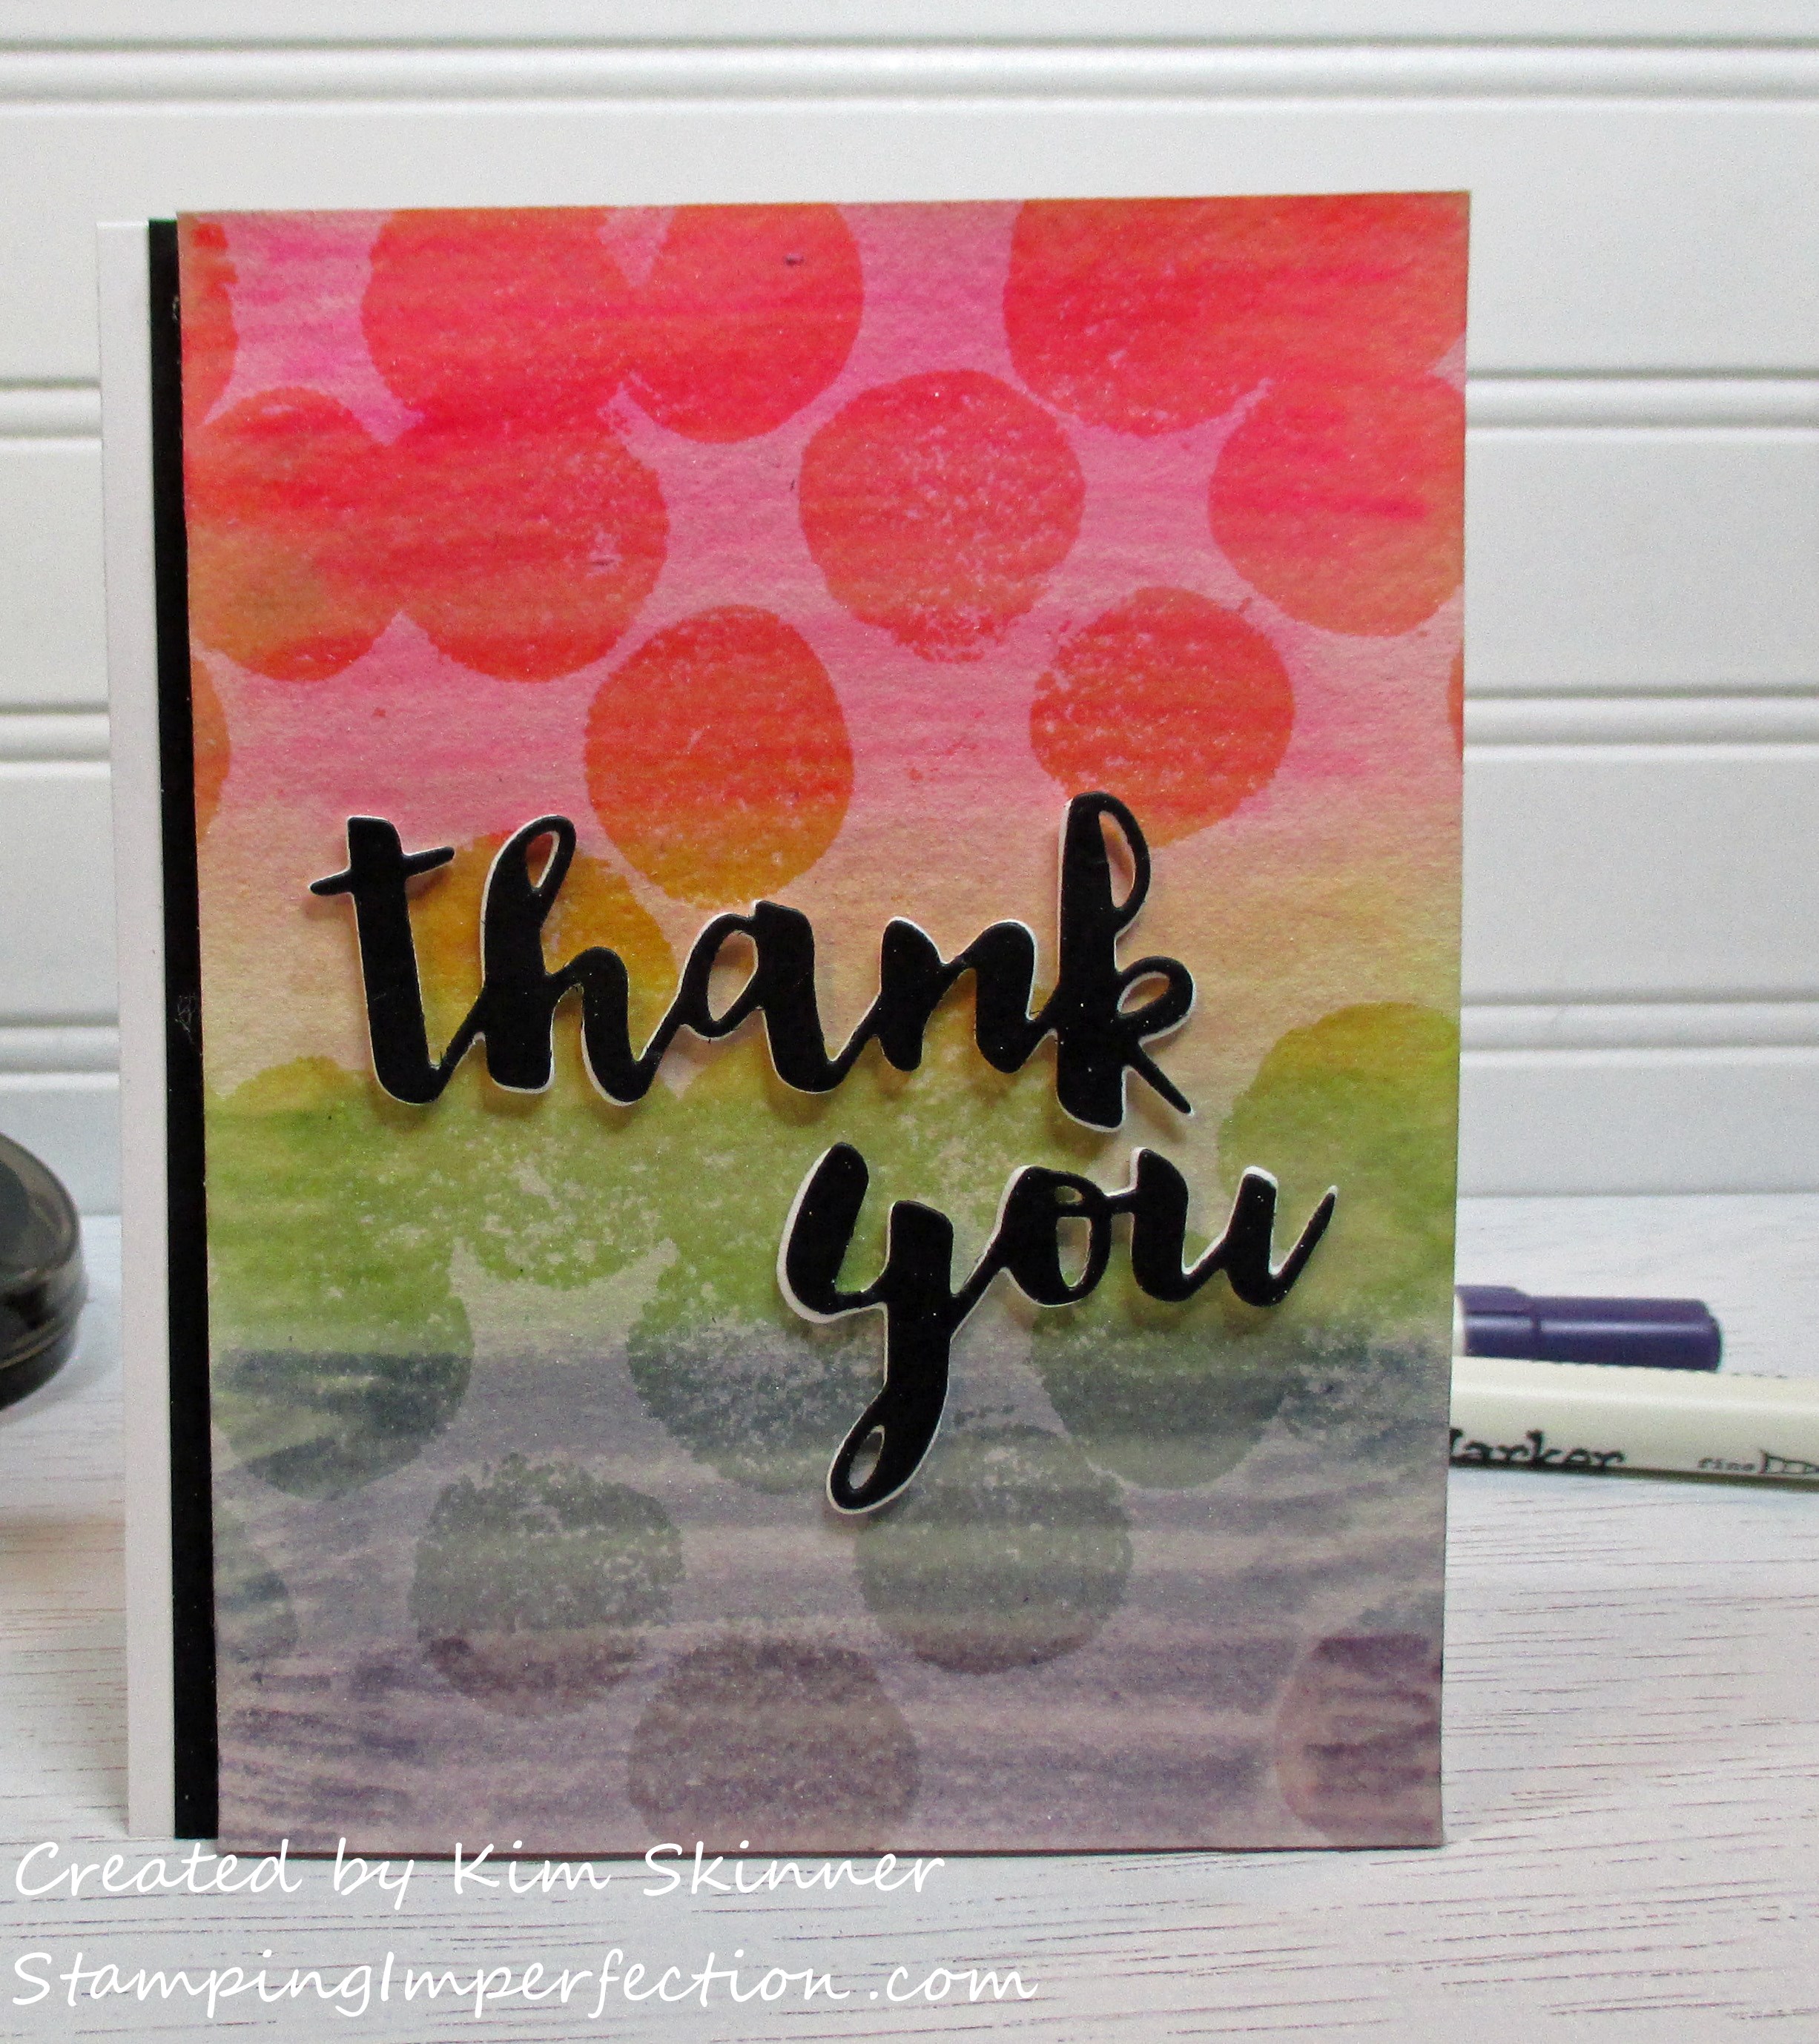
Card 3: Watercolor Lifting with Distress Markers and Dotty Turnabout
Card Recipe:
White card base cut 4-1/4 x 11″, scored at 5-1/2″
watercolor top cut at 4 x 5-1/4″
Black mat cut at 1/2 x 5-1/2″
clear embossing powder, Versa Mark ink, heat tool
Ranger Distress Markers
3/4″ flat paint brush
Concord & 9th Dotty Turnabout stamp, thank you script die
craft foam
Sizzix double sided sticky sheets, double sided tape
Stamping Imperfection Watercolor Lifting Technique of the Week
I’m going to be honest! I had my doubts about this background using the distress markers. I couldn’t get rid of those lines and I didn’t expect to be able to lift the color off after I embossed the image.
It was a WOW moment for me when I got to the lifting part and the background actually started to wash away! It worked. I do wish that I had selected a more vibrant blue and purple. I think the red is just spectacular as is the green, but the bottom of the card isn’t as vibrant and that is due merely to my color selection.
I ended up liking the texture the marker gave the background when it was all dry and I had a chance to sleep on it.
What I do plan to do is to try this with the distress markers on other brands of watercolor paper and maybe even on Bristol paper just to see how it comes out. One thing I know for certain is that if I keep trying something and experimenting with different materials, I can sometimes find something that works better for me than other things. Experimenting allows me to develop my own technique and style.
I believe that crafting and creating is about finding what works for you and what makes your heart sing!
Here is the video that I created…grab a cuppa and have a seat, this is a long one. I actually cut out quite a bit just to make it this short!
Thank you so much for stopping by! I hope you find time to be creative today and remember to embrace the imperfections!


