Have you had a chance to try watercoloring yet?
There are so many different ways to watercolor and so many techniques to try. I’m taking a class at Altenew Academy called Artist Watercolor 101 and I am loving it. The instructor is fantastic and she is sharing so many tips and tricks. She keeps reinforcing little techniques as she demonstrates the bigger technique of the day. These two cards are from lessons 3 and 4.
Watercoloring and alcohol marker coloring are two techniques where I find that I just lose myself in what I’m doing and forget everything around me.
For me, these are practices in mindfulness. I get so immersed in the moment that I think of nothing else.
It’s so relaxing!
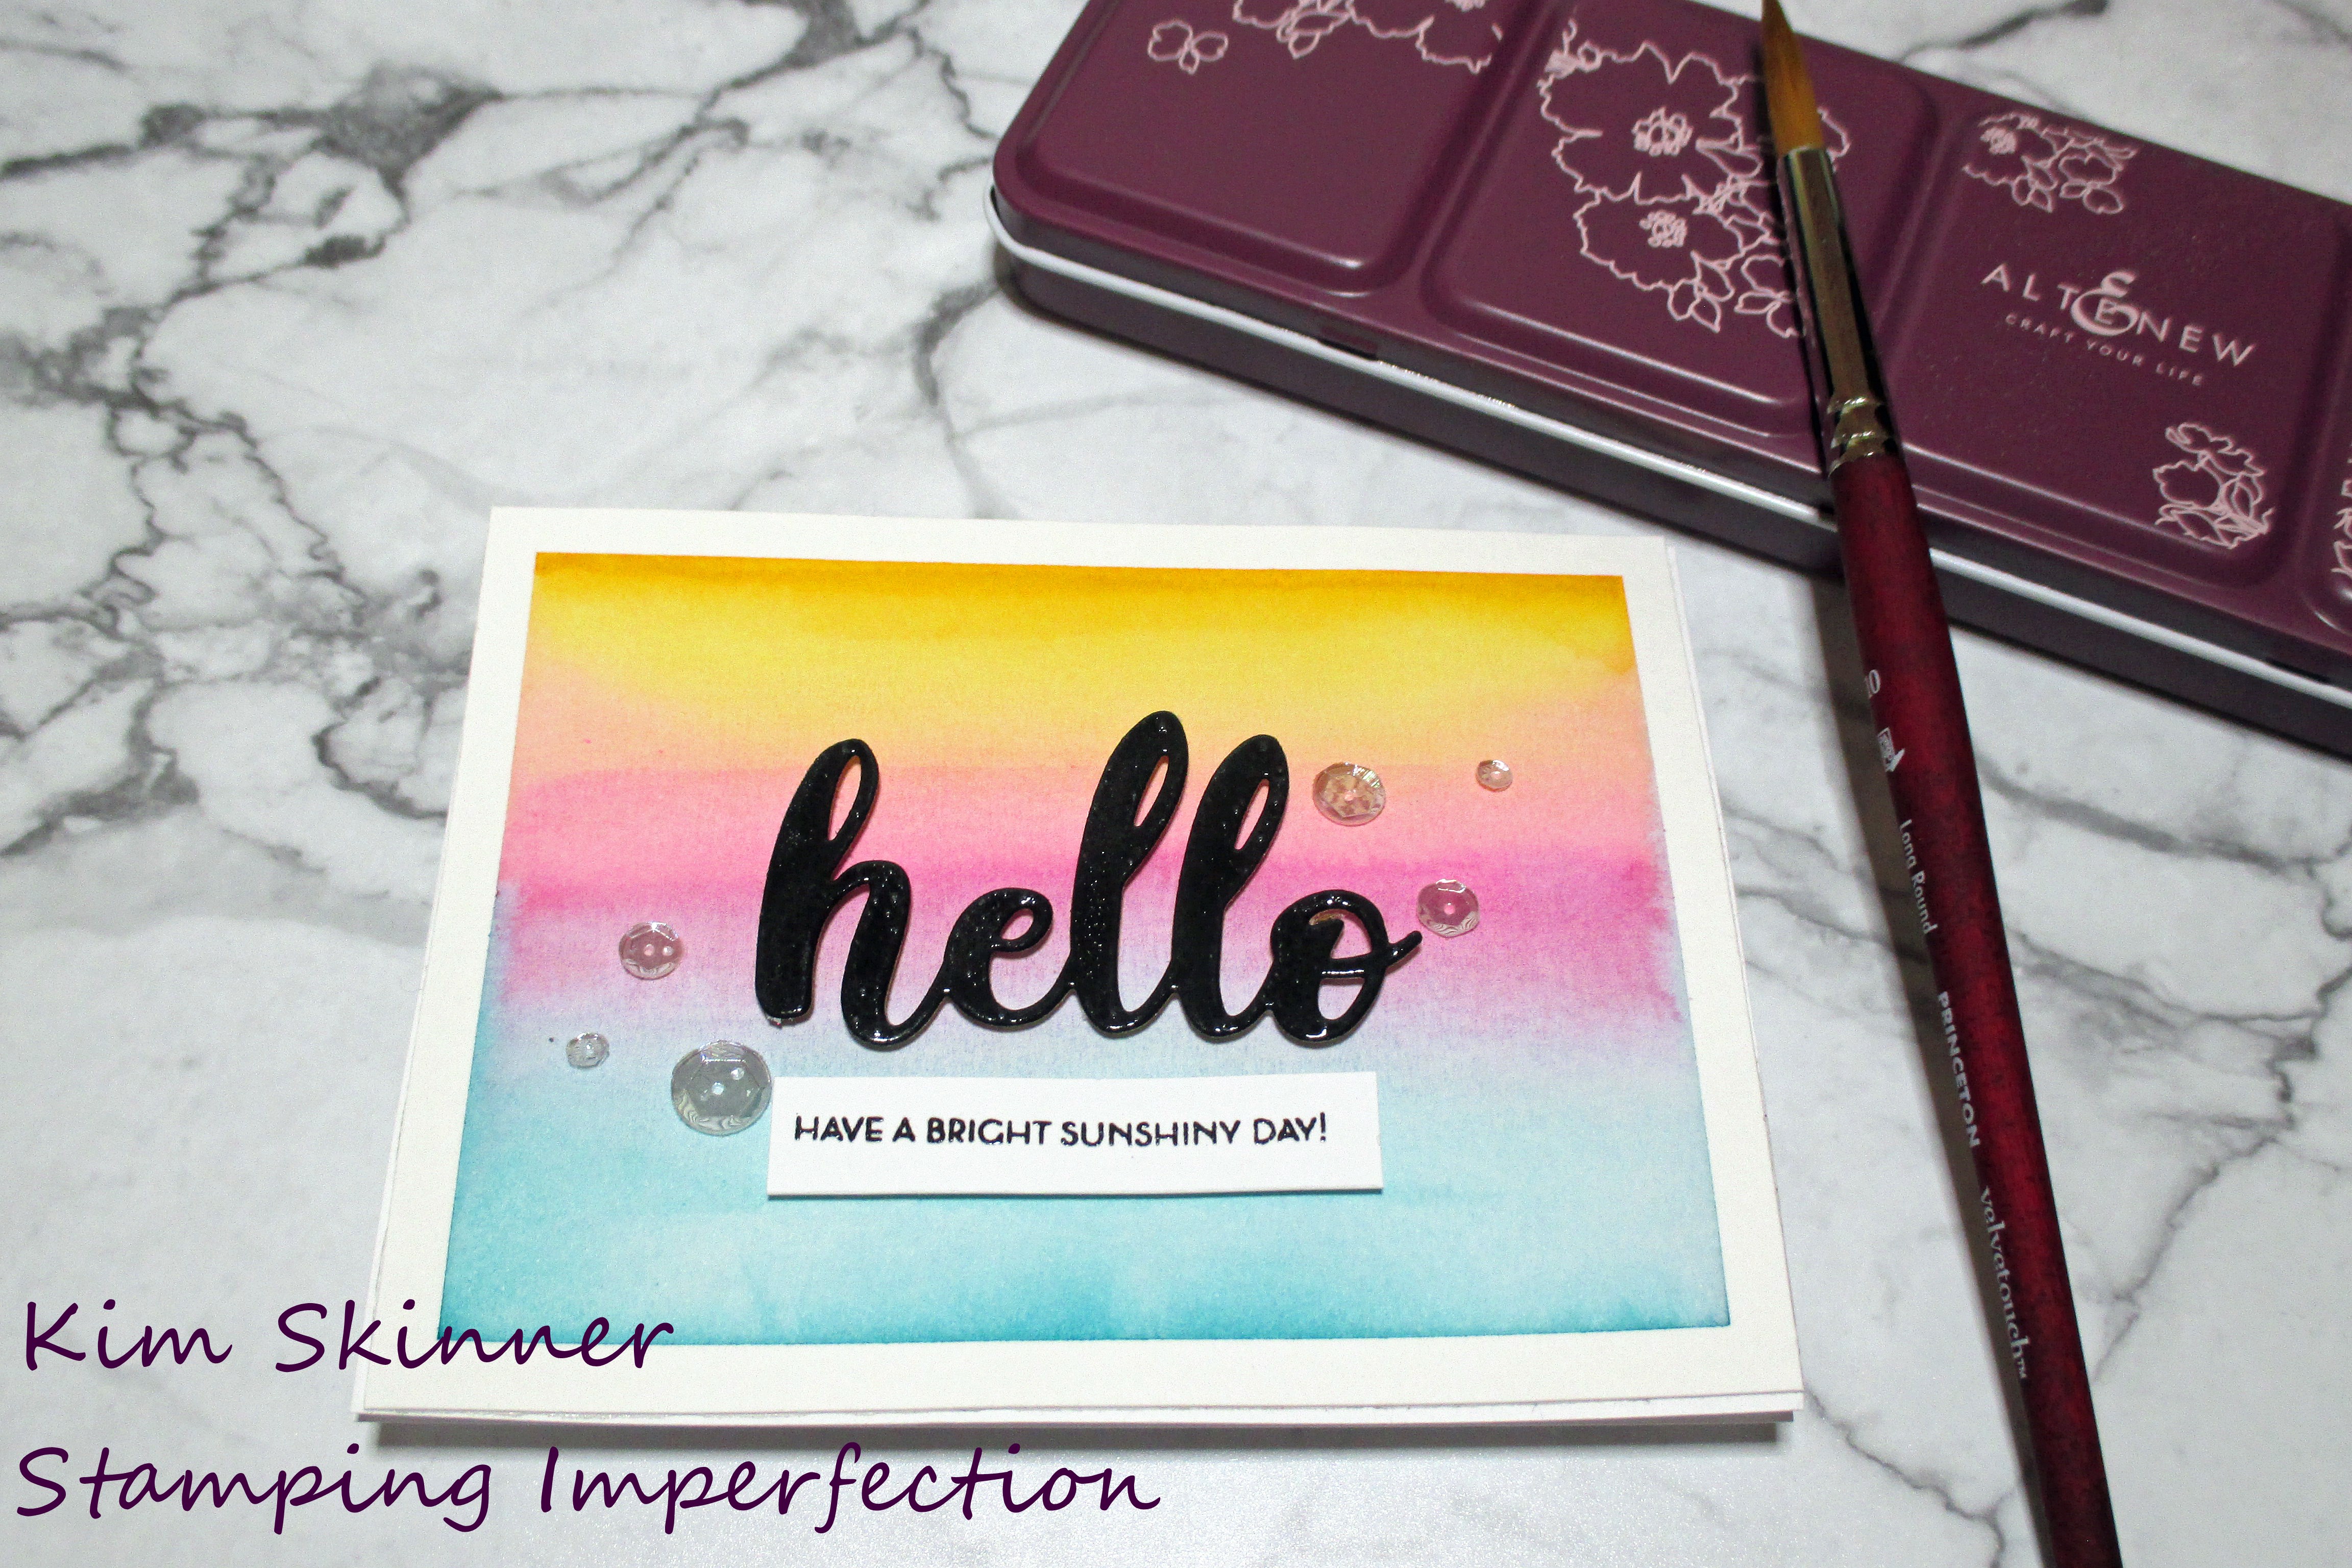
This background technique is an ombre technique. I selected 3 colors from my new Altenew Artist Watercolors and added a strong band of each to my watercolor paper. The I cleaned off my brush and used the wet brush to pull and blend the bands of colors together giving me two intermediate colors in between.
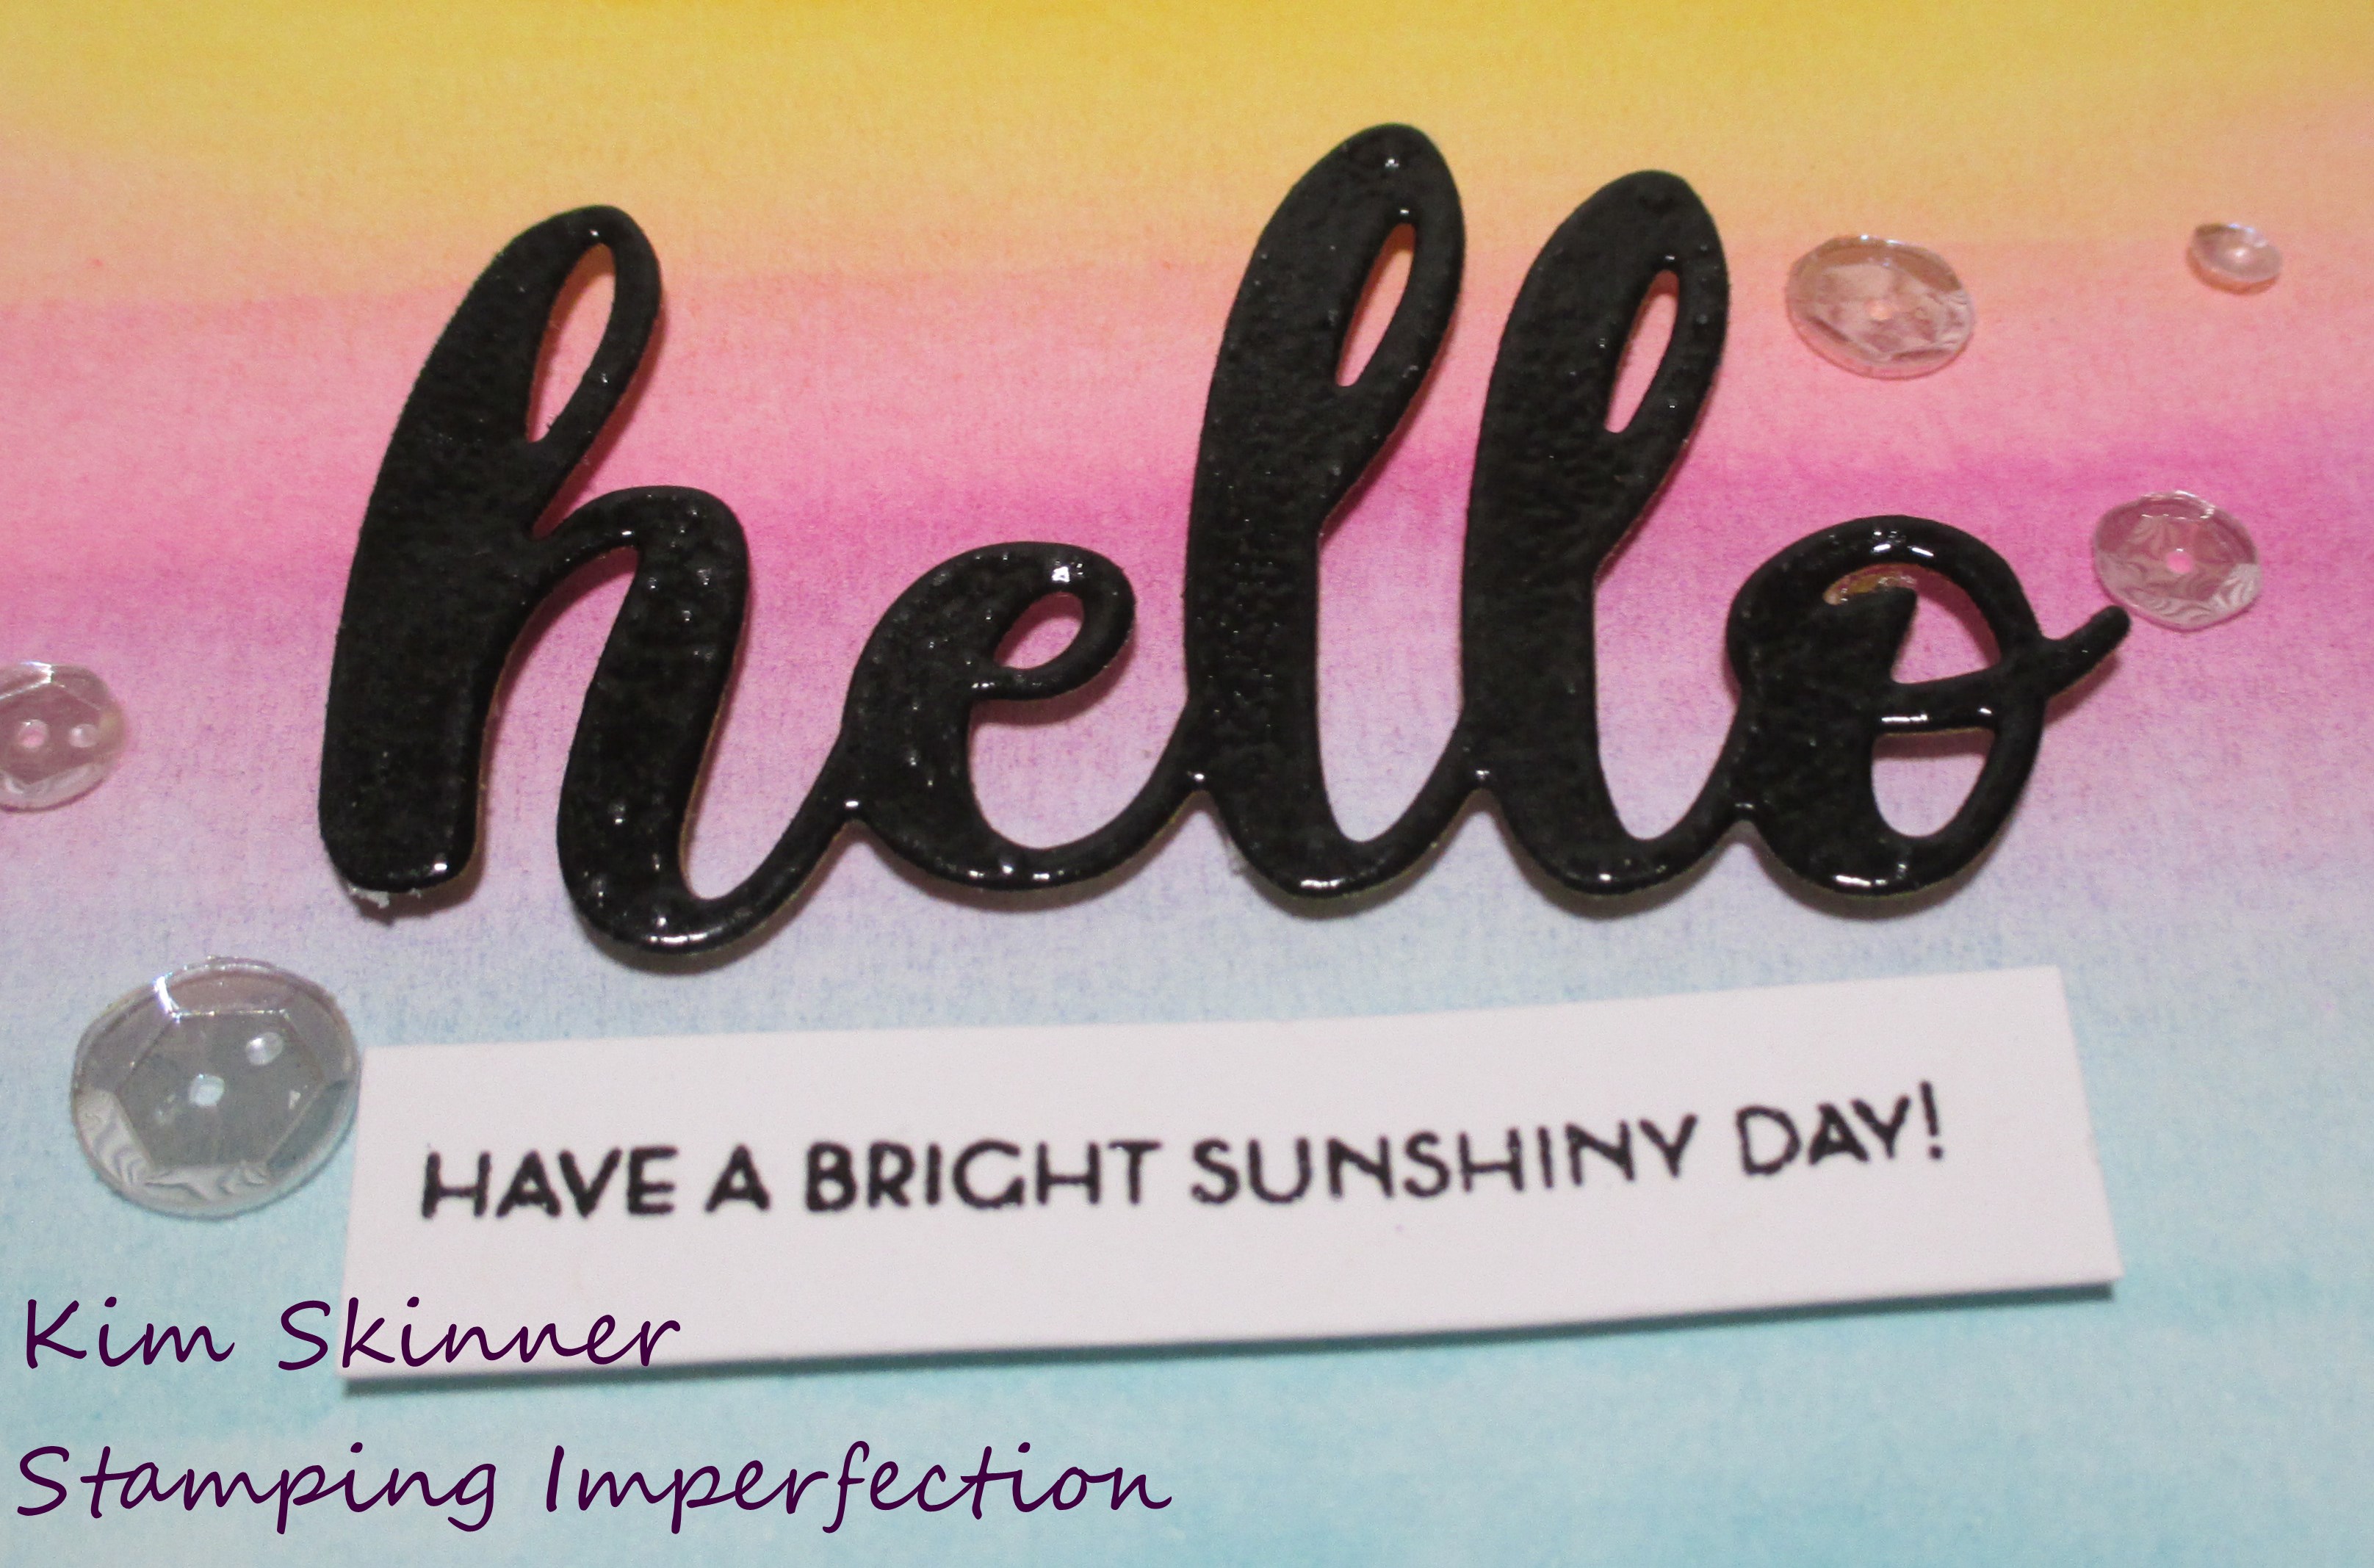
I added a clear embossed hello die cut made on black cardstock and a heat embossed sentient from the Altenew Bright Blossoms stamp set. The hello die is the medium sized one. Altenew has a mega sized hello and a small hello die as well.
This is a quick way to add a lot of color to the background of our card. You need a good watercolor paper to hold the water you add as you blend the colors. It’s relaxing because you can stop at the point that you like the way they’ve blended together. There is no right or wrong.
Isn’t that sentiment perfect for the bright yellow-orange at the top of the card?

The second card I’m sharing uses a layered watercolor technique with a wet-on-wet background technique.
I thought this was really fun to do and it also felt like there was no right or wrong way to do this and you can stop at the point you think it is done!
This is a picture of step 1. I used a big brush to add water to the bottom right corner of the card then randomly dropped watercolor onto it and let it blend together. I love doing this!!
It has to be very dry before you do the next step, which is to emboss your floral image onto the background you just created.
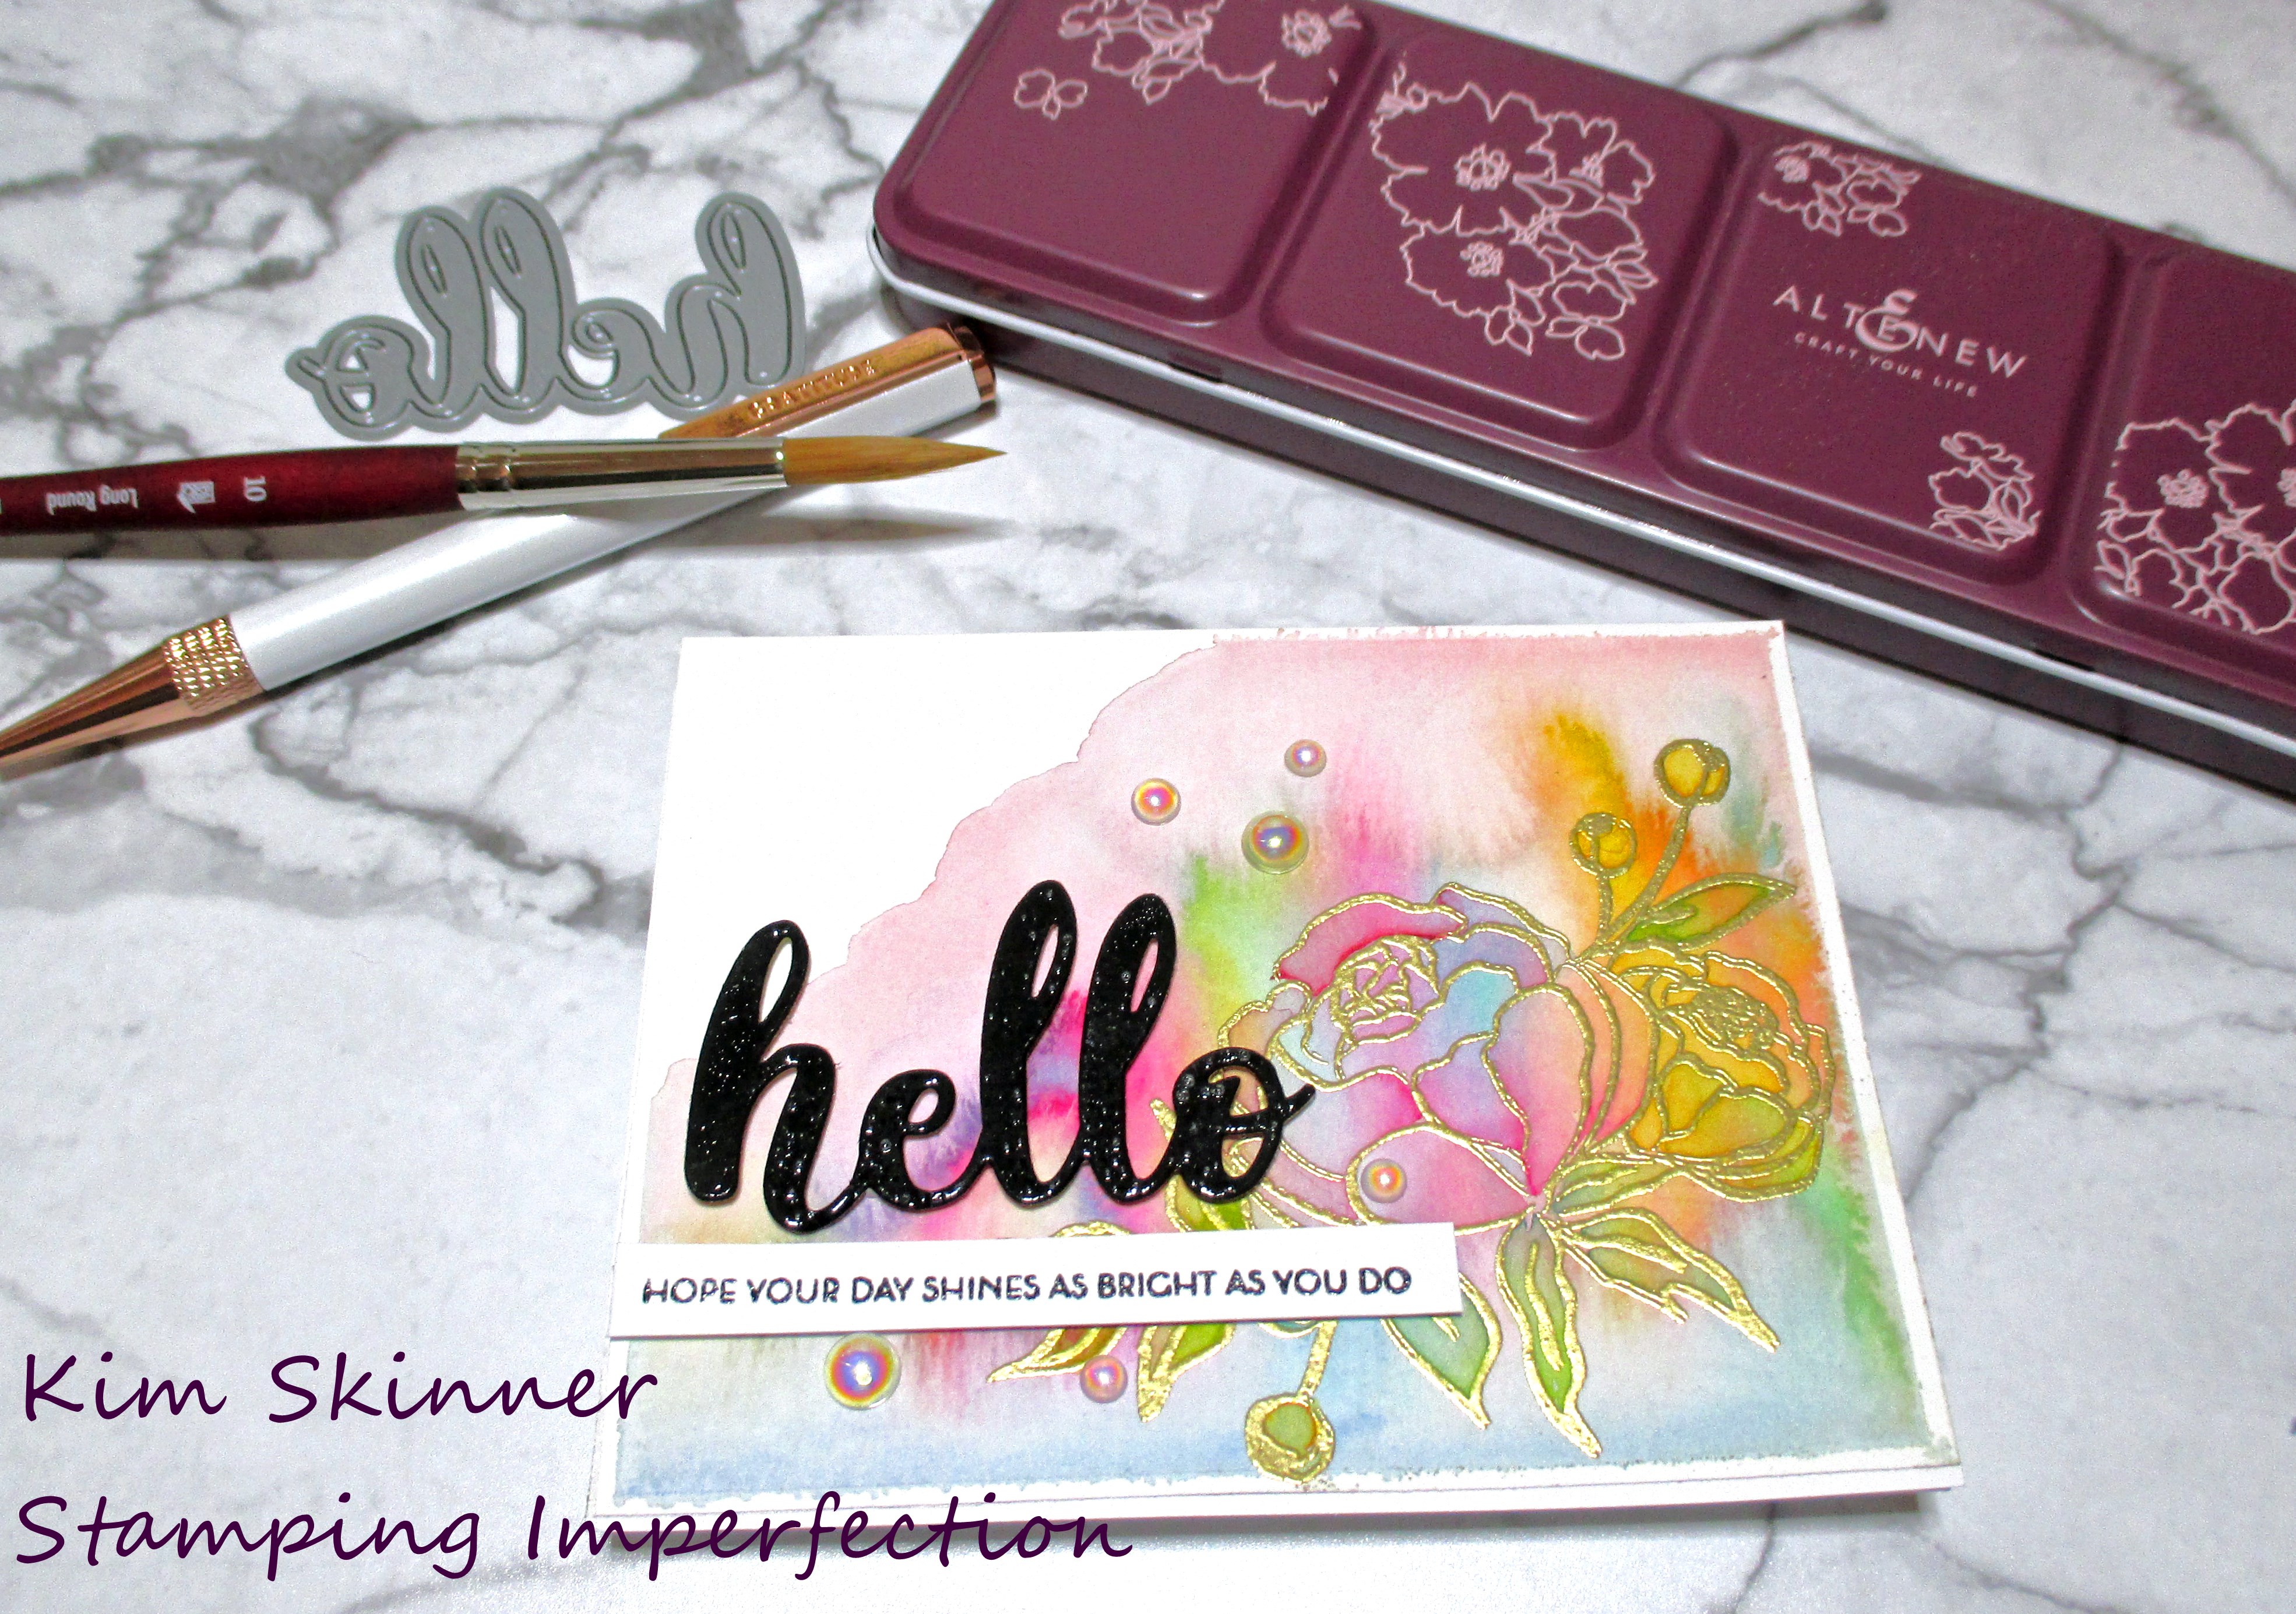
I used Altenew’s Precious Peony and embossed it in my favorite Altenew Antique Gold embossing powder. Then you take a small brush…I used a round 6…and you add intense watercolor paint to each part of the flower, clean your brush and then pull out the color to the edges of each petal. I used a lot of the Cherry Blossom and Warm Sunshine to do this. The background color shows through enough to help give your image lots of texture and variation in the color.
It’s so random. I often think there is beauty in chaos. That’s probably why my favorite teaching days were the days kids were working on the crazy engineering projects I used to throw at them to do. I loved the loud excited chatter as they worked and argued about how something should be done to get it to work. Those were beautiful days!
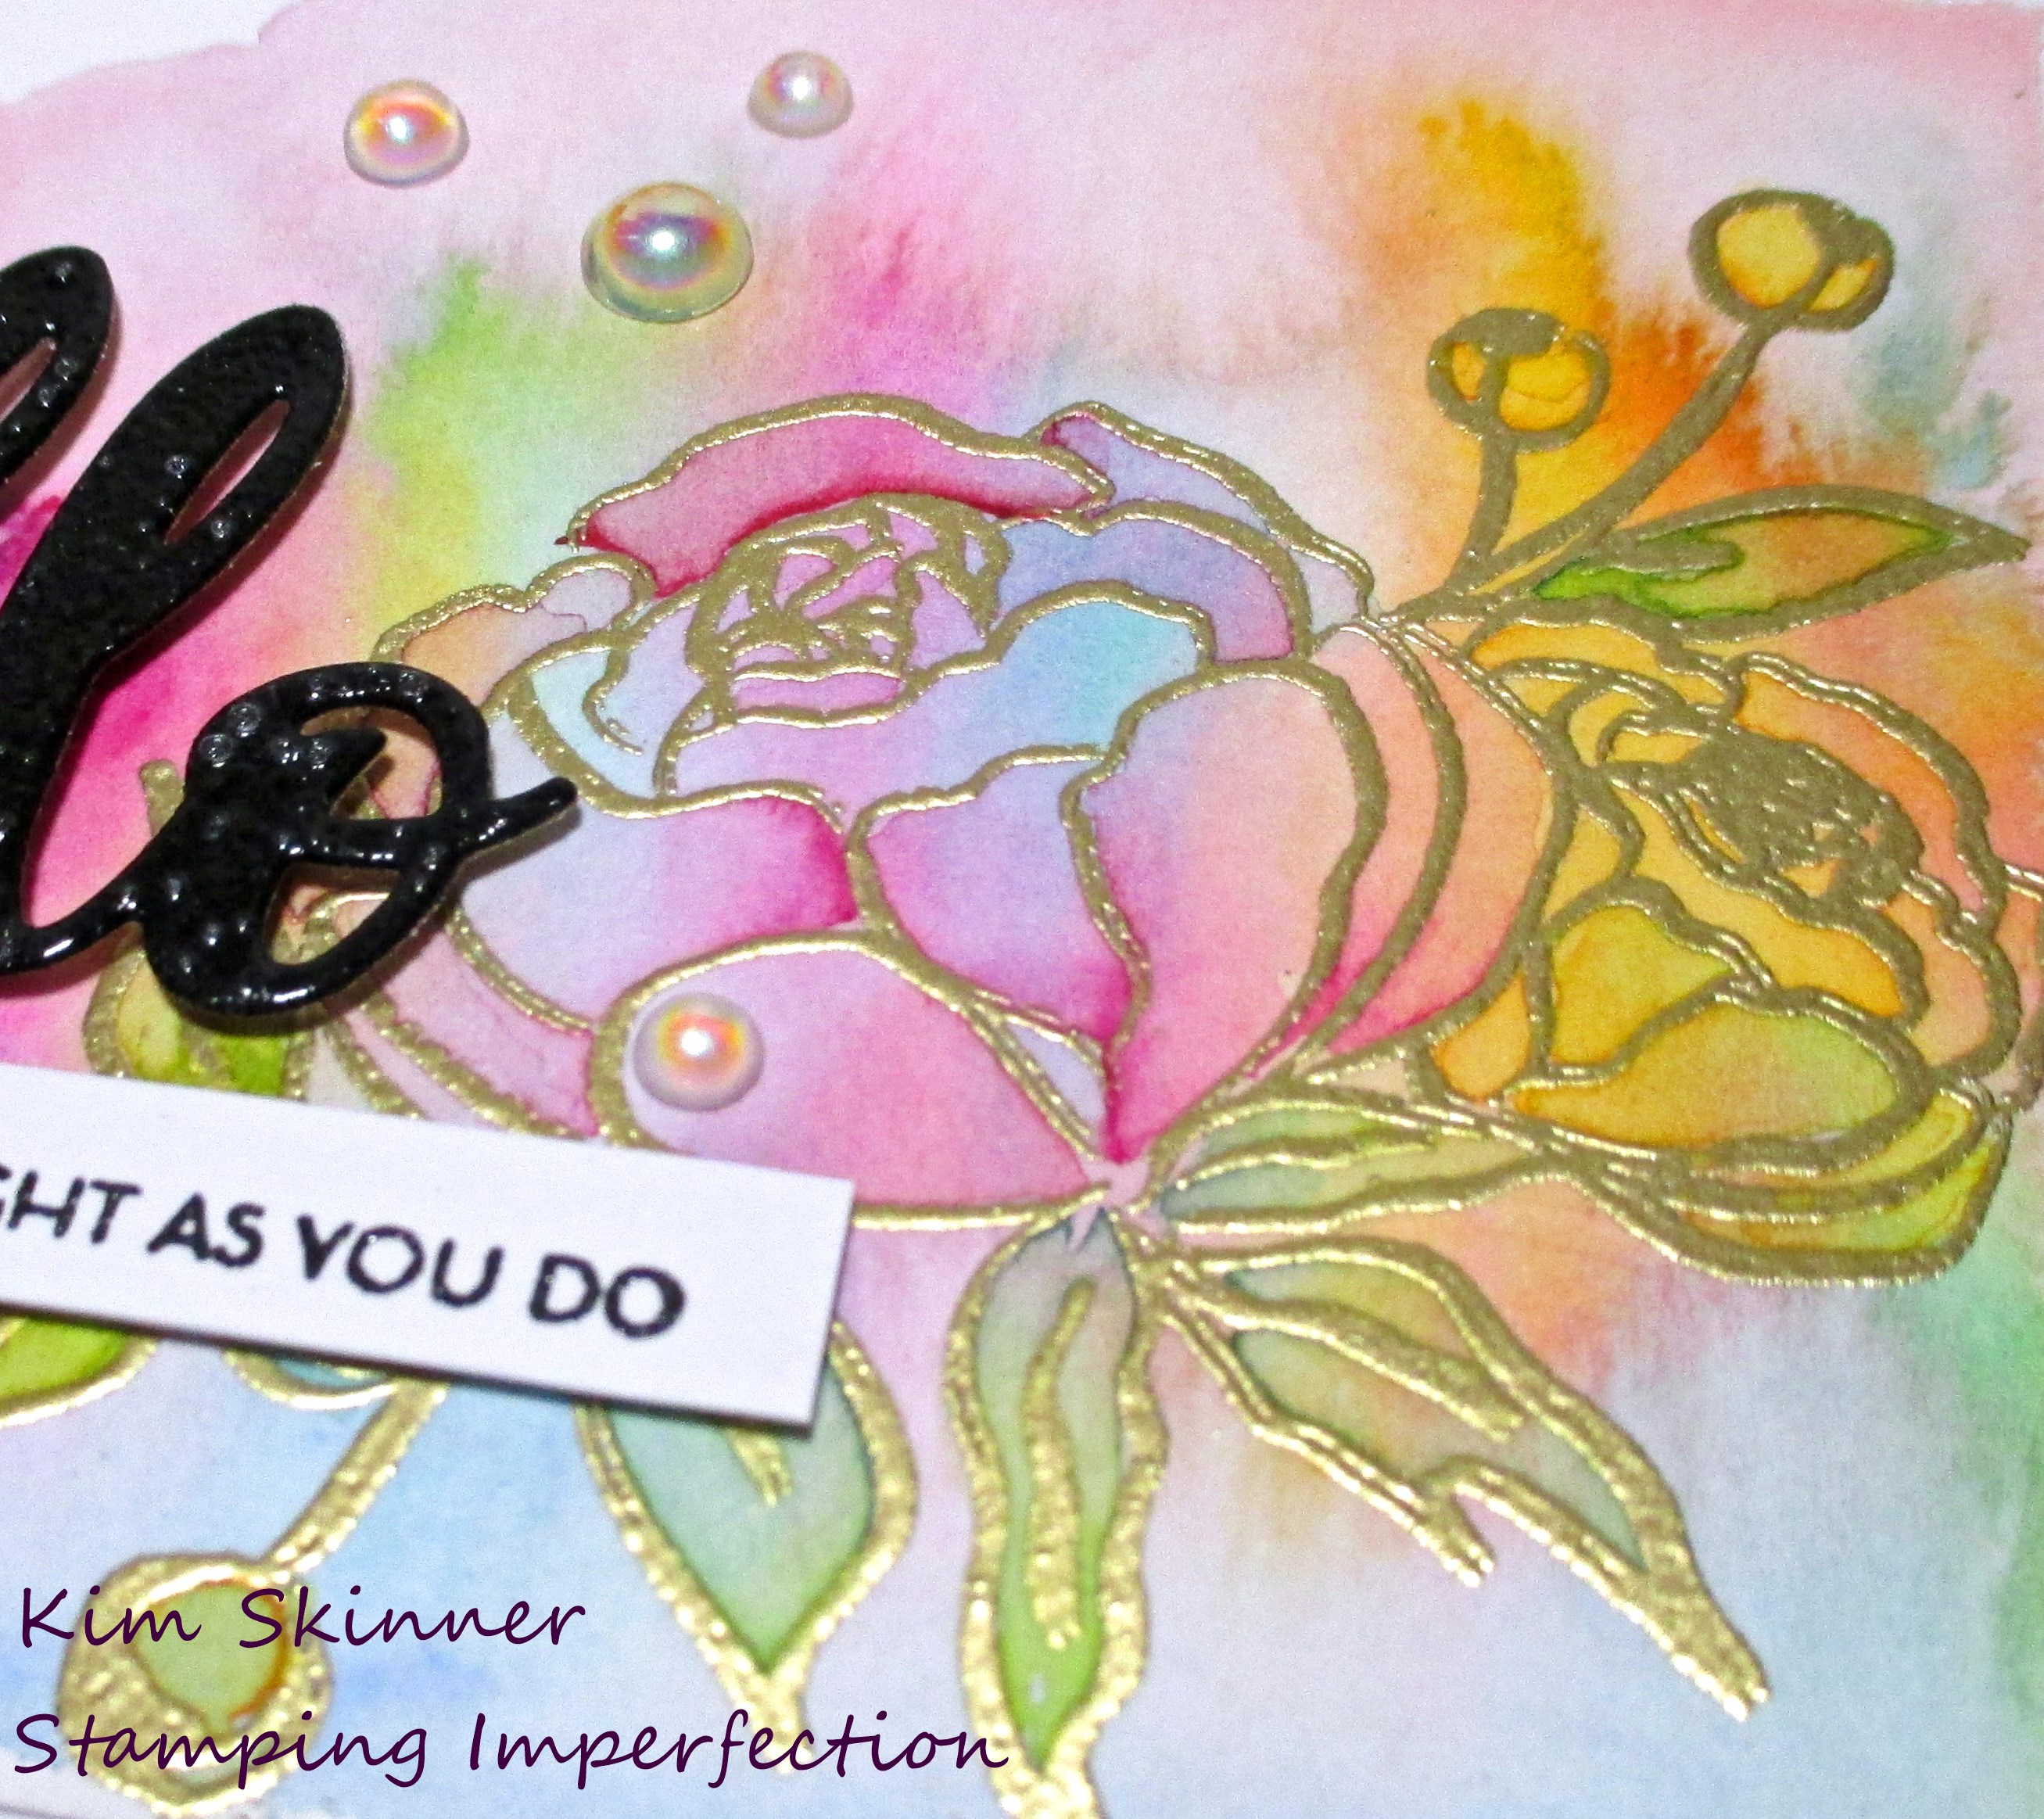
Adding the extra layer of color gives you pretty variation in you floral image while the image is surrounded by a beautiful watercolor background.
I used the same hello die and a different sentiment from the same peony stamp set. The embellishments are all from Studio Katia!
I have two more projects to do to complete the class and I’m very much looking forward to finding out what other tips I will gleen from this class.
I believe I told you this in a previous blog post, but I’ve been decorating my little house with art from local artists. I met a mixed media artist who has been watercoloring for 20 years and she was amazing. We talked for quite some time and she shared a lot of great information. She told me that she still takes classes and she’s still learning. Her work was amazing and 3 of her pieces are hanging on my walls! Even my husband likes them!
Supply List: (Affiliate links used.)
Thank you so much for stopping by! Have a fantastic day and I hope you find time to create!


