
Your mission if you choose to accept it:
Gather your Big Shot tools, clean them up and put them away!
Join me over the next few weeks as I organize my craft room, one step at a time. I’m not talking about doing a marathon session to get it all done at once. I’m also not talk about emptying the room and redesigning the entire layout. I’m talking about spending 15-30 minutes each day on one small area and getting it cleaned up, put away so I can find it, and tidy enough to have someone come in to the room and craft along with me.
Now that both of my kids are living on their own, I’m spending this summer reclaiming my house! For those of you who still have kids at home, don’t be too envious when I tell you the next part: When I clean a room and walk out of it, it stays clean.
I know! It’s absolutely unbelievable. This hasn’t happened in over 20 years!!!
If you still have kids at home (even small ones), you can still get your craft room or craft supplies tidied up and organized a little each day. I did this a few years ago, but over time it really got messy again. (All that college stuff coming home and never leaving again!)
Start With A Simple Task
Don’t let your perfectionism get in the way of this. (You know who you are! You’re the ones that will die cut each one and make a binder full of the die cut shapes organized alphabetically and maybe even laminated and color coded. Don’t do that…yet!)
Today we are just gathering them all up in one place, putting the pieces together and using whatever organizing system we have already. It may be just a box you store them in, a magnetic cabinet door, a binder…it doesn’t matter. Just gather them up and put them away.
Let me share my system with you:
I keep my framelits and thinlets in their original plastic sleeves. I love these things! They have the name of the set on them and they contain all the pieces of the set very nicely in one place. Plus, they fit great on a shelf or in a box.
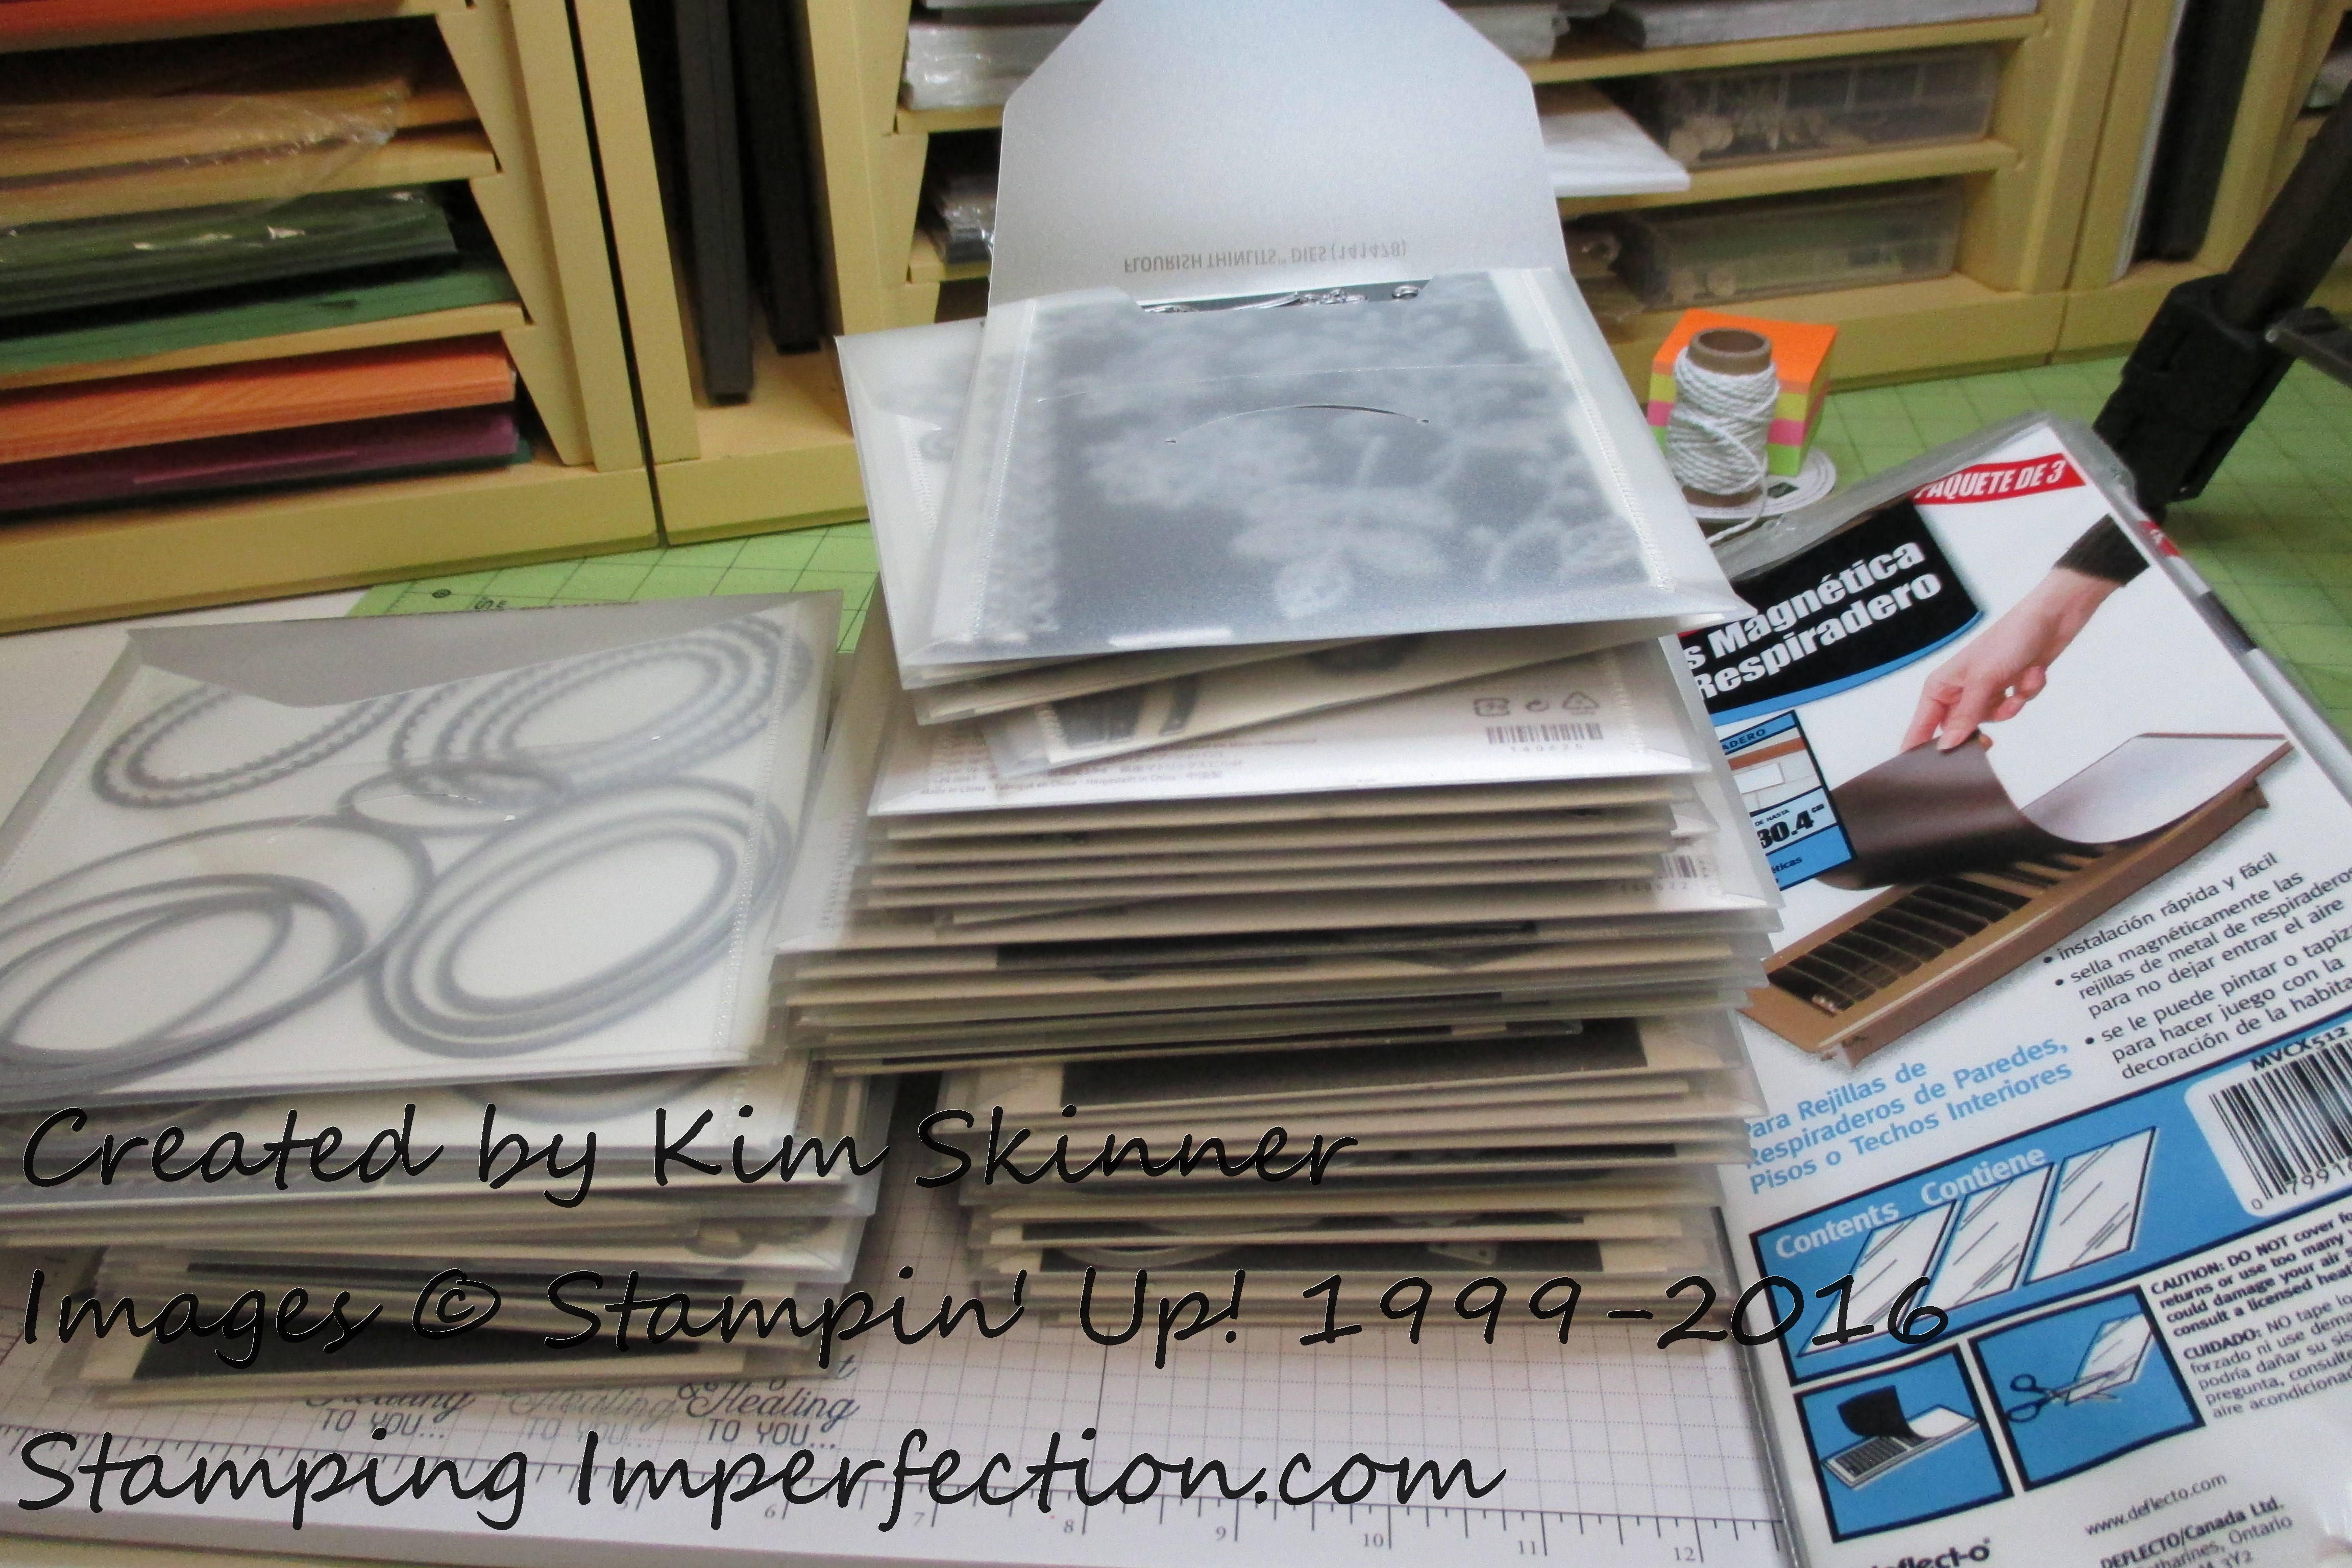
I add magnet sheets to the package to hold the pieces. They come attached to a piece of tag board with the strongest tape in the world. I always fear bending my framelits trying to remove the pieces from that tape for the first time. I just take a piece of magnet sheet and put over the tape (which holds the magnet in place) and then place the framelits on top of the magnet. I also fold the flap of the plastic sleeve in behind the framelits so I don’t have to keep opening it.
I get my magnet sheets from our local pharmacy in the picture frame isle. They have packages of 4 x 6″ magnetic picture backings with sticky backs that work really well. I also use the magnetic vent covers from the hardware store and just cut them to size. Those are especially budget friendly, but they have no sticky backs.
I keep all my embossing folders together in the same way, on the same shelf. I used to keep them in the nice storage boxes that Stampin’ Up! sold, but they no longer carry those boxes.
Can you see how neat and tidy they all look stacked on the shelf? I can always find the one I want. (I did find having them in a box to be easier, because I could pull the entire box off the shelf to leaf through and find the one I want for the project I am working on.)
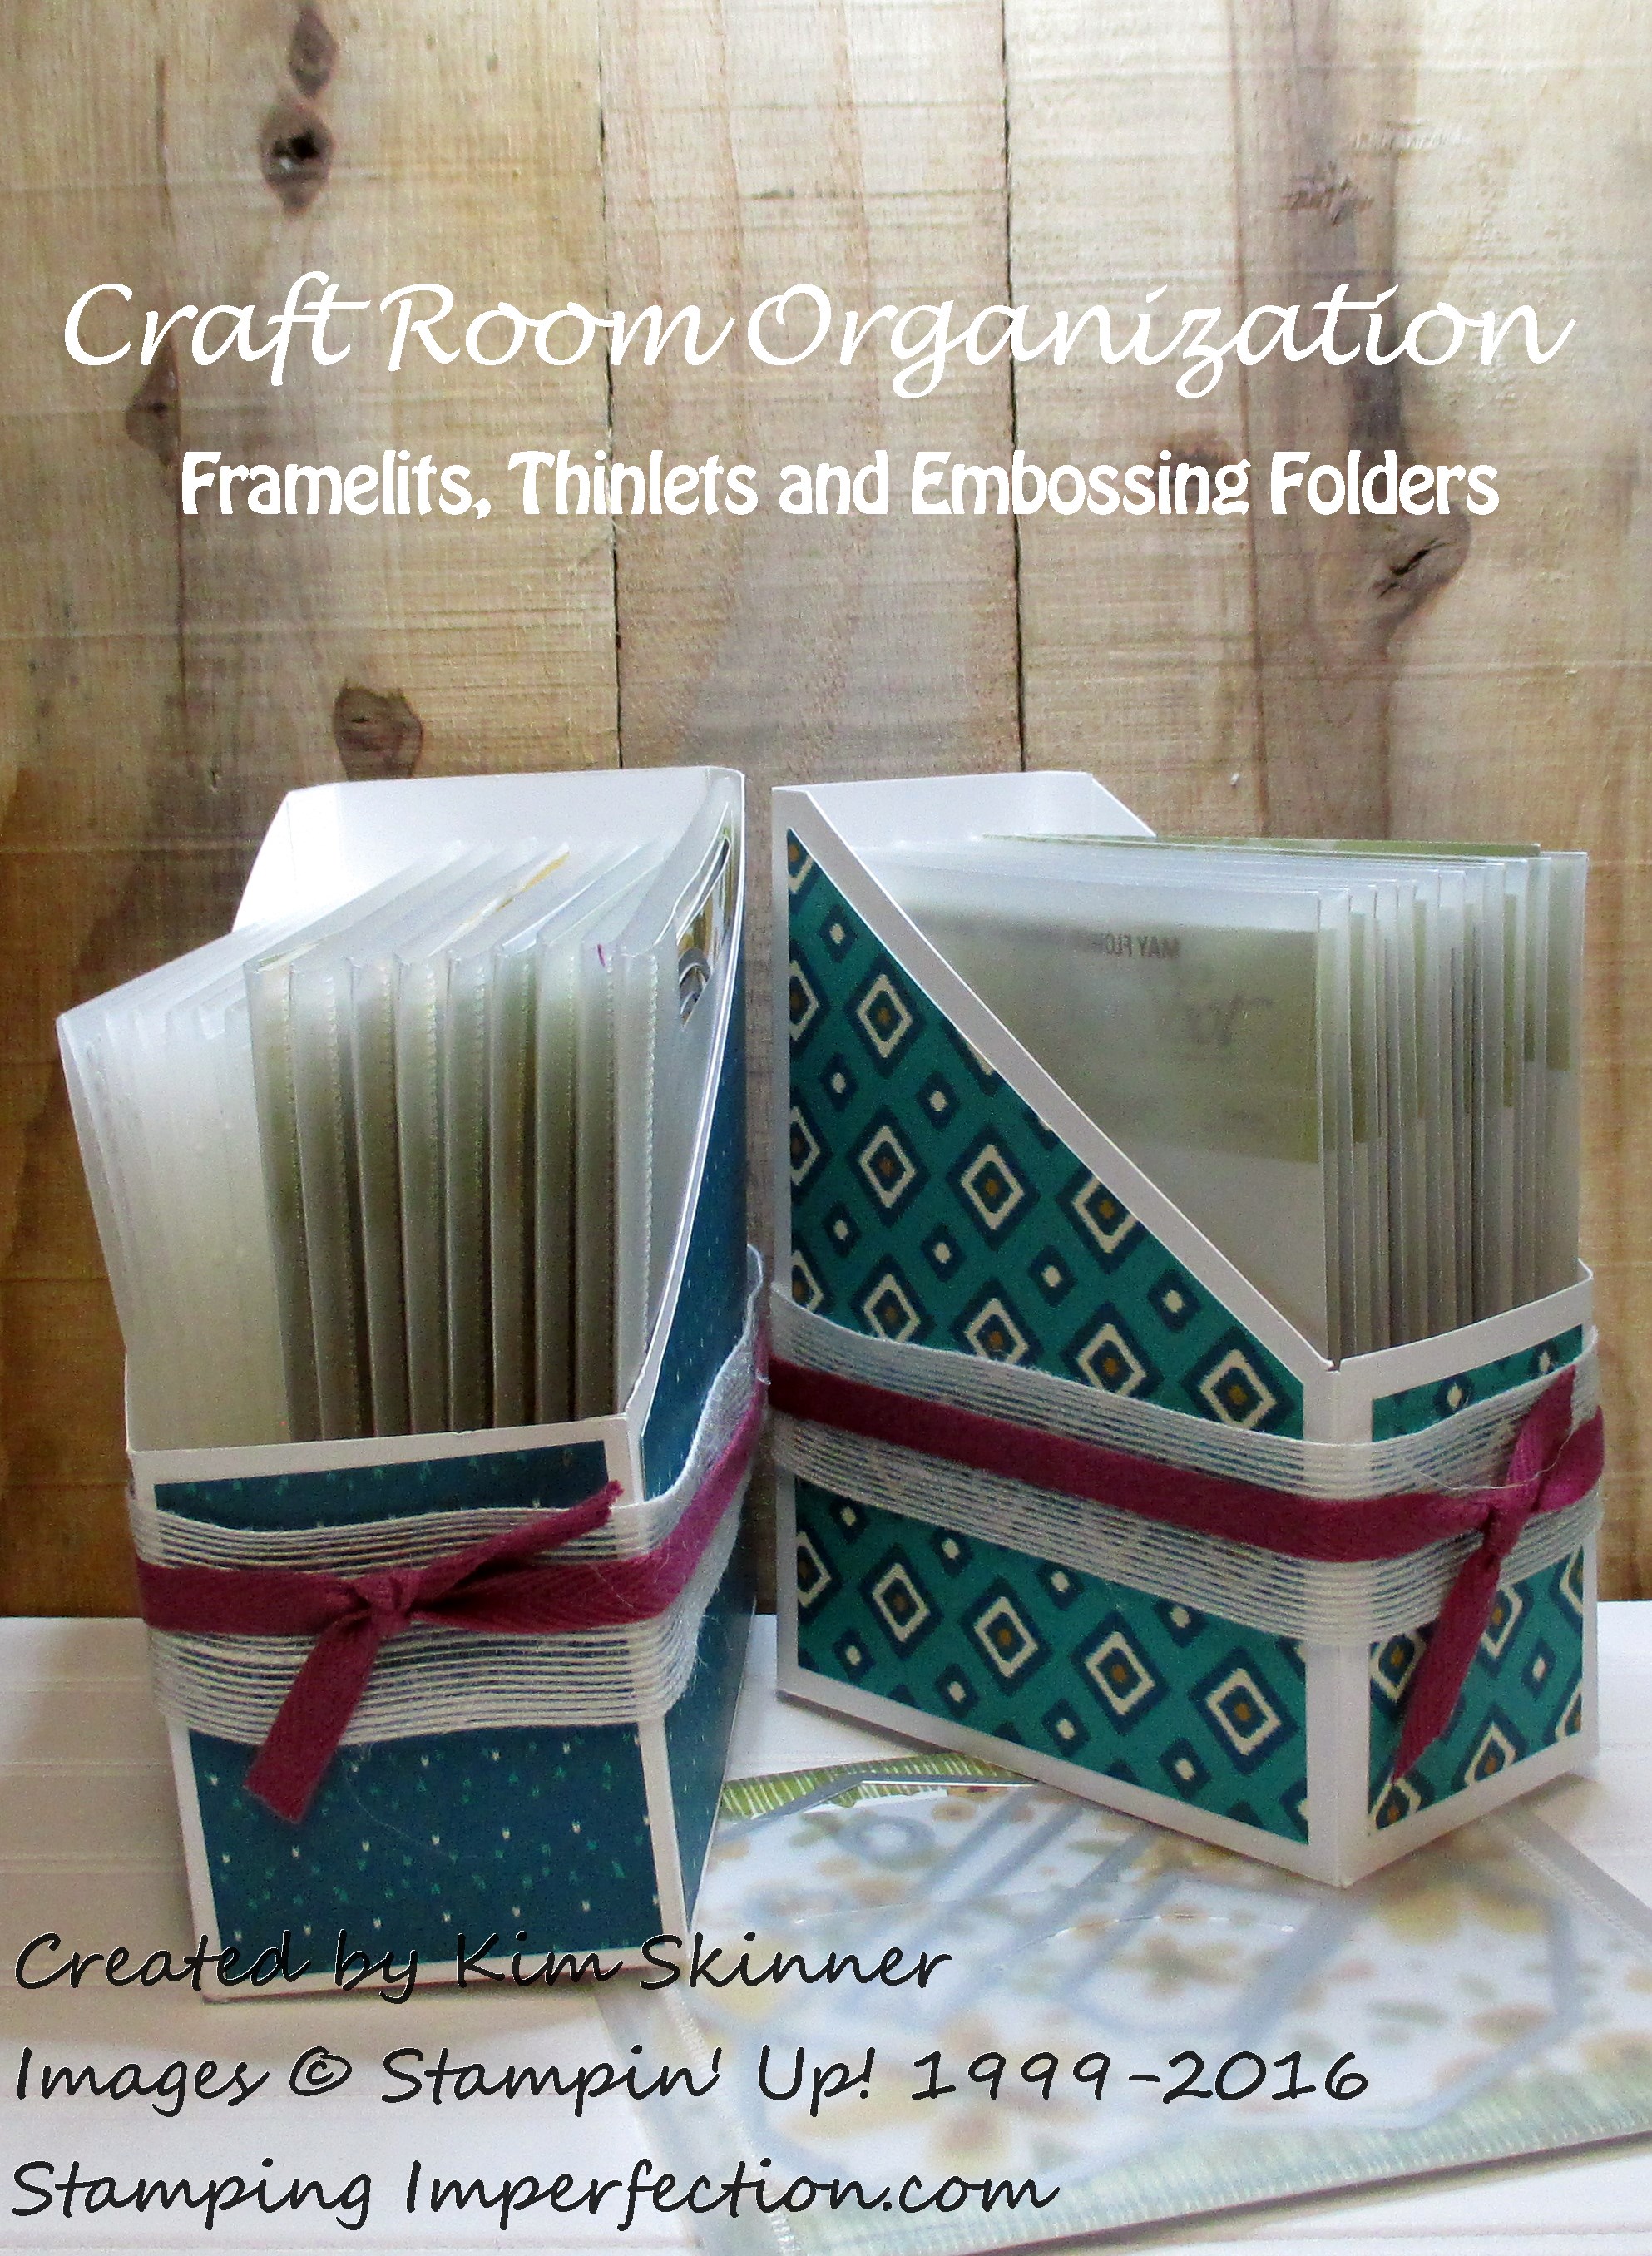
I’ve created little magazine file boxes to hold them on my shelf. I have made a video and will share that later today as soon as I get it uploaded!!
I made one larger one to hold the larger framelits and embossing folders, then I made 4 smaller ones to hold the smaller sets and the smaller embossing folders.
You can see my first two here:
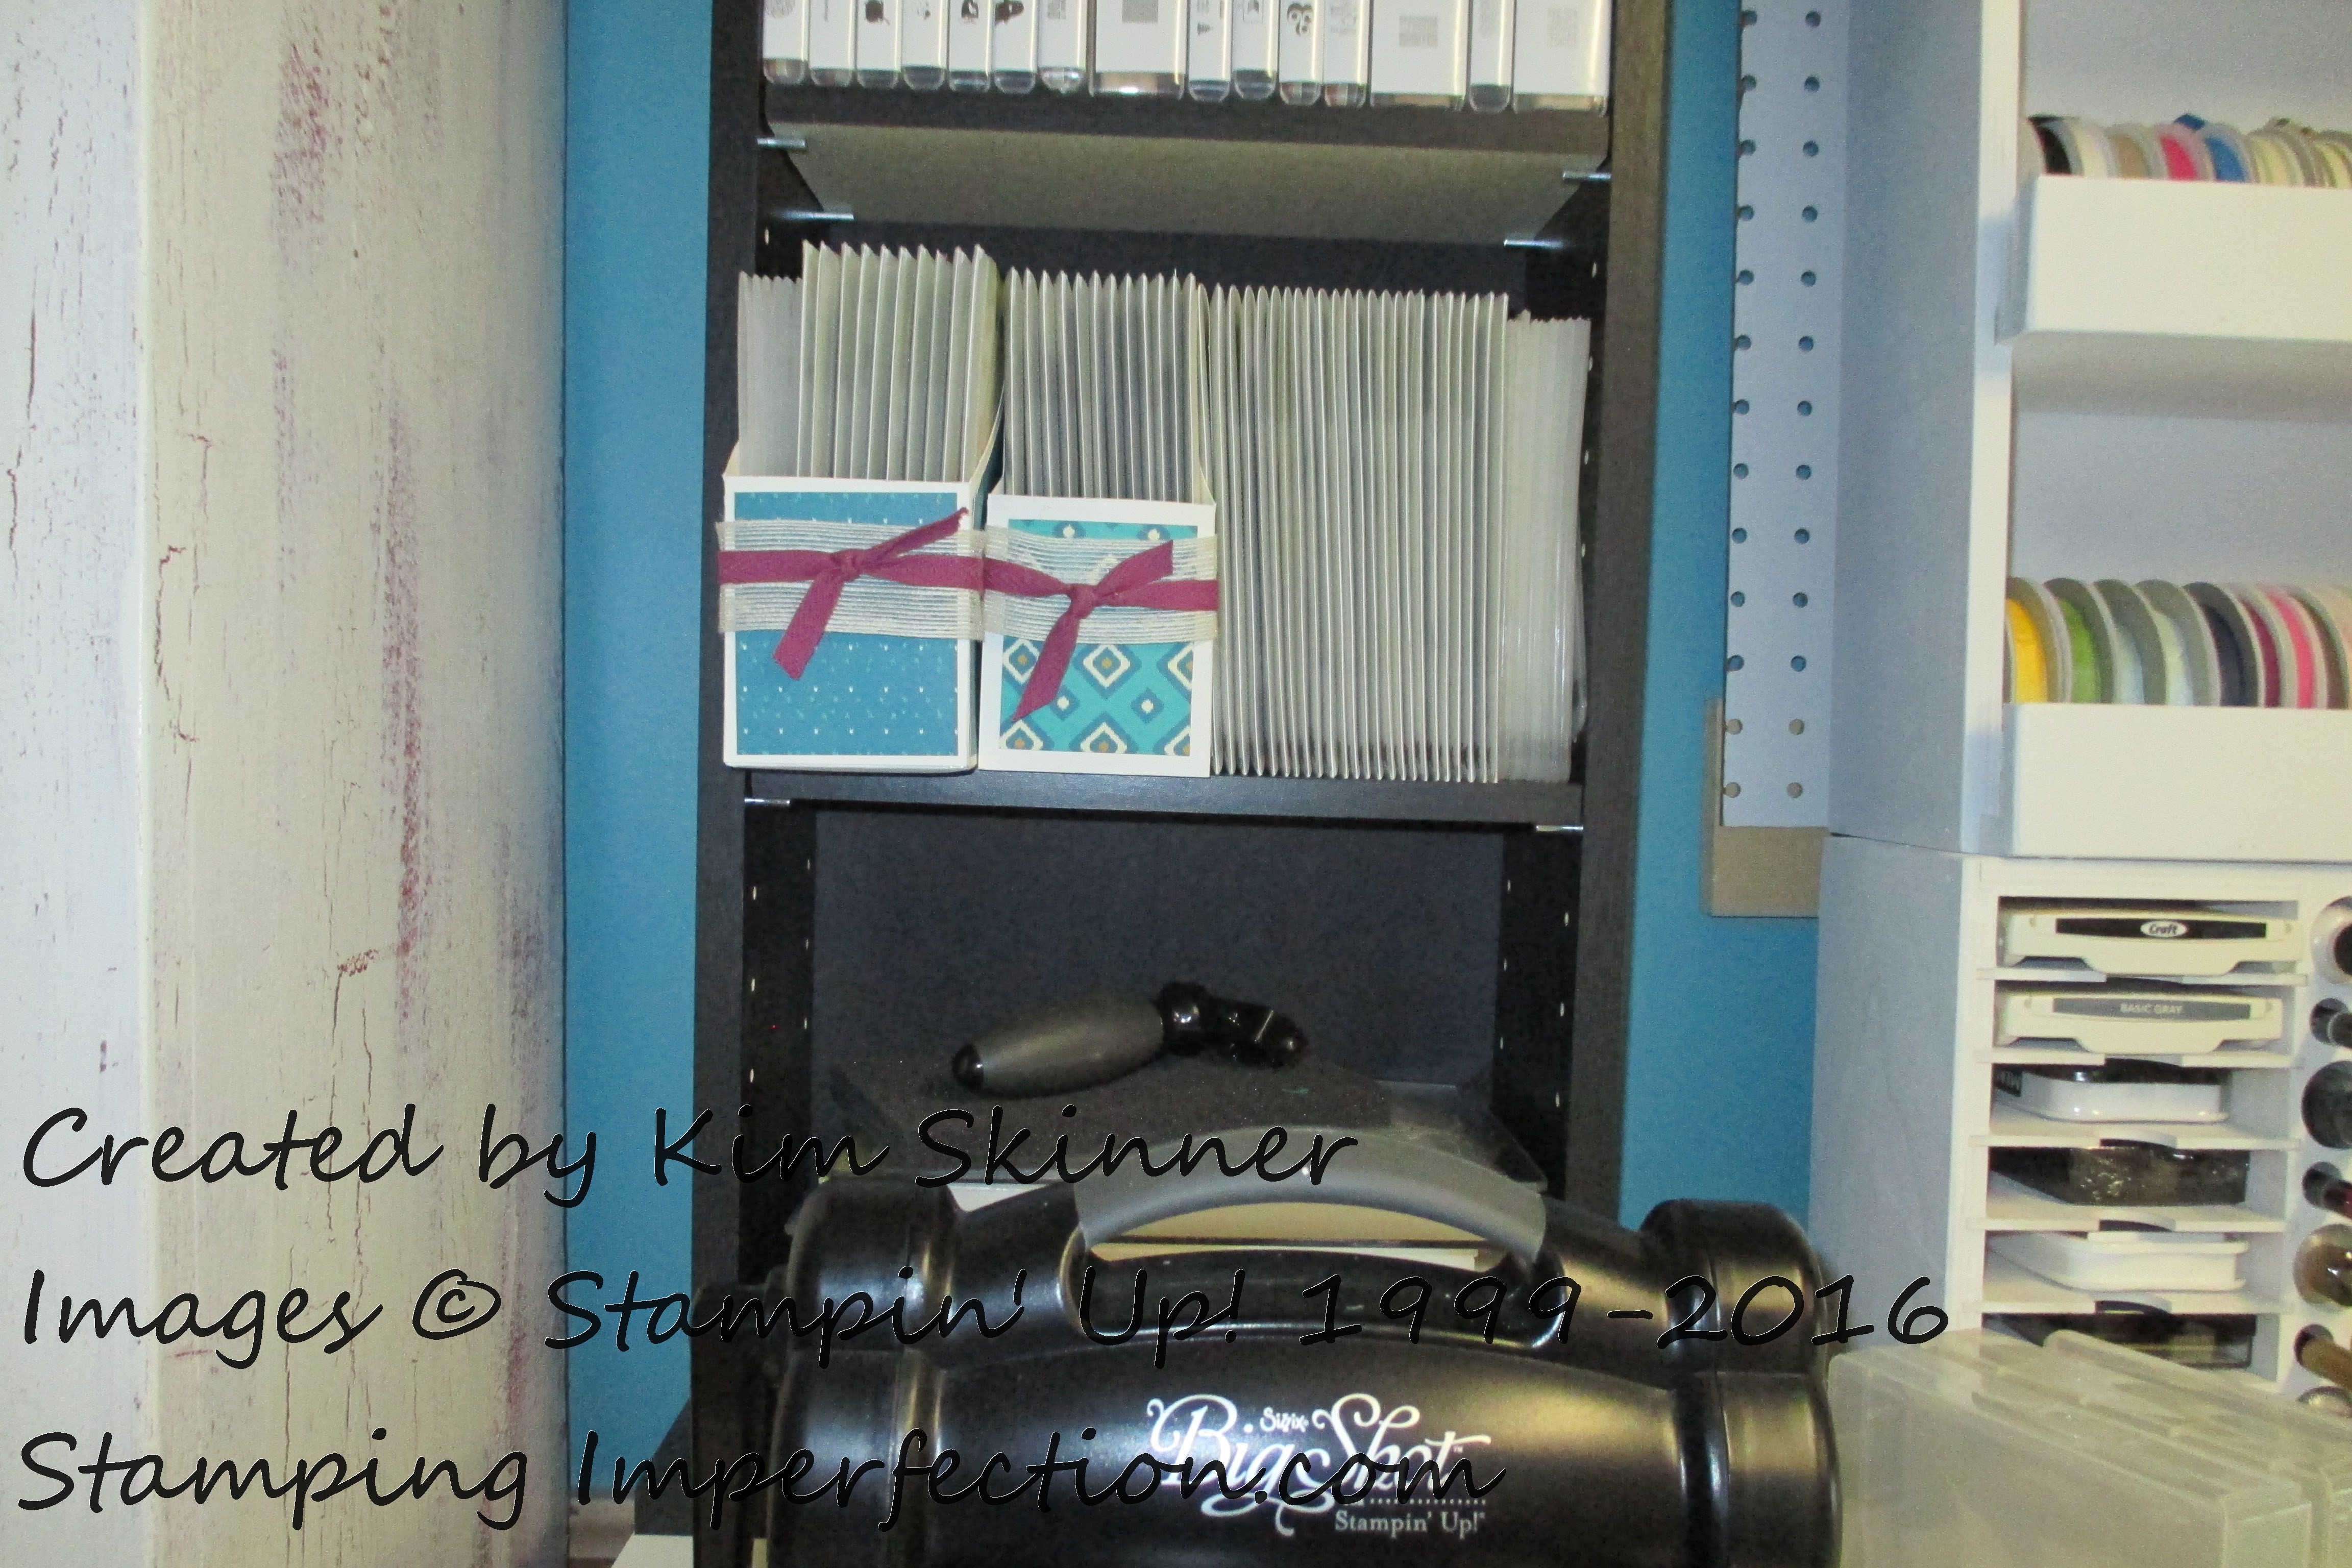
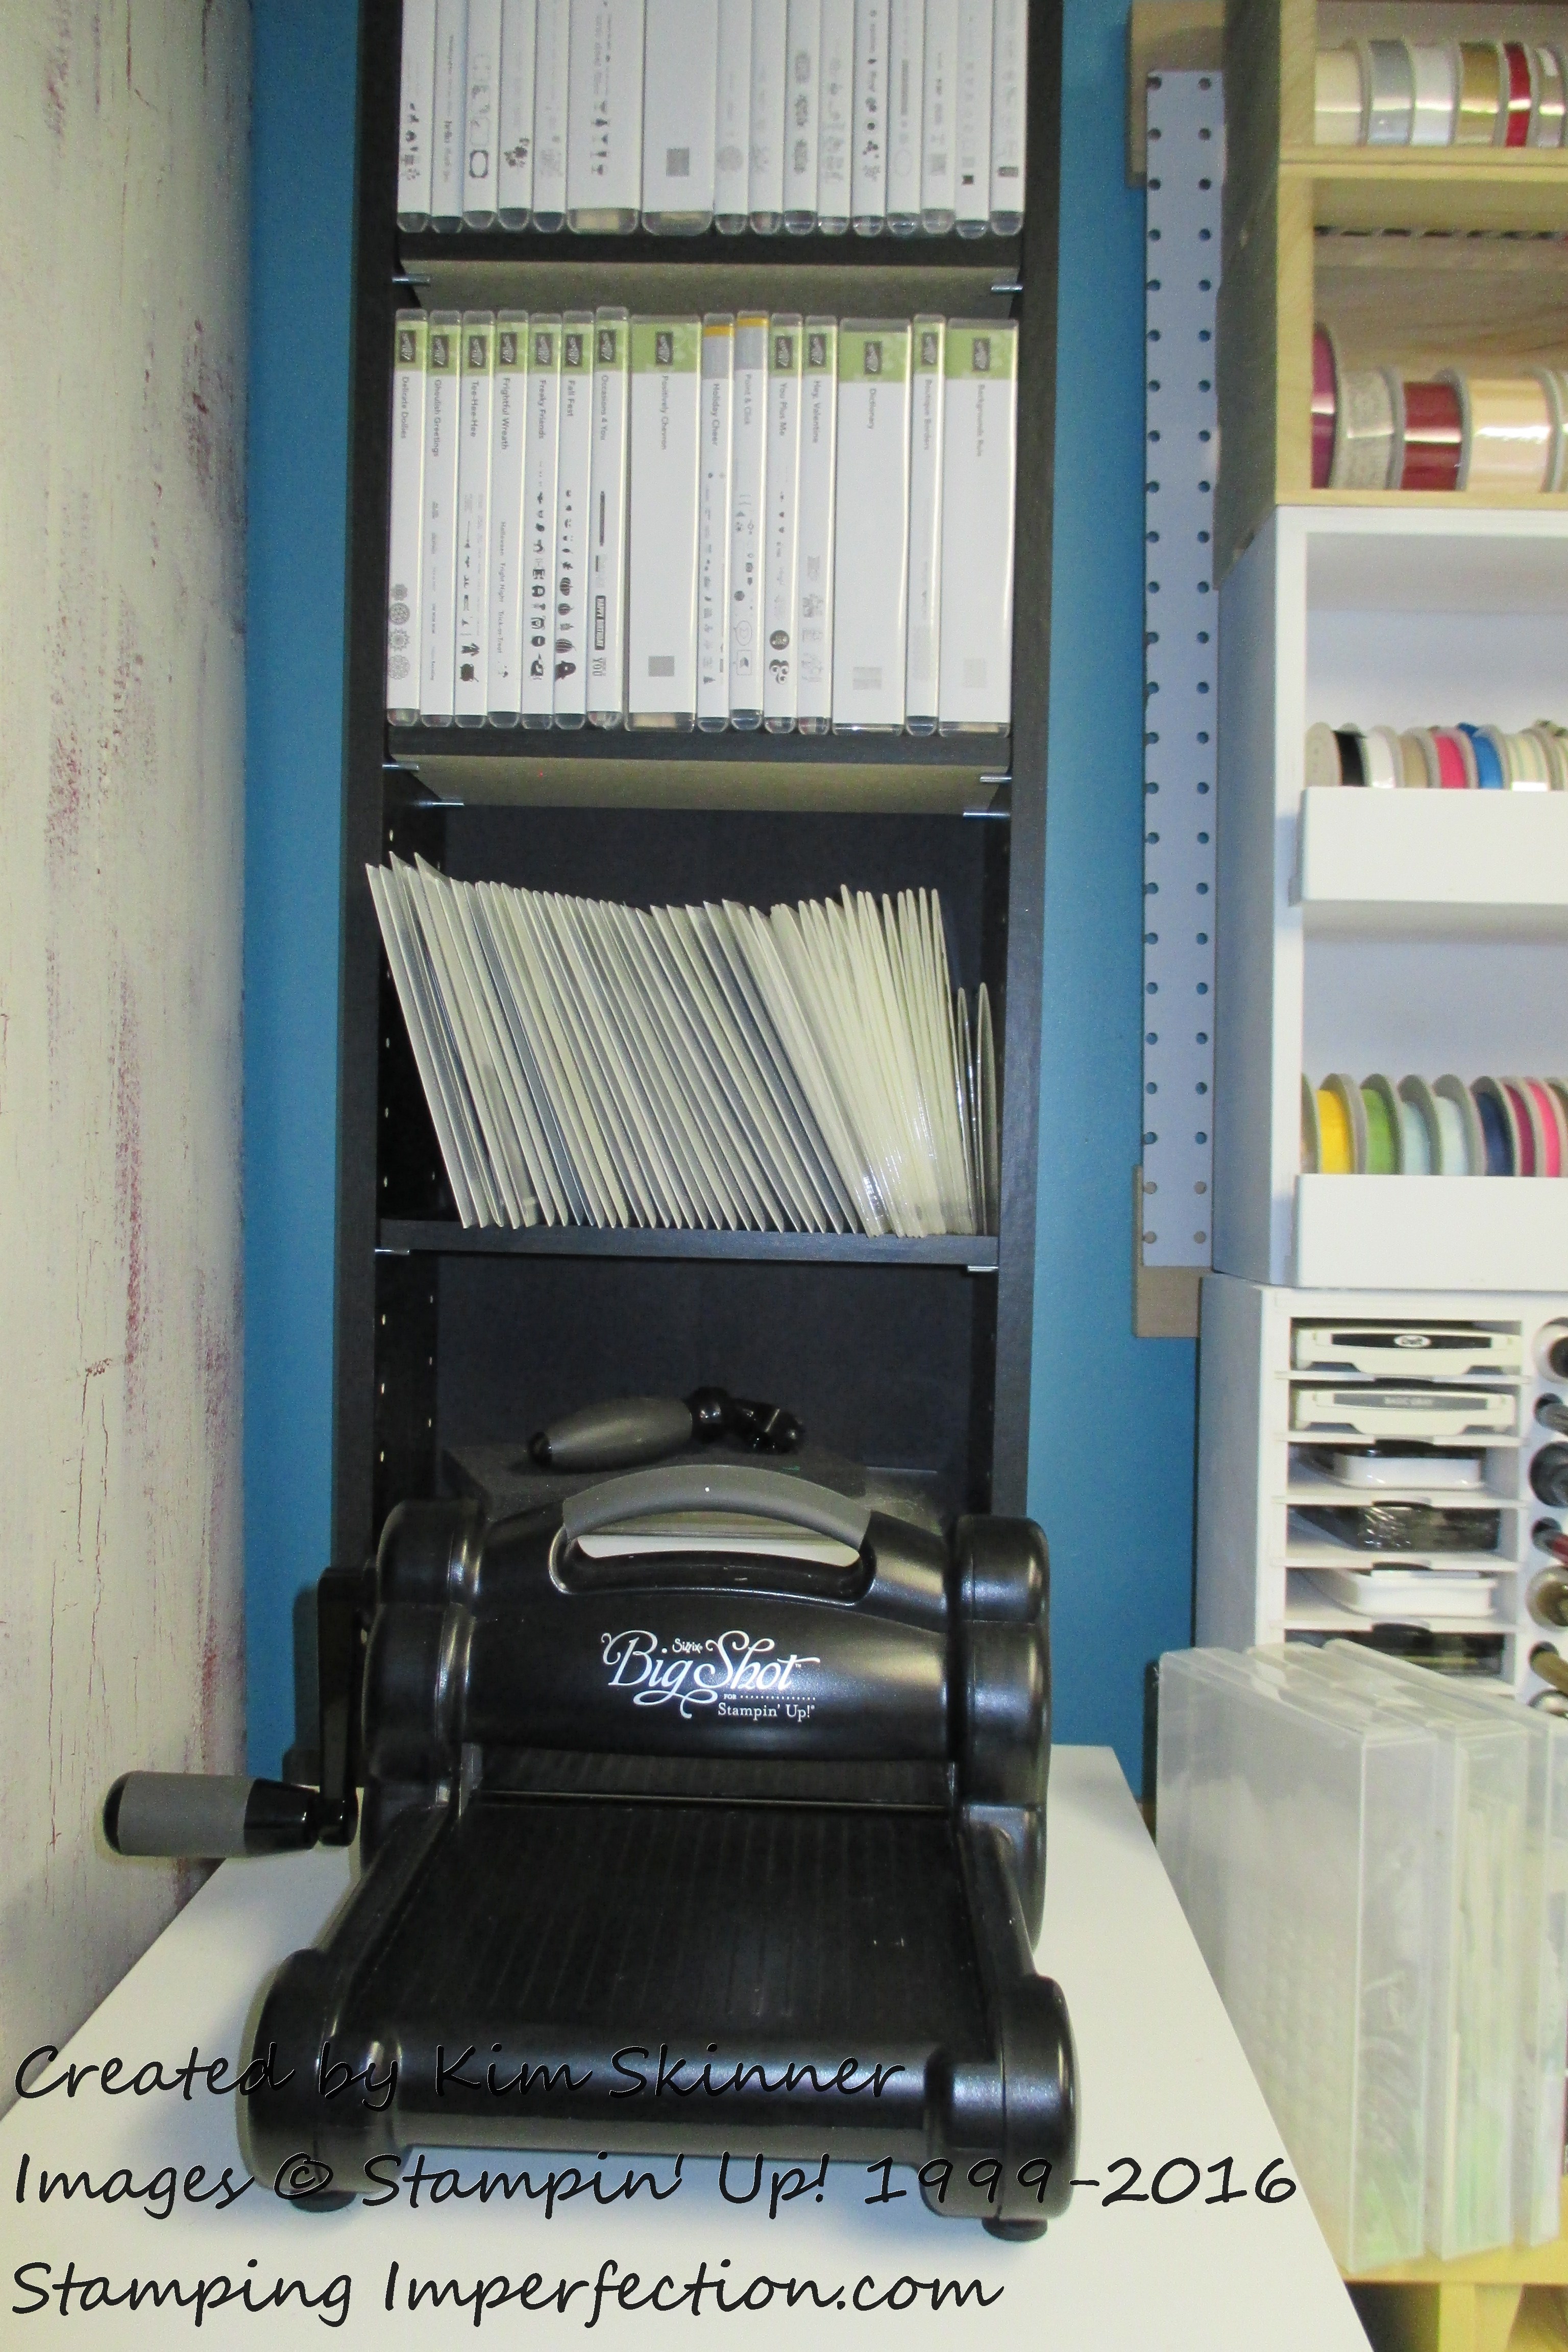
You can see from this picture that all of my Big Shot supplies are right next to the Big Shot all in one place. It looks nice and I can find what I’m looking for! (Yes…the tiny part of me that is a perfectionist will be painting that shelf white later in the week!)
The beauty of this project was three-fold:
- It helped organize my framelits, thinlets and embossing folders.
- I used up retired stuff from my stash so now my papers and ribbons will take less time to organize!
- It relaxing to do because I was creating something that would make my personal craft space look nicer! That always makes me feel good!
Come back tomorrow for the video how-to and the printable PDF with measurements for this project!!
Don’t shop for any Stampin’ Up! supplies today! Wait until tomorrow, July 7th. Stampin’ Up! is having a Bonus Days Promotion.
You will get a $5 coupon for every $50 that you spend between July 7- July 31. The coupon will be valid from August 2- August 31, 2016. (You can place as many orders as you want or one giant order…you get $5 for every $50 in product that you purchase…before shipping and handling.)
Note: An email address is required to participate in this promotion; Bonus Days coupon codes can only be delivered to participants via email.
IMPORTANT:
Stampin’ Up! strongly recommends that participants save emails containing their Bonus Days coupon codes AND write down the coupon codes in a safe place—the codes cannot be resent if the participant loses the email, and Demonstrator Support cannot recover lost codes.
Use your coupons for a special limited offer stamp set and thinlets bundle available August 2-31 only!

Thanks for stopping by!


