Hello Friends!
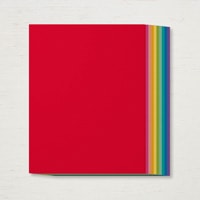
I have a new tool that I think you will enjoy using! And… it’s a perfect DIY tool to make with that cardstock you don’t love that’s been sitting on your shelf for months, or those scraps you have in that pile on your table!
You will find a printable instruction sheet with all the measurements that you need below. You will also find a video tutorial!
I’ve been creating card recipes and card sketches, and I realized it would be so much easier if I had some pre-cut pieces labeled with measurements to use to try out card layouts.
Sometimes you want a wide border between layers, and sometimes you want a tiny one. This tool has been so useful when I’m creating a card layout. Before I do any cutting, I can play with these pieces and determine what it is I have in mind before I cut my actual cardstock.
Basically, I pulled 9 sheets of old cardstock off my shelf and used 1/2 of each sheet to create my guide. I cut my layers starting with one that was 4-1/4 x 5-1/2″. This is the size of an A2 card. Then each successive layer was cut 1/8″ smaller in length and height. I stopped when I had 19 layers. You can do more or less when you create your guide!
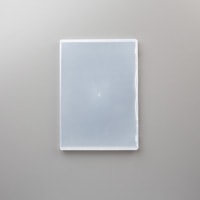
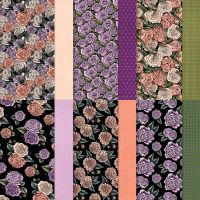
I used a stamp case and some pretty DSP that I got from the Clearance Rack to create a case to hold my guide. I made a decorative cover that you can print below.
How pretty is this?! When I got this paper from the clearance rack, I couldn’t imagine what I would do with it. The back sides of the paper will be great for scrapbook layouts, but the floral sides are super busy. I love big florals, and this is a lot for me even!
Uses for your Paper Layering Guide
- Test out layers to decide what sized borders you want your card to have between layers.
- Fit your stamp or sentiment on a layer of the guide to find the correct size you need to cut your actual cardstock. No more guessing!
- You can also use your guide pieces to play around with your card layouts and designs. Do you want your image at the top, bottom, or in the center? It’s a nice little manipulative tool to have on hand.
Video:
Printables:
Paper Layering Guide:Stamping Imperfection Layering Guide Tutorial
Stamp Case Cover: Stamping Imperfection Paper Layering Guide Case Cover
Measurements:
Cutting Measurements:
- 5-1/2 x 4-1/4”
- 5-3/8 x 4-1/8”
- 5-1/4 x 4”
- 5-1/8 x 3-7/8″
- 5 x 3-3/4”
- 4-7/8 x 3-5/8”
- 4-3/4 x3-1/2”
- 4-5/8 x 3-3/8”
- 4-1/2x 3-1/4”
- 4-3/8 x 3-1/8
- 4-1/4 x 3”
- 4-1/8 x 2-7/8”
- 4 x 2-3/4”
- 3-7/8 x 2-5/8”
- 3-3/4 x 2-1/2”
- 3-5/8 x 2-3/8”
- 3-1/2 x 2-1/4”
- 3-3/8 x 2-1/8”
- 3-1/4 x 2”
Helpful Ruler Conversions:
1/4 = 2/8
1/2 = 4/8
The Stampin’ Up! Trimmer is marked in 16ths of an inch. This may be helpful if you need a refresher! (Image from freeprintableruler.com)
Product List
Thank you for stopping by! I hope you find this freebie helpful! Have a creative day!


