
Do You Have A Project Life “Process”?
I have been a scrapbooker as long as I can remember. As a life long scrapbooker, I would describe myself as a traditionalist! I love pulling out my stash and creating a layout on a blank canvas and boy do I love my embellishments!
How many sheets of sticker letters do you own? I dare not count mine!
I’ve learned that it can be an expensive hobby. Over the last several years, I have started stamping on my pages instead of using stickers or purchased die cuts. With the Big Shot and punches, I can make my own and save a ton of money by reusing my non-consumable supplies over and over.
In comes Project Life. *Sigh*
There are the card collections, the accessory packs, the journaling cards and pens, the thinlet sets, the page protectors, the albums and the stamp sets!
I had no idea how to use it all, but I want it!
I attended two Stampin’ Up! events that really helped me “get it” and develop my “process”.
During the first event in Utah, I got to spend an evening creating an entire album with concept artists and designers for Stampin’ Up!’s product line.
I was totally overwhelmed.
Then I participated in a webinar from two of my favorite Stampin’ Up! demonstrator trainers (hugs to Andrea and Alisa!). It all became clear!
Step 1: Gather Your Supplies
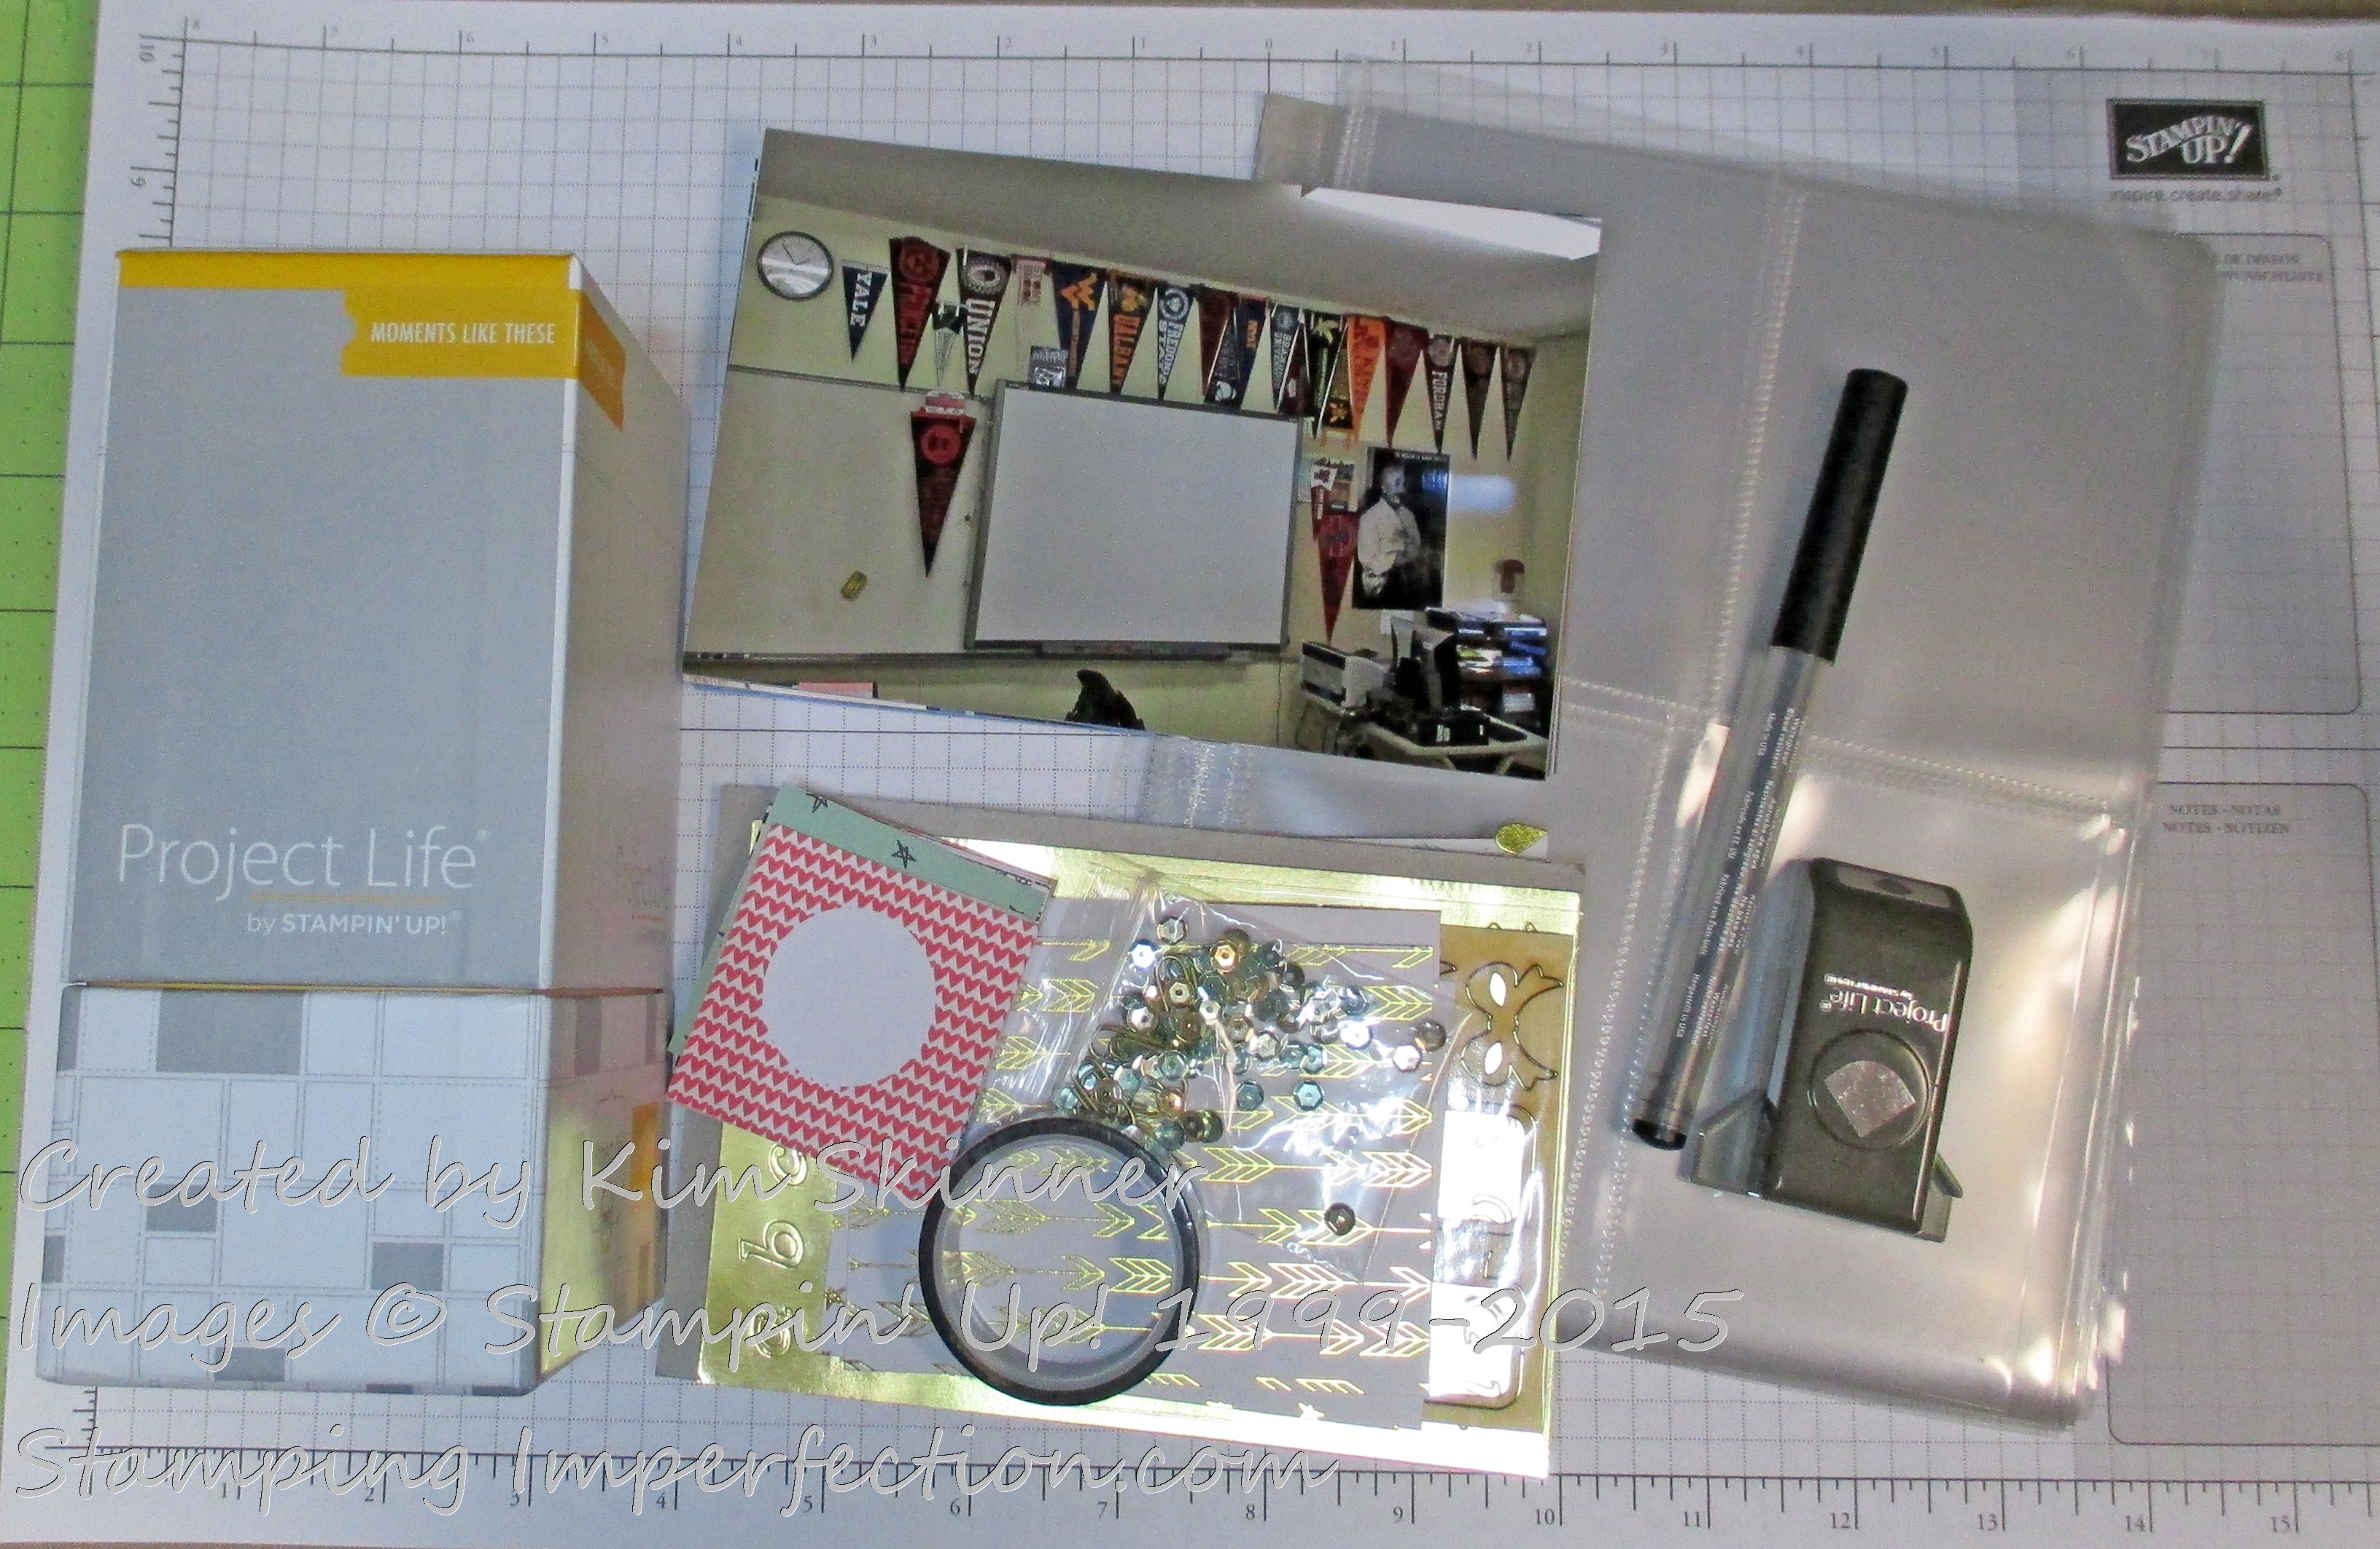
First of all…you don’t need everything (right away…you know you’ll want it all eventually!). Here are the basics of what you want to get started:
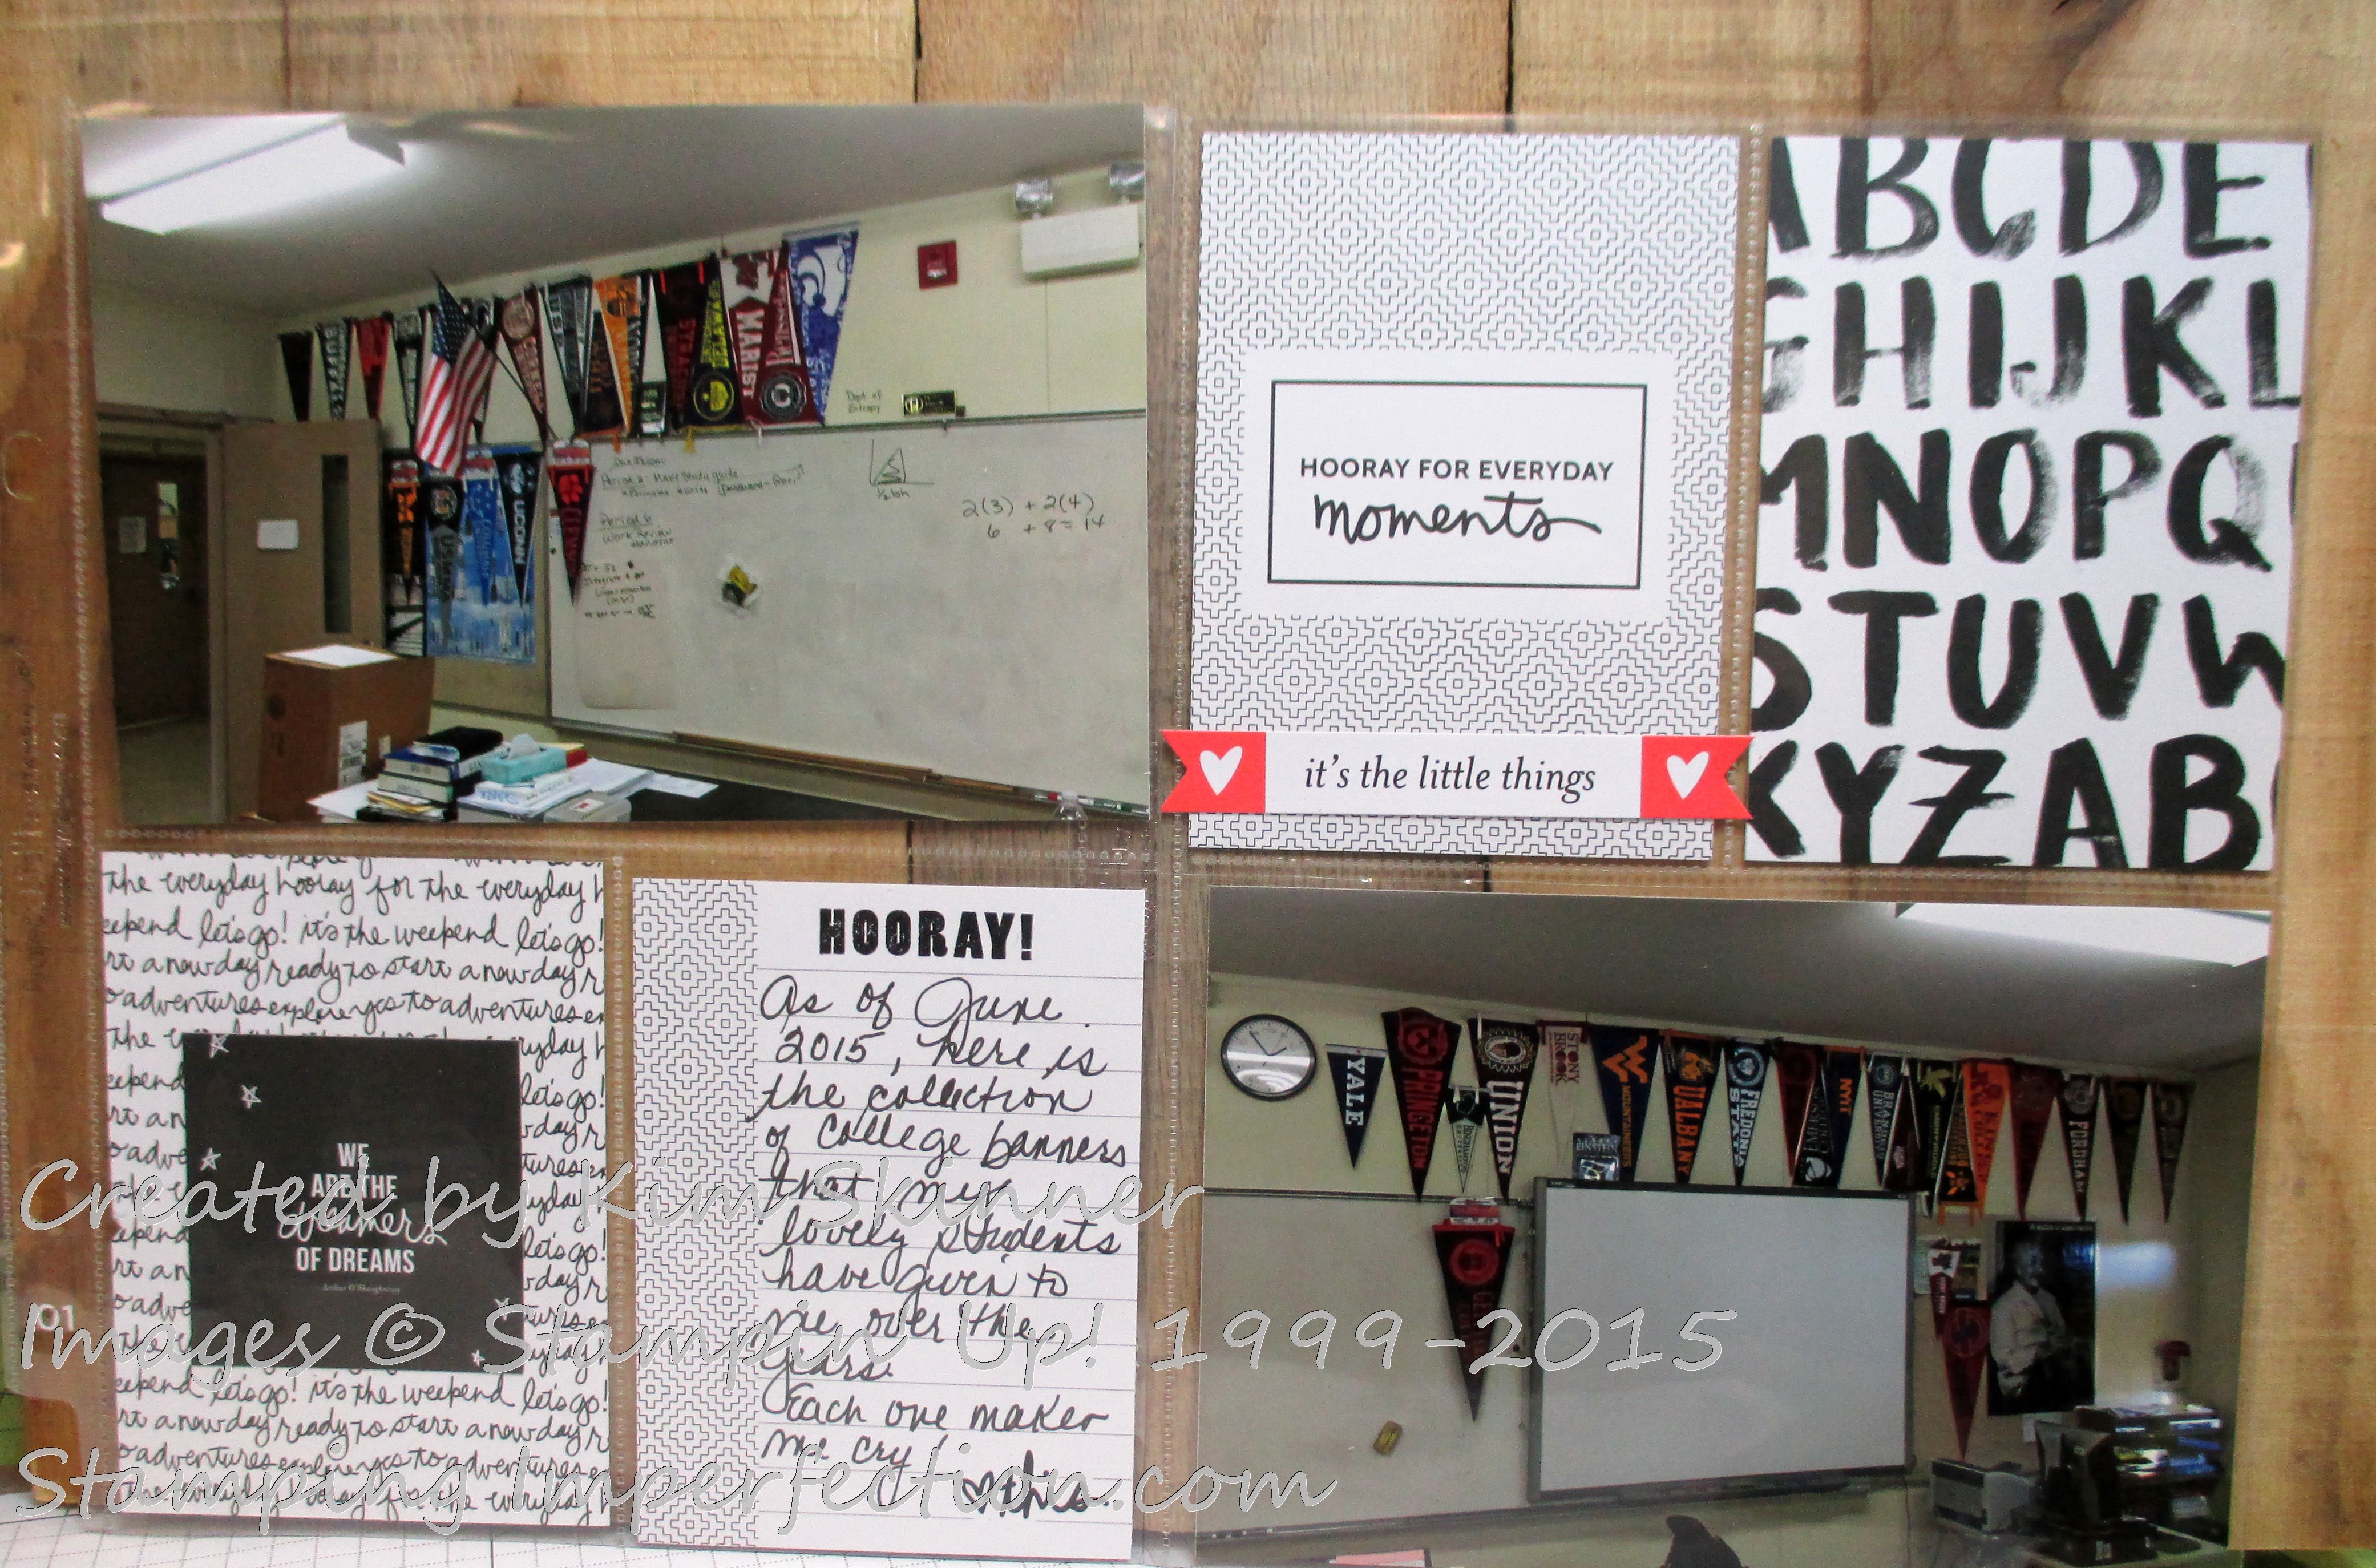
- One card collection set. Stampin’ Up! has several to choose from. The one I’m using here is Moments Like These. It’s my current favorite.
- Pocket Pages and an album.
- Journal pen
- Accessory pack
- Pictures
- Corner Punch
Step 2: Select Your Pictures And Pocket Pages
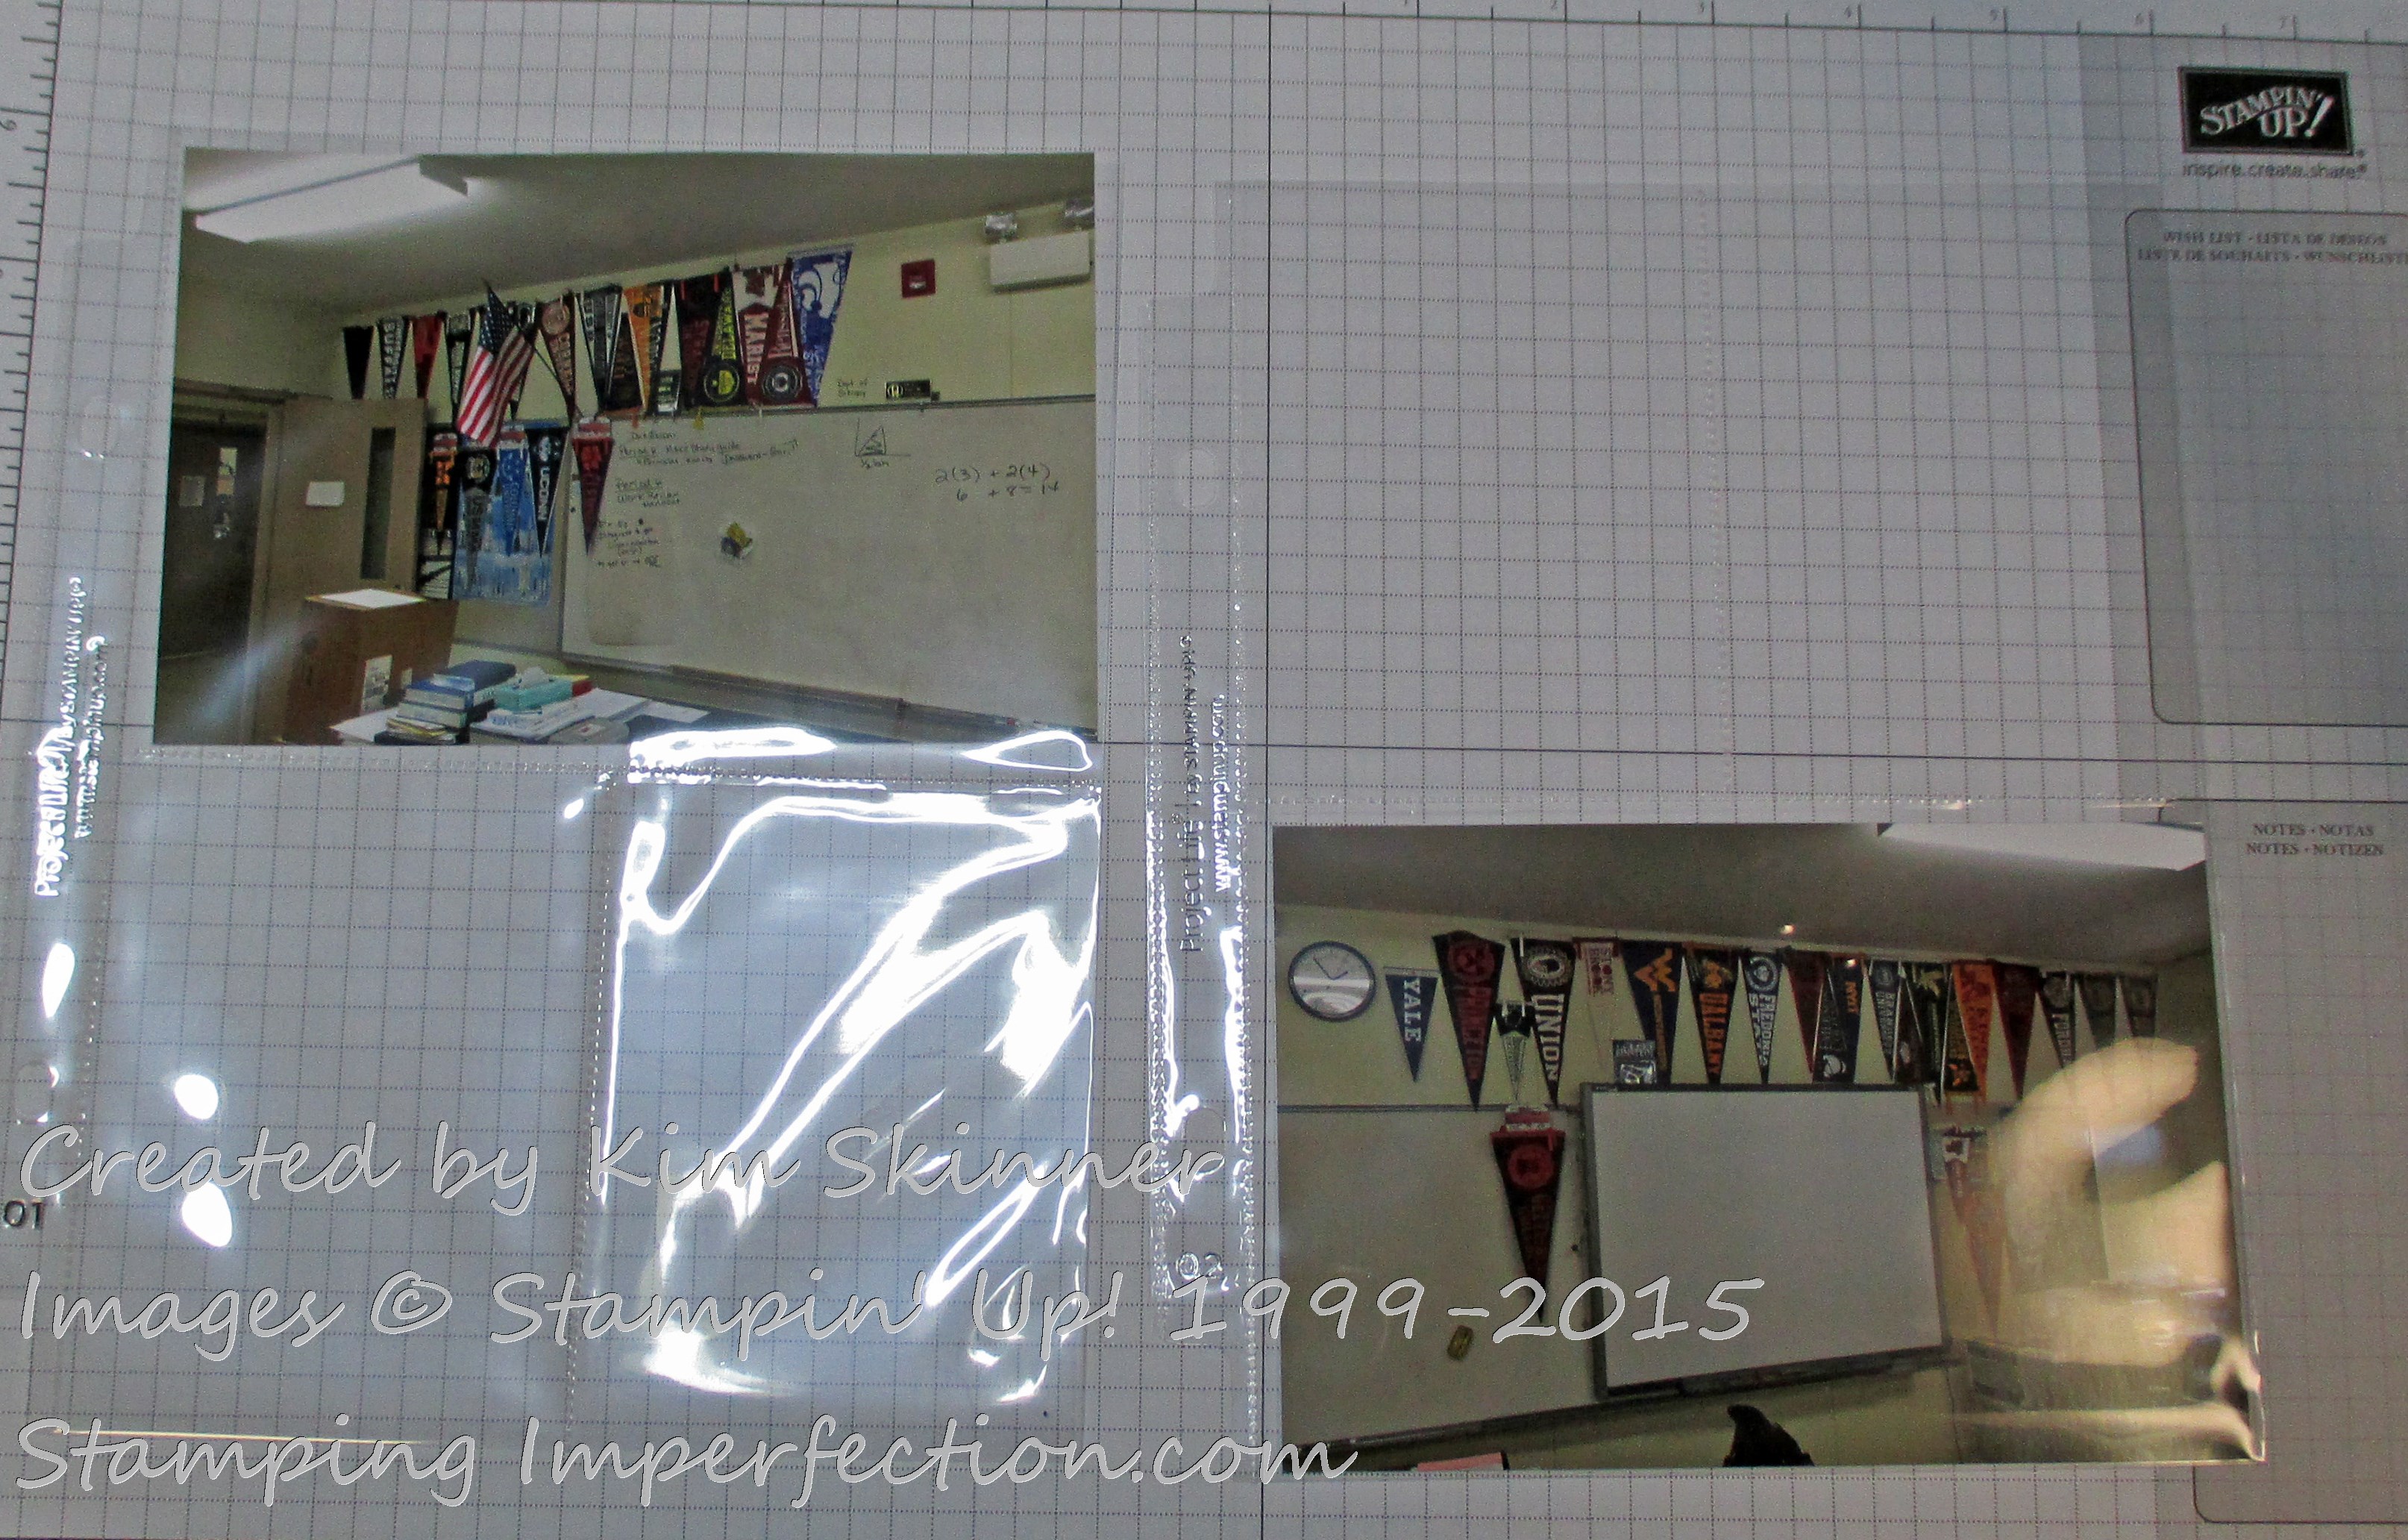
I usually select 2-4 pictures for my layout. I’ll often use 2 full 4 x 6″ photos as I’ve done here and sometimes I’ll add another photo that I’ve cropped to add to one of the cards or smaller pockets. Place your photos in your pocket pages.
Step 3: Choose Your Cards
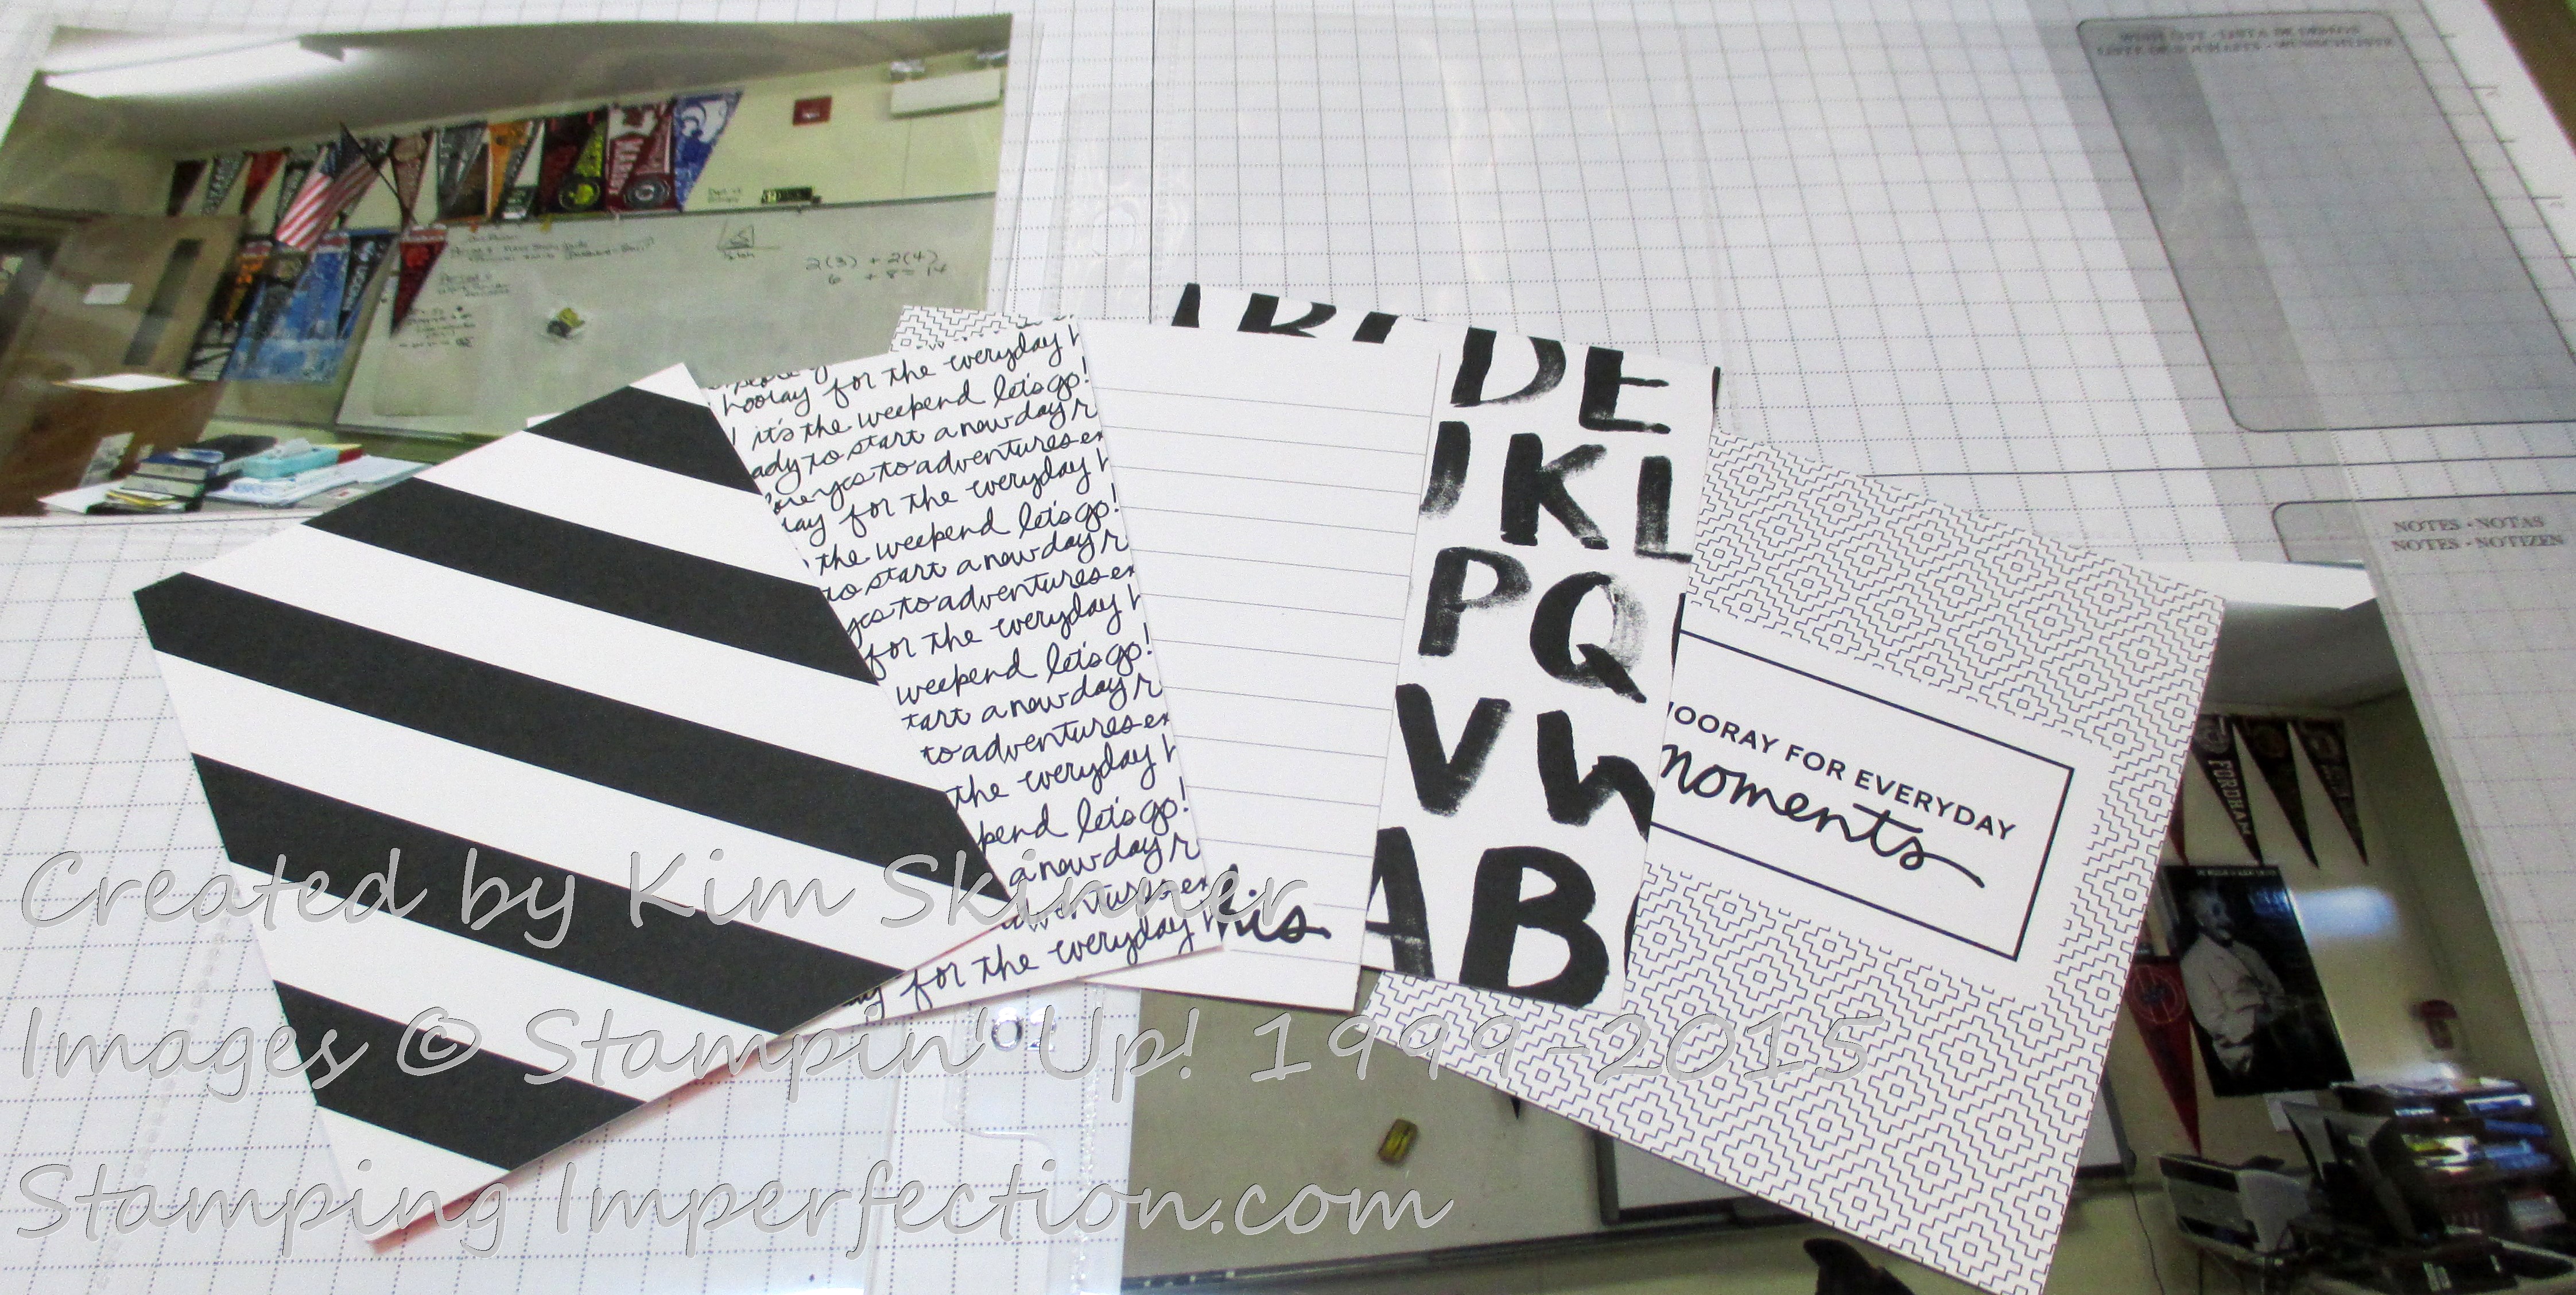
This is the hard part! Select 5 or 5 cards from your collection that you would like to include on you page. Slide those into place and your basic layout is complete!
Step 4: Embellish, Stamp and Journal
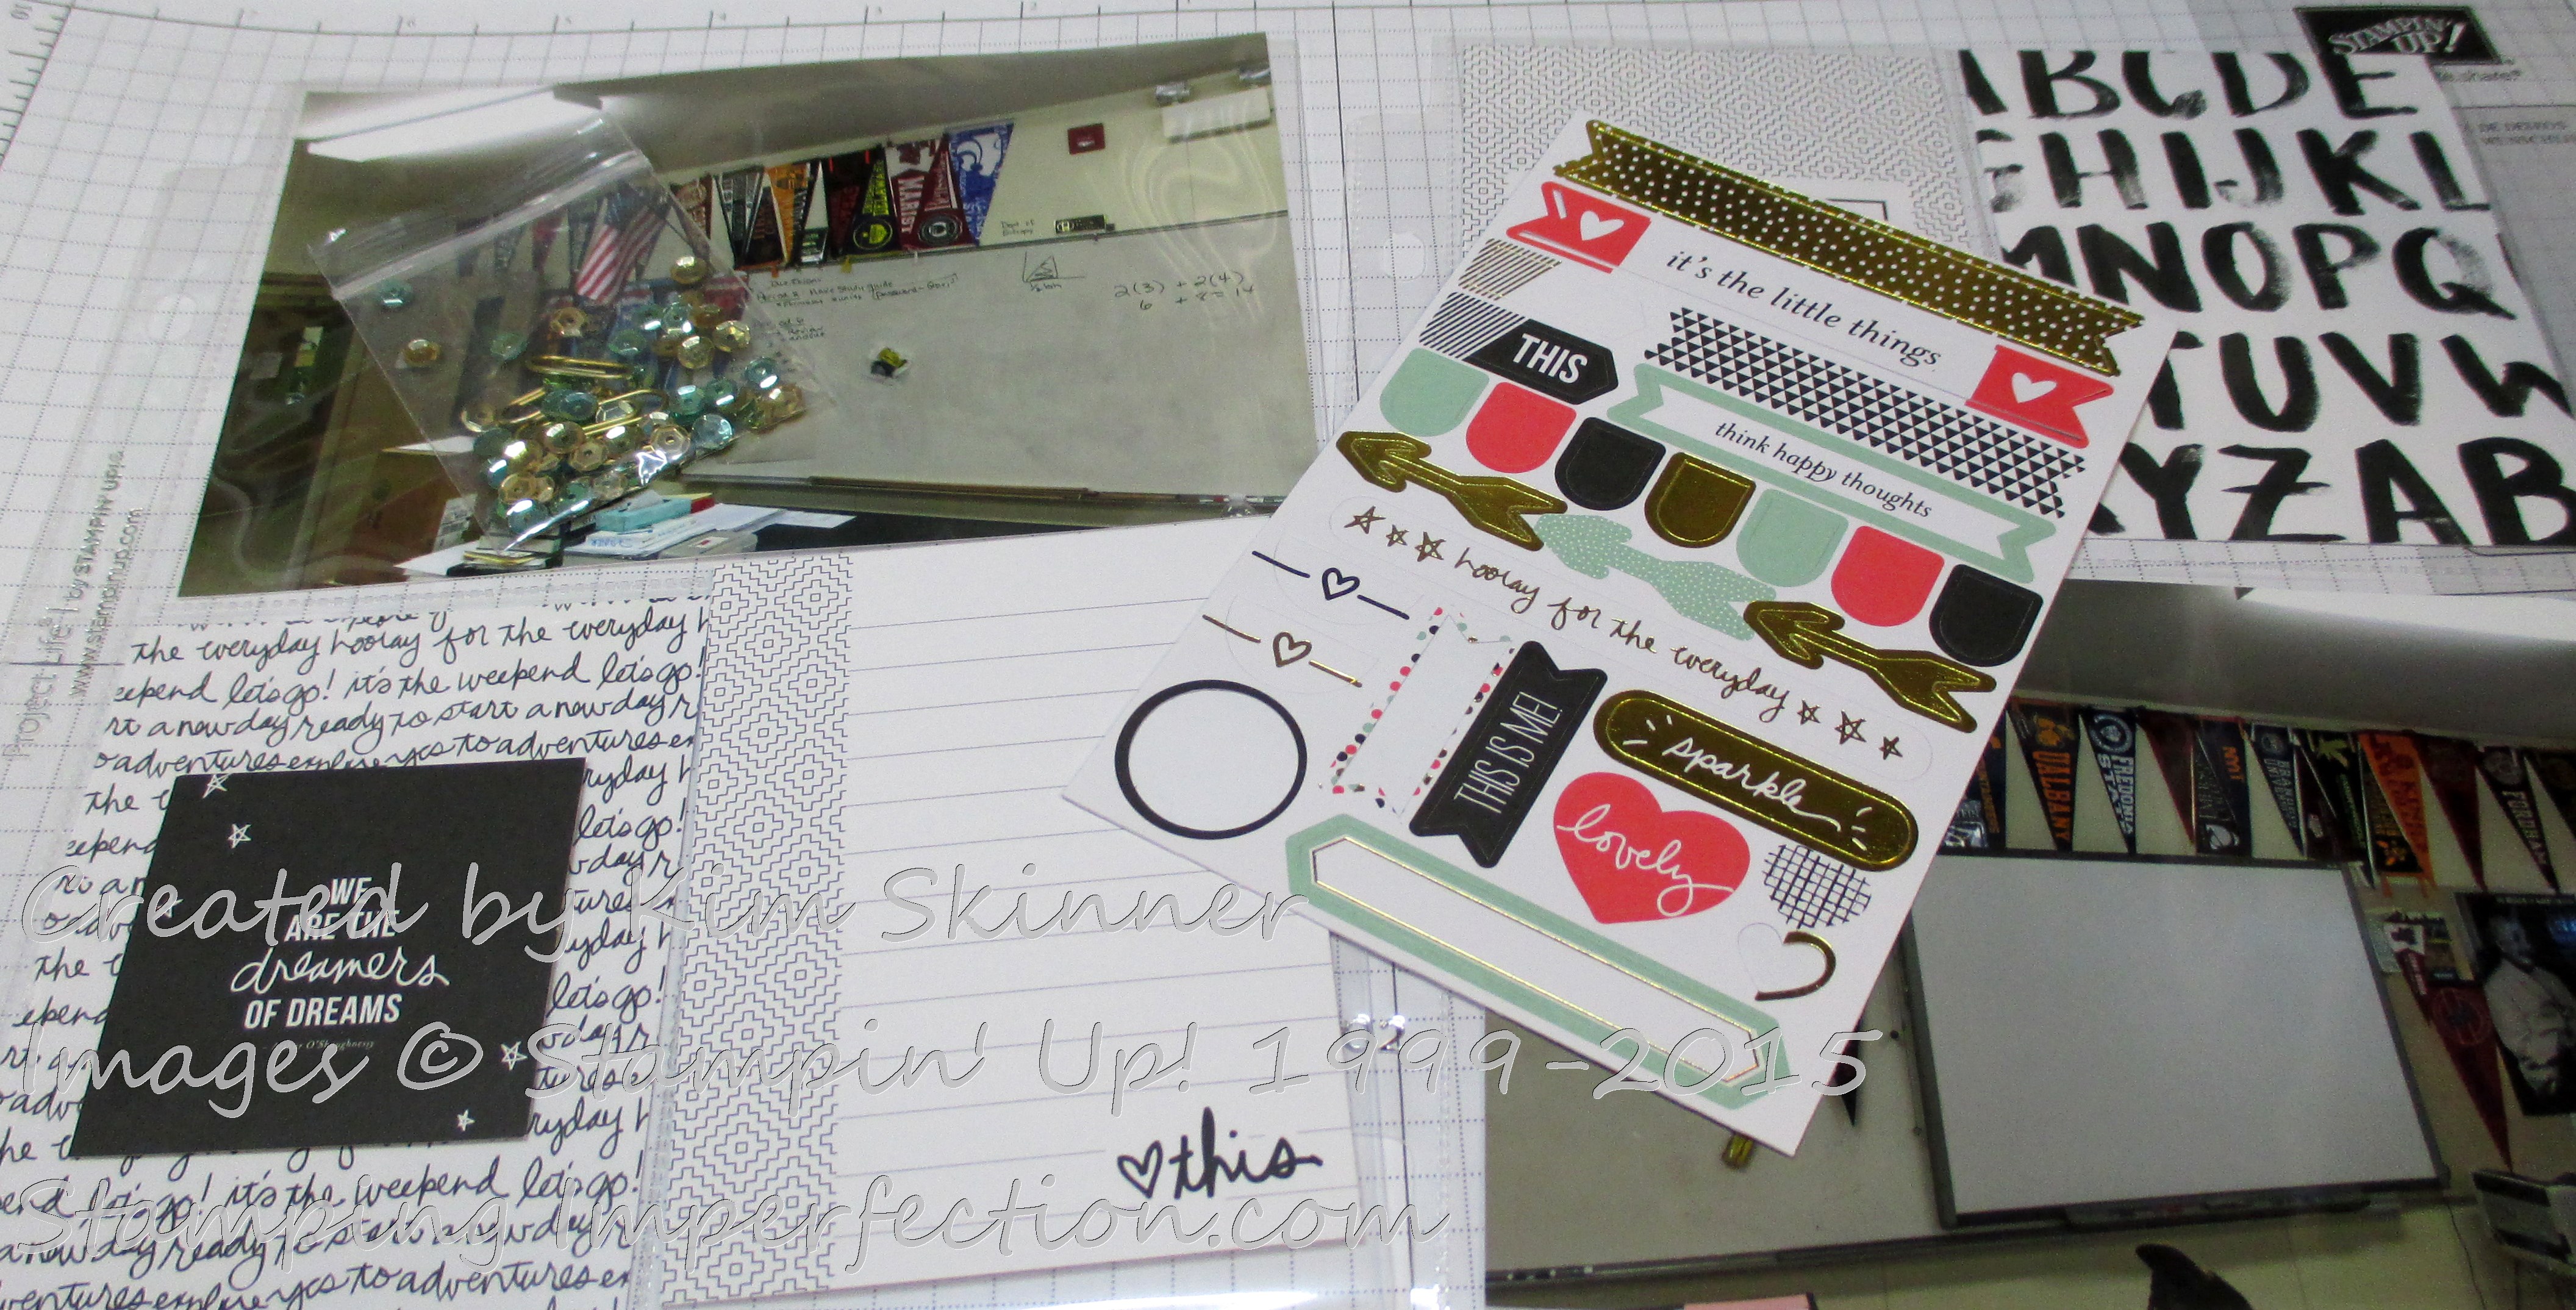
This is the fun part! Select your embellishments from your stash or from the accessory pack that coordinates with the card collection. You can add stickers, ribbon or twine, sequins, small photos or smaller cards, die cuts…you name it.
Step 5: Add your stamping and journaling
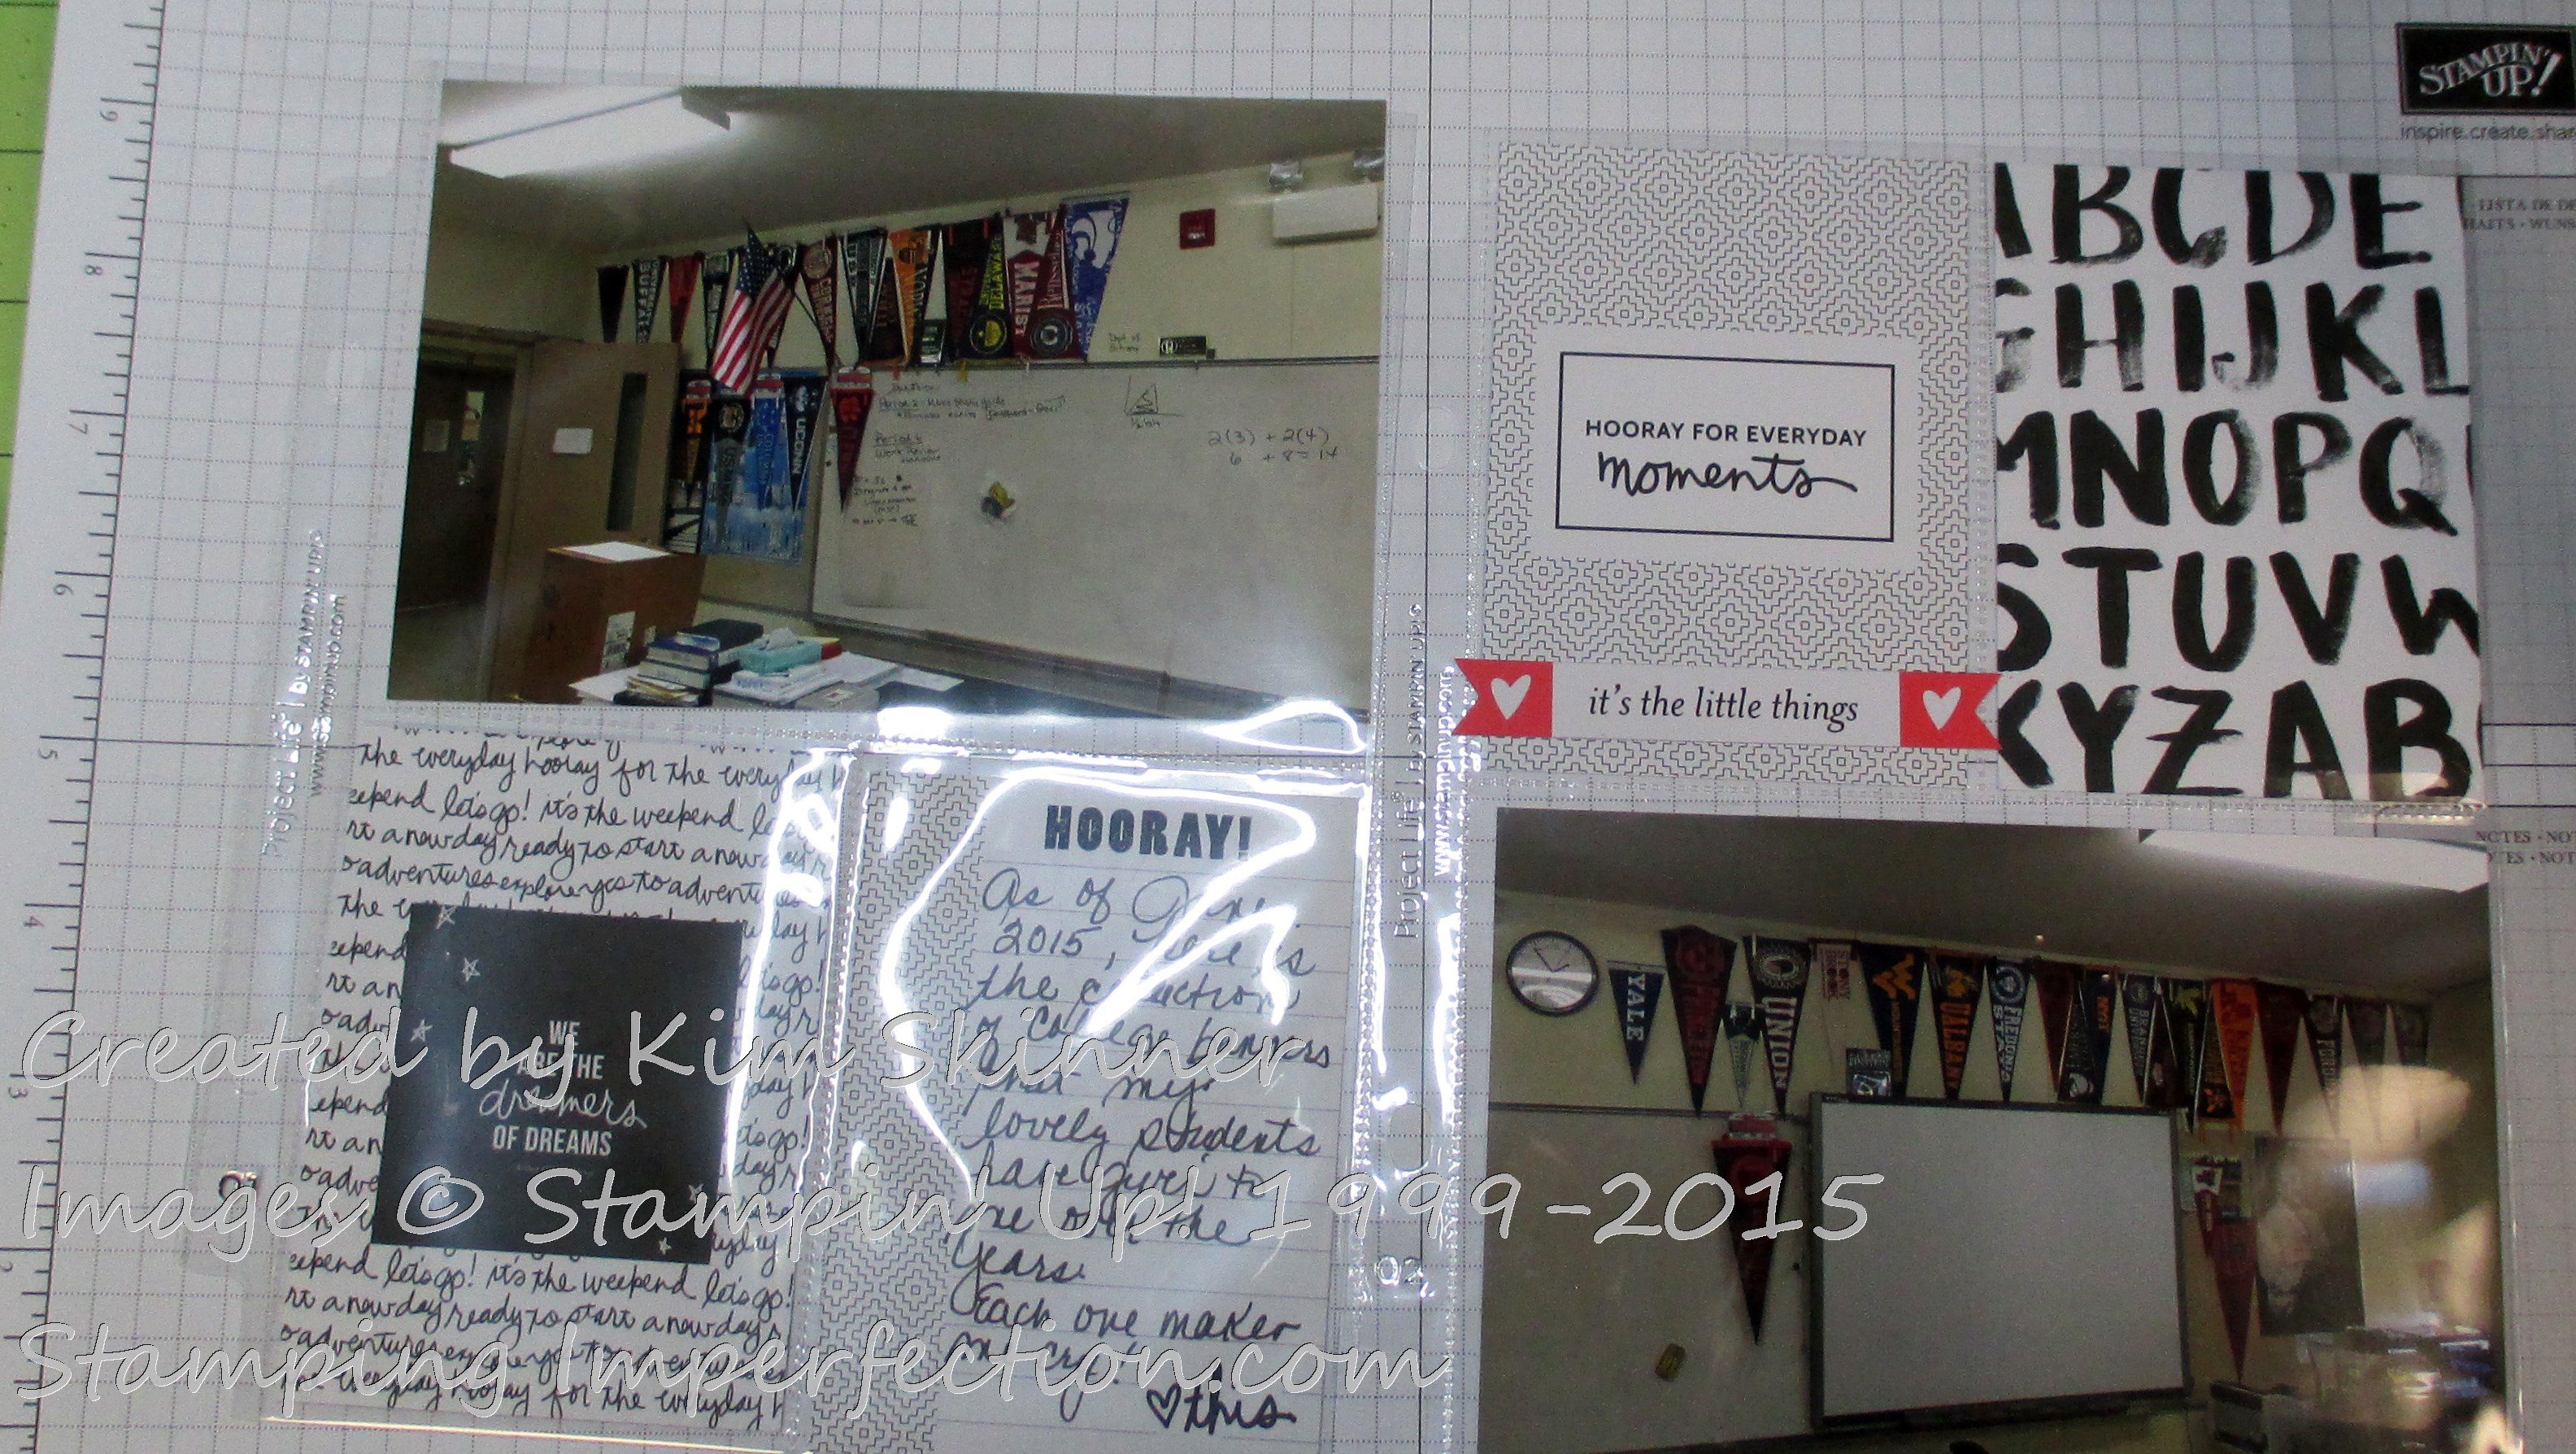
Don’t forget to add some stamping to the pages to make you pages really feel handmade! Make them your own!
Enjoy your completed pages!
Once you have steps to follow, the entire process is less overwhelming. Make 2 pages at a time and add them to your album.
Supply List
|
|
||
|
|


Shop online at mystampingstore.com!
 Thank you for stopping by!


