
It’s the last day for the Stampin’ Up! Advent Calendar for 2025!
I’m so happy I splurged and treated myself to this advent calendar. It’s the first time that I have ever purchased myself an advent calendar and I was not disappointed!

Today we got 6 white embossed 3 x4″ cards and over 20 laser die cuts ephemera pieces. Another lovely product to add to this mini suite of products that I’ve received over the last 12 days.

Every day I wondered what else they could possibly add to make this coordinating suite of products even better. I was surprised every single day! I was also really happy with the stamp set that was included with this calendar. It’s truly a set of products I can use all year long!
I estimated the value of the products included with the Advent Calendar to be around $140 worth of supplies. The calendar cost $99. If you are a demonstrator, then you get your demo discount of 20-25%. That makes the set cost $74.25 (plus tax and shipping). Add on top of that the 10% you get back in Stampin’ Rewards…that’s a $10 value, bringing the price (in my brain), down to $64.25 plus shipping and handling. Not a bad deal!
I felt like this purchase was well worth it for me. I will continue to use the stamps and dies long after I’ve used all the consumable pieces.

I made a sweet little card today. I used one of the embossed cards and one of the laser cut wreath dies. I added a bow and a bird from the ephemera we received. I added a few sequins and a heart gem from the bag of shaker elements that we got a couple days ago as well. The pink polka dot banner is another ephemera piece from the suite as well. The sentiment is from a stamp set called Sunshine & Tulips. I needed a really small sentiment to fit on the tag and that one worked perfectly.
I also finished the Christmas Ornaments I made yesterday that I used the Gold Glitter Glue we received on them. The glitter glue needed time to dry so I could finish assembling the ornaments.

I used the Large Gold Hoops and the DSP from the Modern Christmas suite. I also added some dots of the Gold Glitter Glue. I still have 6 of these rings left to make more ornaments!
The snowflake is made from white glimmer paper I had in my stash. I die cut 2 of each of the dies from the Modern Christmas suite along with 2 snowflakes from the Snowy Delights bundle.
I attached the gold twine with glue dots to the back of one die cut, then glued the second die cut to the back of the first one. Once I allowed the glue to dry, I tied the paper pieces to the gold hoops and made sure to add enough on one side to hang the ornaments.
The glitter glue was a nice finishing touch!

This one feels a little mid-century modern!

I love the gold, black and white on this one. It’s such a glitzy feeling pattern.
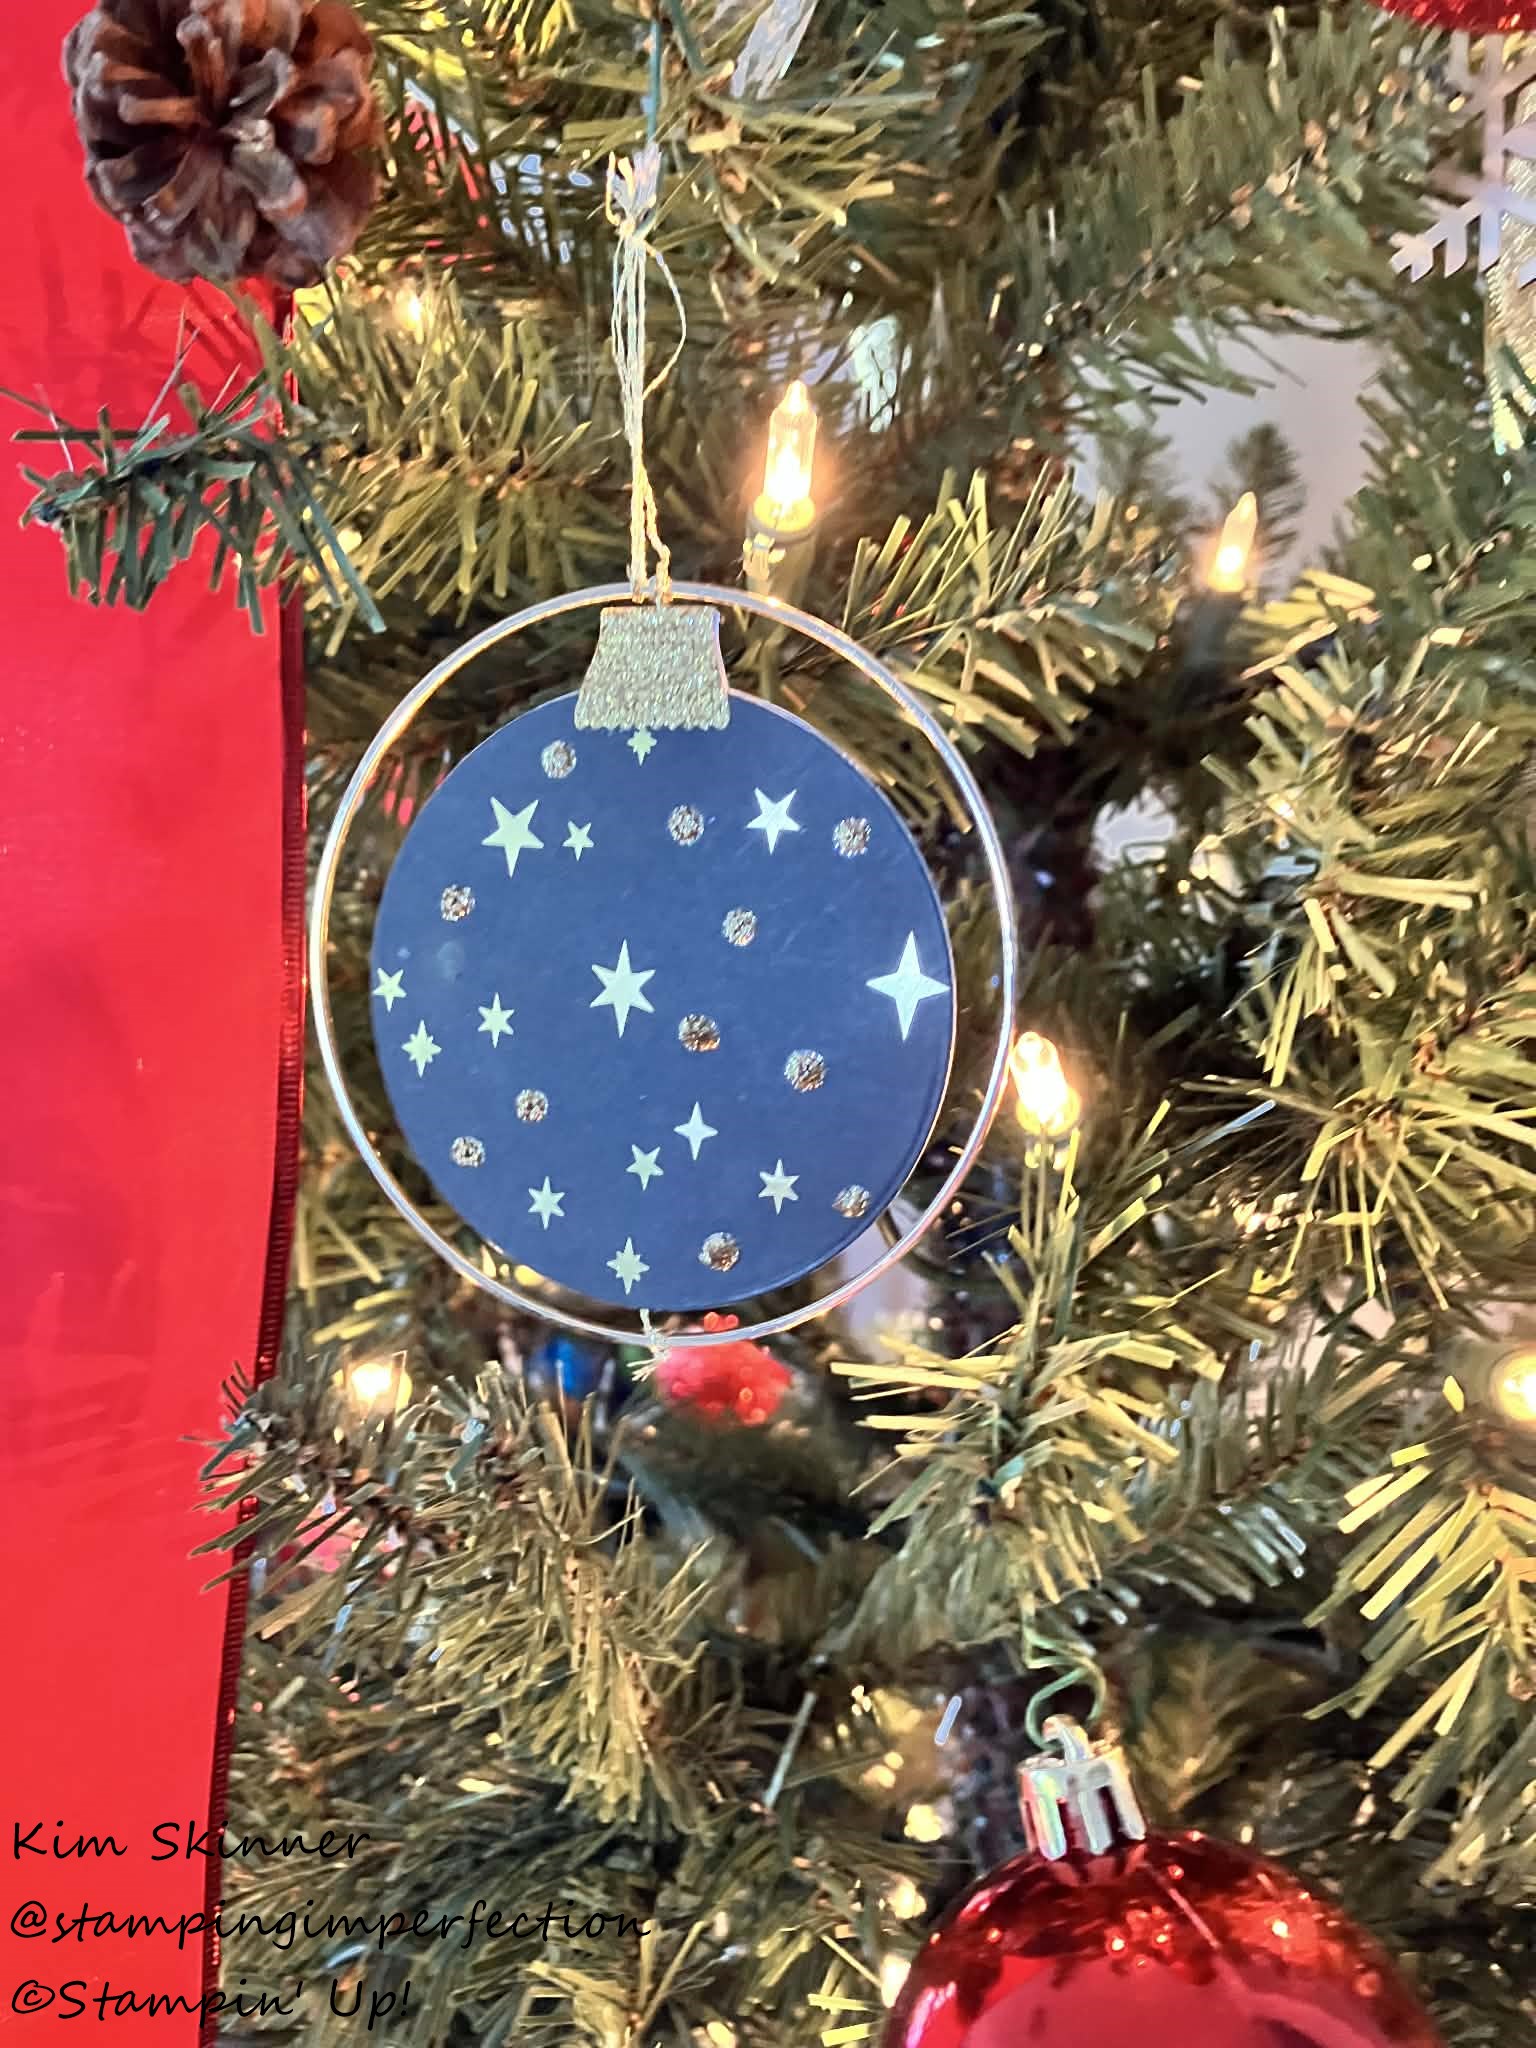
This one looks very sparkly up close. It’s always hard to photograph sparkle!

This one sparkles most of all. The lights on the tree really catch the glitter paper and the metallic elements on the other papers. I’m very happy with the end results! I kept them simple!!
You can check out all of these supplies in my Stampin’ Up! store at ShopWithKim.net.
Thanks so much for stopping by! I hope you found some of the projects inspirational enough to go create something with your craft stash!
Happy Holidays friend!


