Hello Friend!
I’m currently staying in an Air BNB apartment in Michigan. My daughter and her husband both had to go back to work after having their first child, so I’m helping out during the day! I am spending my day snuggling my sweet little granddaughter! Is there anything better than rocking a baby? I just don’t think so!
Since I’m traveling, I thought it would be easiest to bring my watercolor pencils and supplies along to do some watercoloring. I’m actually making a watercolor pencil class that I hope is ready in a couple of weeks to share with you.
For today, I want to share a few easy tips and techniques for using the watercolor pencils to add color to your images. It takes so few supplies and you can pack them in a small space. Plus they are relatively inexpensive and they last quite a while through a lot of projects.
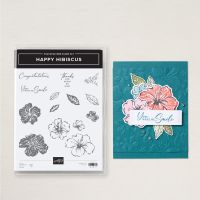
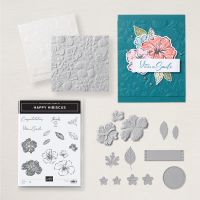
I decided to use the Happy Hibiscus stamp set that Stampin’ Up! recently released as an online exclusive. You can purchase it as a bundle with a hybrid embossing folder, dies and the stamp set.
The one drawback is that the 3 florals are attached as one stamp. The florals are actually the bits that are enhanced and cut when you use them in the hybrid embossing folder with the die. The die is also one piece and fits around the stamped florals perfectly.
The layout of the florals isn’t idea for just stamping them onto a card front for a single layer card. You could make it work, but you’d have to be very creative in the process. I wanted to show you how you could stamp them, watercolor them, then die cut them out for your card.
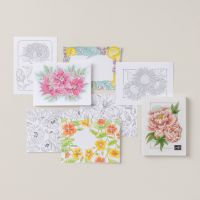
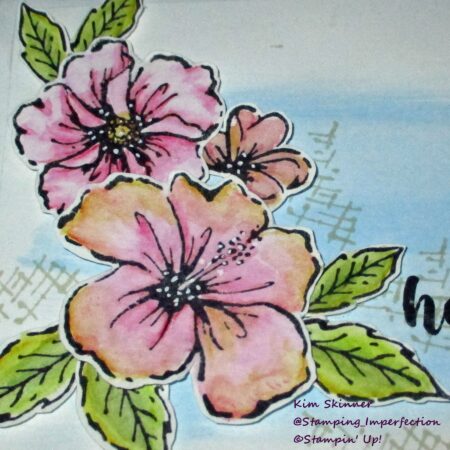
The photo above shows the florals and leaves after I used my watercolor pencils and 4 techniques to create the look that I have here. You can see the techniques in the video below.
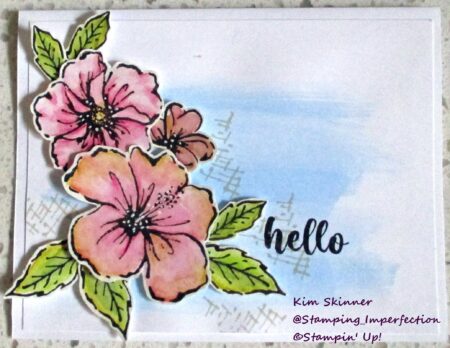
Here is my final card. I did a watercolor wash on the background panel by creating a palette of ink and using the flat watercolor painter.
For my florals, I used the most basic technique of scribbling on the color with the pencil and then smoothing it out with the water painter. I also layered some darker shades of pink onto my florals to create a bit more dimension and interest. I mixed colors by adding in some yellow to the tips of the largest floral as well.
For my leaves, I mixed my green colors together with the pencils and then smoothed it all out with the water painter.
Basic Watercolor Pencil Supplies:
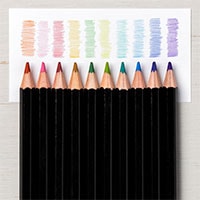
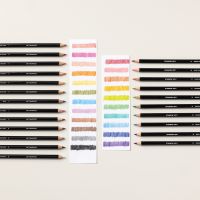
- Watercolor Pencils Assortment 1 and Assortment 2 from Stampin’ Up!
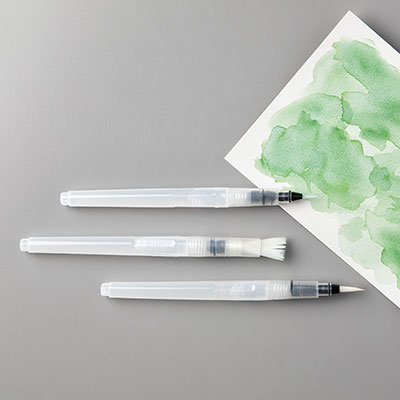
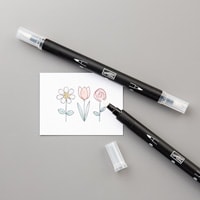
- Water Painters set of 3 from Stampin’ Up!
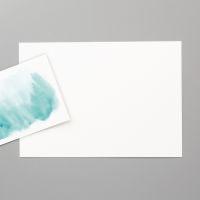
- Watercolor paper or thick Whisper White card stock.
- Pencil Sharpener
- Paper towel
- Water
Other Supplies I Also Use:
- Pencil Case
- White Gel Pen
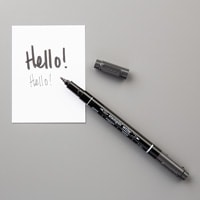
- Basic Black Stampin’ Write Marker
- Journaling Pen, black 0.1 or 0.3 tip
- Stampin’ Spritzer
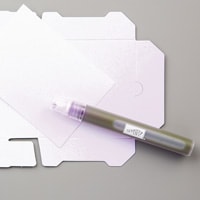
- Blender Pens
- Art Erasers
- Wink of Stella
Video Tutorial:
Product List
Amazon Supplies
Compensated affiliate links may be used at no cost to you. As an Amazon Associate I earn from qualifying purchases. The information provided in this video is based on my own personal experience. I am not an expert. I am just sharing what I like.
For affiliate and product disclosure, visit https://tinyurl.com/y9fyd6lv
*Sponge Dauber case: https://amzn.to/46rlBII
Posca White Paint Pens: https://amzn.to/3Snv8dO
Canson Bristol Paper: https://amzn.to/3SnvaSY
Microfiber Cloths: https://amzn.to/3YtsneG
48 Photo Mini Photo Albums 12 pack https://amzn.to/3XNXYGj
Low Tack masking tape set: https://amzn.to/3zVndON
Pencil Case: https://amzn.to/3AzDvgS
Pencil Sharpener: https://amzn.to/3UTEi2O
Gelly Roll White Gel Pen: https://amzn.to/3AJbaEI
Art Eraser Set: https://amzn.to/3Ct2HpX
Thank you for stopping by today! Have a great day!


