Have you ever watched several different people teach the same skill? They all teach the skill differently.
That’s true when you are learning to watercolor or to color with alcohol markers.
I’ve taken classes with many different people and they all have their own styles. I find myself practicing their techniques and then combining the tidbits that I like from each technique into what I hope eventually evolves into my own style.
I’m not a master colorist and it is truly amazing to watch someone who is. I’ve been practicing and taking classes now for a couple of years. I’m an amateur and I enjoy every moment of practicing. It allows me to get so immersed in a relaxing task that I forget about everything else.
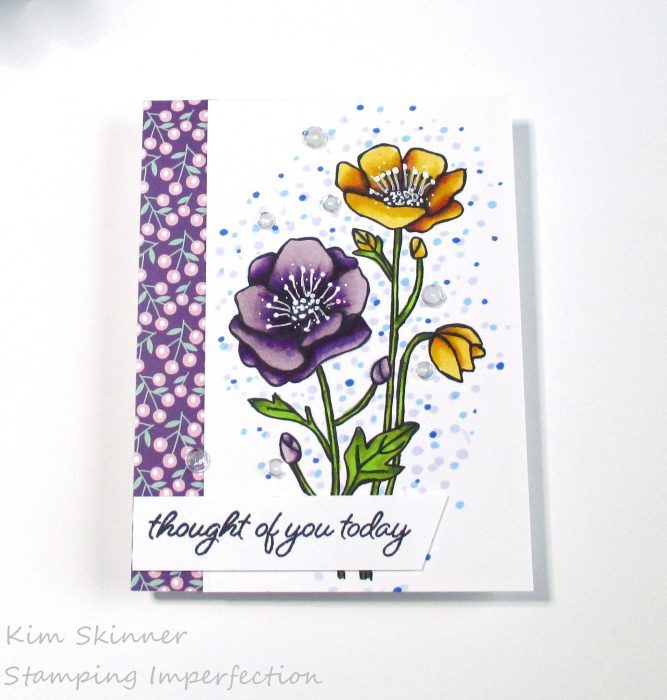
Today I have a card to share that I made with alcohol markers and the Grace in Bloom from Catherine Pooler’s latest release. This is a perfect flower to color or watercolor with the nice big petals and not of a lot of crazy little details.
I used Altenew alcohol markers set B, C, and E for this project. I started by stamping the image with Catherine Pooler’s Midnight Black ink using my Misti.
Then I used set B to color the flowers and buds. My technique was to start with the darkest shade and outline the edges of the petals and the inside part of the flower where I would expect it to appear darker. I took the second darkest shade and went over those lines spreading the second color a little farther up the petal and then flicked it out to the end of the petal leaving lots of white space at the tip of the petals. I did the same thing with the next lightest shade. I still left white space at the tips of the petals and then I went back and added more color starting from the second lightest, second darkest, and then the darkest. I finished off the petals by filling them in with the lightest shade and using that to go over the entire petal to get a nicely blended look.
I used set E for the leaves and stems and set C for the background dots. You can see my how to in the video below!
I finished off my card by trimming the floral piece down to 3-1/2 x 5-1/2″ and cutting a piece of CP’s Flutters and Blooms paper at 7/8 x 5-1/2″. I glued both pieces to the top of a card base cut at 4-1/4 x 11″, scored and folded at 5-1/2″.
My sentiment is stamped in the same Midnight black ink and it comes from the Happy Butterflies stamp set. I added a few sequins and some foam tape to mount the sentiment to finish off the card.
You can see the details in the video:
Supply List:
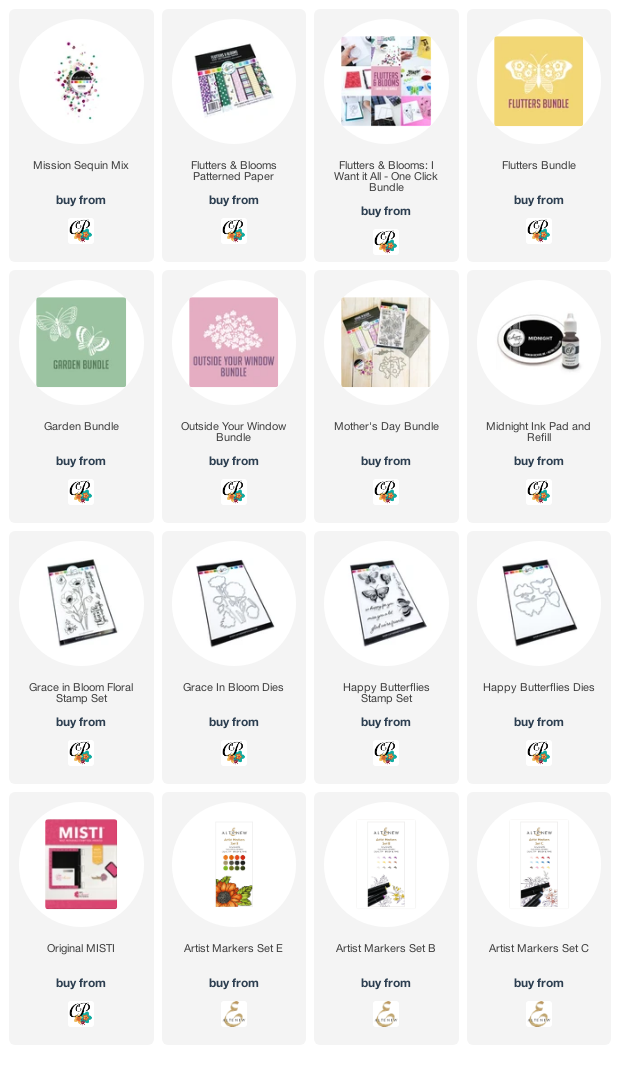
Are you interested in the products I used? To make them easier for you to find, I have linked them below. (Affiliate disclosure ) Your purchases help keep my blog running at no additional cost to you and I thank you for the support!
I hope this was helpful. It really is fun to do the alcohol marker coloring and if you are starting, try not to over think things. A lot of instructors start talking about the light source and all that kind of stuff. Don’t get bogged down in that. Nobody is going to look at your card and tell you that you have the light source all wrong. They will see a pretty flower!
Thank you for dropping by today! Have a wonderful day and be well!



Kim I just watched this video and love the way you colored the flowers. I purchased the same Altenew class with Kelly on blending with the artist markers. I hope I can get even close to the way you have perfected your blending. It is not easy. I will keep practicing. I even tried Jennifer McGuire’s method of using the lightest on the entire image and then gradually go to darkest then back to lightest. Like you said you have to find what works best for you. Thanks for sharing your craft.
Thanks, Anita! I spoke to a watercolorist at an art show in February. She’s been selling her work for over 20 years and it is utterly stunning. I bought 3 of her pieces for our house! She told me that she still takes classes all the time and always takes something away from each one. Each instructor has a different approach and she takes what works for her and adds it to her style. I was so inspired by her! I hope to get to the point where I feel ready to sell my work. It would be nice if my art started paying for itself!