
Last spring, I bought myself some new stamp storage shelves. I found these really nice, sturdy DVD storage units on Amazon. I bought 2 of them in the Espresso color and I was absolutely delighted with them when they arrived.

The units are stackable, and they held all my stamp sets! It also fit on the end of my craft table within easy reach of my workspace.
These units come in Espresso, Black, or White. They look and feel like leather even though they are faux leather. They also have a nice stitching detail on the front and sides. They are lined inside and that front panel flips down for easy access!

That was a surprising feature when I received it. That front piece has heavy duty magnets on the ends and it holds all your stamp sets on the little shelves perfectly! This turned out to be my favorite feature of the shelves!
They stack and interlock, so they don’t slip apart. You can also place them end to end if you have a long shelf, table, or counter you want to store your stamps on. I have a small space, so I needed them to stack.
The units cost me $29 each when I bought them in March of this year. The black units are $33 and the white units are $31. You can get a better deal if you order a package of 6 of these. I didn’t have room for 6 of them, but I may add one more in a few months. That will be the limit of the space I have for stamp storage in my craft room!
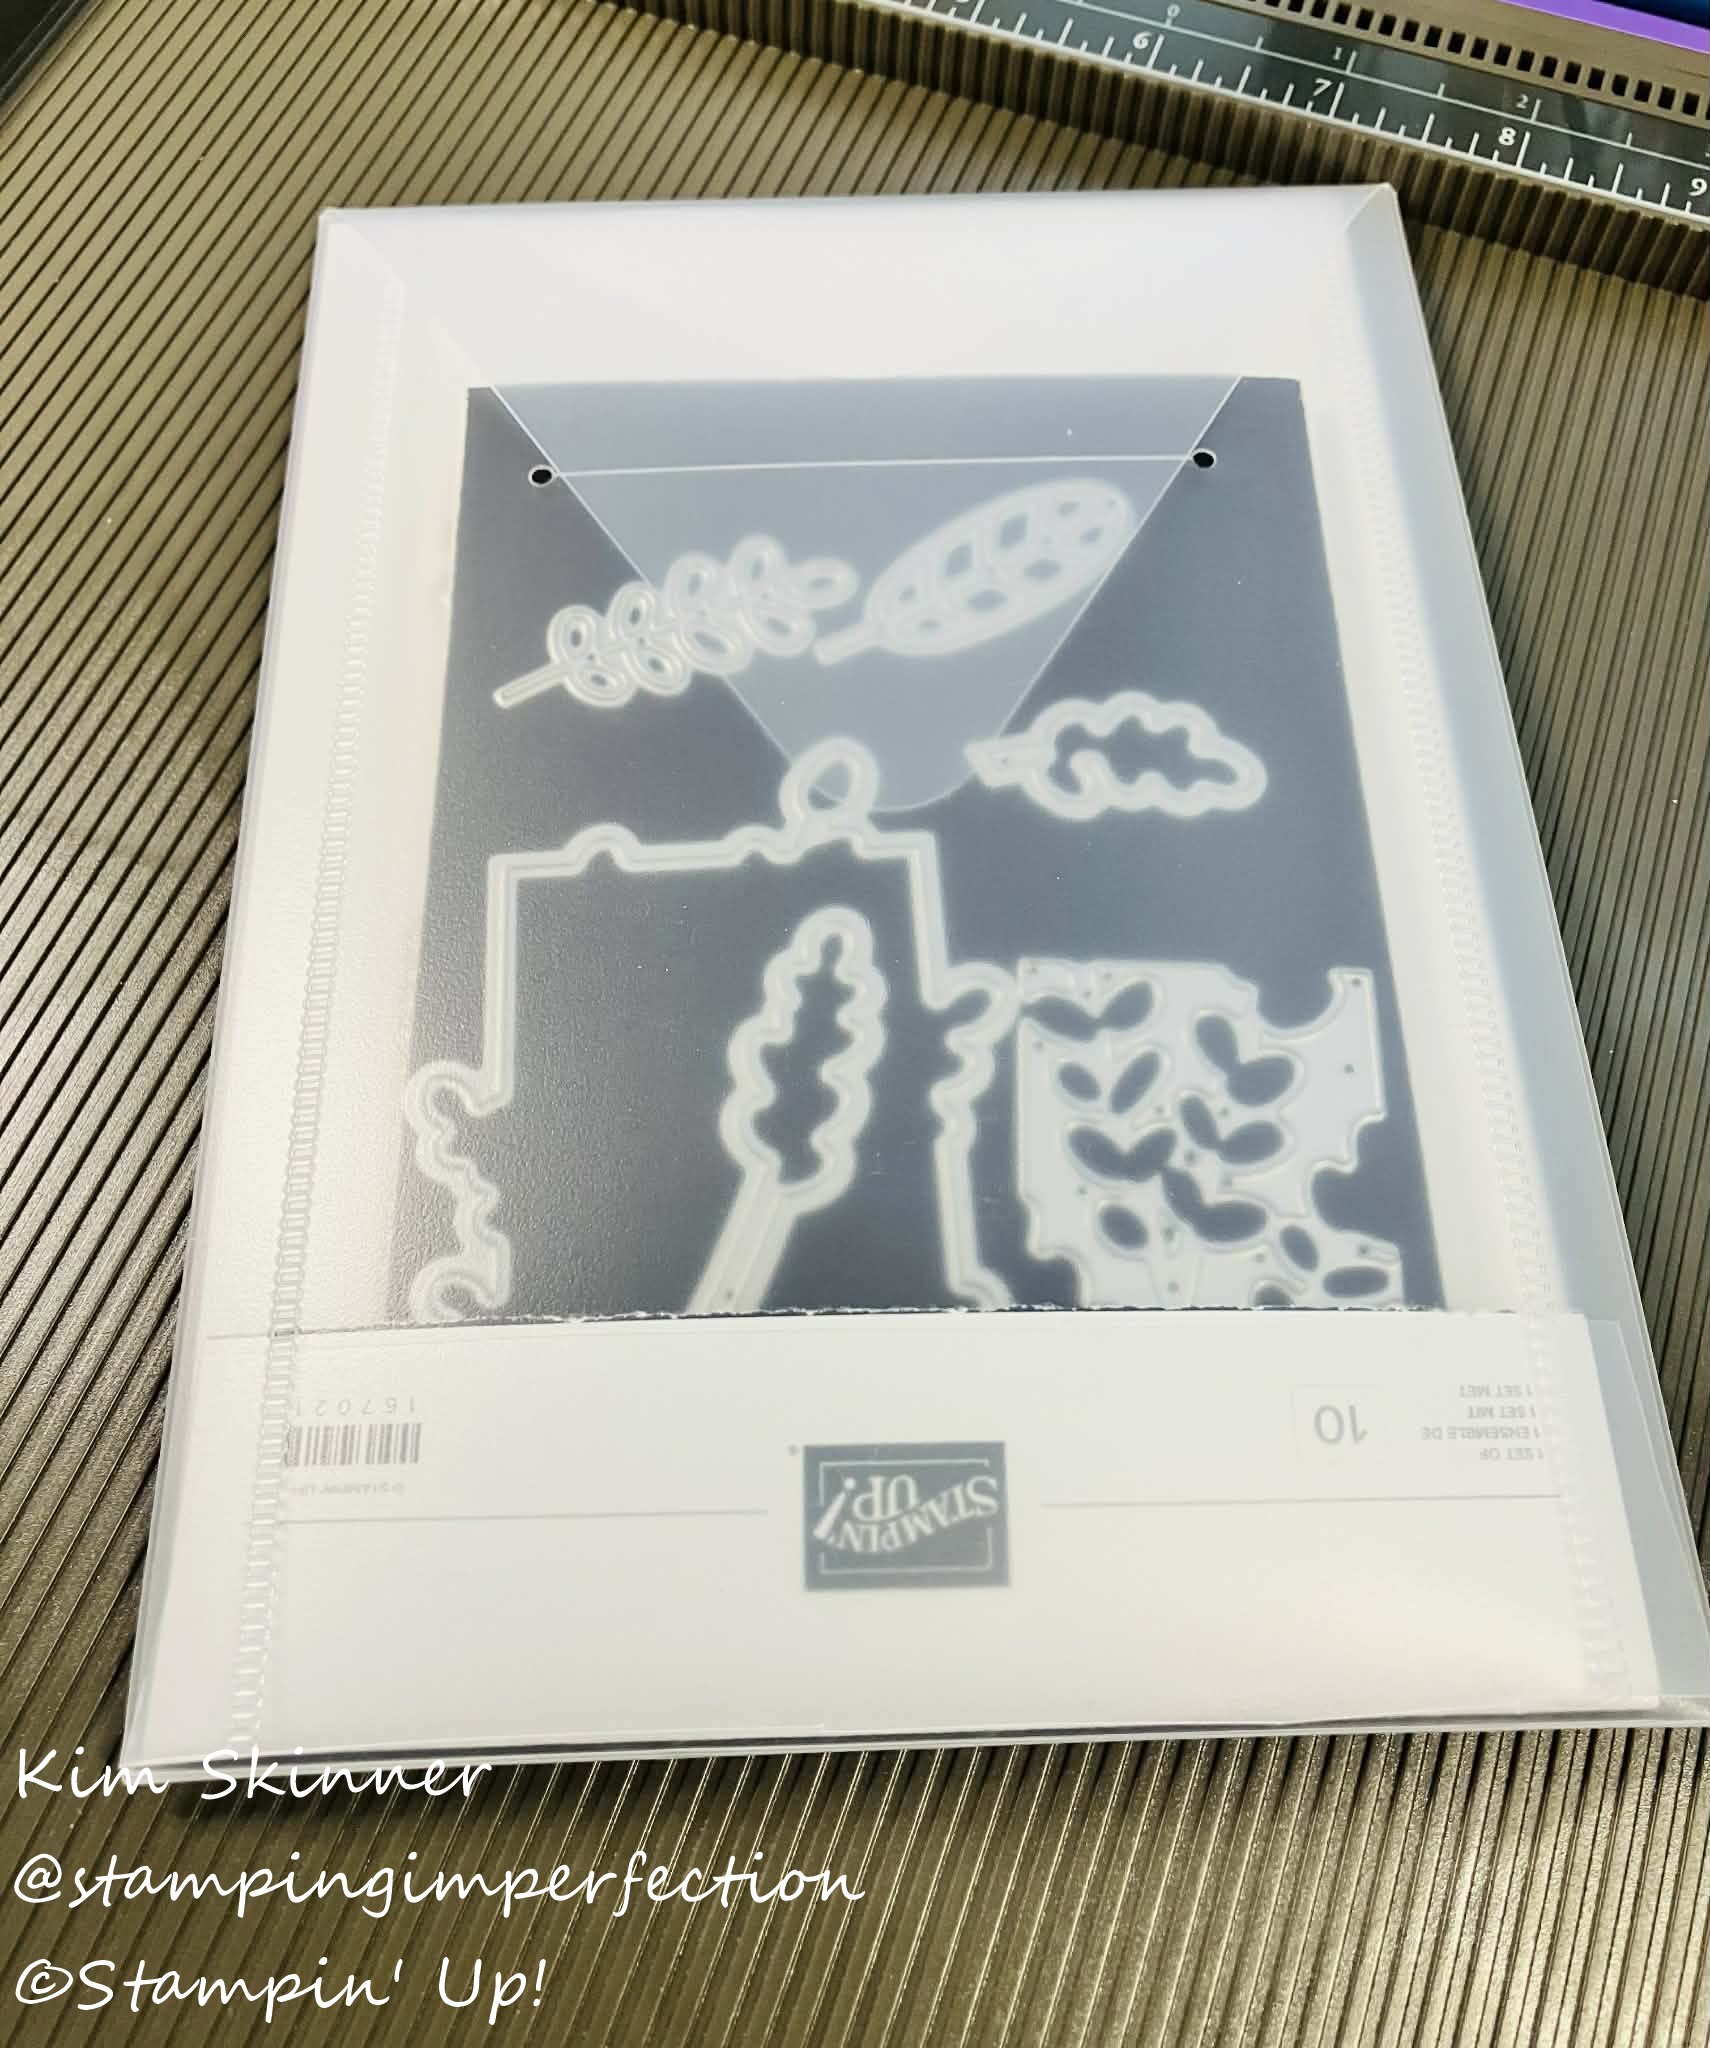
These worked perfectly until November when Stampin’ Up! changed their packaging for stamps and dies.
Don’t get me wrong! I LOVE the new packaging. These vinyl sleeves that Stampin’ Up! is now using are going to allow me to store 2 or 3 times as many stamp sets. If I only have room for 4 of these units, I won’t run out of space for quite some time!!
However, the packing is much taller than the old DVD style stamp storage cases. It’s almost 2″ taller! They don’t allow me to stack my storage units!
Since I have no other options in my small space, I realized that I had to find a way to modify the stamp packaging or I had to find new packaging to store my stamps so they fit on the shelves I purchased.

Not only did I modify the new packages to fit my shelves, I converted my older stamp sets to vinyl sleeves so all my stamp sets fit in this small space with room to grow!

Without spending any money, this packaging is working perfectly for me now!
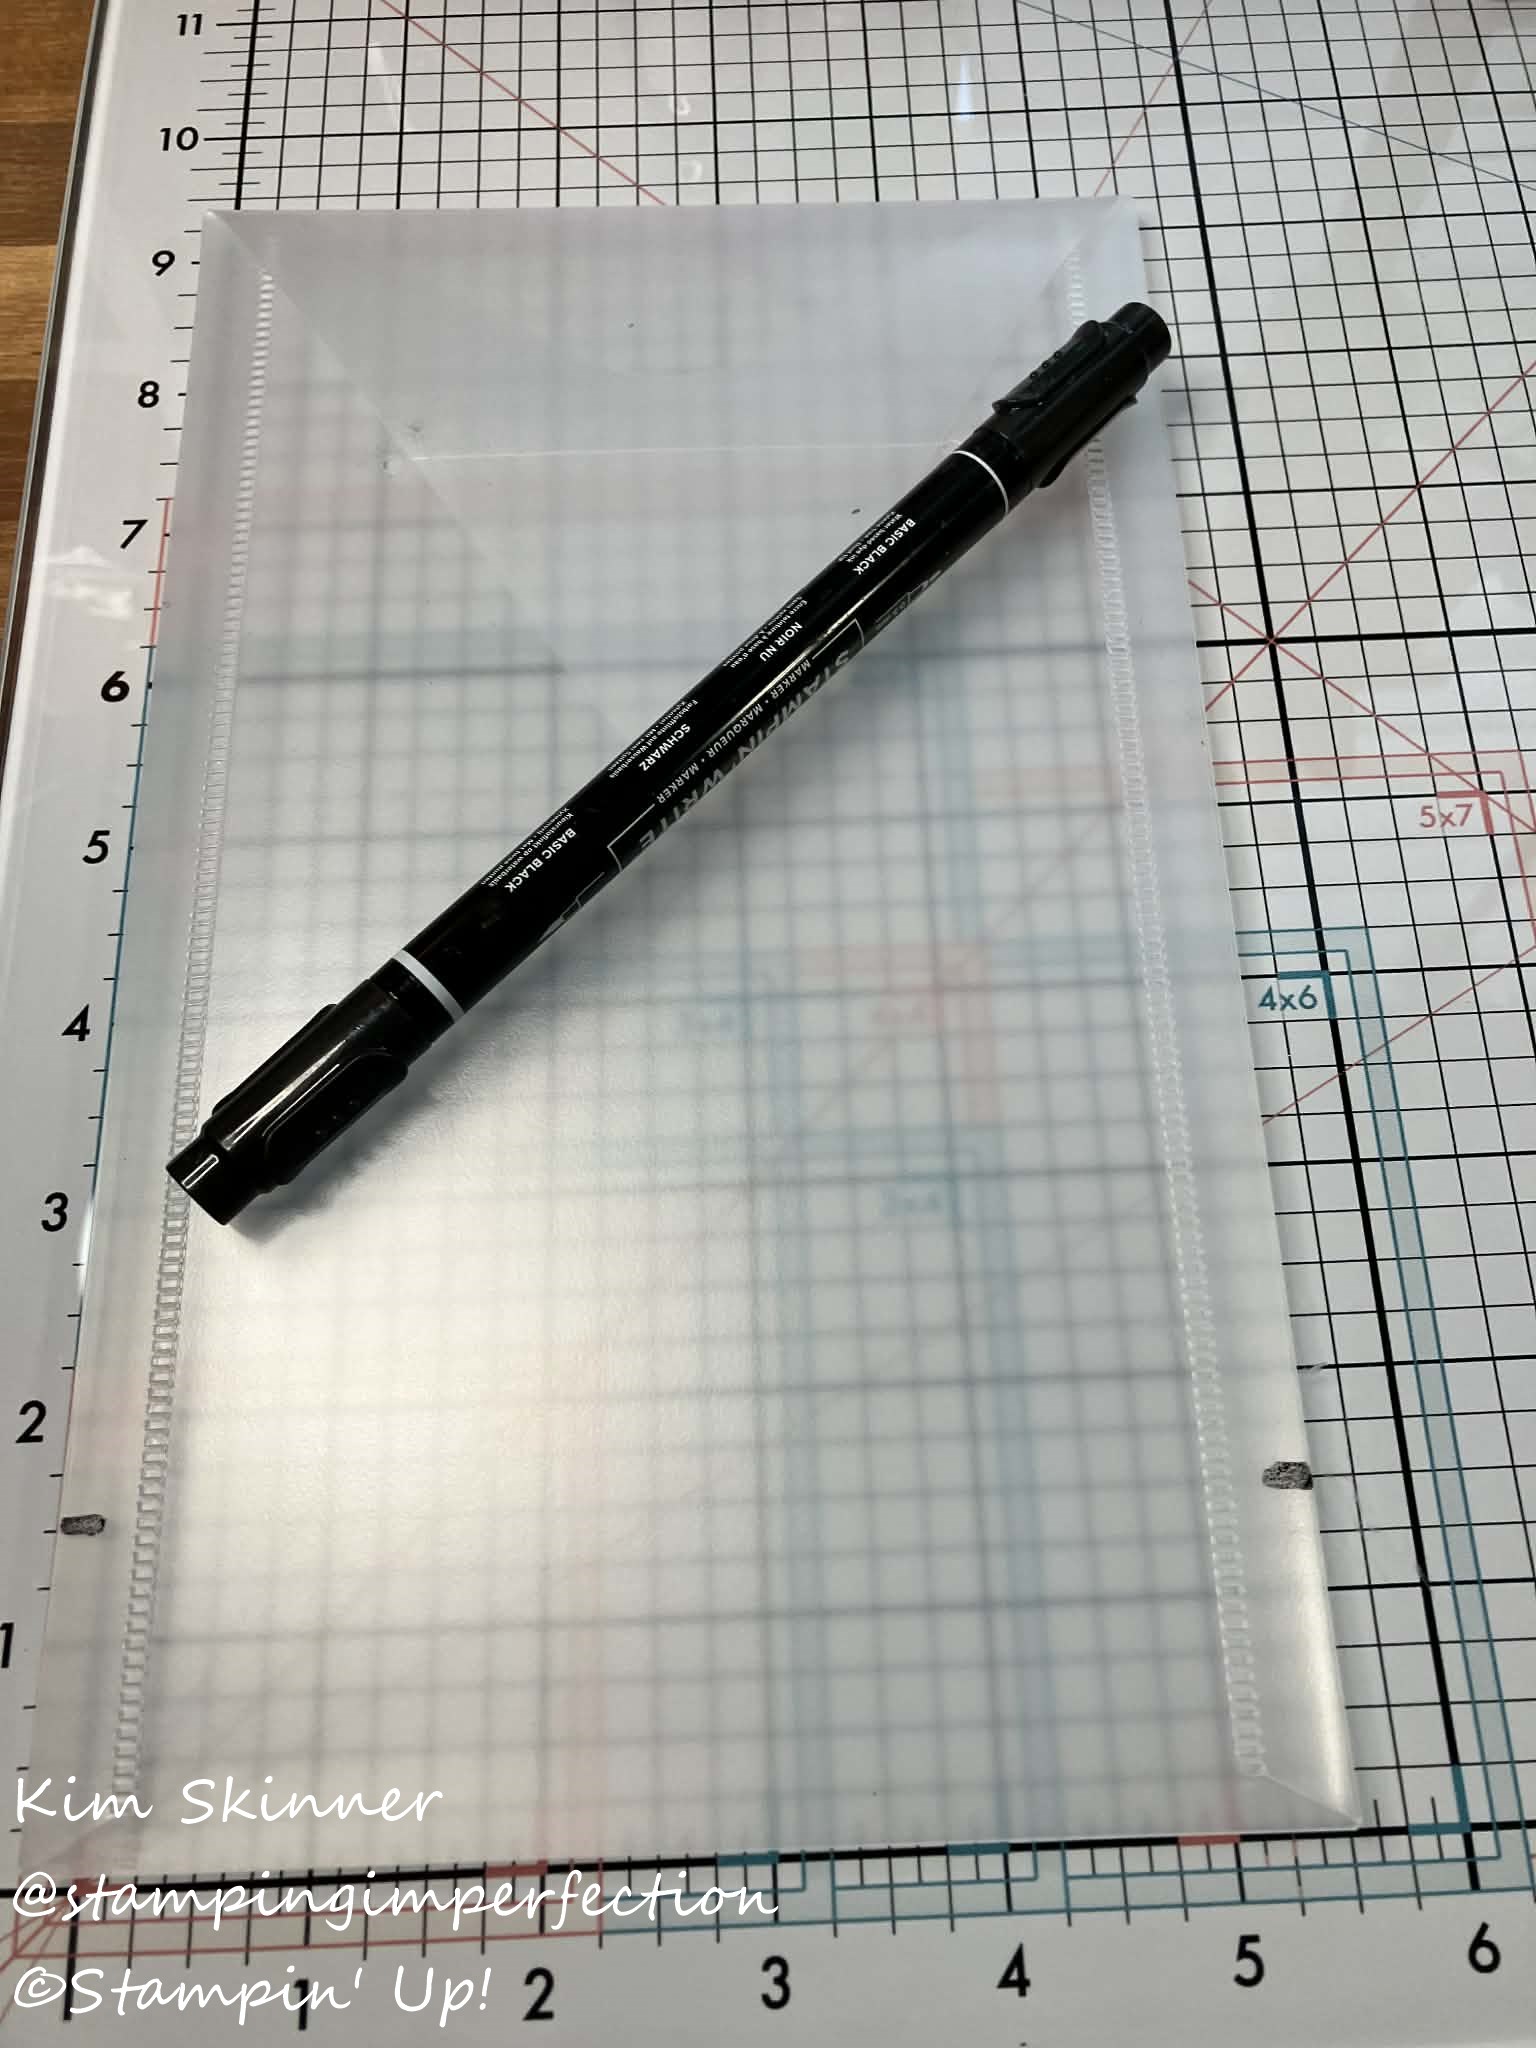
I used my Stampin’ Write black marker, a good pair of craft shears, and my Simply Scored tool.
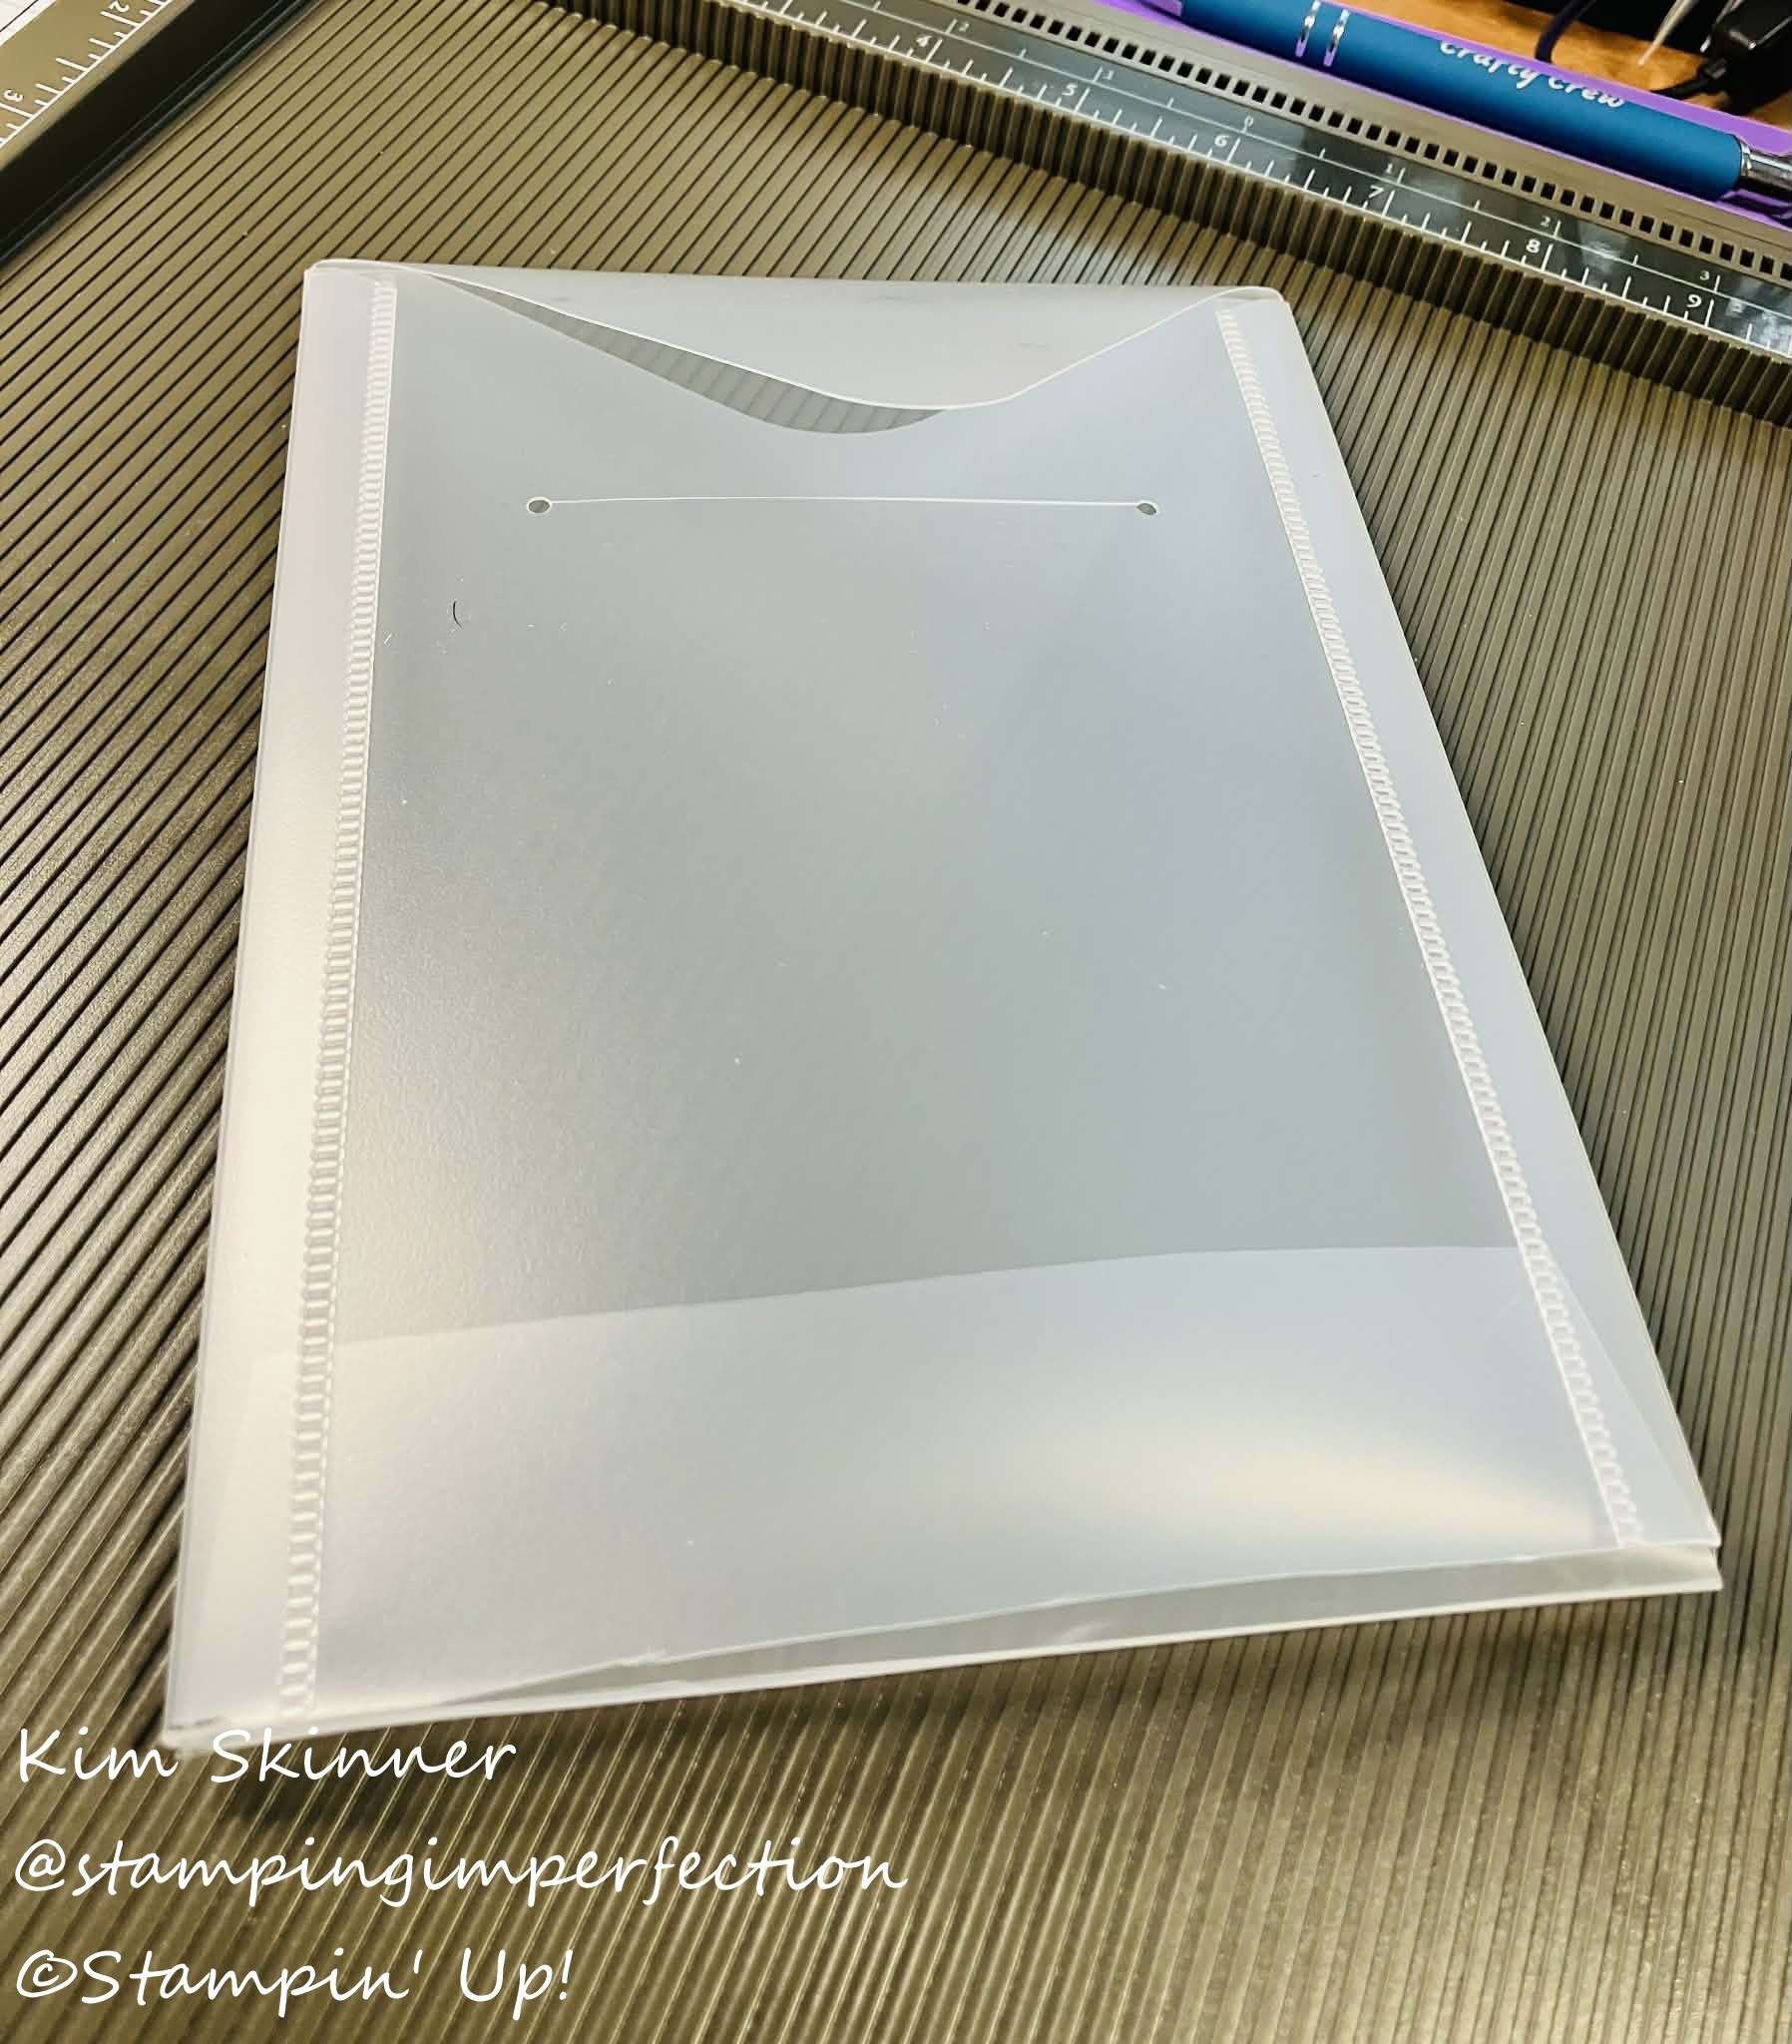
First, I marked the sides of the sleeve with a marker at the 1-1/2″ mark. That’s how much I needed to shorten the sleeves to fit my shelves.
Then I trimmed a sliver off the bottom of the sleeve to open up the bottom edge.
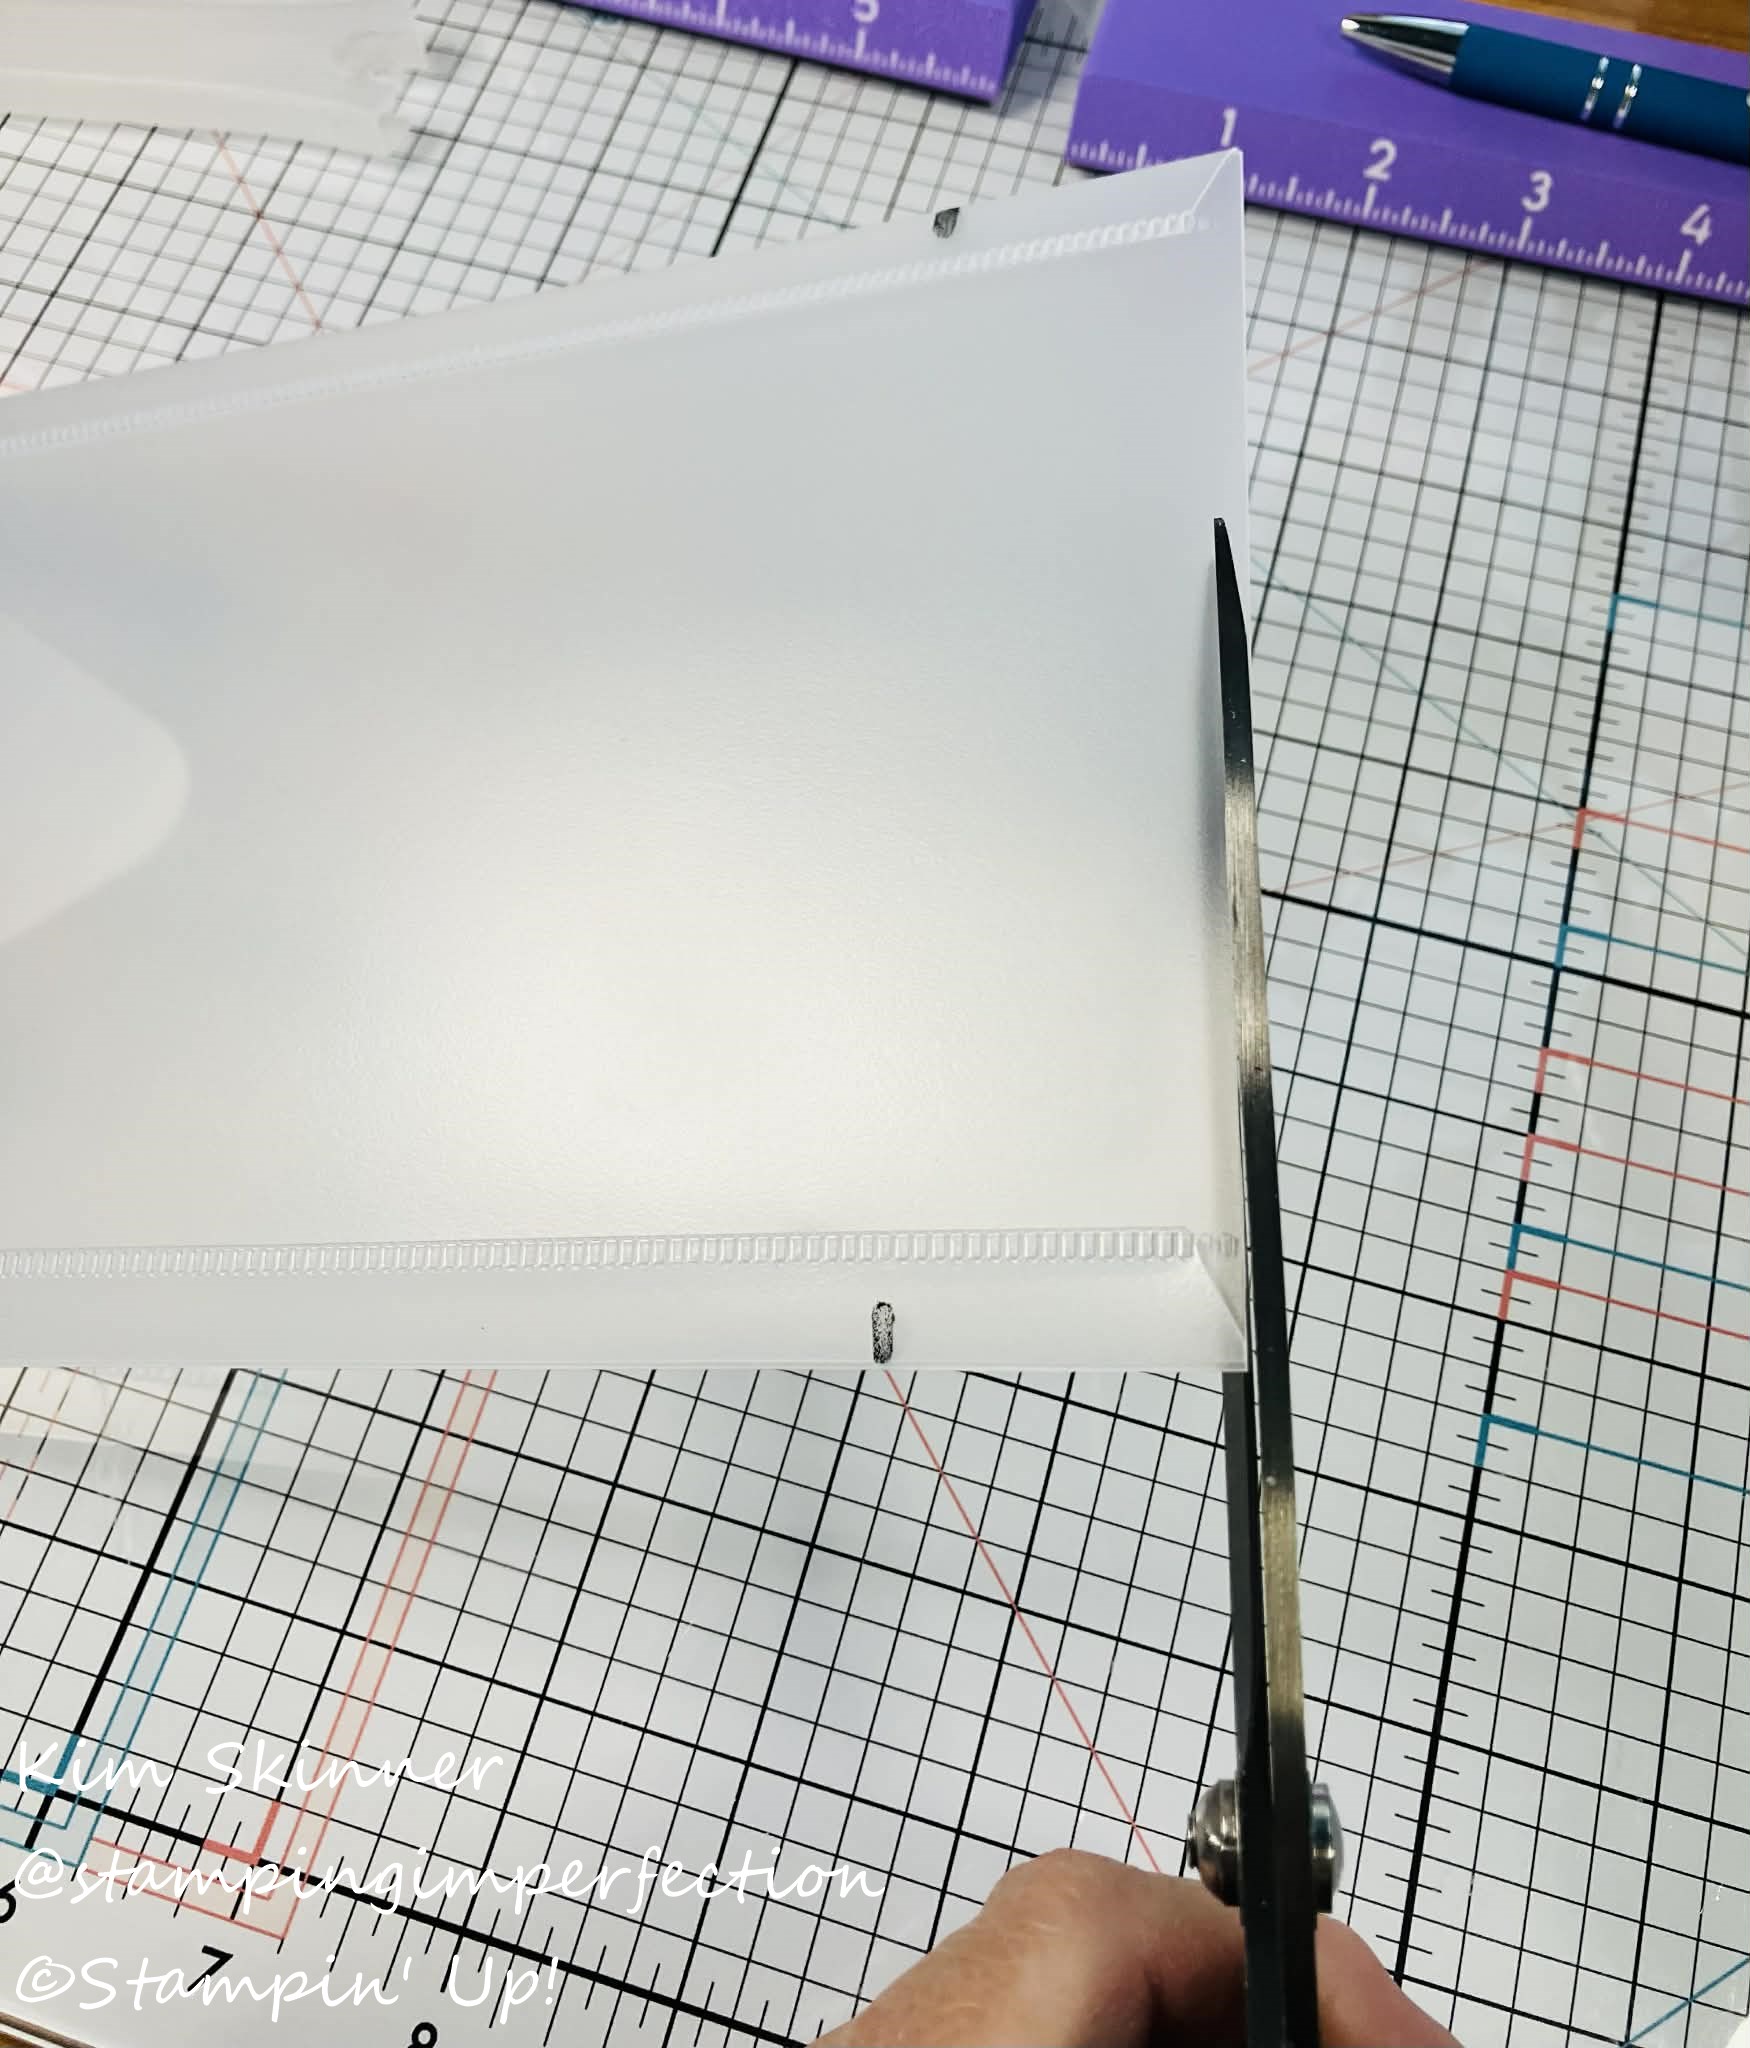
Next, I sliced up the side folds from the bottom opening to the mark that I made with the marker.
Then I cut across the packaging on the side with the slit, which I call the back of the envelope sleeve. I removed the 1-1/2″ piece from the bottom of the back of the sleeve.

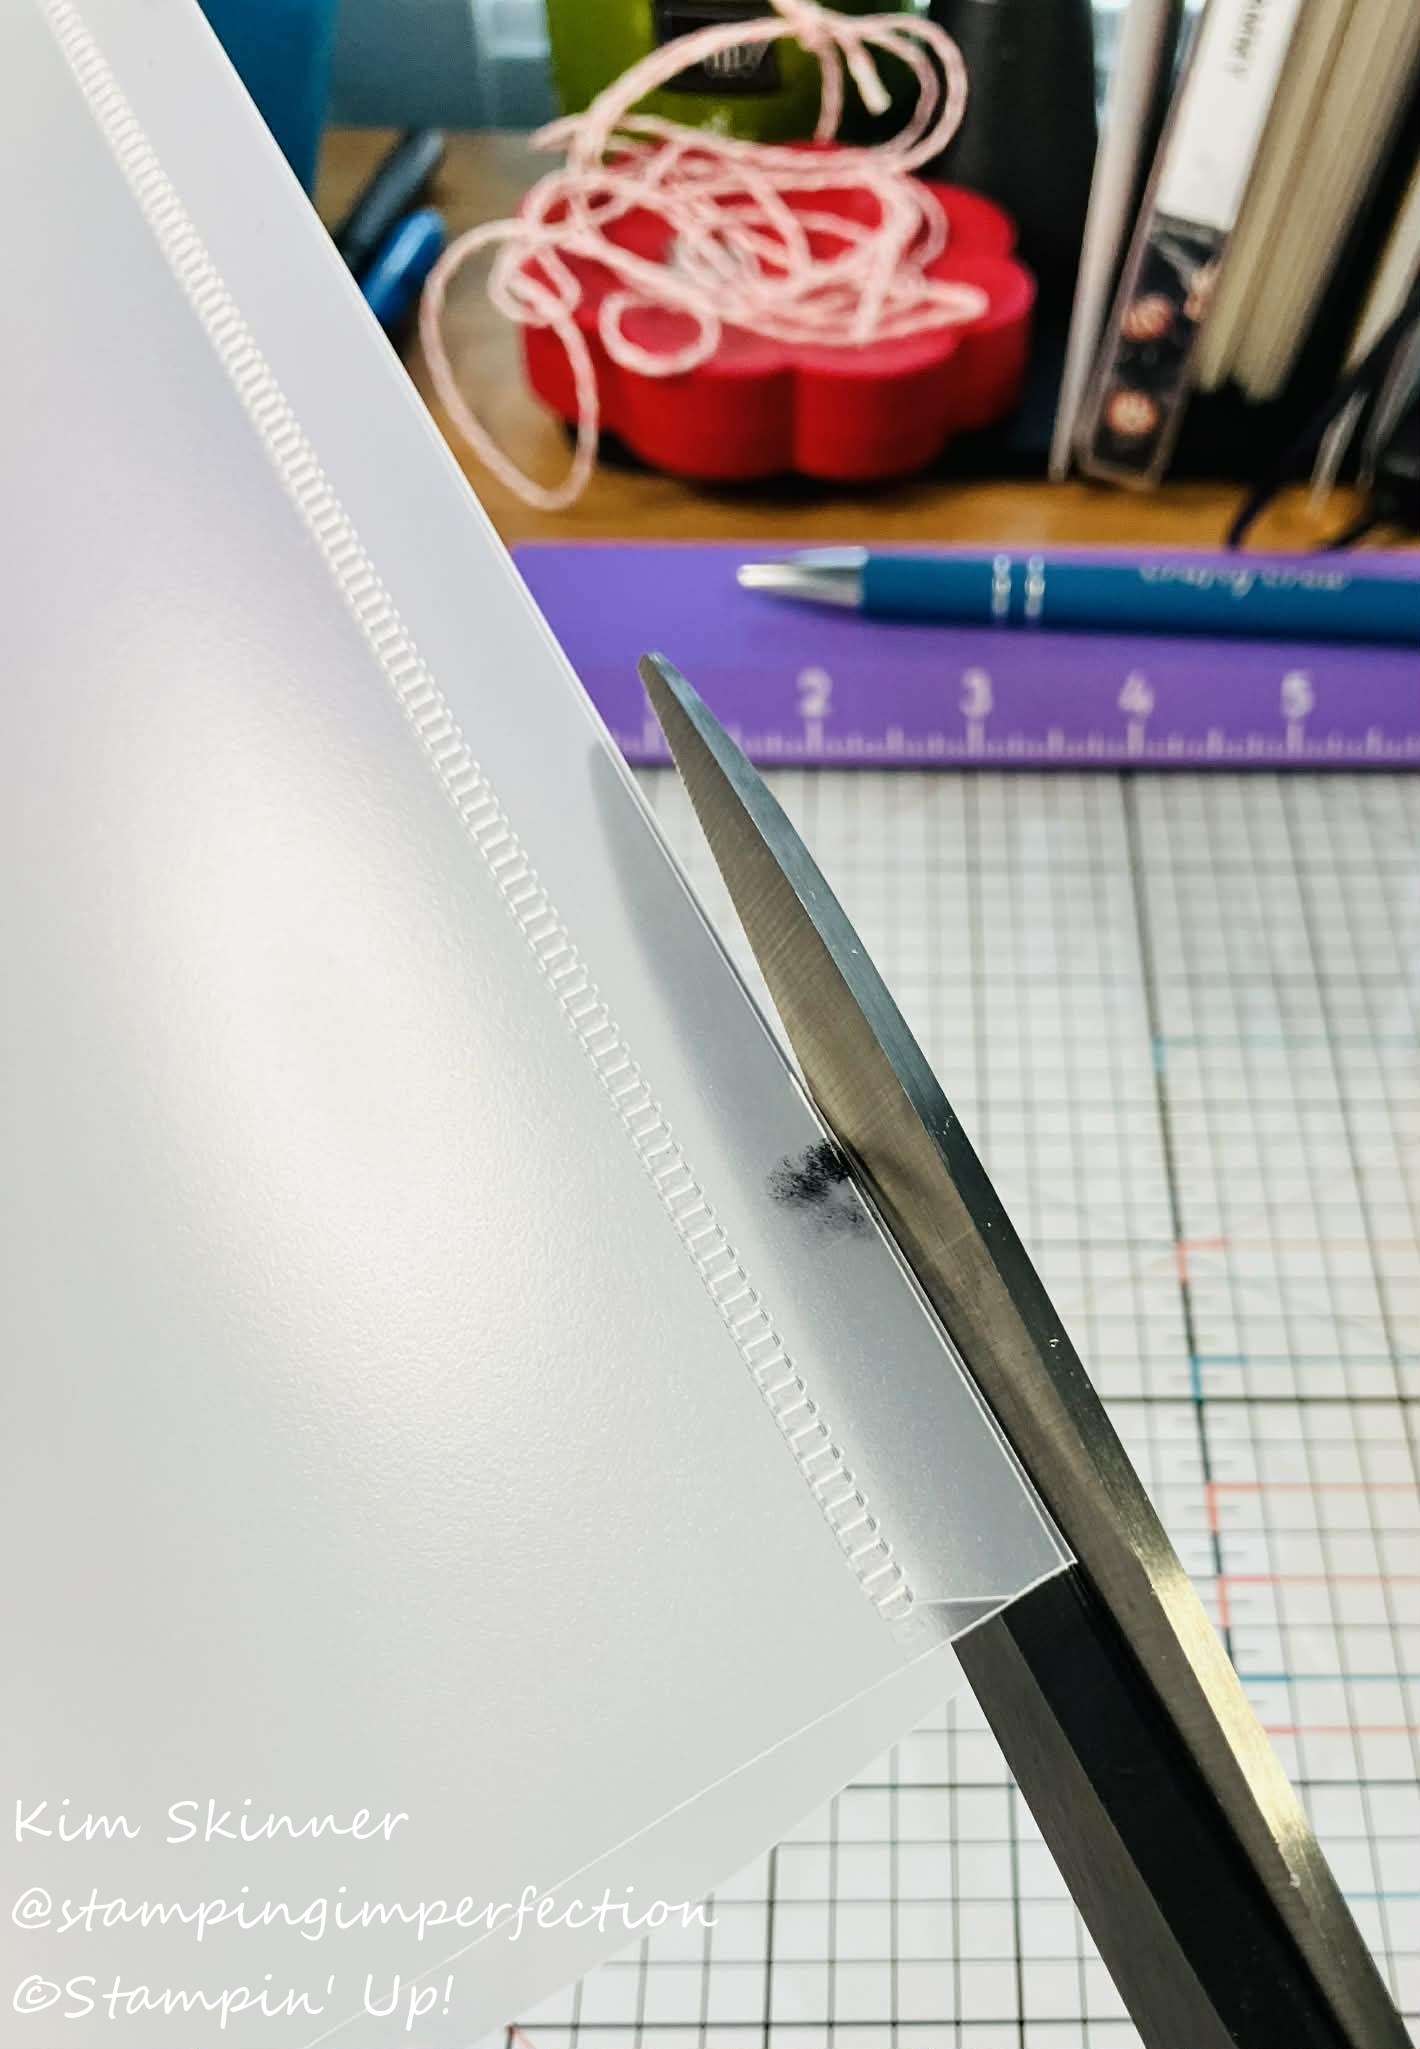
Next, I trimmed a small triangle slice from the sides of the front 1-1/2″ of the sleeve. (Just like you would do to the flaps of a box or bag you were making to make it easier to fold and tuck the flap.)

I used my Simply Scored board and stylus to score that front piece along the edge of the back of the sleeve that I just cut. I wanted to make it easier to fold up and tuck in.
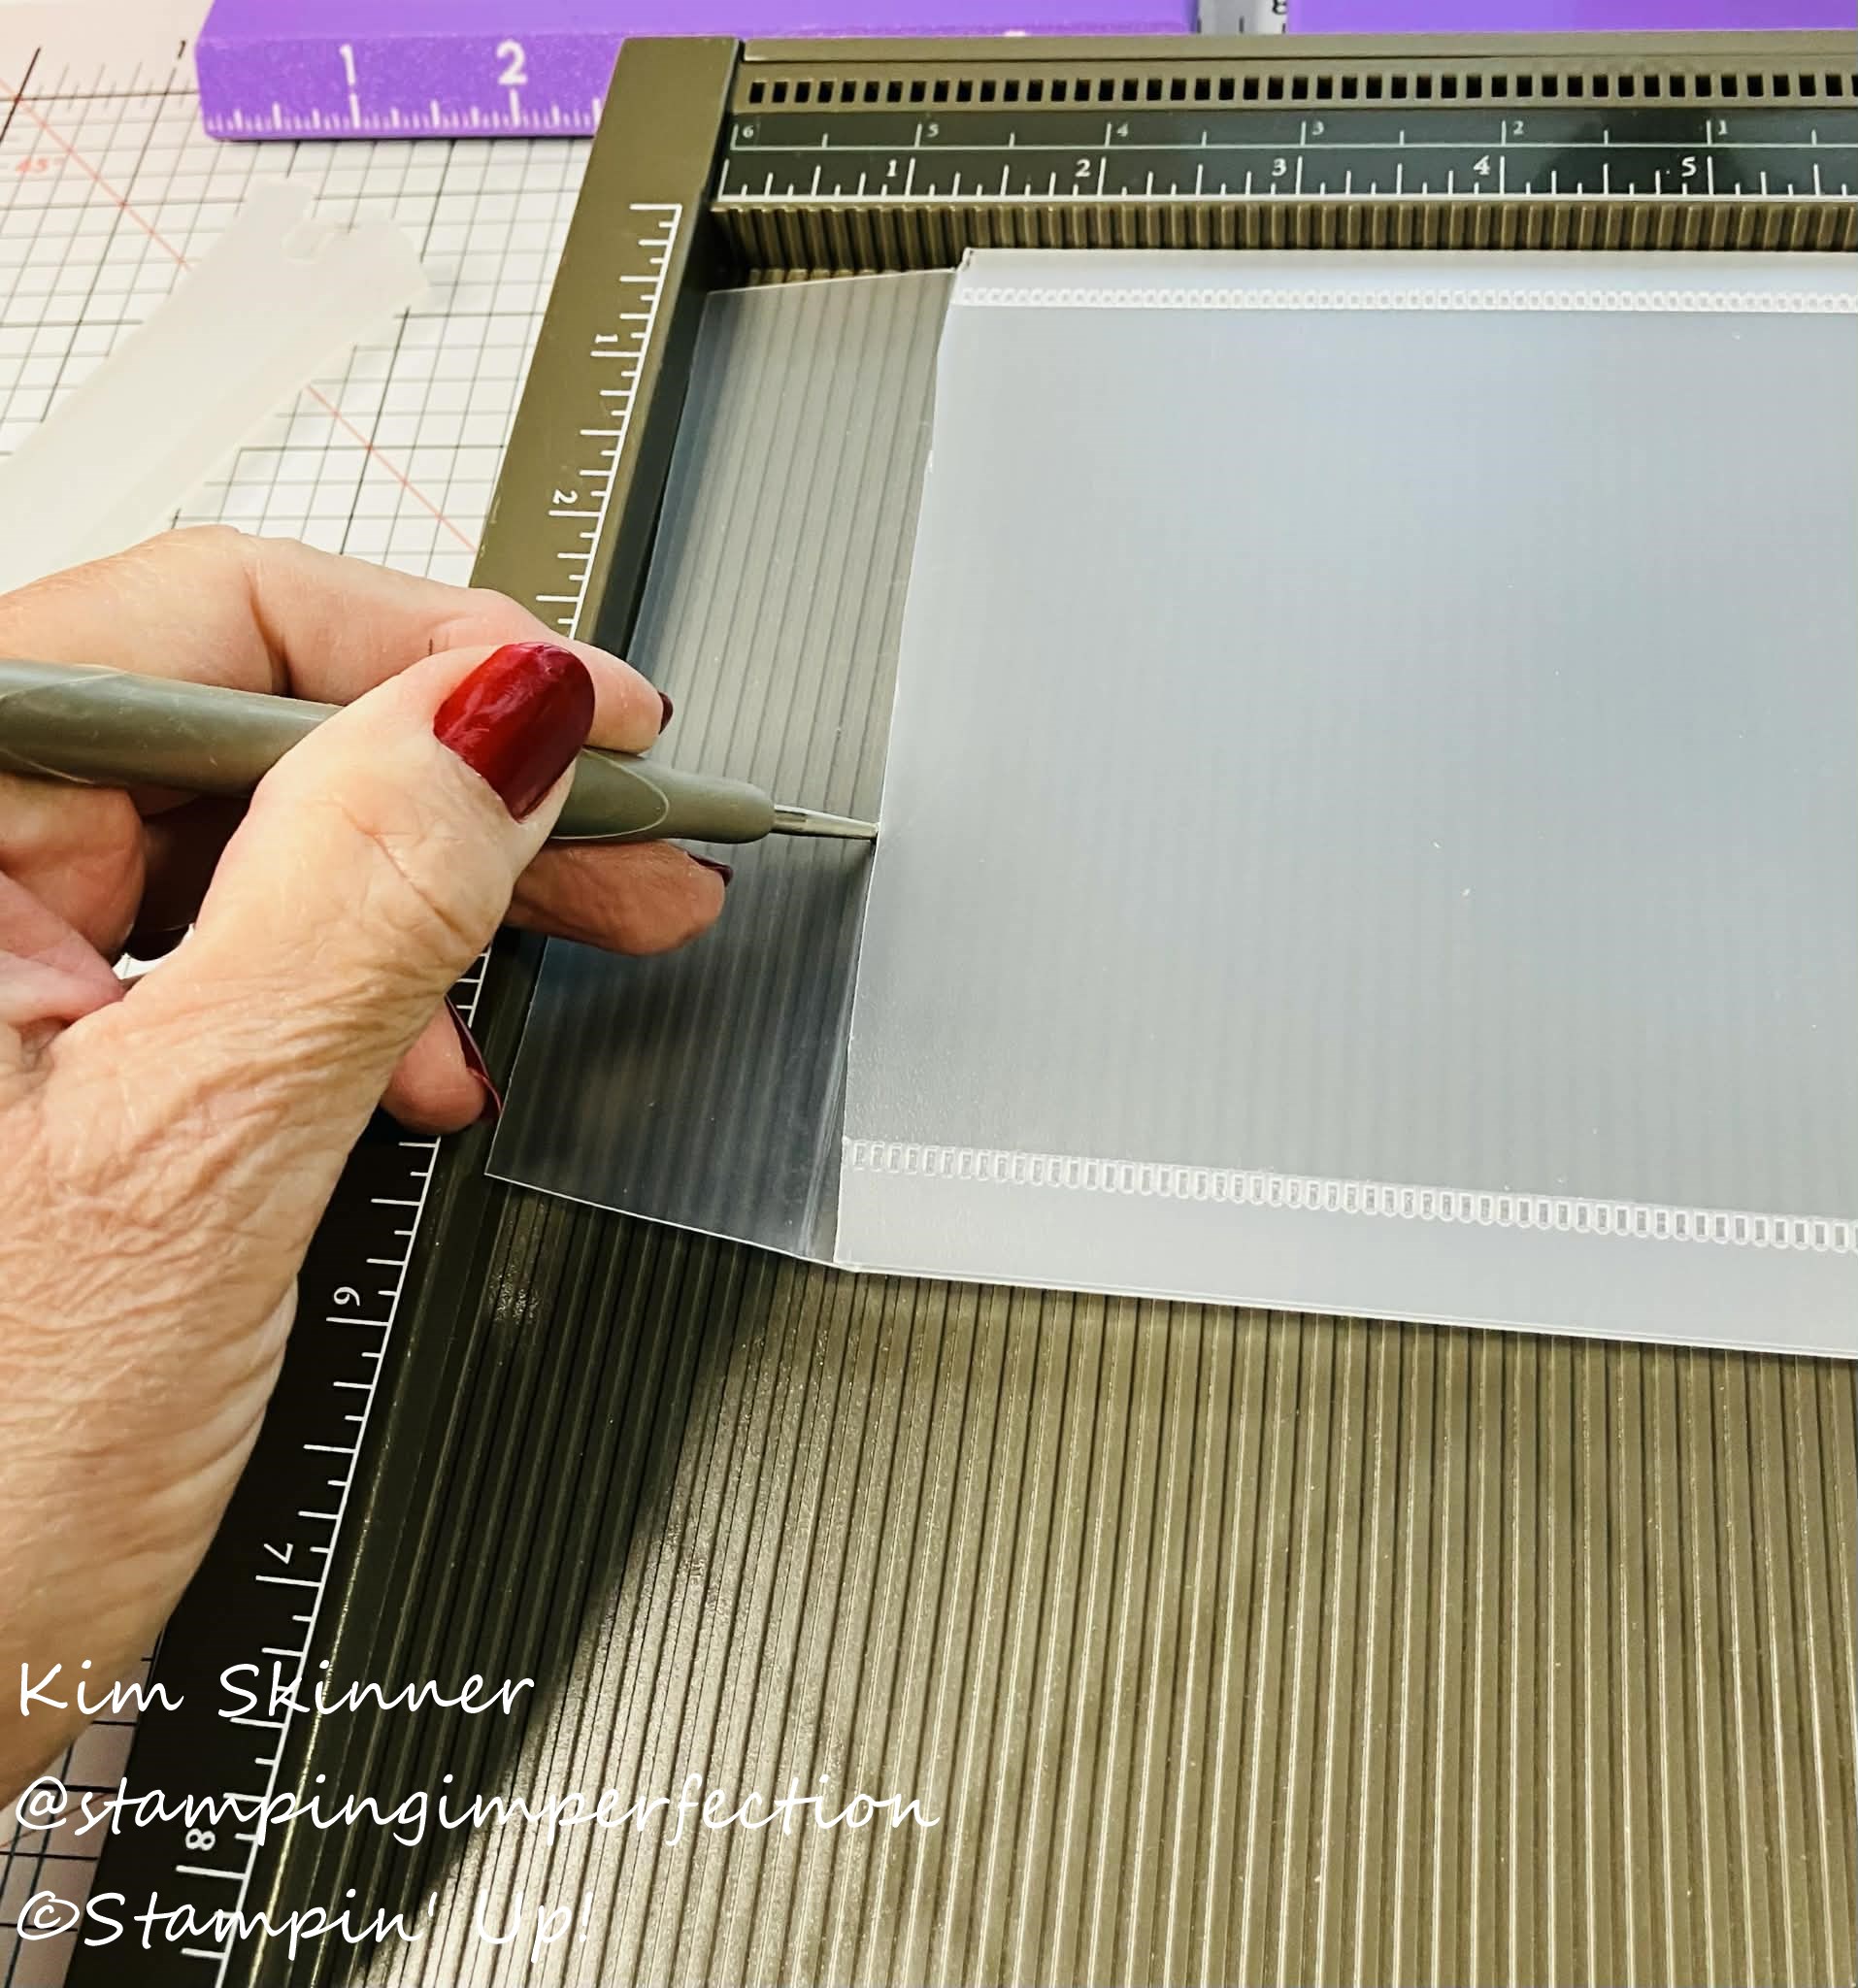
Finally, I folded and tucked the front sleeve piece into the back side of the sleeve. I have found that it was not necessary to glue this. The fact that it is sturdy vinyl and the tab was 1-1/2″ long, made adhesive unnecessary.
I decided to only use the front half of the stamp label insert included with the stamp sets. I simply folded the bottom of the insert up 1-1/2″ and tucked it into the flap on the bottom of the sleeve. The stamps and dies slide nicely into that folded up insert and sleeve flap.
I also decided to store the stamps and coordinating dies in the same sleeve. I will use the extra sleeves that I have left from the dies that I moved to store embellishments, card sets, scrap papers and ephemera pieces.
I also converted my older stamp sets to vinyl sleeves. I got a big package of 5-1/2 x7-1/2″ sleeves from Amazon that work perfectly. I also purchase 4 x 6″ magnet sheets in a package of 100 from Amazon that work great for my dies.

The stamps and dies fit nicely in these together as well.

My stamp and die storage feels so streamlined now! I’m very happy with it!
I have since added a 3rd storage piece on top of the first two and I’ve sorted my stamp sets so that I have my scrapbook and journaling stamp sets in the top one, my everyday stamp sets in the middle and my holiday stamp sets in the bottom one.
Video:
Are you interested in the products I used? To make them easier for you to find, I have linked them below. (Affiliate disclosure ) As an Amazon Associate I earn from qualifying purchases. Your purchases help keep my blog running at no additional cost to you and I thank you for the support!
Shop for Stampin’ Up! supplies at http://shopwithkim.net
Follow me on my blog: https://stampingimperfection.com
Follow me on Facebook: http://facebook.com/stampingimperfection
Follow me on Instagram: http://instagram.com/stamping_imperfection
Subscribe to Paper Pumpkin Kit: https://tinyurl.com/ycy55mny
My Craft Room Essentials on Amazon https://amzn.to/4kbsiVv
Scrapbook Storage and Organization on Amazon https://amzn.to/3DaUw21
My storefront on Amazon https://amzn.to/3QAC0Dg
These are the main supplies used. Affiliate links may be used at no cost to you. Product disclosure https://tinyurl.com/36tdzfv6.
Thank you for stopping by! Have a wonderful day!!


