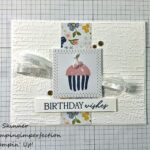
Have you seen the Altenew Layered Cupcake stamp set?
It’s not a new set. It’s been around for a while and I consider it a good staple for any craft stash. It’s perfect for any holiday, but most especially for birthdays.
I’ve had this stamp set for a while and I finally rediscovered it in my stash! It’s a fairly easy stamp set to layer, but it has only one die and that is the complete cupcake with frosting. To make sure I lined everything up and to be sure it would fit in the die cut when I was ready to cut it out, I created a template to use to layer and align my stamps.
This worked beautifully!
I have a video tutorial below so you can see how I did this!
I used this week’s Atlantic Hearts Sketch Challenge to create the layout for this card. I also used a new die from Avery Elle called the Hearts Frame Die. You can see it as the circle element below the cupcake. I think it is so pretty and so delicate looking!
I used my stitched rounded rectangle die set from MFT stamps, along with the sentiment dies that I got for free from MFT stamps for making a $60 purchase. I love MFT Stamps dies. They have had a really nice selection. Most of my shapes dies have come from MFT stamps. I always wait to order until I have the minimum purchase for the freebie and free shipping. You can also get coupon codes when you reach $100. The customer service has always been excellent as well.
I chose to keep this white-on-white layers because I wanted a clean and simple look. Using a monotone layered palette helps achieve that clean look no matter what color you use. By popping the rectangle and frame up on foam tape, you actually see the layers and this also gives the card a lot of dimension.
I absolutely love that cupcake! It looks yummy!
I used my Altenew inks: Dew Drops and Aqualicious for the bottom, Milk Chocolate, Vanilla Cream, and Almond Butter for the top. The outline stamp and sentiment are done in permanent black ink. The stamp set included several sentiments and is called Layered Cupcake.
I added some black and white baker’s twine from Doodlebug and some Prismatic pearls from Studio Katia.
Here is the sketch that inspired my layout:
I love this sketch! This is another one that is going in my digital sketch file for those days I need a little inspiration! There are so many things you can do with this one!
Video Tutorial:
Supply List:
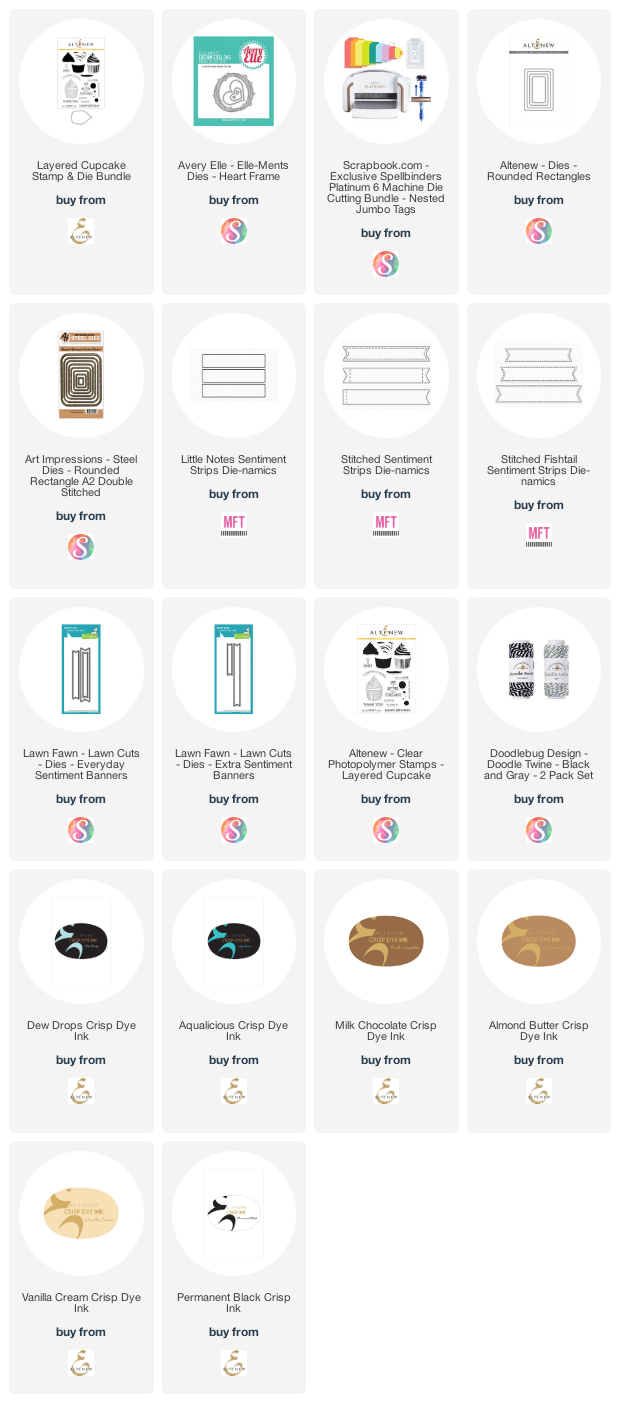
Are you interested in the products I used? To make them easier for you to find, I have linked them below. (Affiliate disclosure ) Your purchases help keep my blog running at no additional cost to you and I thank you for the support!
Thank you so much for stopping by! Make sure you subscribe to my YouTube channel and click the bell to get updates when new videos are posted!


