
I so loved the distress oxide ink blending with the stencil on my card from yesterday’s post, I had to create a scrapbook page using the same technique to create my page background. If you missed that card, you can see it here!
I have a video that I will post at the end of today’s project to share the technique.
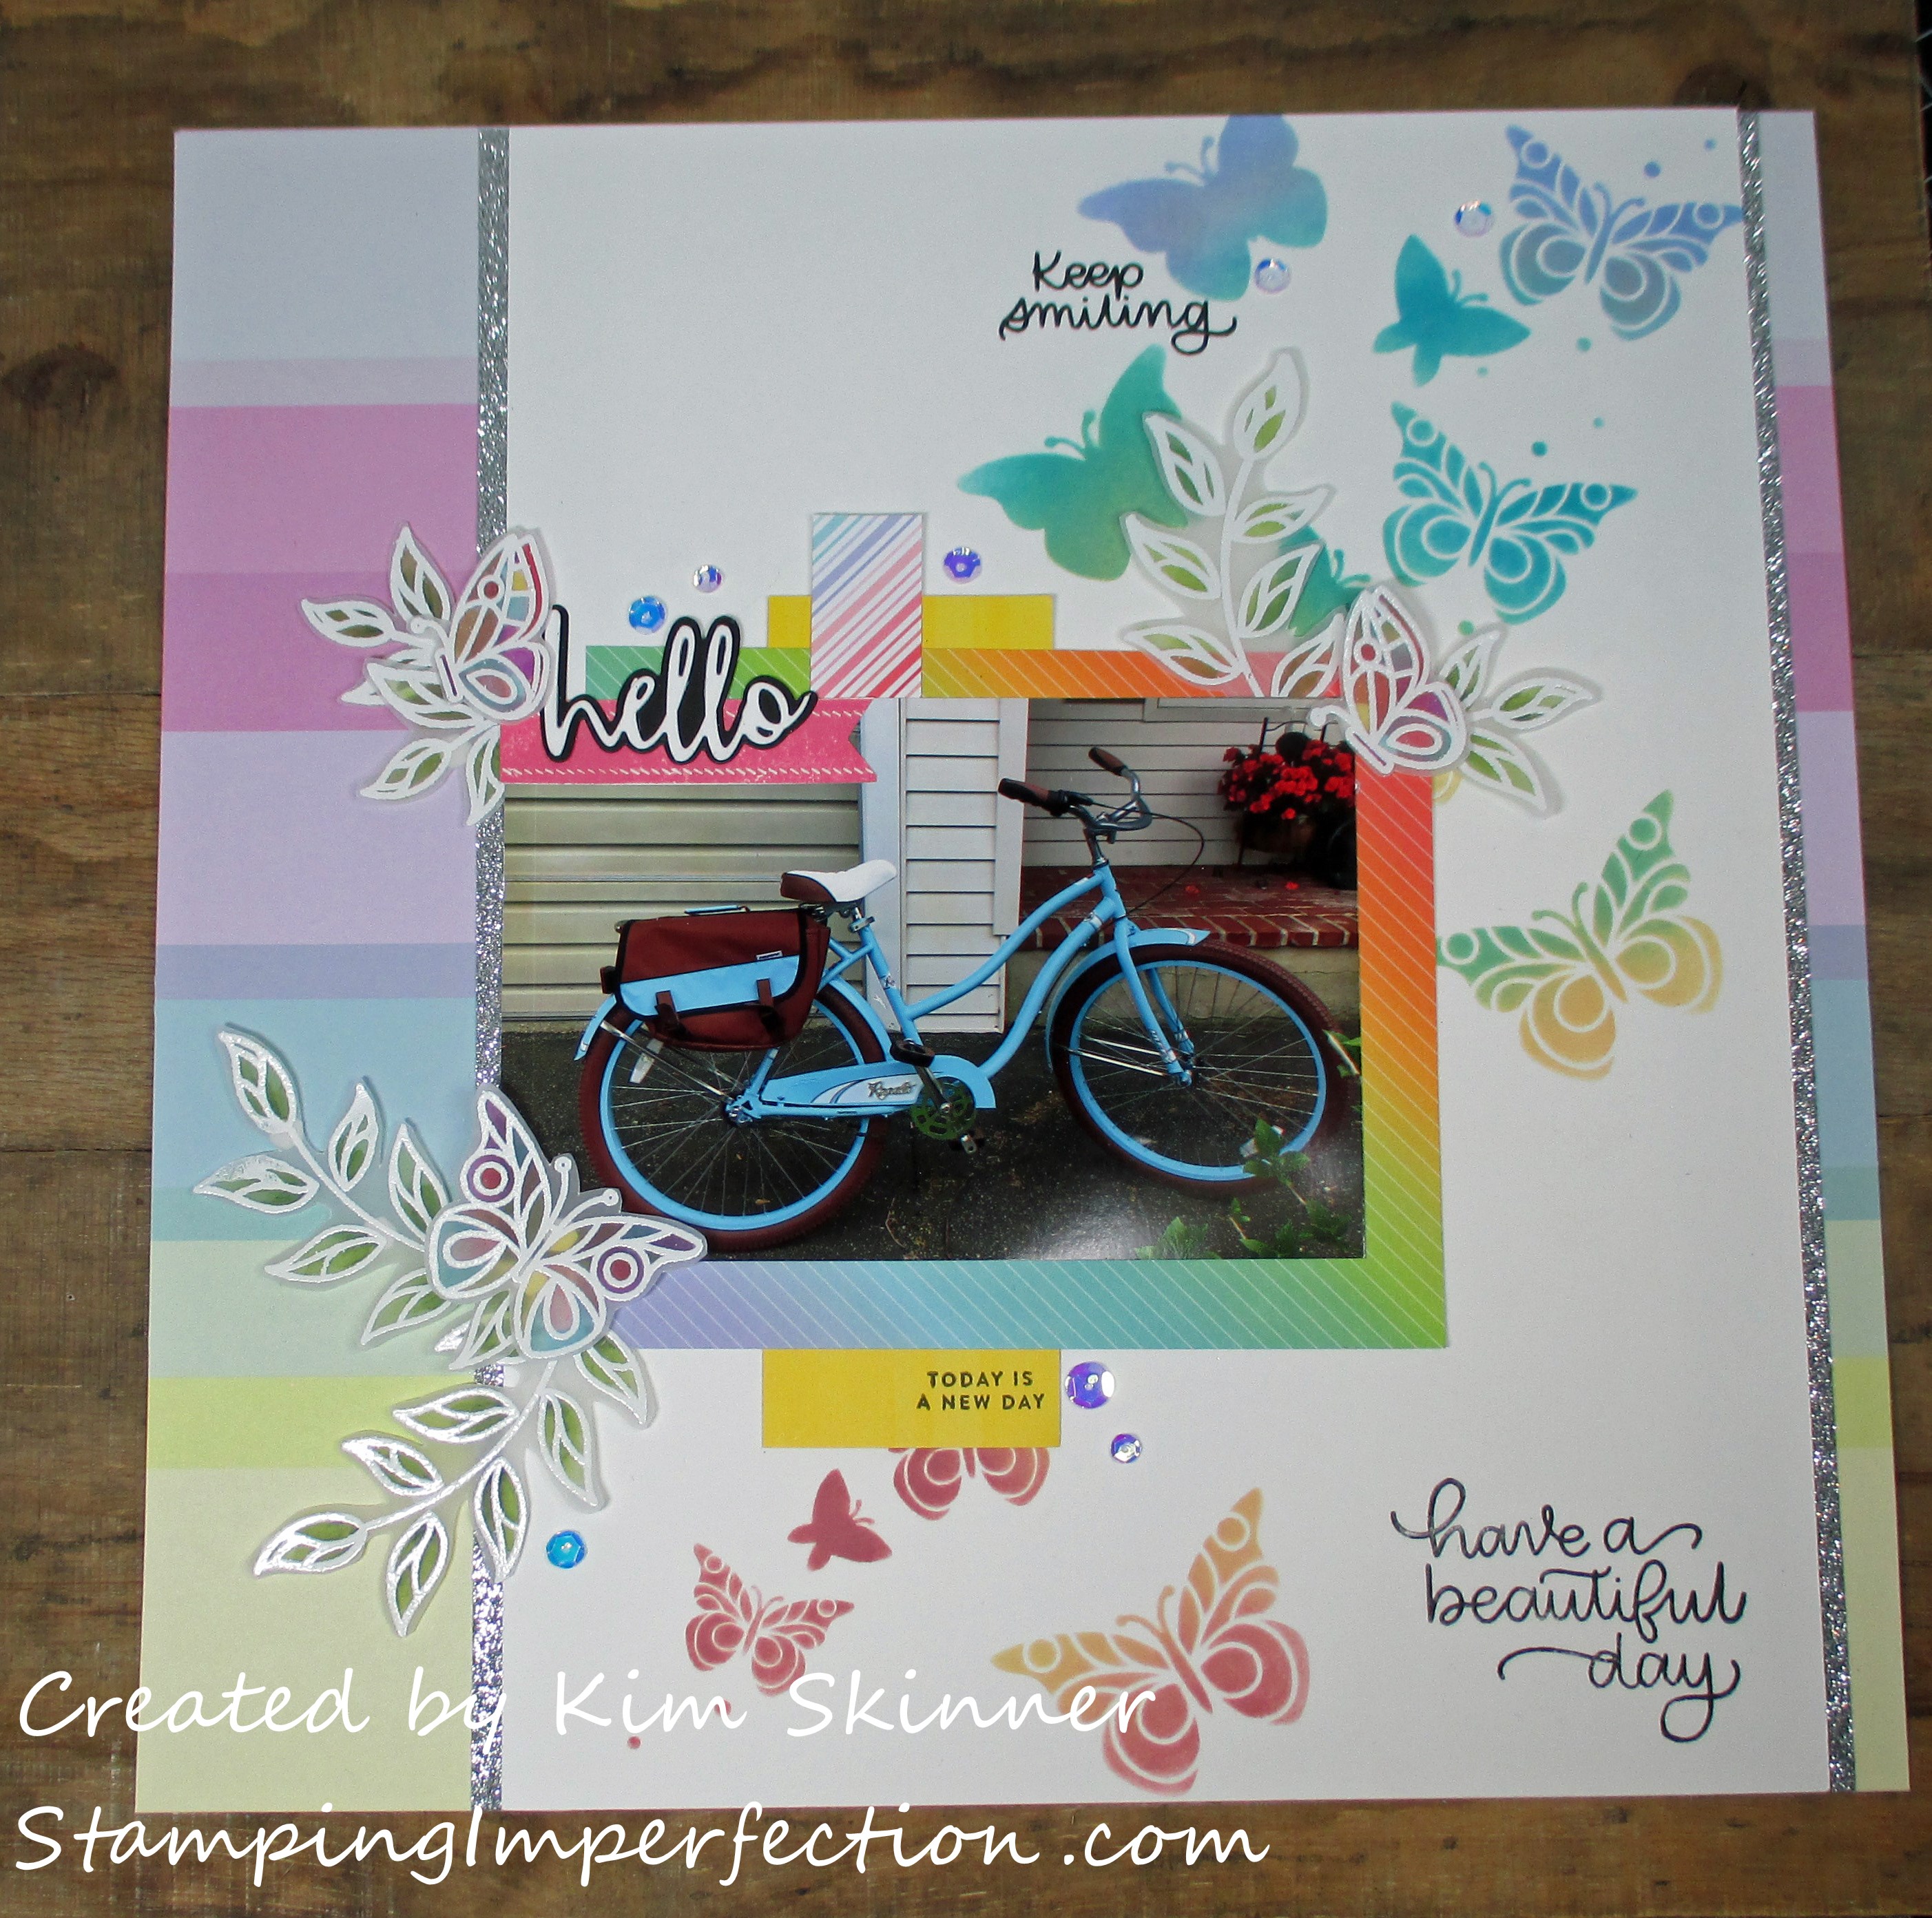
The bright colorful cards that I created from the papers and inks in the April Simon Says Stamps Card Kit just made me long for spring and a ride on my bike!
Sadly, it is so cold here that it isn’t going to happen today!
Instead, I stayed in my craft studio with my little Duraflame space heater and made a colorful scrapbook layout with the same card kit!
I started with using the Distress Oxide inks that I got in the kit, Mermaid Lagoon and Squeezed Lemonade and I added Aged Mahogany from my own stash. I used the Beautiful Day stencil from the kit and the Distress Blending Brush. I actually used Bristol paper because I love how easily ink blends on this paper! I just moved the stencil up the page as I blended my inks to create a rainbow of butterflies meandering across the page.
The 12 x 12″ background rainbow paper is from Altenew’s Our Family scrapbook kit. I thought it coordinated perfectly with the Simon Says Stamps kit papers. The kit had 12 pieces of Lawn Fawn’s 6 x 6″ Really Rainbow paper. The small pieces that I’ve used behind the photo are from the Simon kit. I’ve added some Neat & Tangled Like Magic sequins and some silver glitter paper strips for sparkle.
You know that I firmly believe that every page should have sparkle.
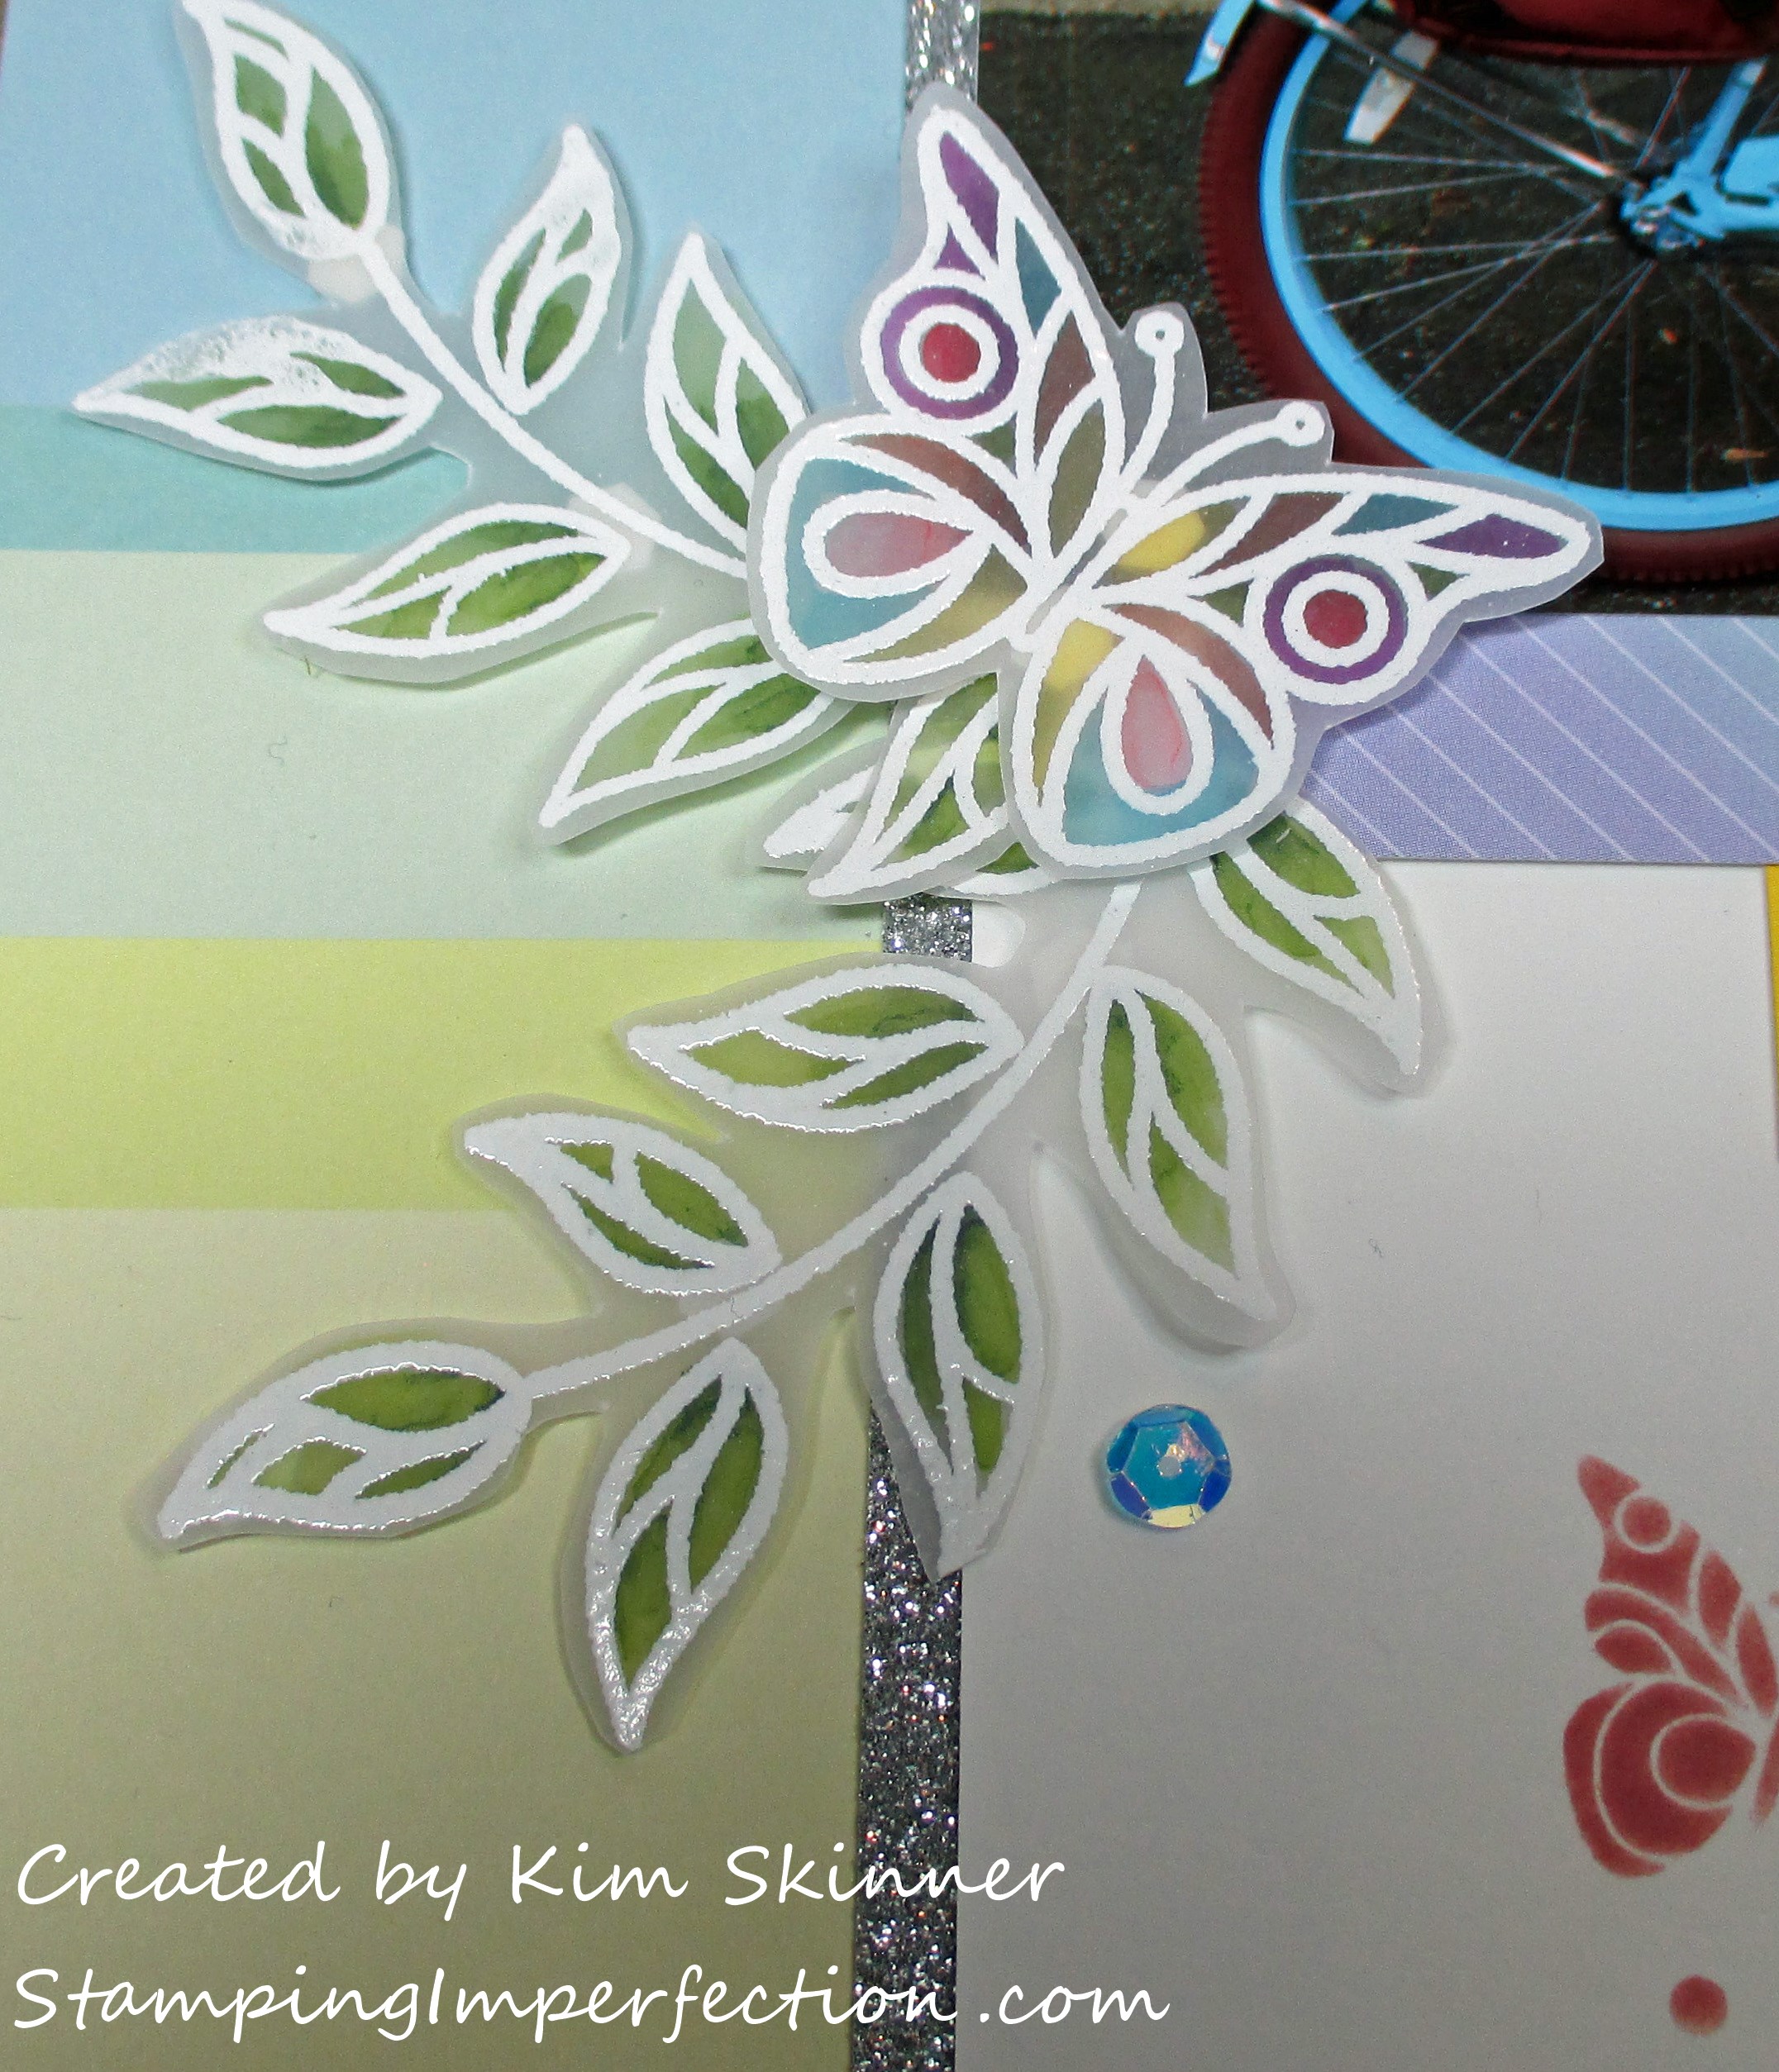
I also created a bunch of the leaves and butterflies white heat embossed on velum and colored on the back with my Altenew Artist Markers. I fussy cut them and I love the stained glass effect you get with this technique on the velum. These are popped up on dimensionals.
Notice how I cut out the leaves. While I did fussy cut, I did not cut all the way to the bottom of the leaves. I sort of cut around them leaving a lot of the velum. It was easier to do it this way and it keeps those leaves from being too fragile at the base. Plus…did you notice that I did not cut them out perfectly before I pointed it out? Keep in mind that this is a close up photo and you didn’t notice that detail until I told you!
I created a visual triangle with the velum details. In this photo, I would like you to notice how beautifully these Distress Oxide inks blend. The colors are so vibrant. Can you see that they have a matte finish that makes them look like chalk? I absolutely love them. Confession: I ordered more colors after playing with them yesterday. I am creating job security for Amazon and my UPS carrier.
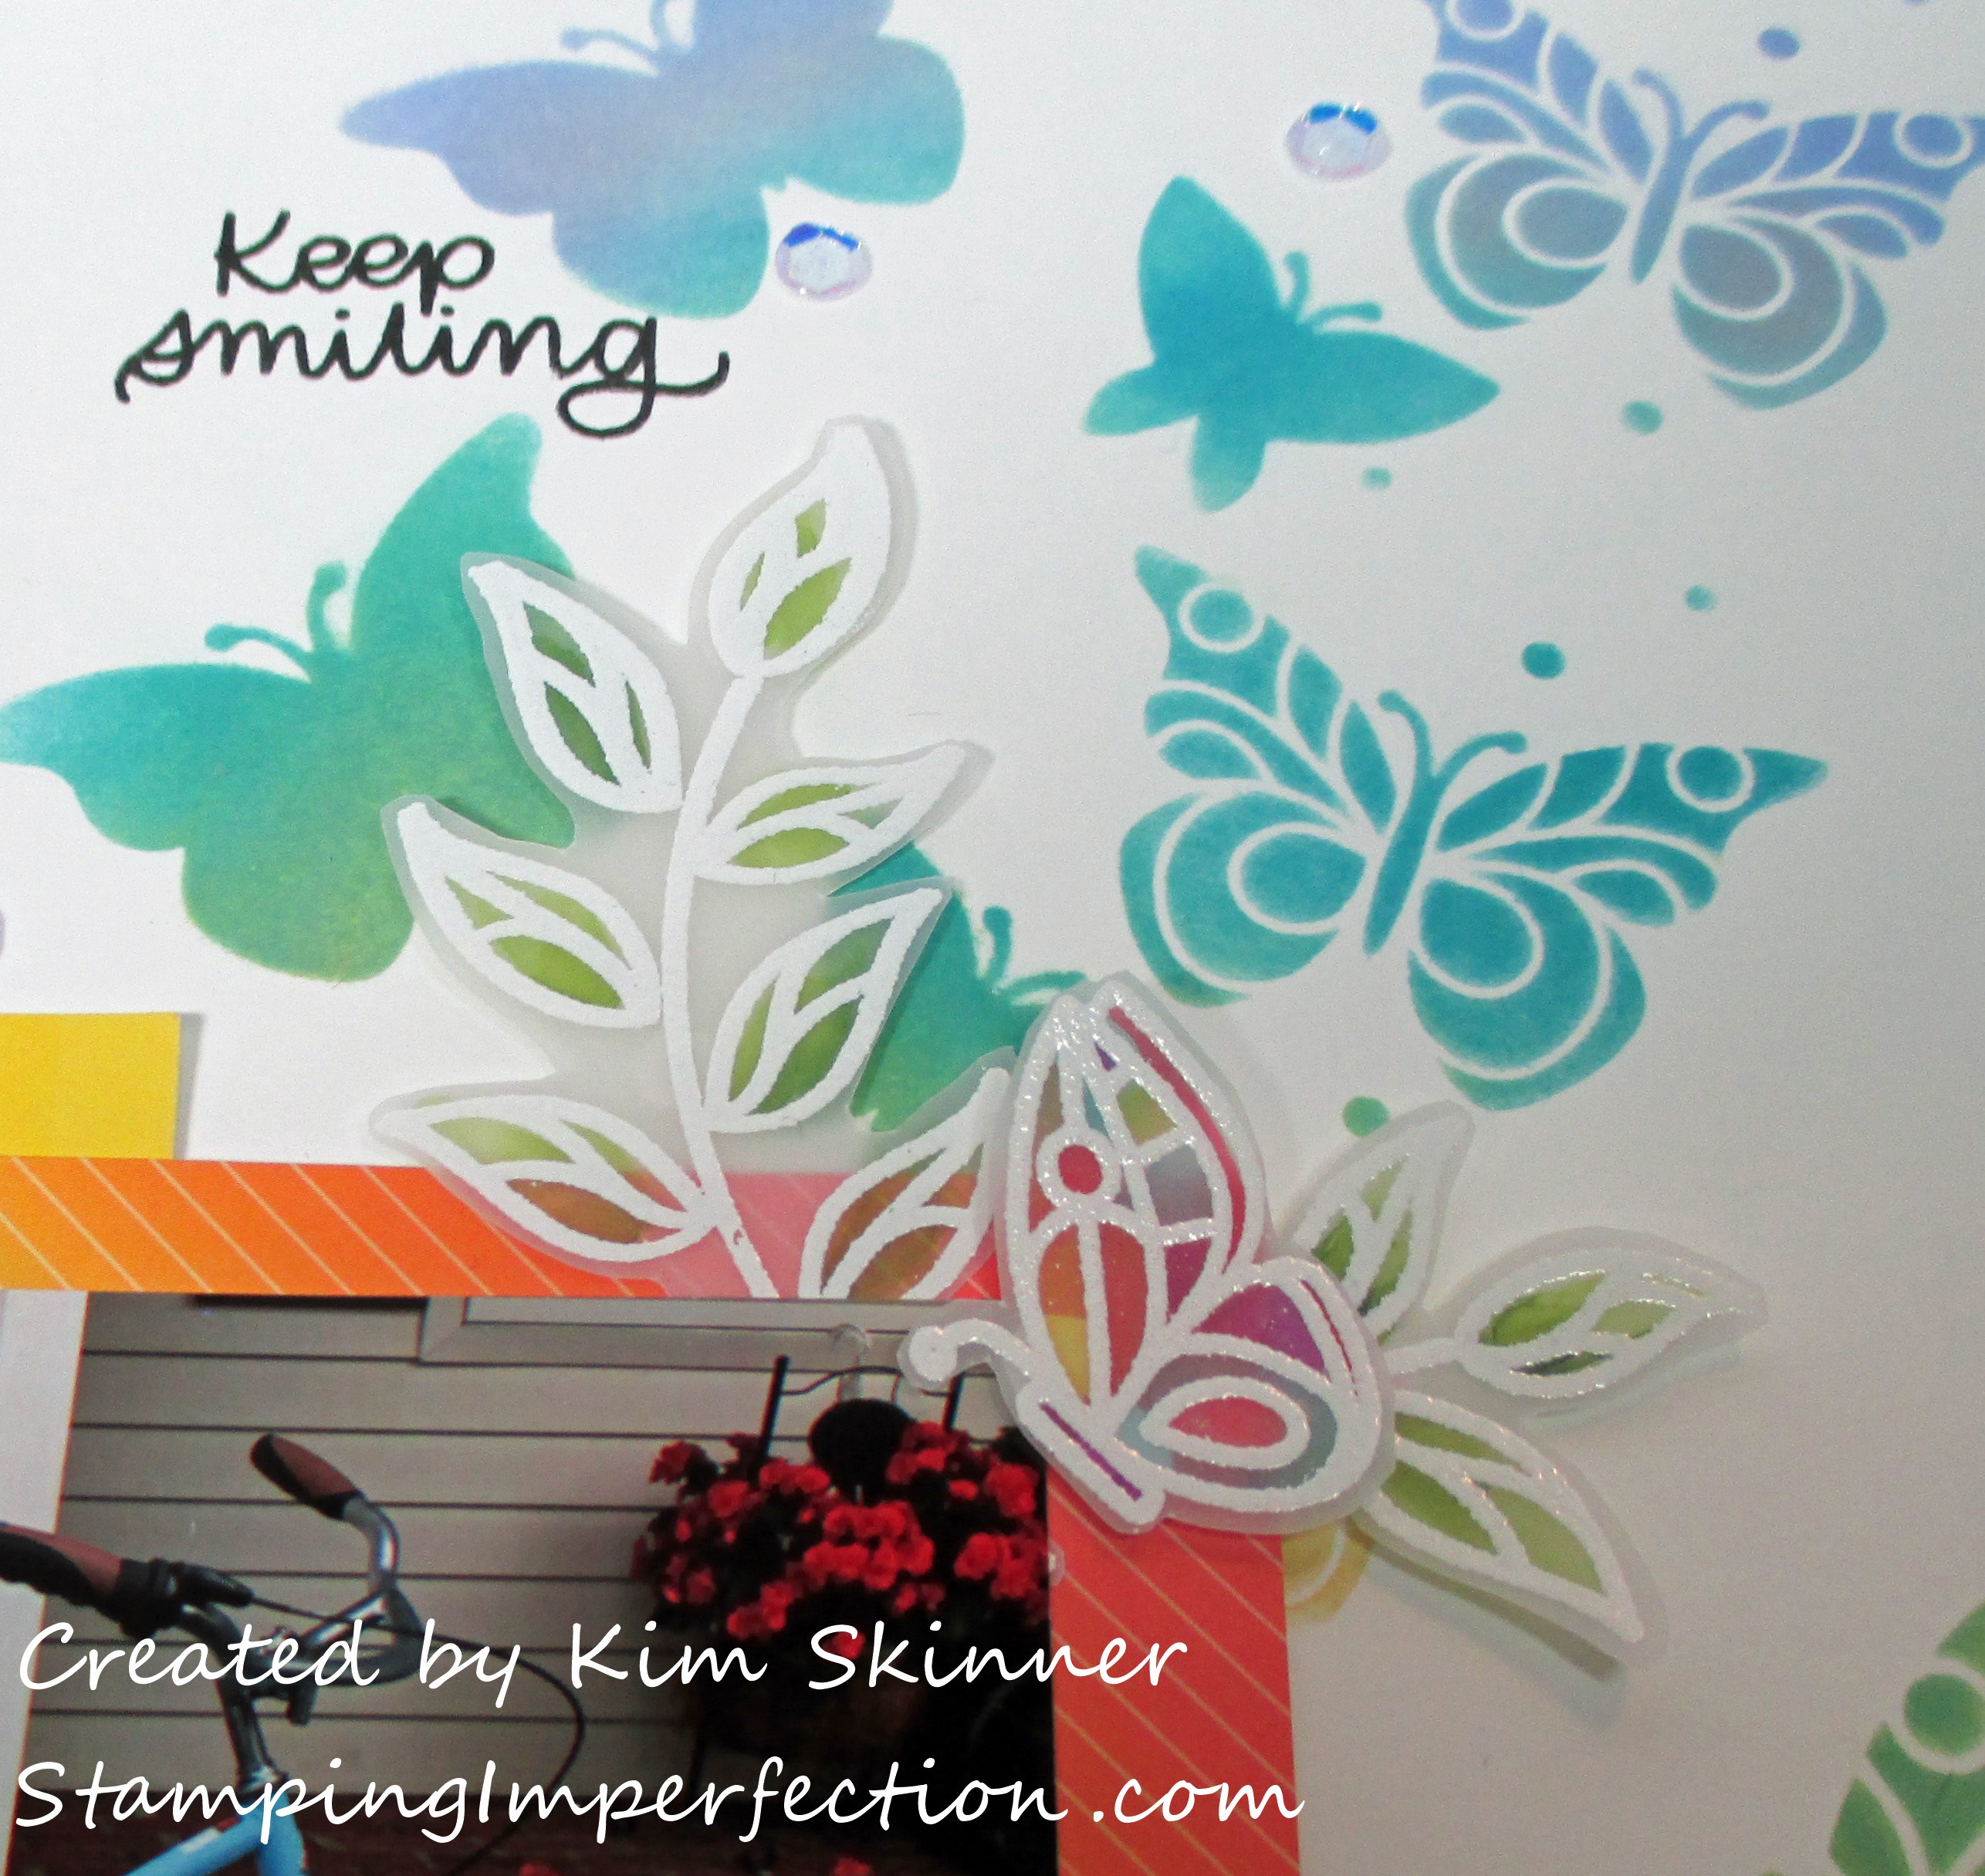
You can also see one of the sentiments that I stamped from the Simon Says Stamps Beautiful Day stamp set that came in the kit. This was a full size stamp set with a bunch of images and sentiments. I haven’t even used half of them yet!
Here is another of the sentiments:
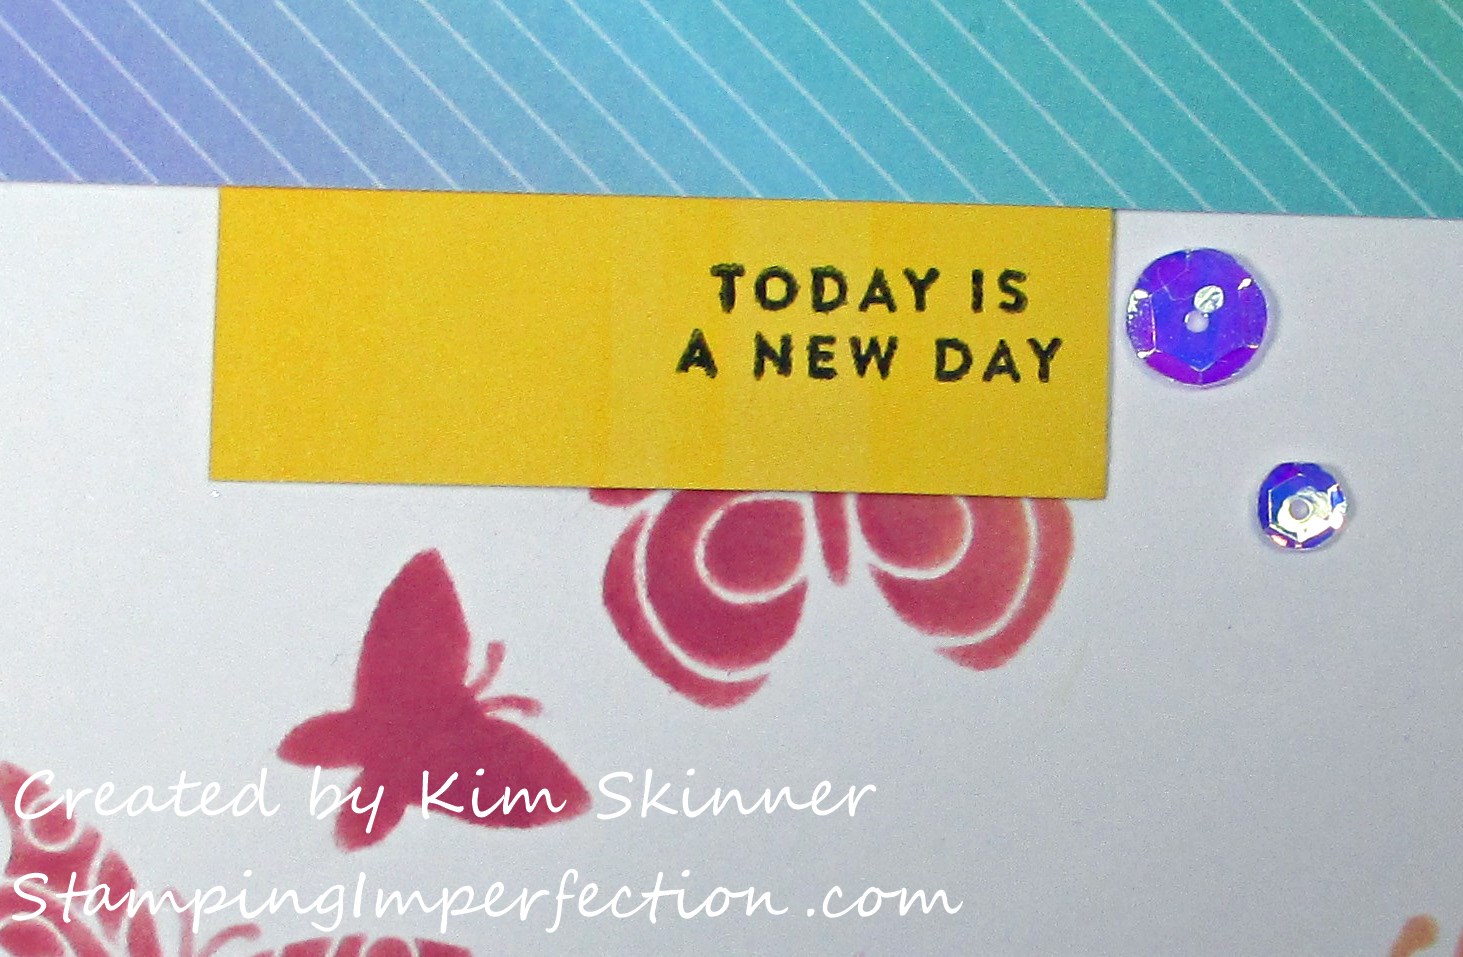
I love that there are 4 tiny sentiments in this stamp set. I love tucking a little stamped sentiment into an unexpected place on my layout. There are also 4 larger sentiments in the fun happy script.
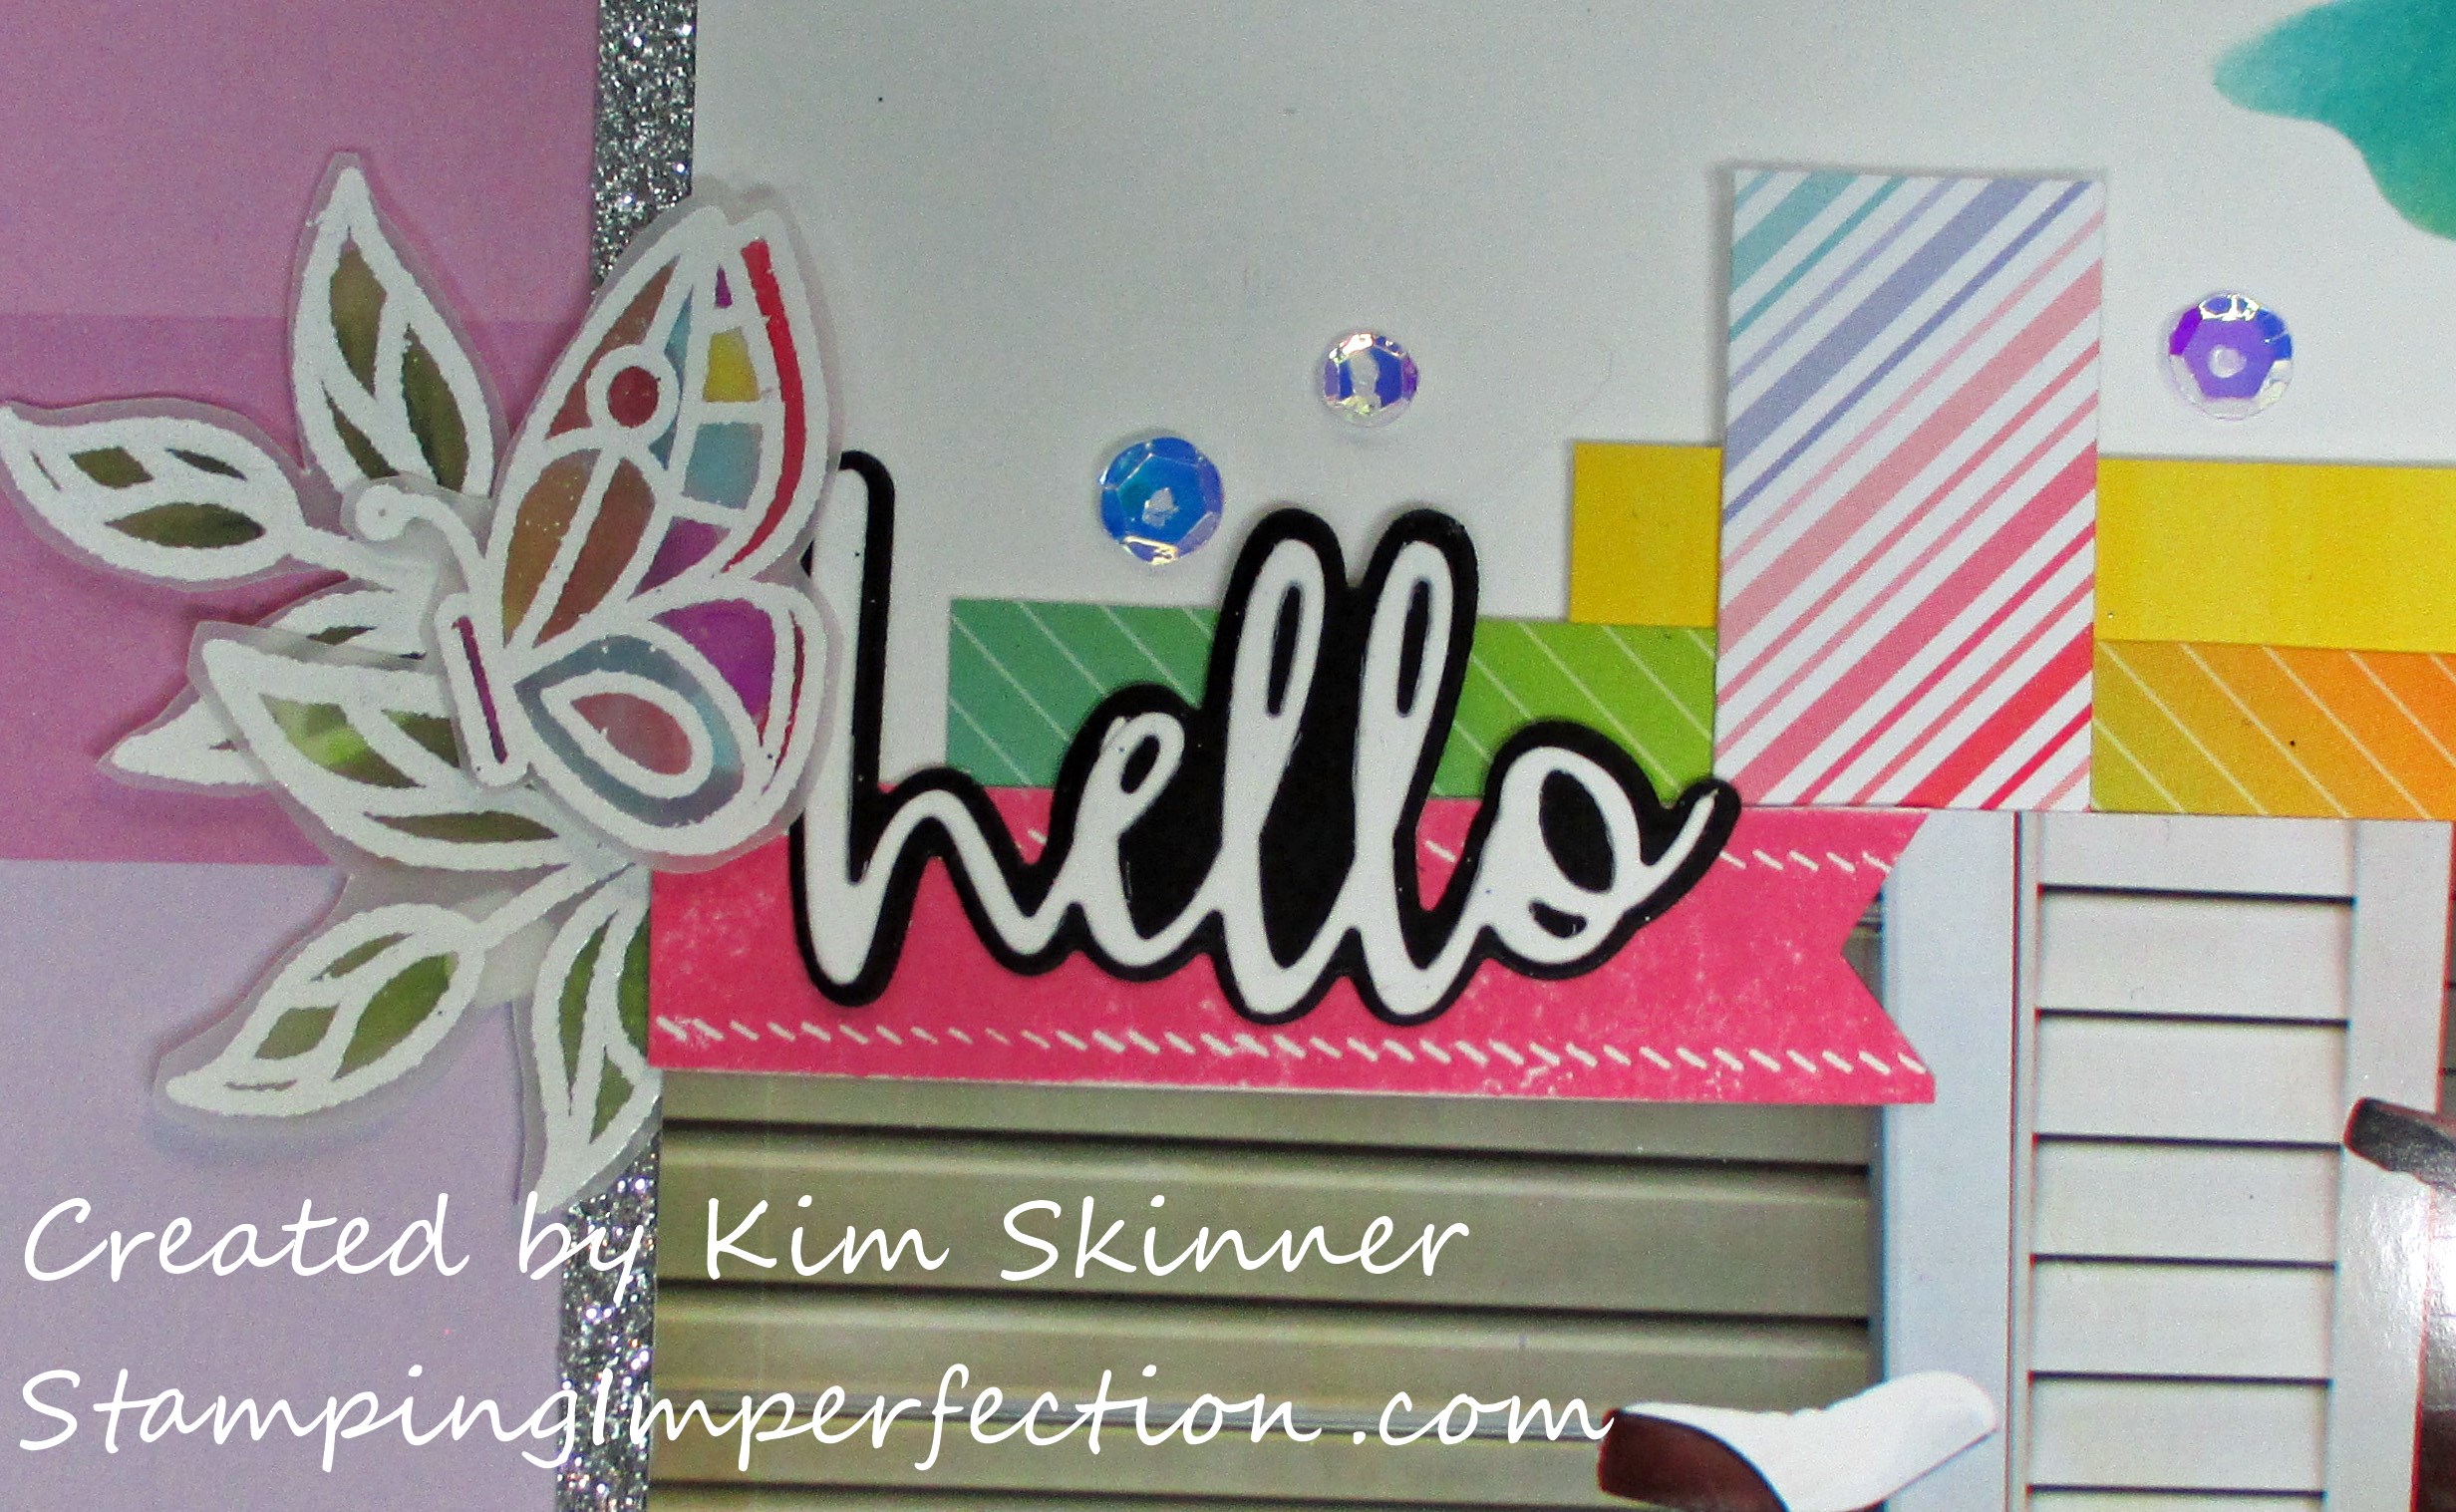
I also used a couple of leftover pieces that I had from other projects. The hello die cut is leftover from yesterday’s projects. This is the Simon Says Stamps Hello Script die that is a set of 2. The little pennant is leftover from a project from a couple of weeks ago! I never throw the extra stuff out. I keep it in a bowl on my desk and it is quite handy to have those little pieces!
I am embedding the video I made from the stenciled card from yesterday. This is the same technique used for the background on this layout.
Hang in there with me…I’m learning a new video editing program and it will take me a while to get the hang of all the bells and whistles. It’s a little bumpy!!
Thank you for stopping by today!!! Happy crafting!


