
I was very excited when I saw Catherine Pooler’s Welcome Home release. I was also proud of myself for only ordering one small bundle from that release!
I selected the Cottage Garden Bundle because I loved the graphic geometric feel of the main floral image in the two stamp sets that were included in the bundle. Plus, I love her background stamps.
I actually made a video of this, but unfortunately I used the new camera my husband picked out for me and the video files just jammed up my computer. **Sigh**. I’m going to go out this weekend and get myself a camera that I can actually use without needing special backup drives to hold the gigantic files.
Instead, I’m going to describe what I did really well!

This card was created with this week’s Tic-Tac-Toe Challenge for the Paper Craft Crew.

I went diagonally with Favorite Color, Monochrome, and Sequins.
I LOVE Altenew’s Lagoon color and I have the ink pad, the alcohol marker, the watercolor pan set, and the watercolor brush pen for this color. I did say it was a favorite color!
For the card above, I decided to use the watercolor brush pen and watercolor a background. I used the emboss resist technique by heat embossing the background image in white embossing powder on watercolor paper. I then covered the entire image in a light wash of the lagoon watercolor ink and let it dry.
Once dry, I added a little water and more ink to the areas that I wanted darker like the middle of the flowers and the base of the leaves. I wanted a watercolor ombre effect.
I LOVE monochrome cards, but I wanted to show you that you can add different tones of the same color to give the project more depth and interest.
I attached this to a piece of craft foam to flatten it and I added it to a card front. The sentiment is from the same bundle and it is heat embossed in white on black card stock.

Believe it or not, this is also Lagoon ink! In person it looks exactly the same color as the other card and both of them look like a gorgeous blue-green. One photographed super blue and the other green!
I used my Altenew Crisp Dye ink pad and my Picket Fence Life Changing Blender Brush to add a light background of color using the same emboss resist technique. I stamped my image and heat embossed it in white embossing powder on Bristol Smooth paper. Then I blended on a light background color and spritzed it with water.
Once this dried, I added flicks of color to the flower centers and to the bases of the leaves using my Altenew Artist Marker in Lagoon (B815). I was able to control exactly where those flicks went and I ended up really liking the final effect on both cards.
I find it so much fun to experiment with different coloring techniques and mediums. I’ve really been enjoying the watercoloring and alcohol markers and this was a fun way to challenge myself to see what I could do with them for a card.
I love that one background stamp can be a complete card. All I added was a sentiment and some sequins! The sequins are Pretty Pink Posh Sparkling Clear Mix.
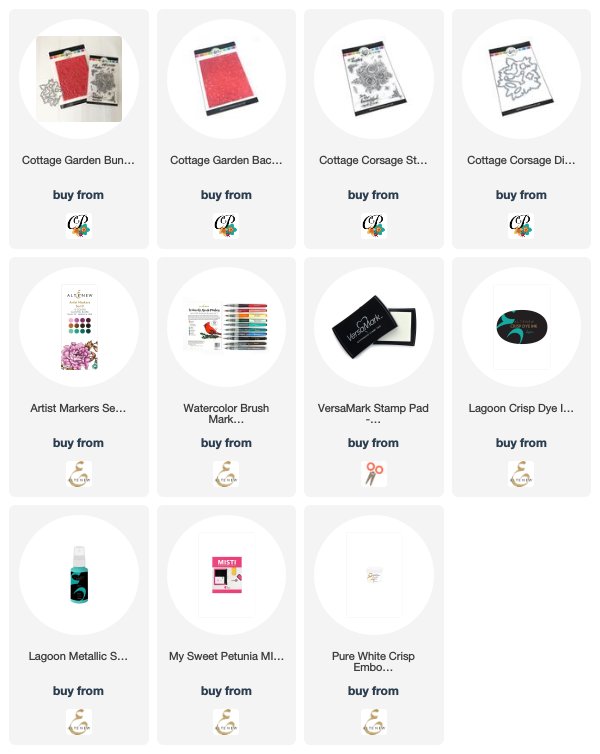
Supply List:
Are you interested in the products I used? To make them easier for you to find, I have linked them below. (Affiliate disclosure ) Your purchases help keep my blog running at no additional cost to you and I thank you for the support!
Thank you so much for stopping by! I would love for you to leave a comment to let me know which card you like the best!


