Many years ago when I started paper crafting, my sister created a ring of card stock samples for me for Christmas one year. She used a pretty punch and punched and labeled every different color of card stock that Stampin’ Up! carried and then organized them on a ring.
This has been a very handy tool for me over the years. I use it to select color combinations or to decide between the different shades of greens that I have to select from. It doesn’t take up a lot of space and I use it all the time.
I decided it was time to create a similar swatch of ink pad colors since I have now been using ink pads from several different sources. I need a good tool that I can use to help me easily select the ink colors that I want to use for a particular project.
I now have a need for the ink pad swatch ring!
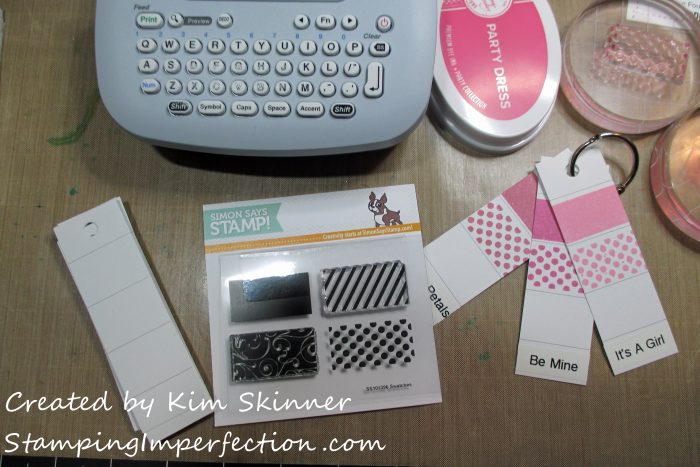
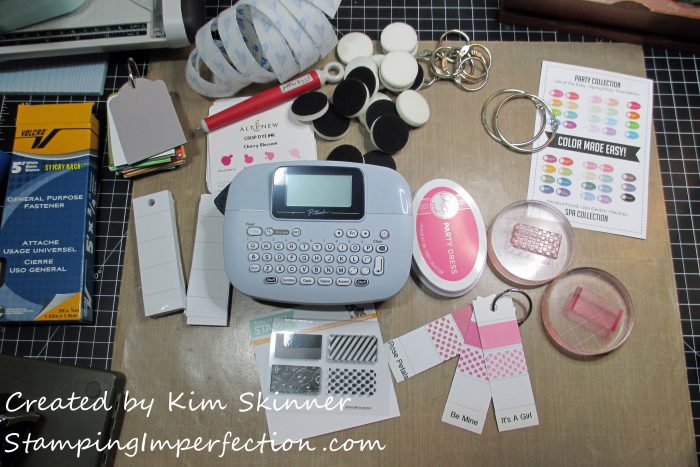
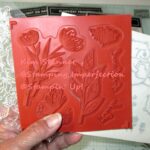
I happened to be browsing on the Simon Says Stamp shop site when I found this little kit they have. It is actually called “Swatches”, and it comes with 2 small stamps, a ring and 30 card pieces to use to create your ink swatches.
I saw the potential for all the possibilities for using these swatches as soon as I came across it! You can even get swatch refill packs should your ink collection contain more than 30 ink pads. (I may need a truck load of these since I have fallen in love with Altenew, Catherine Pooler, and Distress Oxide inks over the last several months.)
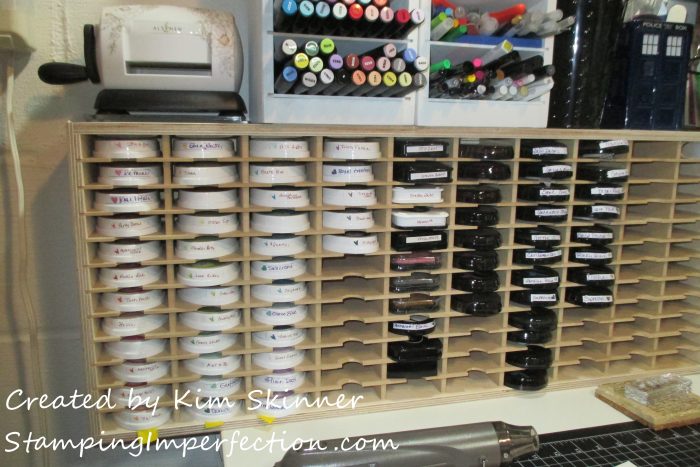
I had a few of my ink pads labeled so that I could easily see what color I was selecting without pulling pads out of my ink pad storage unit from Stamp-n-Storage. I had many new ones that needed labels.
I decided that it was time to invest in a new Brother P-Touch label maker since my 20 year old one recently died. I am taking the opportunity to not only label my ink pads, but I’m making my ink swatch ring and attaching the blender foam to the bottom of my ink pads using Velcro. This works well with the Catherine Pooler inks since they have a deep lip under the bottom of the pad and the blender foam (or sponge) fits really well there. Washi tape was not holding it securely enough so I took this time to add the Velcro.
Once and for all, my ink pads will be labeled and my blending foam pads will be organized.
I made a quick video tutorial to show you all the details with a few more tips:
This is a picture of one of my ink pad storage pieces that I ordered from Stamp-n-Storage. You can check them out with the affiliate link on the right side of my blog. This is really working well for me. It keeps all my inks within easy reach and they are always organized!
I hope that you found this useful! Thank you for stopping by!

