
More die cutting and ink blending techniques?
YOU BET!!
I’m having so much fun playing around with techniques that I haven’t had time for in the past year+, I can’t seem to stop playing!
I created 3 cards today using a combination of die cutting and ink blending techniques.

I tried to create a variety of colors so that you could get a good look at the technique.
The die cutting technique uses a thinlet die that has a lot of open spaces. I essentially die cut it out and used it like a stencil.
The ink blending technique is an Ombre technique where I started in one area with a darker shade and then lightened up as I moved over eventually fading out completely.
The green card is created with a Cube Cover Die from Altenew. It also uses the Birthday Builder stamp set and the Painted Butterflies stamp set. Isn’t that a pretty set of butterflies?
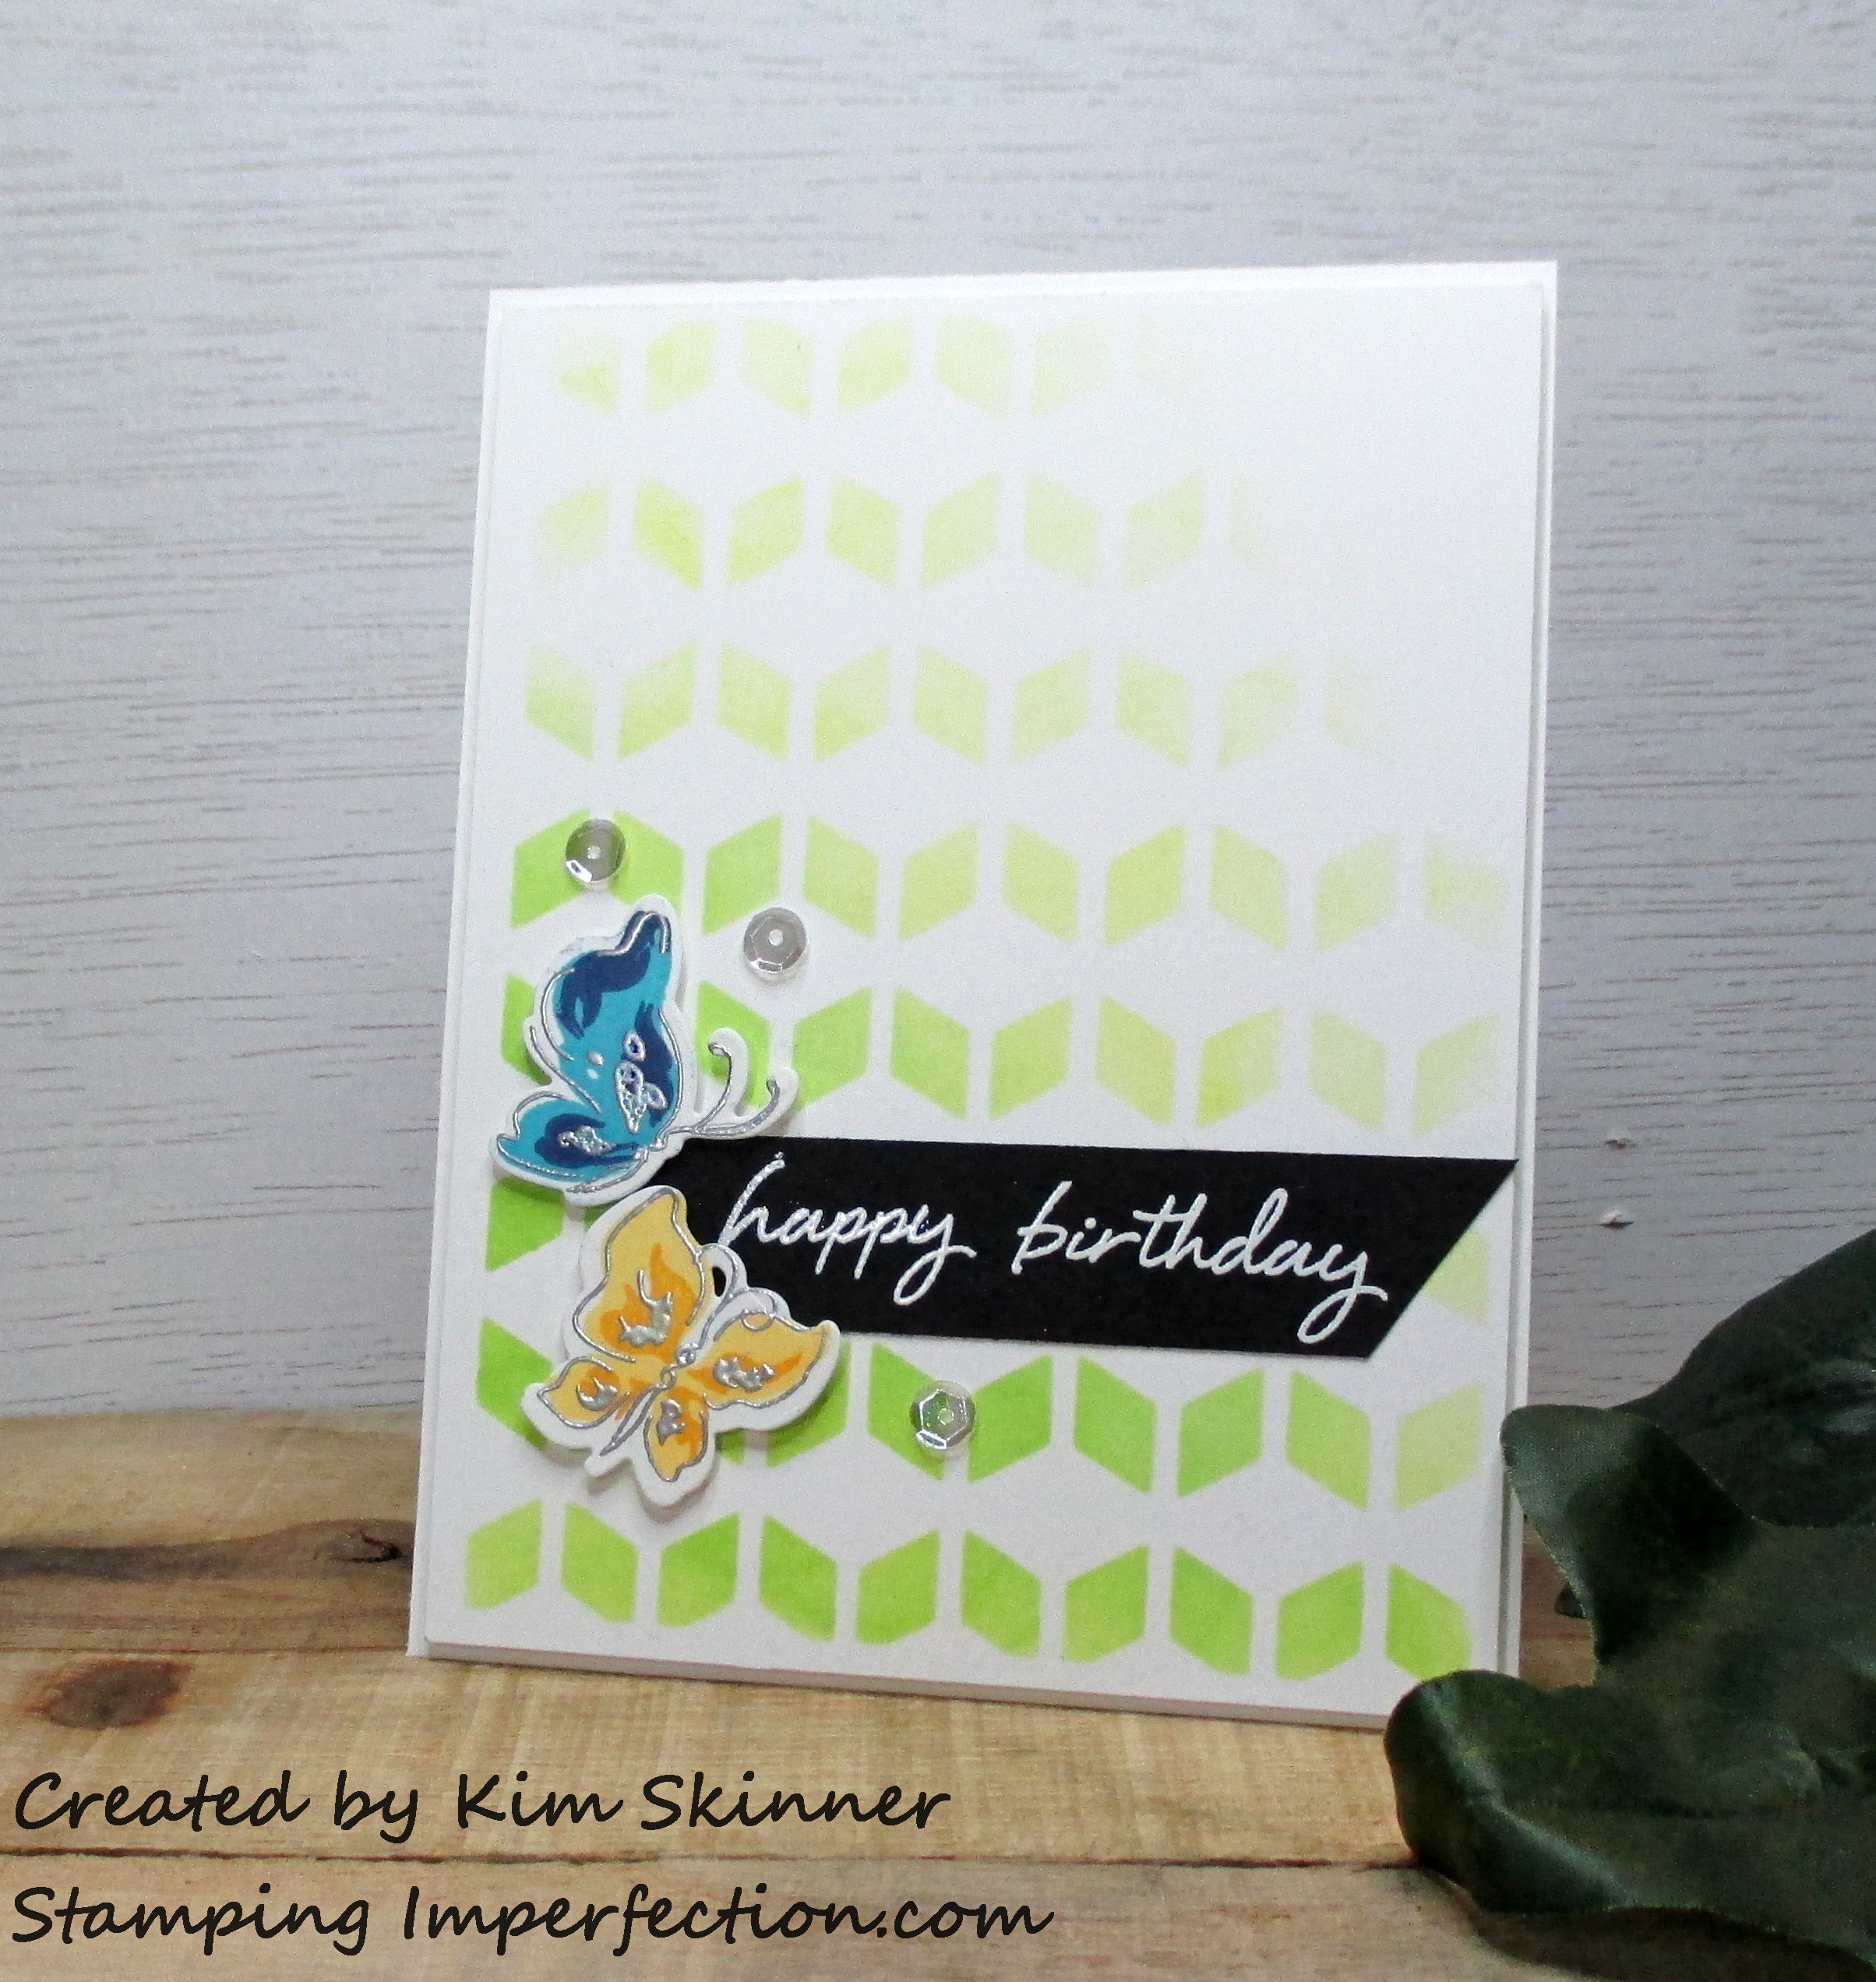
I created this card for the Addicted to CAS Challenge #128 – Ombre. This is not my most CAS card for the day, but it’s my favorite. 
The Cleanest and Simplest card is this one:
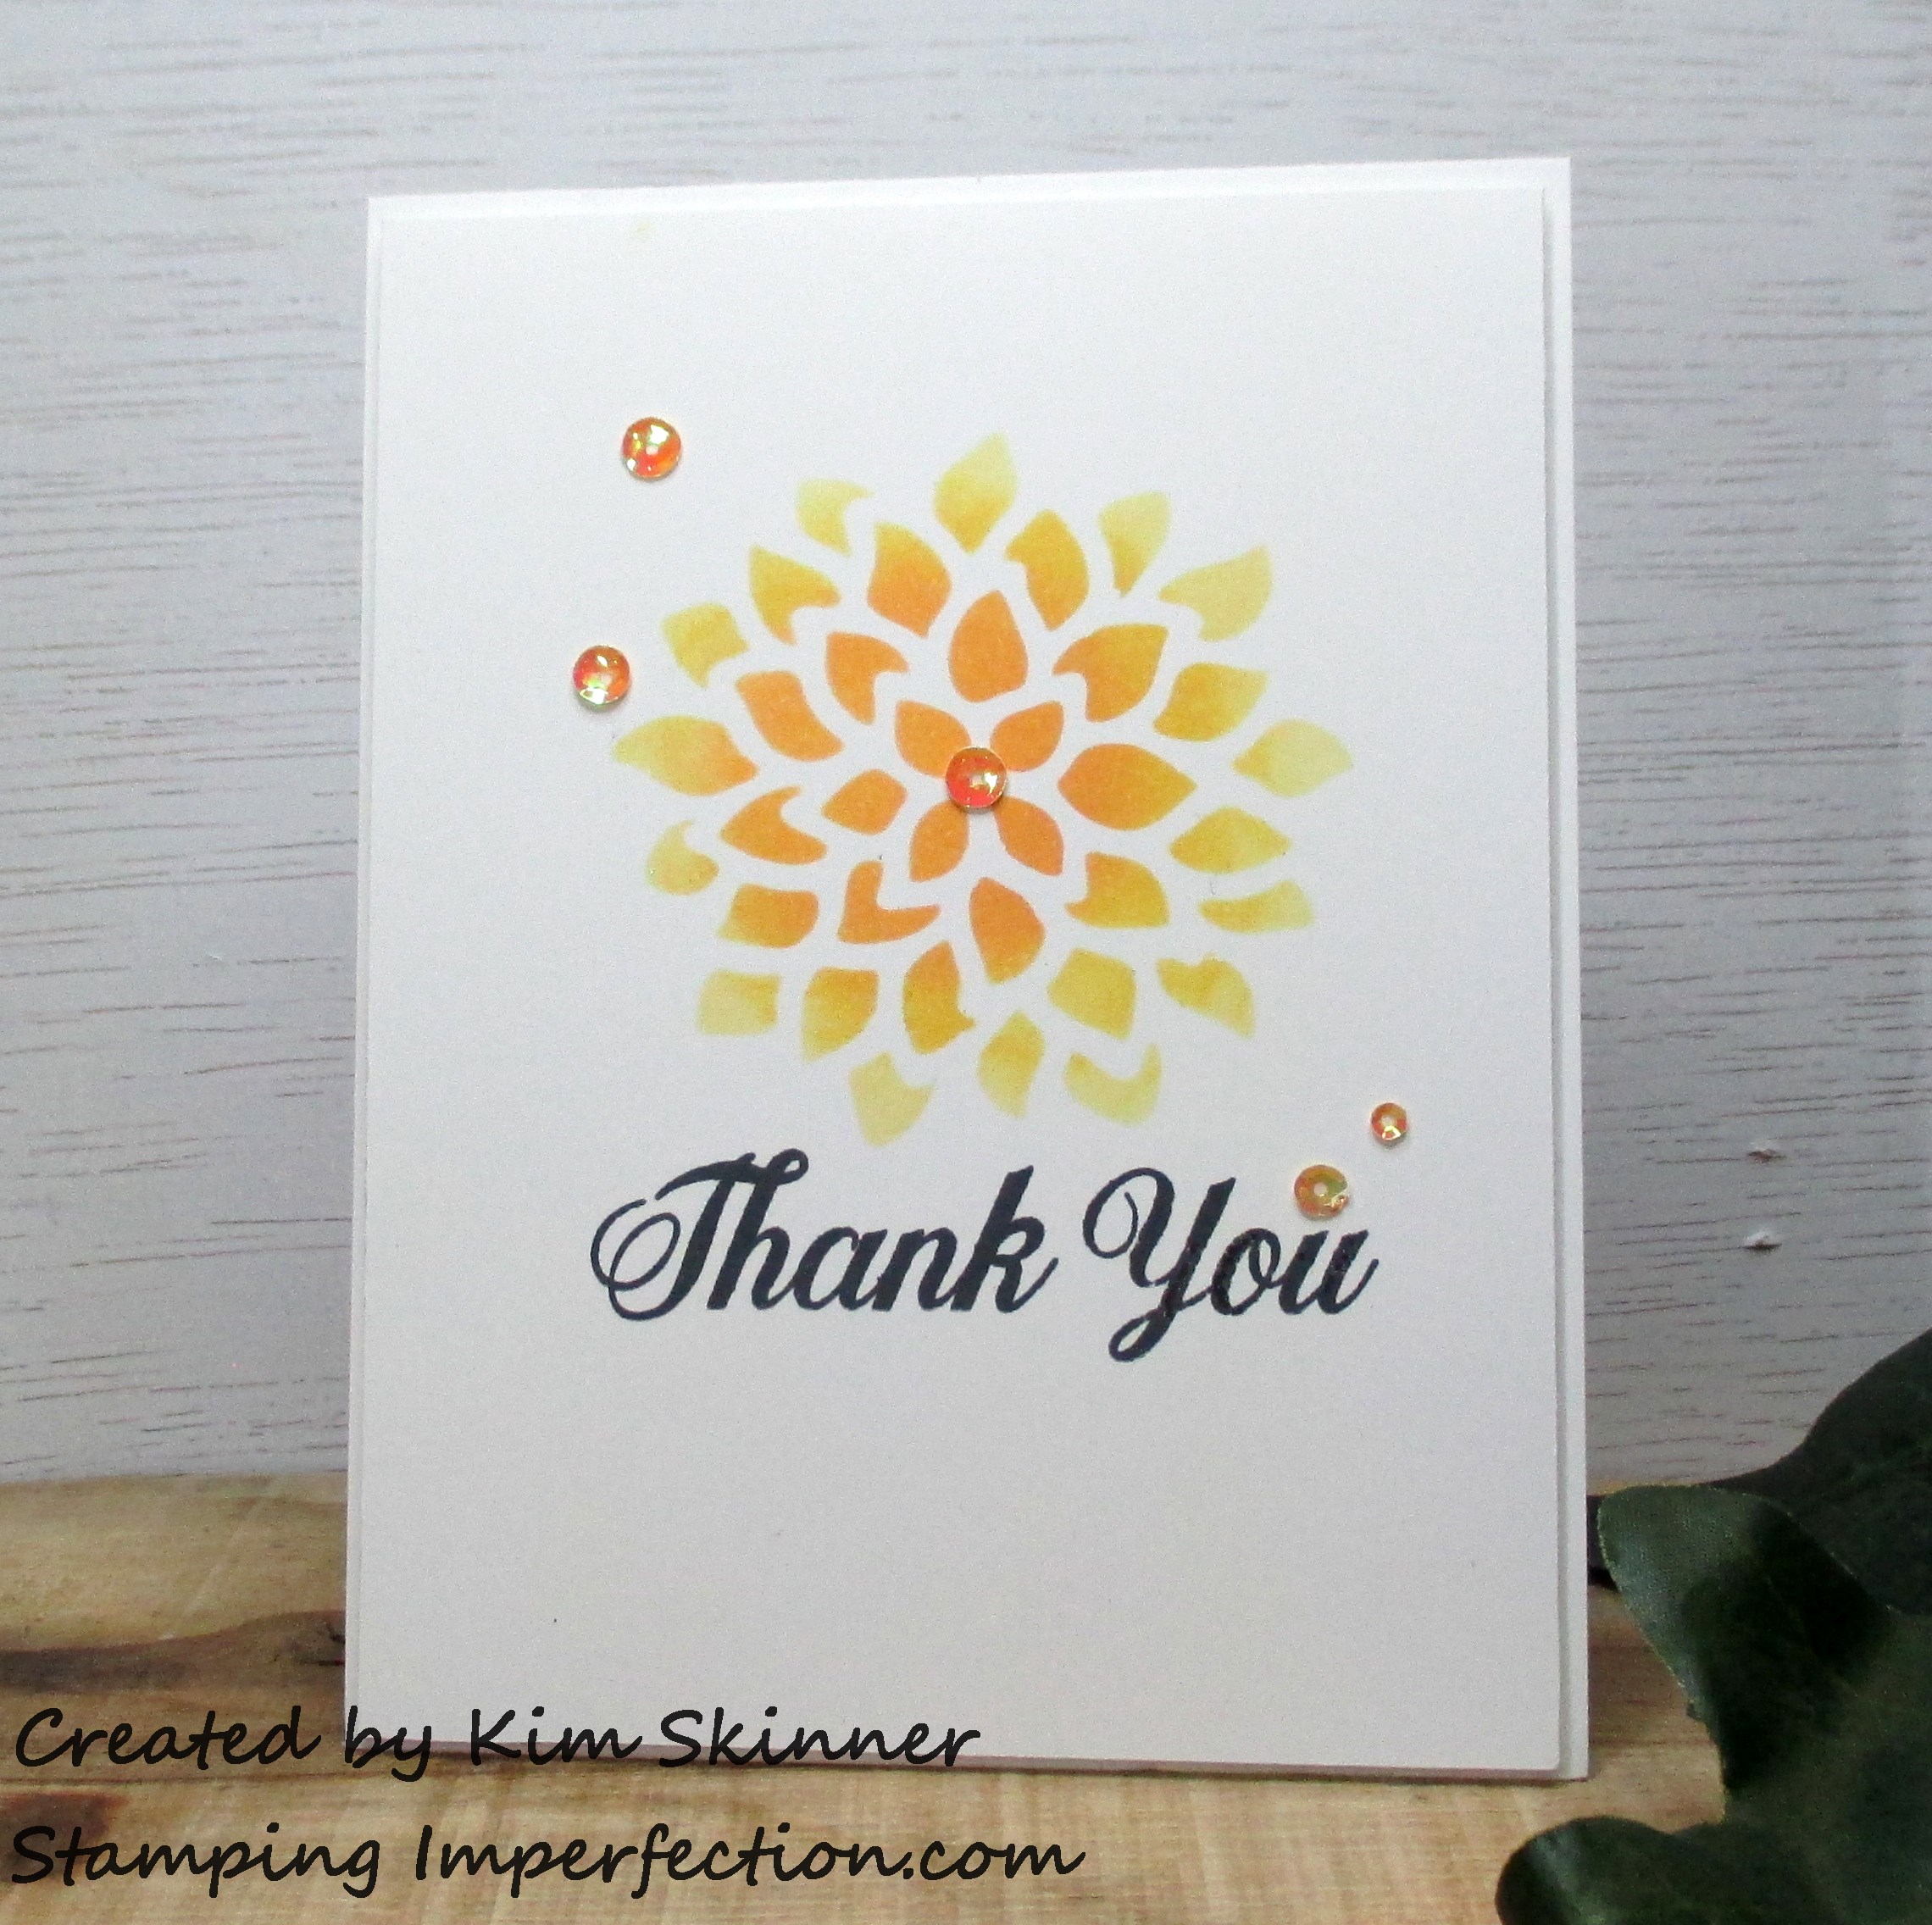
This is quite a clean and simple (CAS) card. This is made using a stencil I created from Stampin’ Up!’s May Flowers Thinlets set. I just can’t resist playing with a giant graphic floral image!
I’ve blended it darker in the center with Peekaboo Peach, the out from the center with Crushed Curry and finally toward the edges with So Saffron. The sentiment is from the Daisy Delight stamp set.
Every time I play with that Daisy Delight stamp set I find myself wondering why I’m not playing with it more. It is such a great set. So many floral scenes could be created with it and the sentiments are beauties.
My last card was cased from the die cutting class that I’ve been taking. The layout is CASEd and the colors, stamp selection and sentiment are my selection. I always have to make a card my own. I hate copying someone else’s card exactly, even when I’m supposed to. I also could not resist using this background cover die or those Painted Butterflies. Plus, I didn’t have what the instructor was using!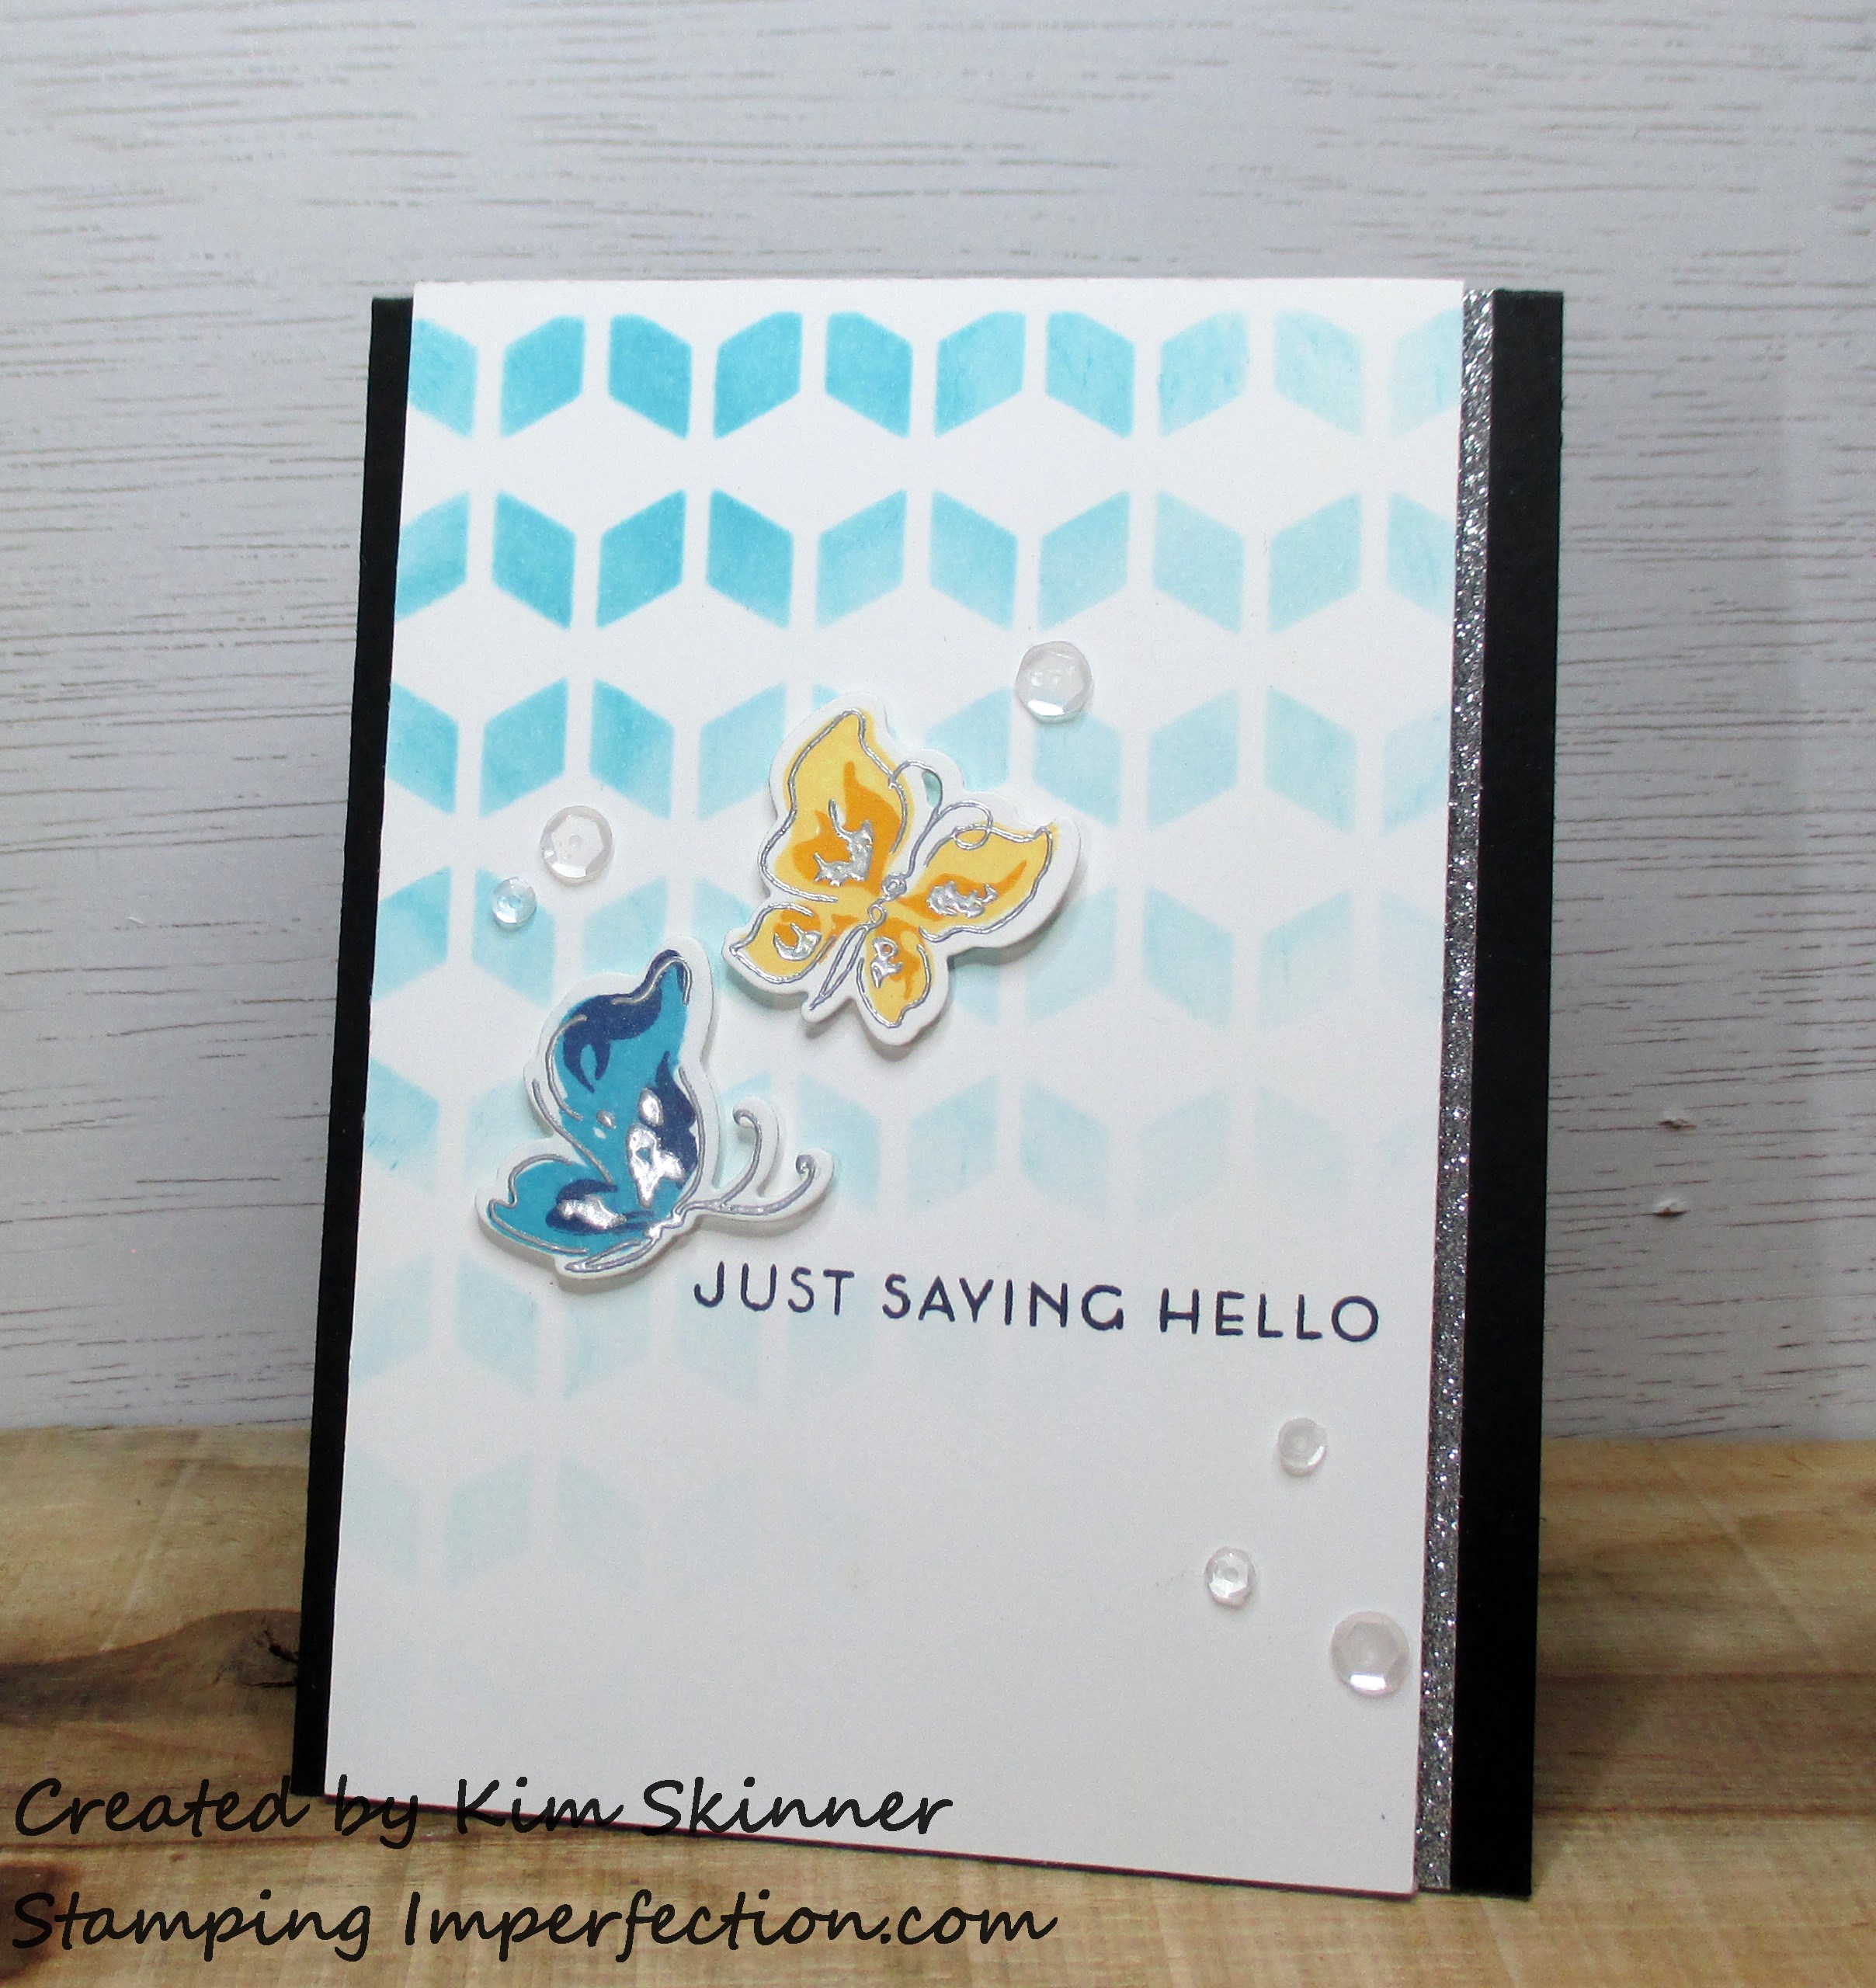
The instructor uses a lot of that glitter washi tape along the edge and always leaves a little bit of card base showing beside it. That is the instructors touch. I’m loving it and I’m finding myself adding that detail to a lot of my cards lately. It’s a pretty touch and it really sets off the center panel as the attention grabber. Plus, you know I love bling on my cards.
Those sequins are from Pretty Pink Posh and they are the Marshmallow ones. The sequins on the floral card are from Stampin’ Up! They are the iridescent sequin assortment and they do sparkle!!
I’m using sequins more lately too. For a while I hated using them because I felt like a klutz trying to attach them and it seemed like I was getting glue everywhere except below the sequin.
I got two new tools at Christmas that has made using sequins a breeze. One is the WeR Memory Keepers QuickStick. It has a sticky end that picks up and holds the sequin while I dab glue from the other new thing I got…I got a fine tip glue adapter top that replaces the top on my liquid glue, making it put a teeny dab right where I want it.
When something is not a chore to do, you do it more often! I think having the right tool for the job makes a huge difference!
Stampin’ Up! Supply List from mystampingstore.com:
|
|
|
||
|
|
|
|
|
|
|
|
|
|
|
|
|


The following are affiliate links to products Stampin’ Up! does not carry, but that I’ve fallen in love with!
For the applicator bottle, I just squeezed my glue into that container and now I have the perfect sequin glue tools! I love the little bead try for pouring out embellishments and then the triangle shape allows you to easily pour them back into the container you store them in. I find it easier to pick the ones that I want using that with no mess all over my table.
Well, I’m off to take another class and to create my card for this week’s Paper Craft Crew Challenge which posts tomorrow!
I hope you find time to craft. Remember to embrace the imperfections!


Terrific designs. Thanks for sharing at ATCAS!
Thank you!
All three cards are beautiful. Fabulous job with the ombre technique on all of them. CAS perfection. So glad you joined us at Addicted to CAS this week
jaydee
Thank you! It was a fun challenge!