
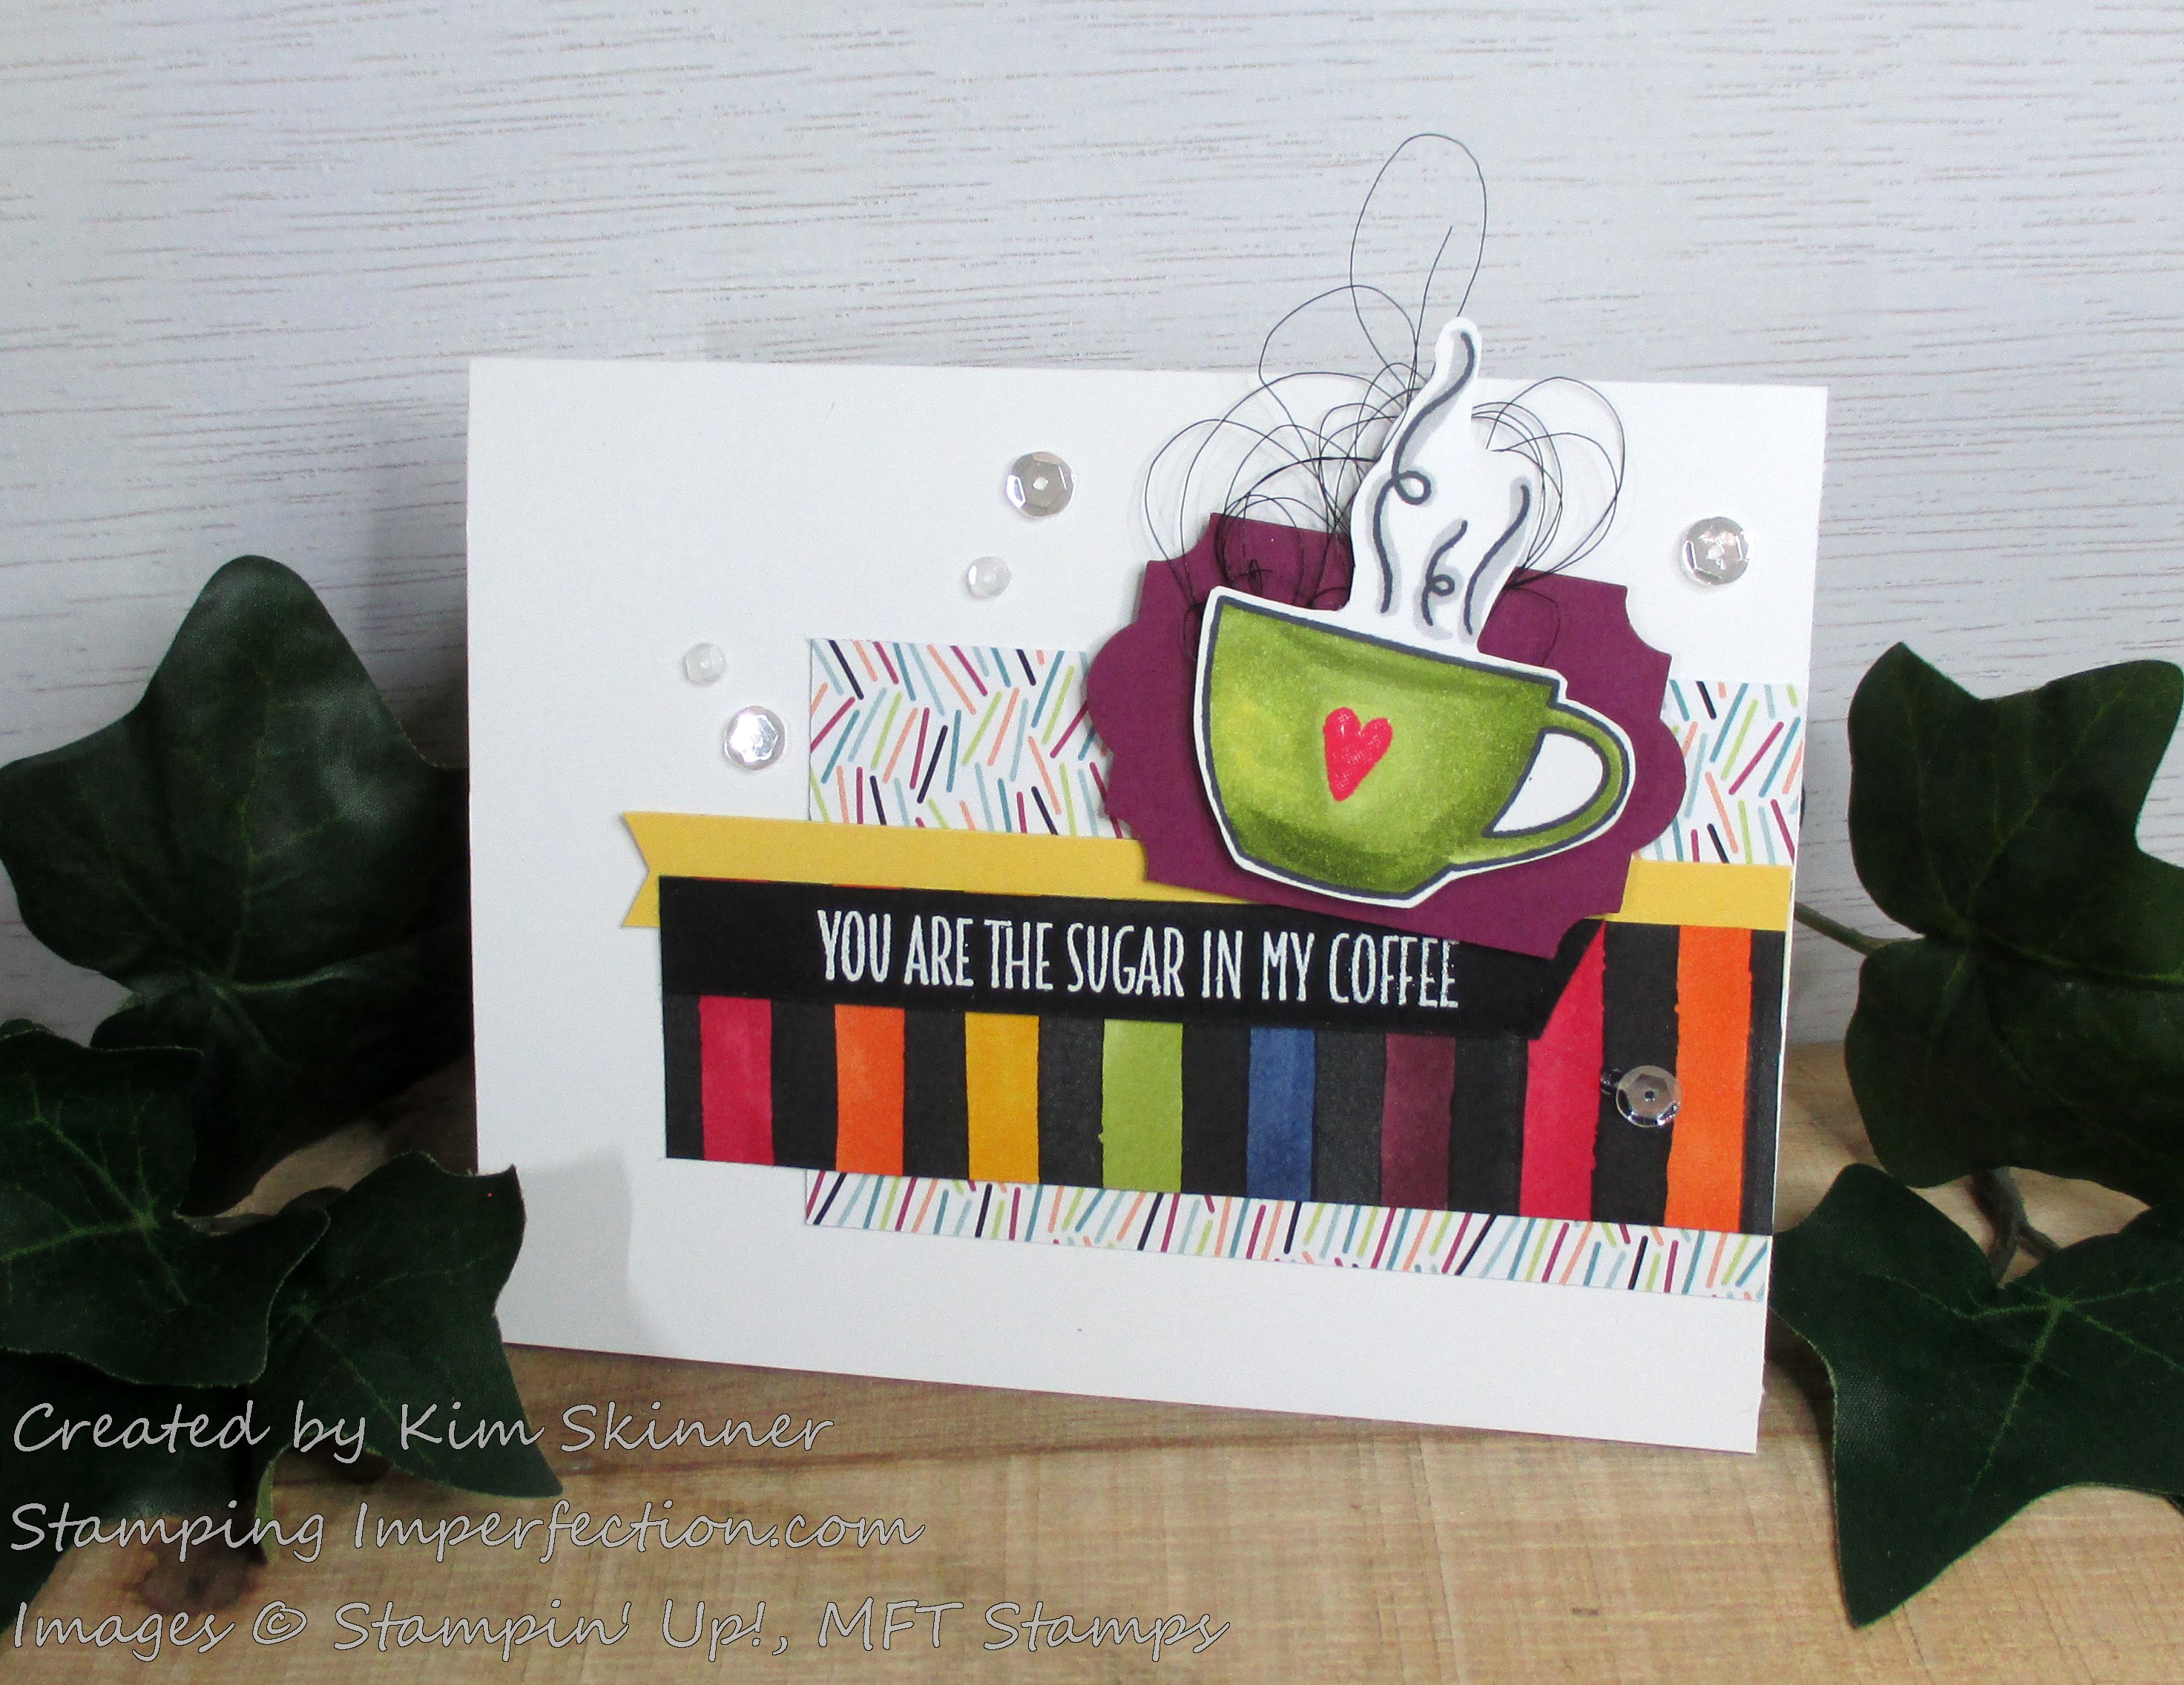
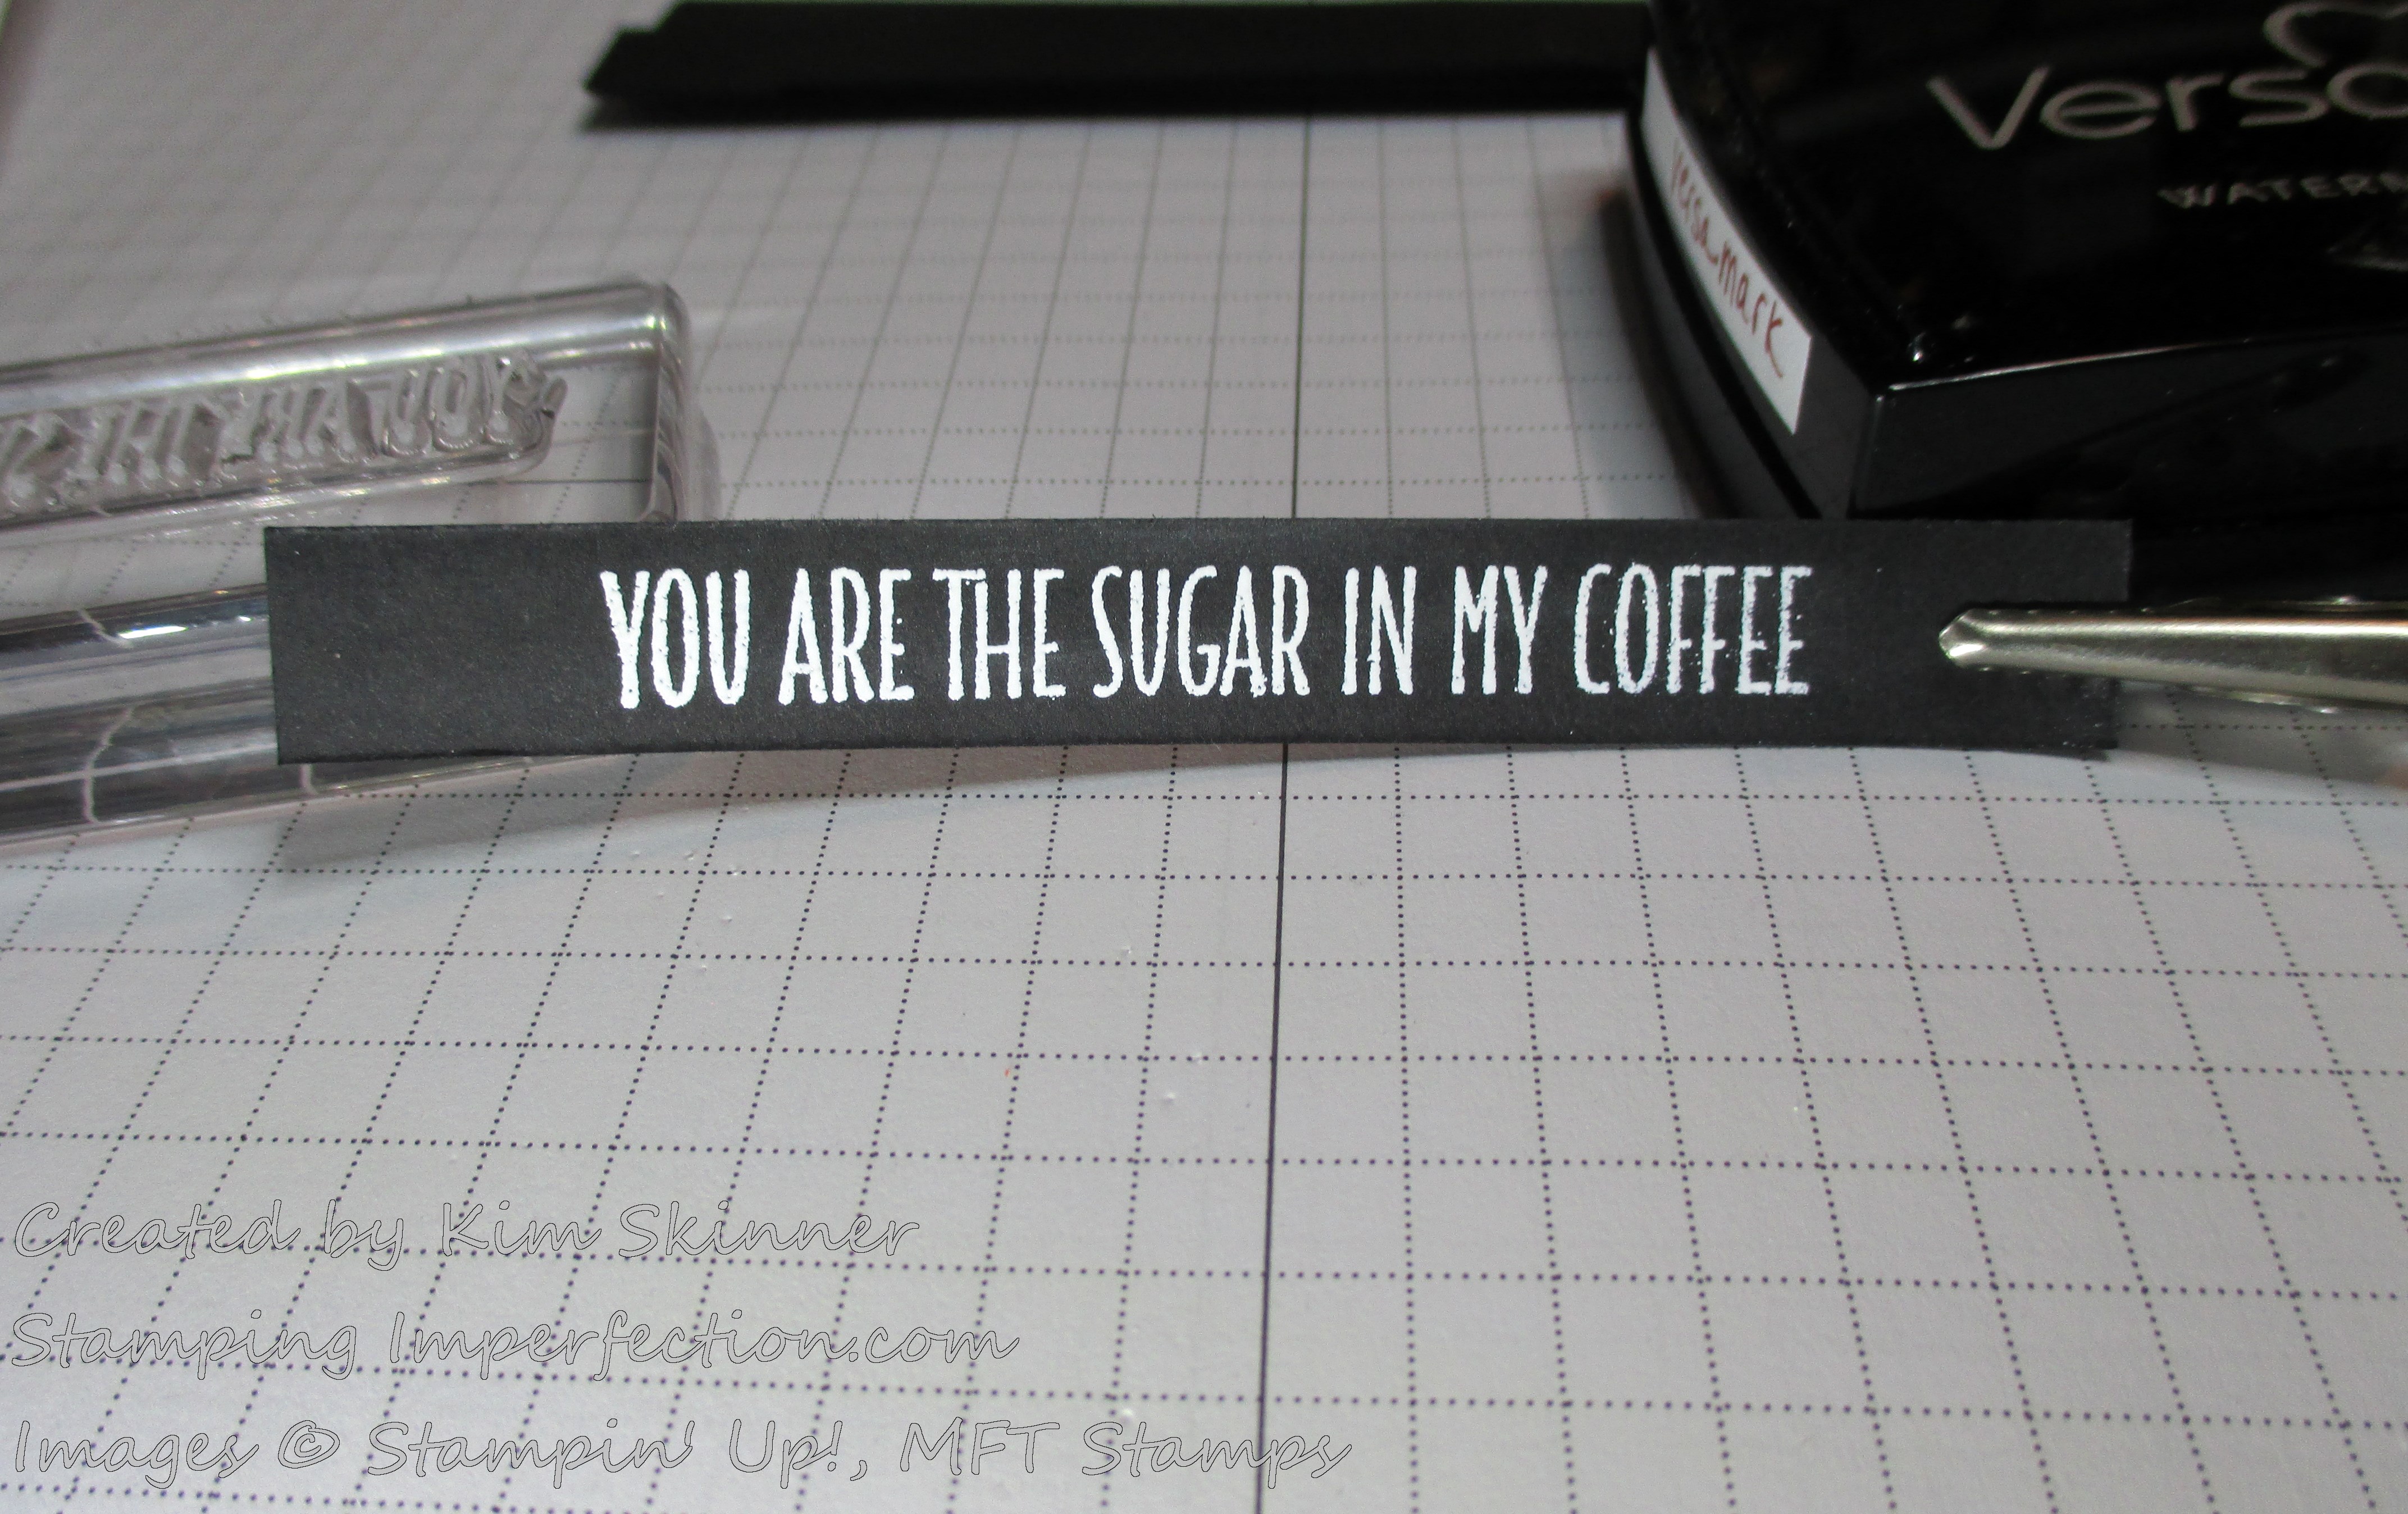
“You Are The Sugar In My Coffee” is just one of the adorable sentiments in My Favorite Things Coffee Break stamp set. I’ve paired it here with an older Paper Pumpkin Kit stamp set which I think of as “Stamp a Latte”.
I am participating in the Global Design Project 122 | Sketch Challenge for this week.
It is a truly dreary day here in Greenport today. No walk into town to the pier or to the beach. I’ll be staying inside organizing my new craft room and taking some stamping classes. I’m doing masking techniques and more die cutting techniques now. I have tips to share!
Since it is so dreary, I decided to make a super colorful card. Plus, I couldn’t resist picking up those Stampin’ Blends again!
Here is the Global Design Project sketch that I started with:

I loved the sketch and could not resist playing along. I stuck to the sketch fairly closely. I tweaked it to make it mine in a couple of spots.
Here are the supplies that I used: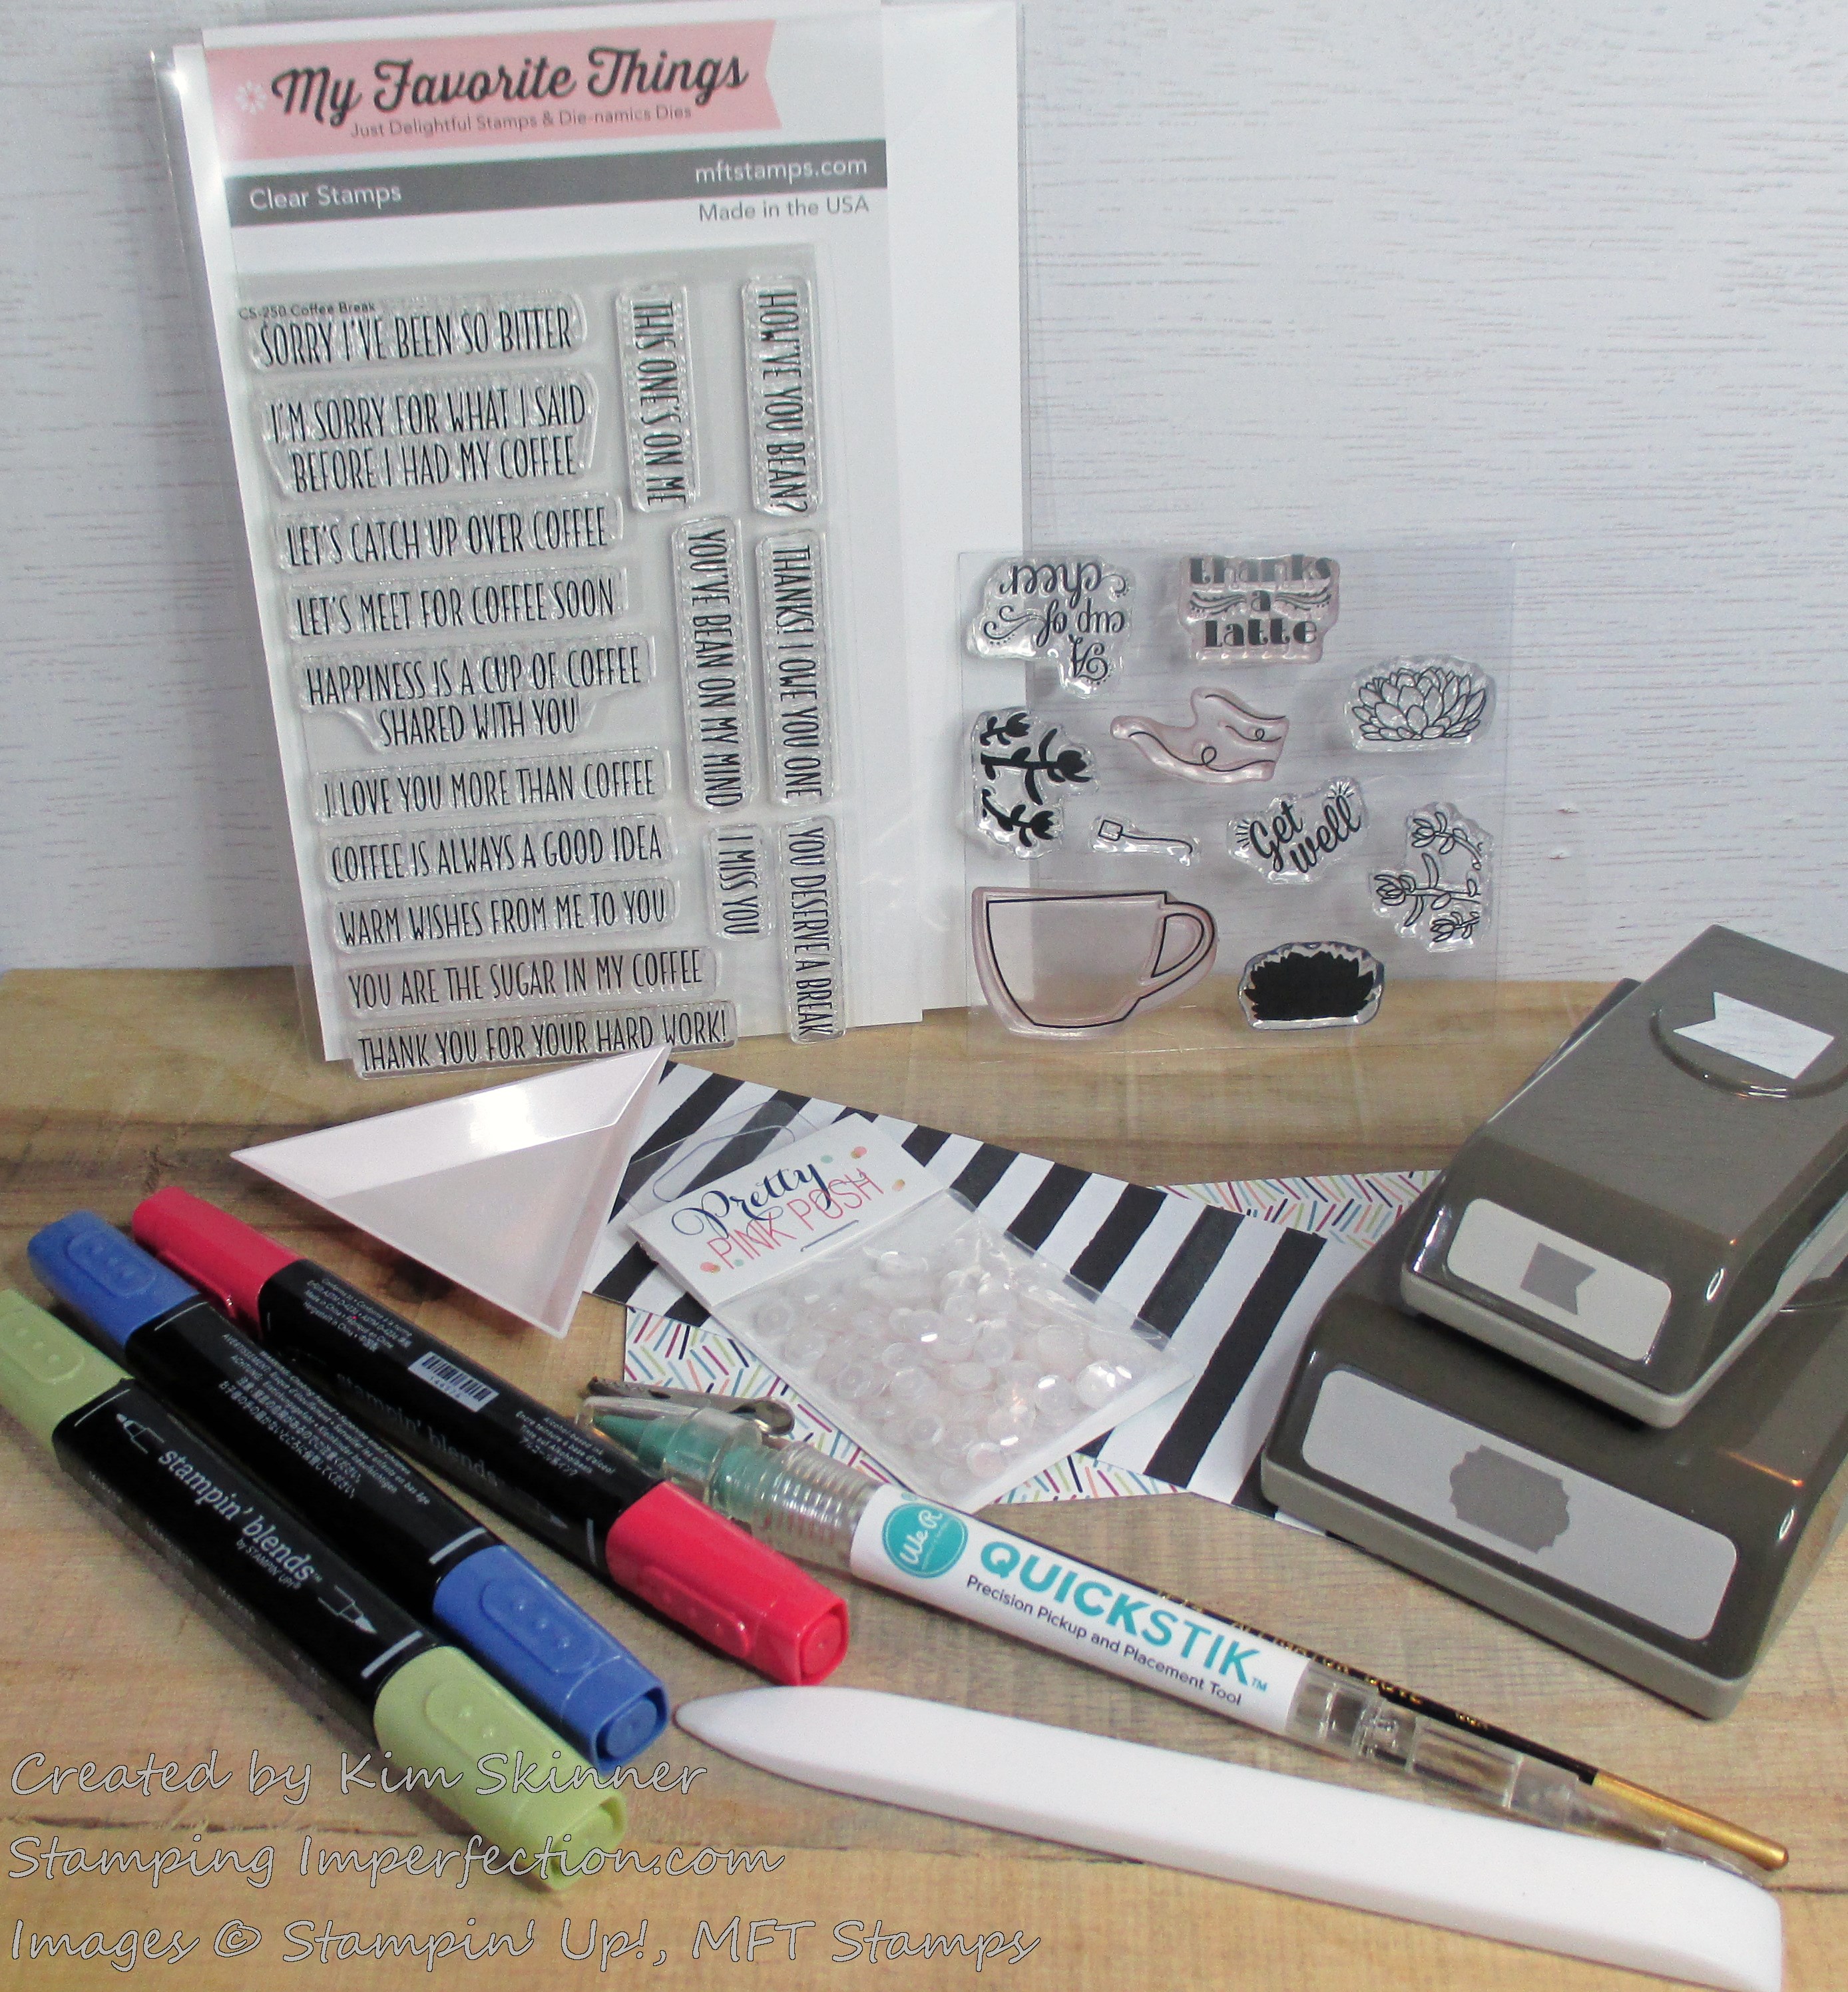
I used two different papers from Stampin’ Up! that include the Petal Palette black and white set and the Picture Perfect Party paper which is joyously colorful. I’ve used the Everyday Label Punch along with the little pennant punch that is retired. I love Stampin’ Up!’s punches and I can’t stop using them once they retire. I get attached to my punches!
I also used a few non-Stampin’ Up! tools that I’ve also fallen in love with. My teflon bone folder is amazing, as is the quick stick and the alligator dove clip that I use to hold my paper when I emboss. I just got a stamp kit from MFT yesterday that had a ton of Pretty Pink Posh’s clear and marshmallow sequins and of course I had to add some of those to my card. LOVE! I also have a bead try that I use to hold my sequins when I’m pouring them out of the bag. I love the ziploc bags for storage, but it’s nice to have a contained place to hold small embellishments while working with them. I find that little tray so handy, I plan to order a couple more.
Then of course there is the MFT Coffee Break sentiment set. How fun and clever are those sentiments? “I love you more than coffee” will have to go to someone pretty darn special! I do love my coffee.
My old Paper Pumpkin stamp sets come in handy as well. After I make the kit, I put the stamp sets in the DVD cases that Stampin’ Up! sells for stamp storage. I love these little sets. After a few months you have a nice set of stamps that you can’t get anywhere else that tend to be seasonal and useful.
Plus…I’m a sucker for a craft kit!
Tip #1: Stampin’ Blends Inking Tip
When I went to the Stampin’ Up! headquarters in Utah in 2014 for the Rising Star trip, they had just come out with their original alcohol markers. We had the opportunity to spend a day with some of the inks team. They taught us all kinds of things that you can do with alcohol markers that you can’t do with the Stampin’ Write dye based markers.
One of the things that you can do is color on designer patterned paper. I have no doubt that is why this black and white Petal Palette paper is in the Occasions catalog.
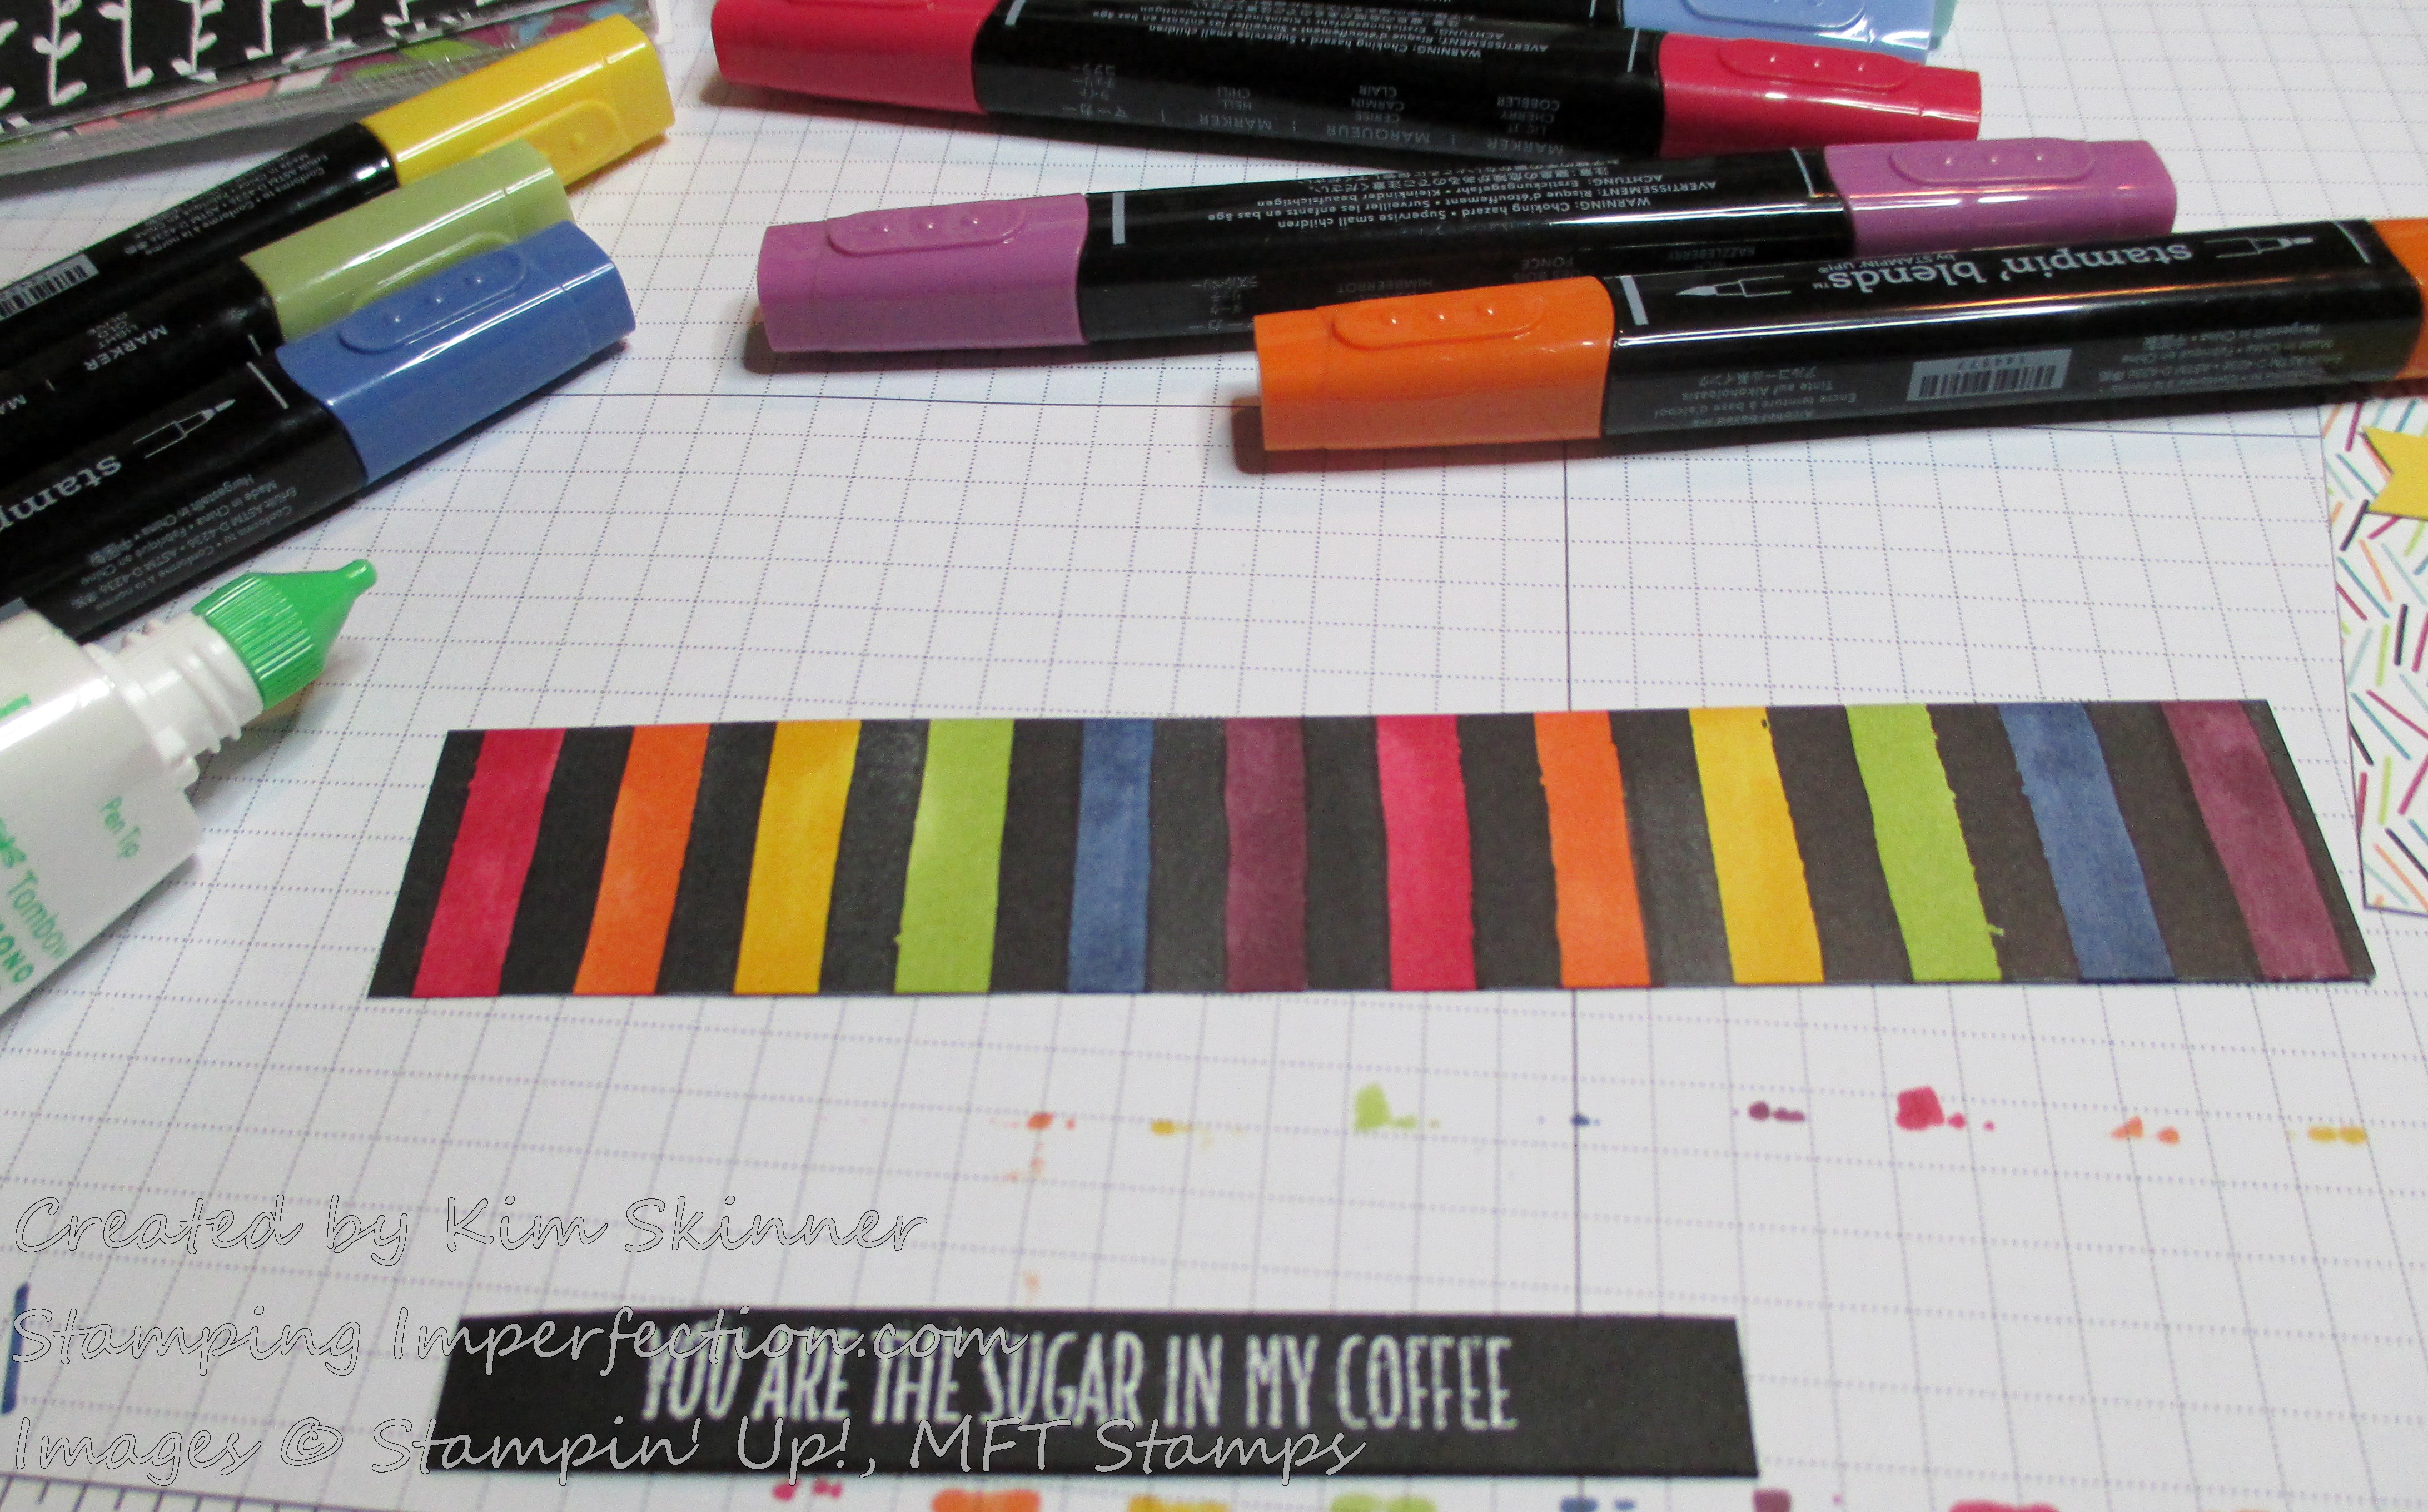
If you accidentally color on the design with an alcohol marker it doesn’t show up like it does with a dye based marker. I love the black and white striped pattern and could not resist making a rainbow with it.
You can also use them on resist paper and with embossed images. The alcohol markers resist the embossing and will color only the unembossed parts.
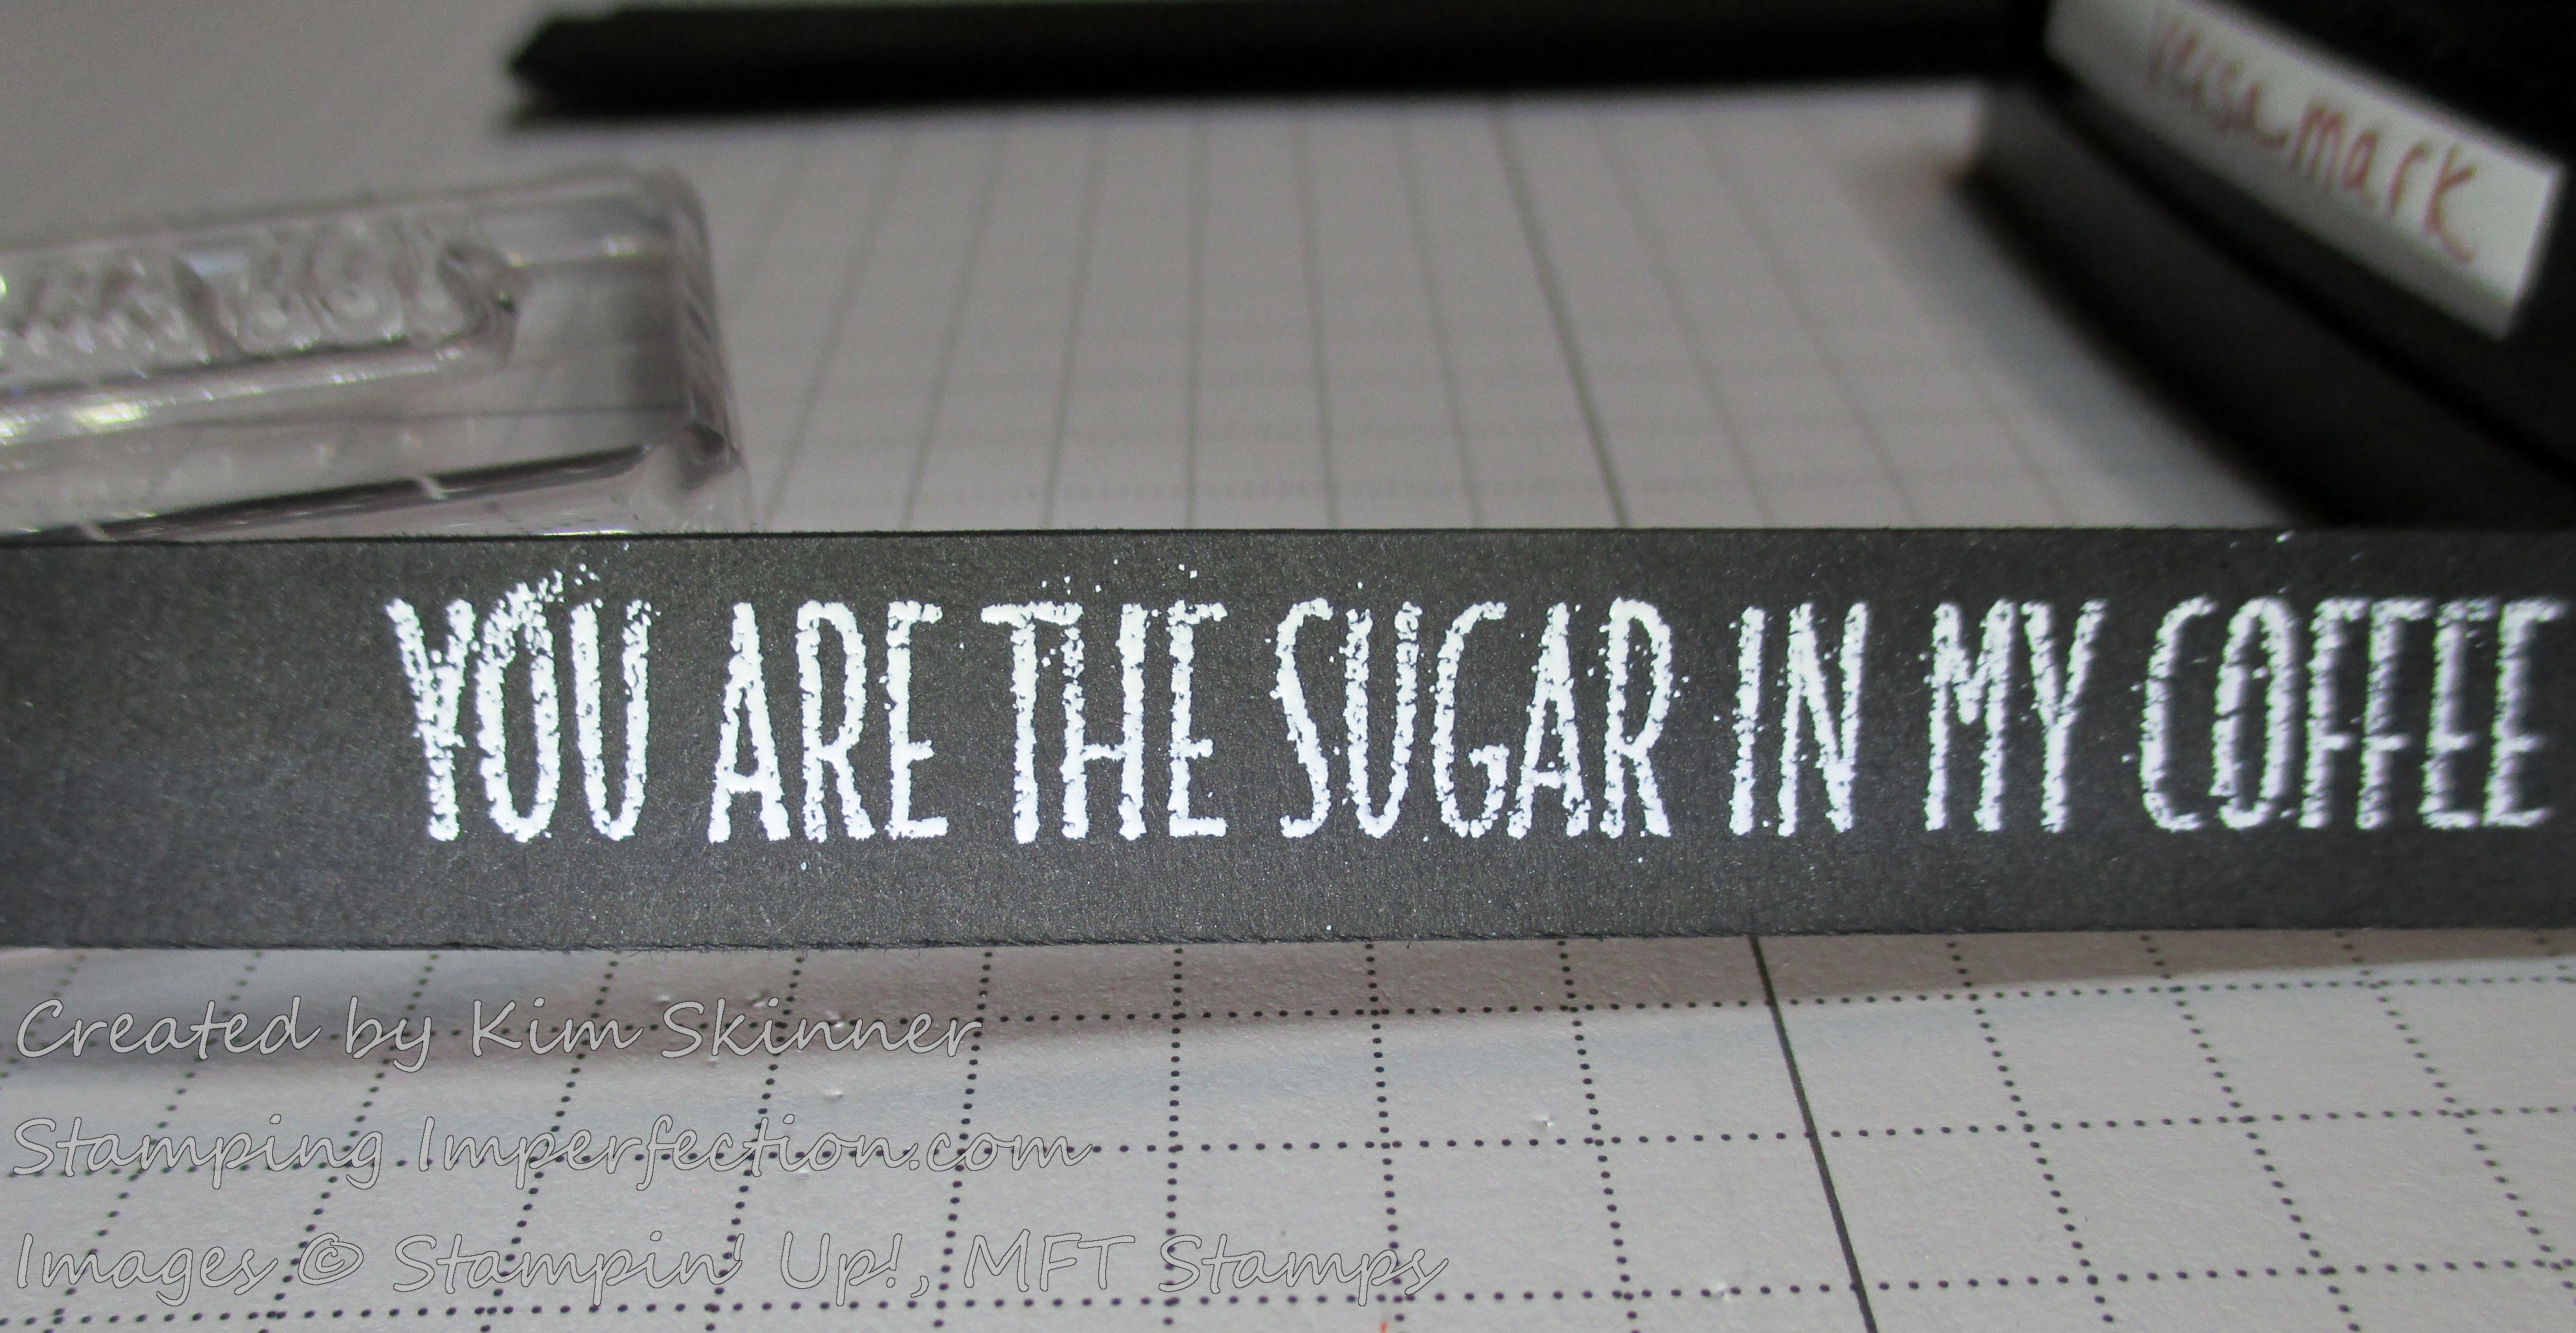
Tip #2: Embossing Tip
Embossing was a technique that I learned in my very first stamping class. I just learned a new tip from one of the classes that I’ve taken recently and I can’t believe how well this works.
When you heat set your embossed image, do it from below the paper! That is correct: Below the paper!
When you use your heat tool directly on the powdered image, it blows some of the powder on to the surrounding image and does not emboss as well. You get embossed specks you don’t want and bare spots you do want embossed. Check out this one I embossed directly:
Now look at the one I embossed from below:
The image looks smoother and shinier and there are no bare spots, with less stray flecks. Big difference!
mystampingstore.com Supply List
|
|
|
||
|
|
|
||
|
|
|
||
|
|
|
|
Petite Pennants Builder Punch
[122361]
$16.95
|


 Designer Series Paper")


Thank you for stopping by today! Happy crafting and remember to embrace the imperfections!


