
I’ve made no secret about the fact that I really like to experiment with my craft goodies. I love trying new techniques and seeing what I can do with them.
I’ve taken a lot of classes over the last year and they have been a great launching point for me to really try some things on my own.
One thing I’ve learned is that you have to practice and you have to try things out. Every instructor that I’ve had from Therese Calvird to Kelly Latevola to Debby Hughes have all said the same thing…it takes a lot of practice to reach the level they have reached. Hearing the experts like these women say that they experimented as they practiced and they had their share of flubs made me brave to do the same thing.
You get stuck in a crafting rut doing the same old, same old. A class or a day of just playing with your stash in new ways can really be the boost your creativity needs.
I also love craft kits. You know this if you are a regular blog reader. I’m a sucker for the word “kit”. I have my reasons:
- Kits are generally less expensive than if I individually purchase the parts. They are packed full of value in most cases. If they aren’t, I unsubscribe to that kit.
- I get most of the stuff I need to create several cards. (I usually have to add ink, adhesive and cutting tools…but not always!)
- There are products or stamp sets that I never would have purchased without the kit. I’m trying new mediums and tools as a result.
- It is delivered to my door once a month if I am a regular subscriber. I LOVE coming home to a box of crafty goodness on my door step. It’s like a monthly gift box to myself. I work hard. I deserve it.
- Regular subscribers often get bonuses or perks. For example, My Monthly Hero alerts you and you can add on extra stuff from your wish list and get free shipping. Hedgehog Hollow includes a full size product or tool. Last month it was a stencil and another month it was a set of 3 Marvy watercolor markers I had been dying to try.
Yesterday, I received my second Sparkle-n-Sprinkle Video Kit called the January Rose Heart Video Kit. So far I’ve made 3 cards and I have more to go! I’m having fun playing around with this one. I’m going to add this card to their January 2019 Anything Goes with glitter, embossing powder or flocking challenge.
Last month was the first time I had received (or even heard of) these kits. I took a Copic Coloring class and the digital image we were using had to be purchased from SNS. I poked around on the website and discovered that they had kits and an affiliate program. Plus, the December kit was a NUVO tool and goodie kit. It was stuffed full of amazing products to try and it was a really good deal if you were a subscriber. I always try to give a kit at least 3 months before I give up on it or stay the course.
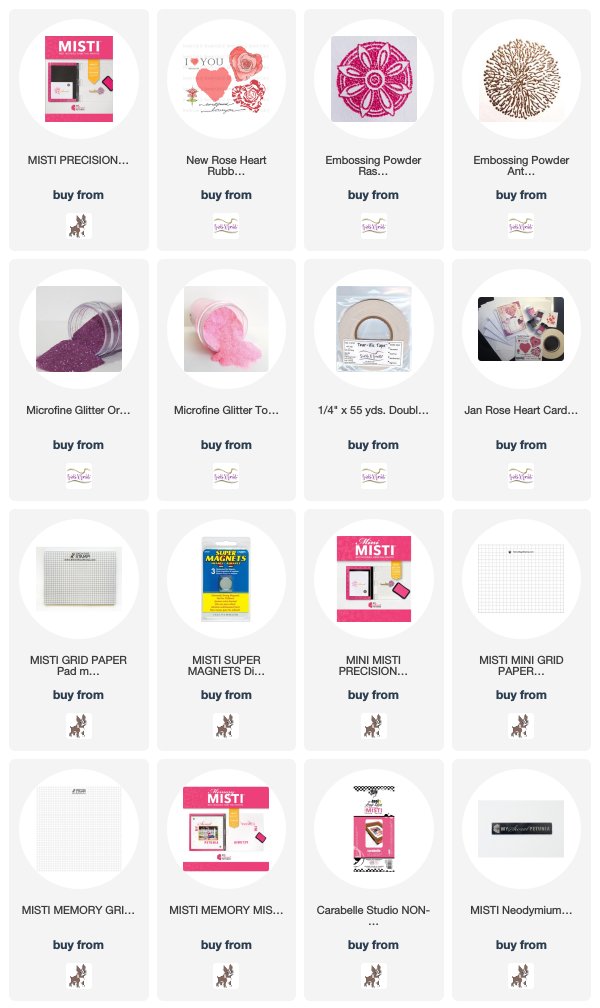
I was not disappointed with this month’s kit either. It included the Rose Heart Stamp Set ($13.49), two full size glitter colors ($6.99 each), two full size embossing powders ($4.69 each), 5 card bases, 5 envelopes, 3 different sizes of card layers for 5 cards, HAI Heart Drops ($4.99), 5 sticker papers 3×3″, and a video tutorial and PDF for a card layout and design.
I’ll be honest, the card layout was totally not my style. I was a little worried that the stamp set wasn’t either until I started playing around with it and realizing that I could do so much with this little stamp set.
Check out my first card:

I did use my Catherine Pooler Rose Petals ink pad, a water brush, my Versa Mark, adhesives and the Neat & Tangled Like Magic Sequins. Everything else is from the kit except the tools I used to create the card. I used my heat tool and cutting tools.
This is so not the card that I expected to make when I started!
Nope…I was going to make those hearts which are actually a triple layer heart set, using only the top and bottom layer. I stamped the bottom layer in my CP Rose Heart ink and decided I wanted the center to be darker. Instead of grabbing my blender pen, I immediately started a watercolor technique.
I know what you are thinking. DUH! CP inks are dye inks which are water based. As soon as you add water, they react. As in, the color is removed!
Now, I know this of course. But in my defense…I’ve had this cold/sinus/virus thing for over two months now and my head is a fog. THANK GOODNESS! I ended up trying to create a background with this new technique I accidentally used. (I don’t know what you call it…it’s a distress technique of some kind, I’m sure.)
I was also trying to use my stamp positioner like I’d seen Jessica Frost Ballas do in her latest Simon Says Stamp video series. She used it to stamp her layered stamps in a totally unique way. I thought I could figure it out. (Chuckle here.) I’m thinking that I will be emailing Jessica and asking her to make a video to show how she set up the stamps to get that to work! (She seems really nice…I bet she would do that!) Her original video should have had a disclaimer: “KIM, Don’t try this at home!”
But I accidentally got a card I loved in the end and my original pieces did not go to waste. You will see those in tomorrow’s blog post and video.
Here is another peek at my card:

Here is the video tutorial… or perhaps I should call it the video of self-discovery!
Supply list:
Are you interested in the products I used? To make them easier for you to find, I have linked them below. (Affiliate disclosure ) Your purchases help keep my blog running at no additional cost to you and I thank you for the support!
The link that I’ve included to the kit is the link to purchase the entire kit as a single kit only. Subscribing actually saves you over $10 and you can skip or cancel at any time. You also get to select 4 glitters or embossing powders with your first kit. From their website: Gift with your first kit: Pick out any 4 glitters and/or embossing powders and/or flocking. Let us know which ones in the “Note” section when placing first order. And you get to select another 4 when you receive your 13th kit or a stamp set or tool. I LOVE getting bonuses like that!
Anyway…I’m so glad you stopped by today. I hope you have a wonderful day and find time to create!


Love what you did with the kit Kim. Thanks for joining us over at the Sparkle N Sprinkle Creative Blog Challenge
Thanks! I had a lot of fun playing with this stamp set!
AMAZING CARD!!!! Thank you for joining us over at Sparkle n Sprinkle Monthly Challenge.