
I’m excited to be a guest designer for The Hedgehog Hollow blog again today. I have the pleasure of sharing a quick and easy heat embossed foil background for a fall card using the Hedgehog Hollow October card kit.
One of the fantastic things you can do with stamp sets that are packed with a lot of great images for one theme is to create your own unique card background. I fell in love with The Ink Road Stamps set for the October kit with the fall leaves and that fantastic October sentiment.
I pulled out a scrap piece of copper foil metallic card stock from my stash and used my stamp positioner to create a background that was all my own. I positioned all of the leaves, the acorn and the pumpkin and stamped them on the top of a piece of 4 x 5-1/4″ copper foil card stock. I added some Nuvo Copper Blush embossing powder and flipped the card piece 180 degrees and stamped the images again using embossing ink. I added the embossing powder to that and then heat set it.
The key to heat embossing on metallic card stock is to keep your heat tool moving and well away from the paper. If you get too close, it bubbles up and there is no fixing that! I kept my heat tool about 3 inches above the paper…the second time I tried this!
The result is a pretty tone-on-tone background piece with lots of shine!
I also heat embossed the October sentiment in the same copper blush embossing powder on vellum. I layered both the foil and the vellum onto black card stock and added it to a desert sand card base. The card base is cut at 4-1/4 x 11″ and scored at 5-1/2″, while the black mat for the foil is cut at 4-1/8″ x 5-3/8″. I just trimmed the vellum piece around the sentiment and made the mat for that about 1/4″ larger all around. Before attaching the pieces together, I added some of that Doodlebug Gingham ribbon from the October kit and wrapped it in some linen thread. The sentiment and the card front is popped up on foam tape for dimension.
Just for fun, I added one of the Doodlebug Spider embellishments to the side of the sentiment.

I have used the metallic card stock for dry embossing with embossing folders for truly stunning card backgrounds and I’m happy to say that heat embossing on the metallic card stock gives an equally beautiful background. Using your stamps to create your own background stretches your crafting stash.
Here is a video to share the technique:
Just for fun, I created a few quick tags using the Halloween stamp set and the Sunny Studio Stamps Build-a-Tag dies. I will be attaching these to Halloween candy bags for the kids in our neighborhood! I used card scraps and kept these simple. The ink is Catherine Pooler’s Icing on the Cake.

The card kit came packed with Nuvo Drops. I finally figured out exactly how to use them to get great little drops. The key is to keep the tip of the bottle above the paper. Do not touch the paper as you squeeze the drop on. Pull up as you finish squeezing. The drops are self-leveling and the peak you leave will actually move down to form a beautiful little round drop. You need to put them aside and let them dry for about an hour…or overnight if you have time to let that happen!
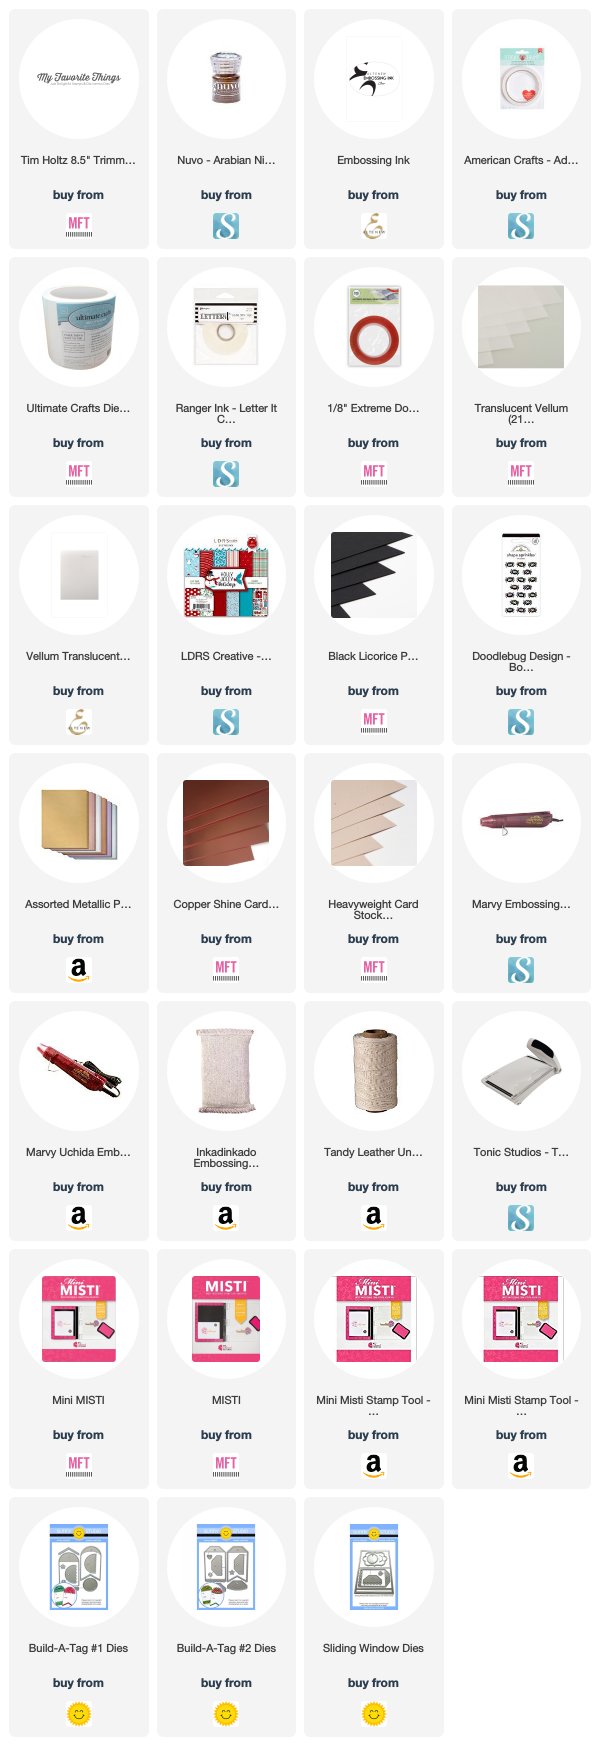
Here is the supply list for my projects today:
Are you interested in the products I used? To make them easier for you to find, I have linked them below. (Affiliate disclosure ) Your purchases help keep my blog running at no additional cost to you and I thank you for the support!
Thank you for joining me today! Have a creative day and remember to embrace the imperfections!


Hi
Do you have an email address, I did the embossing on mirrored card stock last night. I just need you to look at it and tell me what I did wrong. I only have a heat tool, not a drying tool .
So I thought I would email you a picture or two, if thats ok.
Thank you
Tereses’
Absolutely. You can email me at kim@stampingimperfection.com and I would be delighted to take a look. You have to keep your heat tool a good 6 inches away from the foil so you don’t damage the foil. It took me two attempts to get the final piece that I used.