
I have had a week full of meetings, a random late afternoon blizzard, and craft room chores.
My craft room chores are the kind of chores I really enjoy. I organized my stamps today.

As you know, my husband and I downsized to a smaller home a little less than two years ago. We went from a small house to a smaller one. This little fixer upper house of ours is just perfect. (Oh…we’ve caught 5 mice. If you read my last post, I was hearing the pitter patter of small feet above my craft table. No more pitter patter. Phew! It’s an old house. We’re working on it’s flaws and critters.)
The fun part of the house is really the basement. It’s mostly unfinished, but it was divided into essentially 3 sections. One half of the basement is unfinished. The other half is divided into two rooms. One is virtually a hidden room. You have to walk through a good sized room that looks like they planned to make into a room with a bar for entertainment but the last owners used it for storage. That part is my craft studio. I added a peel and stick tile floor and lots of storage in the form of repurposed furniture, some Ikea Alix drawers and a table I already had, and my wonderful Stamp-n-Storage pieces.
The hidden room is a gem. It has heat, carpet, shiplap paneled walls and a fire place. I don’t think the fireplace should actually be used because it is connected via the chimney to the one in the living room. I’m pretty sure using the bottom fireplace creates a negative pressure in the top one and it can cause smoke to fill the house. My plan is to add an electric insert for the fake fire effect. This is my husband’s office and it is perfect for him. He has a big YouTube channel for fishing and he writes fishing books, blogs, articles and has a line of fishing products. That is his hobby. (He is a computer programmer by day.) That really is a great space for him. Over the winter he needs to add a desk and work table to finish that room.
My craft space is coming along. I’m thinking that even though it is the land of reclaimed furniture from our last house, I may start the chore of painting it all white and adding some moldings to make it look built in. I think that may be the key to creating a space that looks cohesive and intentional even if you are using hand-me-down furniture and thrift store finds like I have. I’ve added some great pieces from Stamp-n-Storage that I love and I’m so happy that I splurged on those pieces. I can’t tell you how happy I am with the ink storage, the marker storage and the ribbon storage pieces. I just love them. I also love that as I add to my collection, I can move the pieces around to keep it as functional as possible. 
I am telling you about our little house because I want you to know that I did not hire a contractor to come in and build my dream craft room. While this would have been the perfect time to have that done, I could never justify spending that kind of money on my craft space. I’d rather buy supplies and recycle or repurpose furniture that I already have. The earth does not need perfectly functional furniture in the dump because I needed the perfect craft room.
I do think there are things I can do to the pieces that I have to make them look like I did have a contractor come in and design the perfect space. I will get there. I’m always up for a good diy project and this is our forever home.
In the meantime, I am busy trying out organizing ideas that other people have shared.
I think that we can all agree that Jennifer McQuire is an organizing genius. I watched her favorite things videos at the end of the year last year on the advice of one of my blog readers/crafty friends (THANK YOU, Anita!!), and I got so many ideas.
I immediately started implementing some of them and joy of all joys, I LOVE some of these ideas!
Not everything worked for me, but some of it is amazing!
Her craft room is drool worthy. It looks like it is never used! Everything is perfectly organized behind closed doors.
My room will never be like that. Whatever I have in cabinets is dead to me. I forget I have it. Cabinets are not my friend if I want to actually use my crafty stuff. I like open shelves and open storage. I can find everything and I use it all because I can see it. I know that the open system is not as clean and tidy looking, but it sure functions a lot better for me.
Now that I have been using these systems, I want to share what is working for me. I changed some things and made it my own. Other things just worked and I didn’t need to tweak them.
Today I’m starting with Stamp and Die Storage:
OMG…if you don’t store your stamps and dies in the clear Avery Elle pockets you are missing out of stamp and die storage heaven!
And…if you don’t store the coordinating dies with the stamps they go with, you are creating extra work for yourself. This system has been my very favorite thing of all!

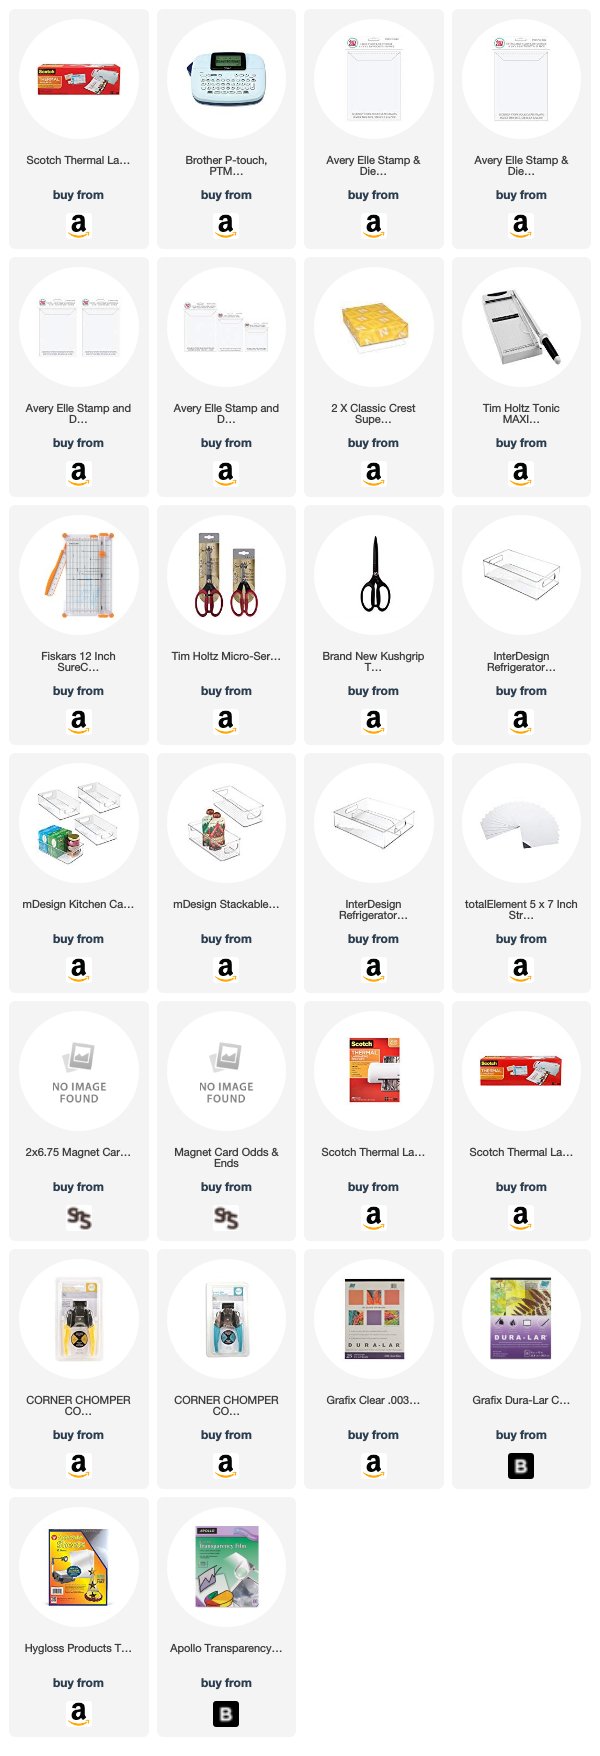
These are the basic tools that I use for storing my stamps.
I use the Avery Elle Extra Large and Large Stamp and Die Storage sleeves. They are heavy plastic sleeves with a flap you can fold over and tuck in. I also use cardstock, magnet sheets from Stamp-n-Storage, a Brother P-Touch Label Maker, Fridge Bins, a laminator, scissors, and a paper trimmer.

I’ve been ordering the plastic sleeves from Amazon because I can buy them in bulk. They come in packages of 50 and I ordered multiple packages of both the large and extra large size. I’ve also used the MFT stamps sleeves and they are just as nice, although a slightly different dimension.
I cut white card stock to fit the inside of the sleeves (the large pieces are cut at 5-1/4 x 7-1/4″, the extra large I cut at 6-1/2 x 9-3/8″). I like to have a piece of card stock in the sleeve to give it some support and it separates the stamp set which I place in the front from the die set that I place in the back. I also keep any package inserts in these sleeves as well. I don’t have time to create special labels for everything, so I just keep the package insert so I know the company and the name of the stamp and die set.
I absolutely LOVE having the stamps and dies stored together. It is ridiculously convenient. Why have I not been doing this for the last 7 years? I always stored the dies next to the Big Shot and the stamps across the room. Then you go searching through all the dies to find the one you need.
No more of that! This system works so well for me. It also saves a HUGE amount of space. I love the plastic cases that Stampin’ Up! sends their stamps in, but I consolidated 4 shelves of stamp and die sets into one shelf by putting all those stamps in these sleeves.
I also use retired colored card stock cut a little taller than the sleeves as dividers for the different companies. I store most of the stamps by company with the exception of background stamps, alphabet and journaling stamps, and Christmas stamps. Those have their own bins.
I use the label maker to create a label for the colored card stock and then I laminate it. I round the corners of the card stock before laminating and then round the corners of the laminated piece. It looks nice that way.

Once I get all this done, I store them in fridge bins that I got on Amazon. 
This is just so convenient. I can pull out a bin and take it to my craft table to find what I need. This shelf is right behind my table so it is easy to just return to the place it belongs. When I’m done, I just slide the plastic sleeve right back into the bin. Clean up is so easy.
I like these clear fridge bins. Several companies make them and they come in a huge variety of sizes. I have 3-4 sizes that I use. I have the double one that works for smaller stamp sets in the large pockets that you can see in the top photo and then right above this is the photo of the larger bins that hold the extra large sleeves with the larger stamp sets.
The other sizes I have I use for storing all kinds of other things. I store reinkers, glitter, embossing powder, ink sprays, paper scraps, ribbon, washi tape…the list goes on. I don’t need to label the bins because I can see what is in them.
I also found out that Home Goods and Home Sense also have these clear bins in a huge variety of sizes for a good price as well.  I keep my extra sleeves and precut card stock all ready to go in a bin on a second table I have in my craft room. This table is like a landing area where I put new stuff that I need to get into the sleeves. I try to do this a couple of times a month so that I stay super organized. This table is also where I craft with my daughter when she is visiting. I’ve had this table since 1984! My father bought it for $35 at an auction along with the 4 chairs that go with it. He had the chairs reupholstered and gave it to me for my first apartment after I graduated from college. It was our dining room table for the first 7 years we were married and then it was the game/craft table in our family room for the last 30+ years. It is perfectly functional and it has many happy memories associated with it.
I will link to some of the stuff below in case you are interested in trying this out.
Supply List
Are you interested in the products I used? To make them easier for you to find, I have linked them below. (Affiliate disclosure ) Your purchases help keep my blog running at no additional cost to you and I thank you for the support!
I would love to know how you store your stamps and dies. What is working for you? What did you try that was just a stinker and didn’t really work for you? Leave a comment below and let me know!
Thank you so much for stopping by! Have a happy day!


Hi Kim! Great organization. I am using this same system and I love it. One tip I got is to purchase magnetic vent covers from Lowe’s and cut them to the size you need. They are inexpensive and come three in a pack. Of course I have way less stamps/dies so this works for me. I kept my Stampin up cases but put a magnetic sheet with the coordinating die in the same case. Then I have a small punched out circle in blue on each stamp set that has a die in it and used a pink dot if I have matching punch. I do have a few smaller clear bins to hold other tools/ supplies as well. Sometimes it feels that I spent more time organizing than I do crafting. But now that I am finished I can find everything easily and now all I need is more time to play. Happy Thanksgiving to you and your family. Thanks for sharing your talents.
Hi Anita!
I also have used the vent covers. They are nice when you want to cut it down to a smaller size. I love storing the dies and the stamps together because it just makes it so easy to find. I totally agree with you about spending more time organizing than crafting! This past year has been a lot of organizing and practicing coloring mediums, but somehow it has all still been relaxing. Now I come into the room and it makes me so happy because I know where everything is and it is easy to put away. Have a very Happy Thanksgiving! Thanks for stopping by and leaving a comment!
Kim:
How many SU sets can you hold in your bins? I’ve asked Santa to bring me these fridge bins as I also want my stamps at my fingertips with their coordinating dies.
I did a rough count and I think I have about 100 SU plastic cases to purge into this system. Would you mind showing a photo of a converted SU set? I’m thinking I will keep the paper photo from inside the case so I can see at a glance what set I’m looking for.
I will do a very quick post on this so I can add pictures. I used the double fridge bin and I got 104 SU stamp sets in. I kept the case insert in the front of the clear sleeve so I can easily see which set I am looking for. I also bought some Dura-Lar to attach to a piece of card stock so the stamps would stick to it. I think window sheets might have worked better. The Dura-Lar was what everyone was recommending, but it isn’t that sticky.
I am not sure if you tried this yet, and I forgot even yo see how old this post is, but:
I use laminate plastic to stick my stamps to. I love the 5mil but the 3mil is cheaper and does the job. I throw away the plastic that the stamps come on because I have been collecting stamps for 20 years and some of them melted on the sheet they came on. It seems to happen to silicone, acrylic, and photopolymer. Not sure about the vinyl stamps yet, as those are newer and not as common. Even the mounting foam on rubber clings have melted! Anyway, just run the empty laminate pouch through the machine, then cut to size.
My biggest hurdle in organizing my stamps is that I have so many, and I do not have the appropriate furniture to house them in. Do the filled fridge bins fit in a standard dresser drawer maybe?
I think that the fridge bins would need a deep drawer, or at least as deep as your stamp set is tall. The laminate plastic is a great idea and you could adjust the height to fit the drawers or shelves that you have. Thanks for sharing!